


Straight hair falls into a single, glossy sheet, which can be beautiful and a little flat all at once. There is nothing to catch the light, no movement, just one solid line from root to tip. Layers are the fix, and on straight hair they show up more clearly than on any other texture.
Because straight hair hides nothing, layers give it instant softness, dimension, and movement. Below are the straight layered looks worth knowing, from classic long layers to a razor-soft finish, plus how to ask for them and keep them sharp.
Why do layers work so well on straight hair? Straight hair looks flat and one-dimensional on its own, and layers add the movement, lift, and softness it lacks, breaking up that solid line.
Will layers cost me my length? No, if you ask for long or invisible layers. They add movement while keeping your length, since the shortest pieces sit on top or around the face.
What does the upkeep cost? A layered cut runs $50 to $90, with a trim every 8 to 10 weeks, since straight hair shows grown-out layers clearly.
Classic Long Straight Layers
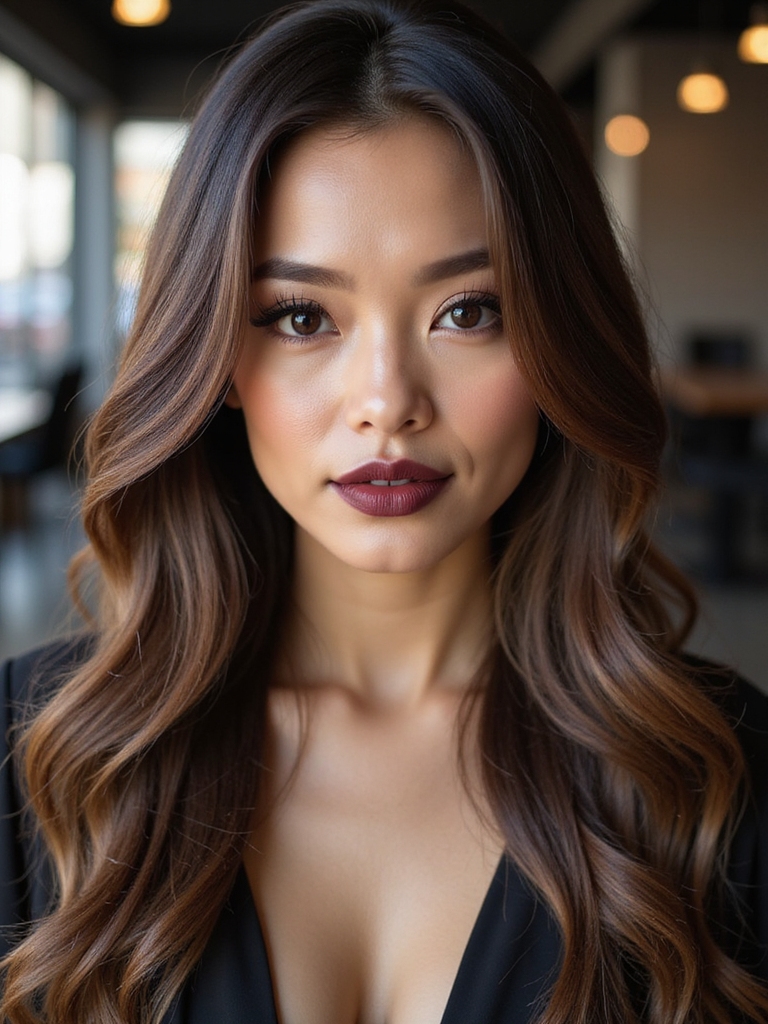
Classic long layers are the gentlest way to add movement to long straight hair. The layers are cut long and blended through the lengths, so the hair keeps its length but gains soft, swinging movement instead of hanging in a flat curtain.
The easiest layers for long hair
It is the most universally flattering option, working on nearly every face shape. The longest layers stay long while shorter pieces frame the face, giving long straight hair shape it otherwise lacks.
Style with a round brush, bending the ends slightly, or air-dry with a smoothing cream. The long layered hair guide covers the cut in detail.

Airy Mid-Length Straight Layers
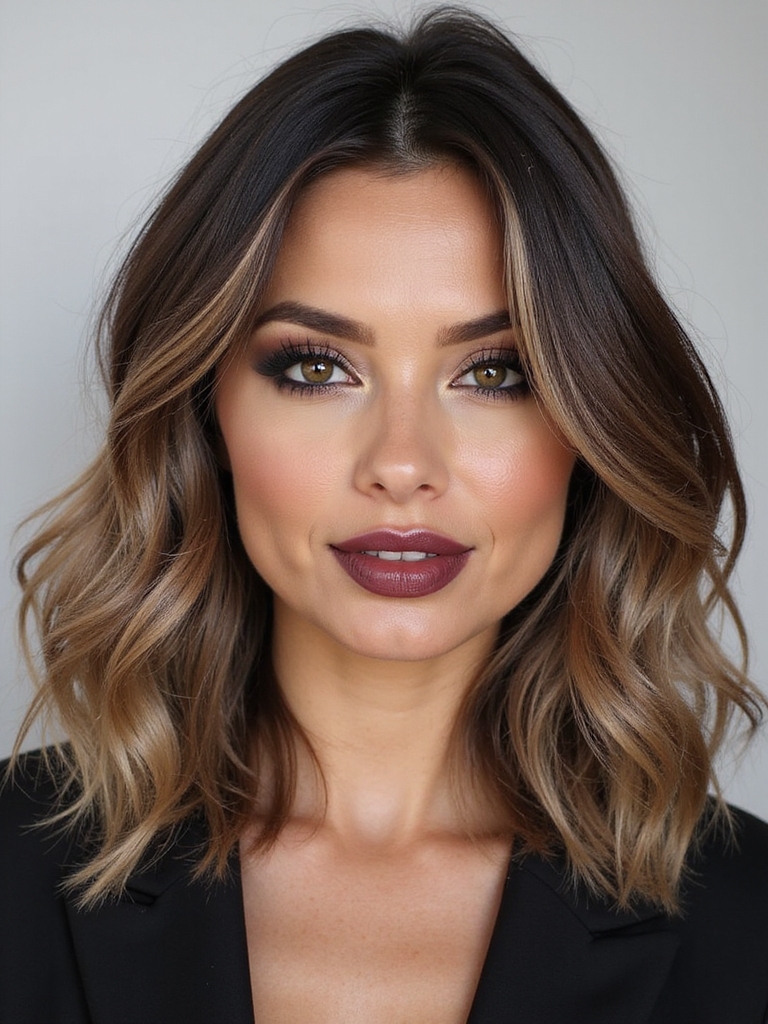
Mid-length straight hair often falls flat at the worst possible spot, right around the shoulders. Airy, feathered layers through the mid-lengths add lift and movement, breaking up the heaviness and giving the cut some bounce. The medium length layered hair guide has more mid-length ideas.
Keep the layers feathered and soft around the face for the gentlest effect, and resist the urge to over-layer, since a mid-length on straight hair shows every line and a heavy hand turns soft movement into obvious steps. The mid-length is versatile and easy to wear.
- Ask for feathered layers through the mid-lengths.
- Add face-framing pieces for softness at the front.
- Style with a texture spray for airy movement.
💡Stylist Tip
On straight hair, ask your stylist to point-cut the ends of your layers rather than cutting them blunt. Straight hair shows a blunt layer as a hard line, while point-cutting softens it into movement that actually reads as layers.
Shoulder-Grazing Straight Layers
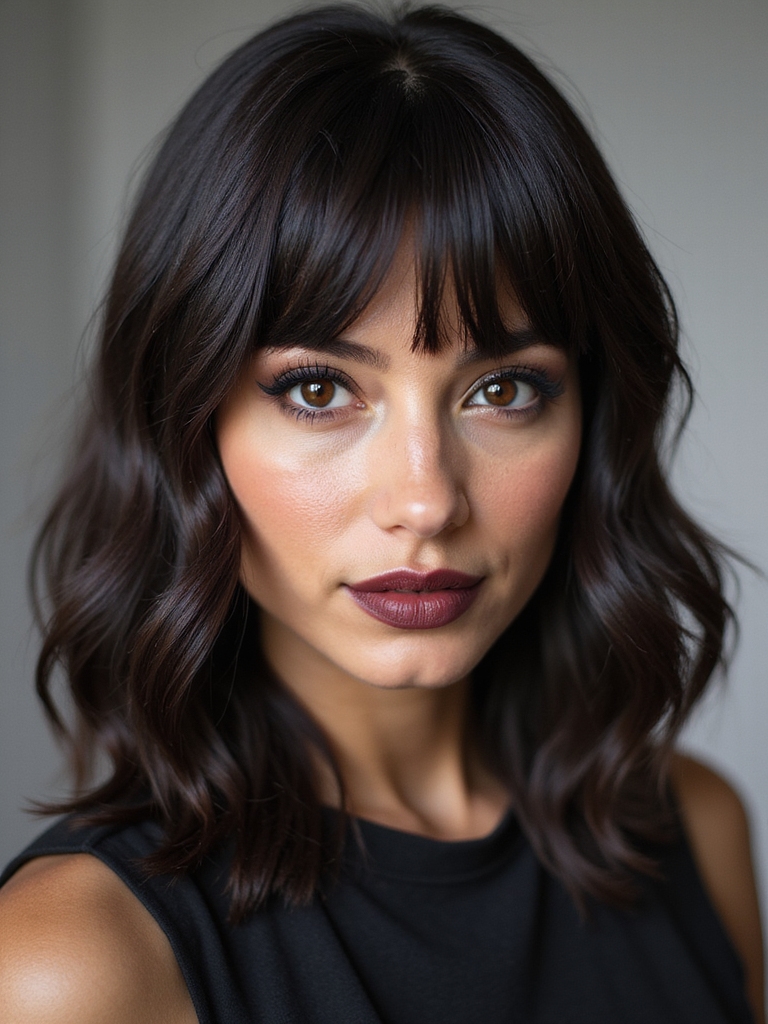
Shoulder-grazing straight hair with layers sits in a sweet spot, long enough to tie back and short enough to feel fresh. Soft layers keep this length from looking blunt and heavy where it hits the shoulders. Here is how to wear it:
- Ask for soft layers that break up the blunt shoulder line.
- Keep a few softer pieces at the front.
- Bend the ends under or out with a brush for movement.
Invisible Layers for Fine, Flat Hair
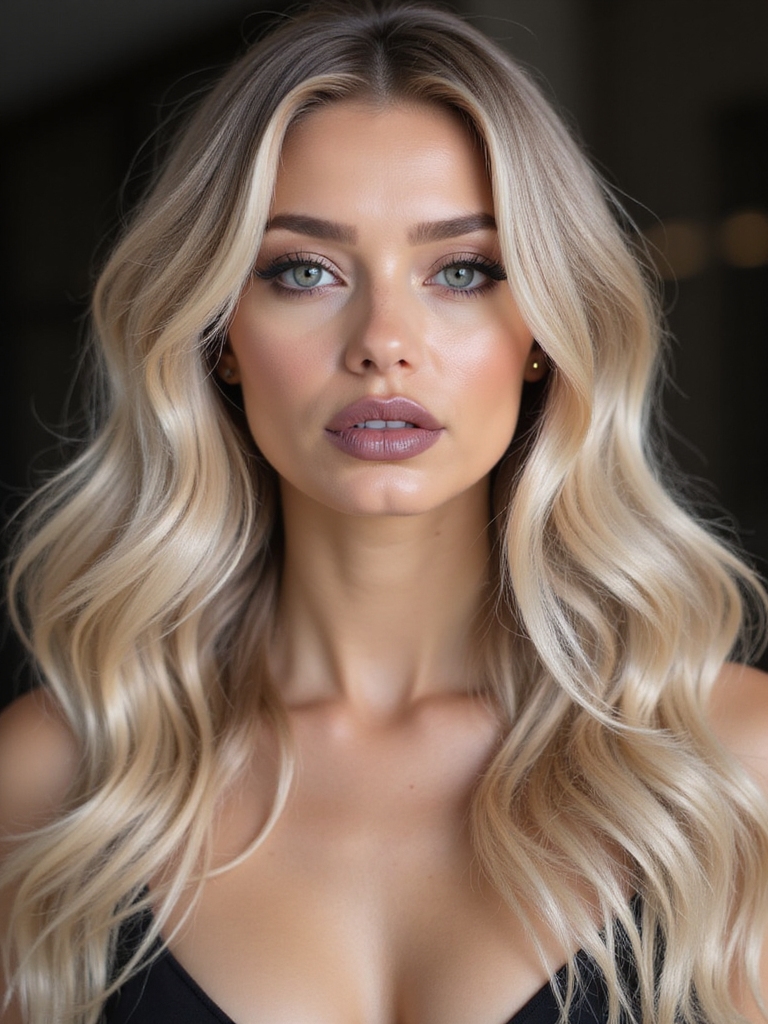
Fine, flat straight hair is the trickiest to layer, since heavy layering thins it out. Invisible layers are the answer: cut beneath the top section, they bring lift and bounce to the hair underneath while the sleek surface stays intact and full, which is the only way to get movement into fine straight hair without making it look sparse.
Fine-haired clients are often nervous about layers, and invisible ones are how I win them over. The hair looks one-length and full on top, but underneath it finally has body and bounce.
🅰️Layered ends
Add movement and softness, hiding the flatness straight hair is prone to. Need a trim every couple of months to stay sharp.
🅱️Blunt ends
Look thick and polished but show every flaw and can read heavy. Best for those who want a sleek, one-length finish.
Long Layers With Curtain Bangs
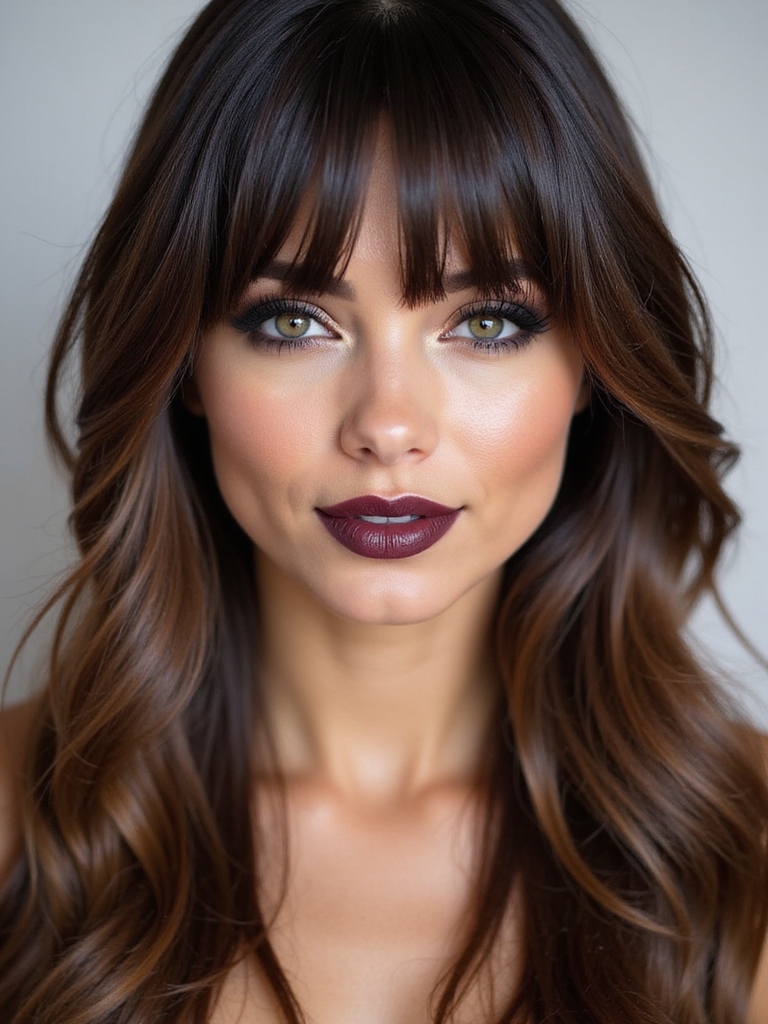
Long straight layers and curtain bangs are a classic, flattering pairing. The bangs part in the middle and sweep back into the face-framing layers, softening the front of straight hair and drawing the eye to the face.
It is a low-commitment way to add a fringe, since curtain bangs grow out into layers without an awkward stage. They suit nearly every face shape, especially blended into long layers.
Blow the bangs out with a round brush, sweeping them back. The curtain bangs guide covers every length and face shape.
A Sleek Lob With Soft Layers
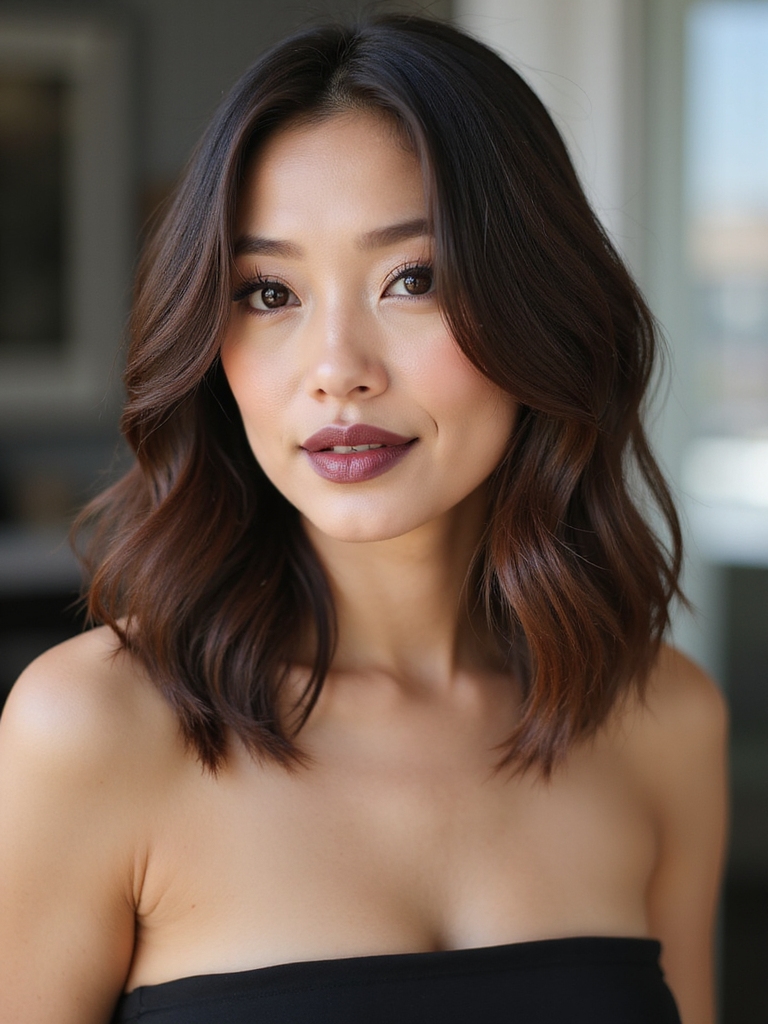
A lob, or long bob, is one of the best cuts for straight hair, and soft layers keep it from hanging flat. Light layers through a sleek lob add just enough movement to keep the blunt collarbone length from looking heavy. Here is how to get it:
- Ask for a collarbone-length lob with soft internal layers.
- Keep the surface sleek and the layers subtle.
- Style with a flat iron and a drop of serum for gloss. The layered bob guide covers shorter versions.
Heads-Up
Straight hair shows every cut, so a heavy hand with layers leaves visible steps and stringy ends. Ask for fewer, softer, point-cut layers, and find a stylist who cuts straight hair precisely; there is nowhere to hide a mistake.
Feathered Ends on Straight Layers
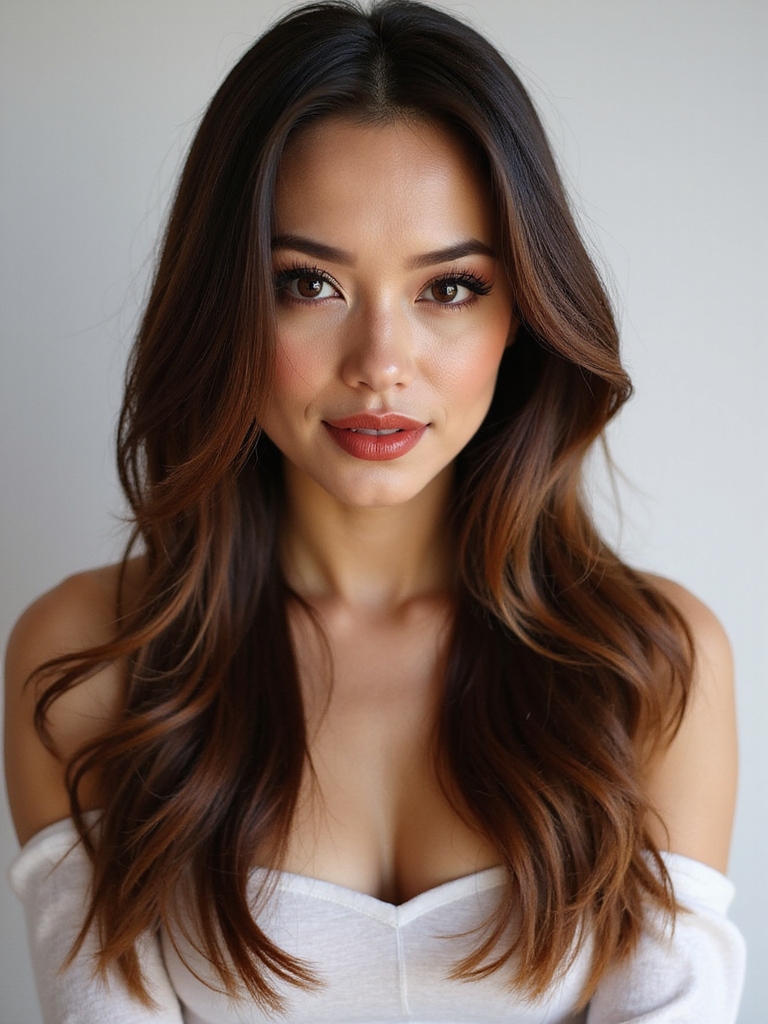
Feathered ends are the detail that makes layers look soft on straight hair. The very tips are thinned and tapered so they fall in fine, separated pieces, taking away the blunt, heavy hemline straight hair tends to have. Here is what to ask for:
- Ask for feathered, tapered ends rather than a blunt cut.
- Best on straight to wavy hair where the feathering shows.
- Style with a light cream to keep the ends from looking stringy.
A Chin-Length Face Frame
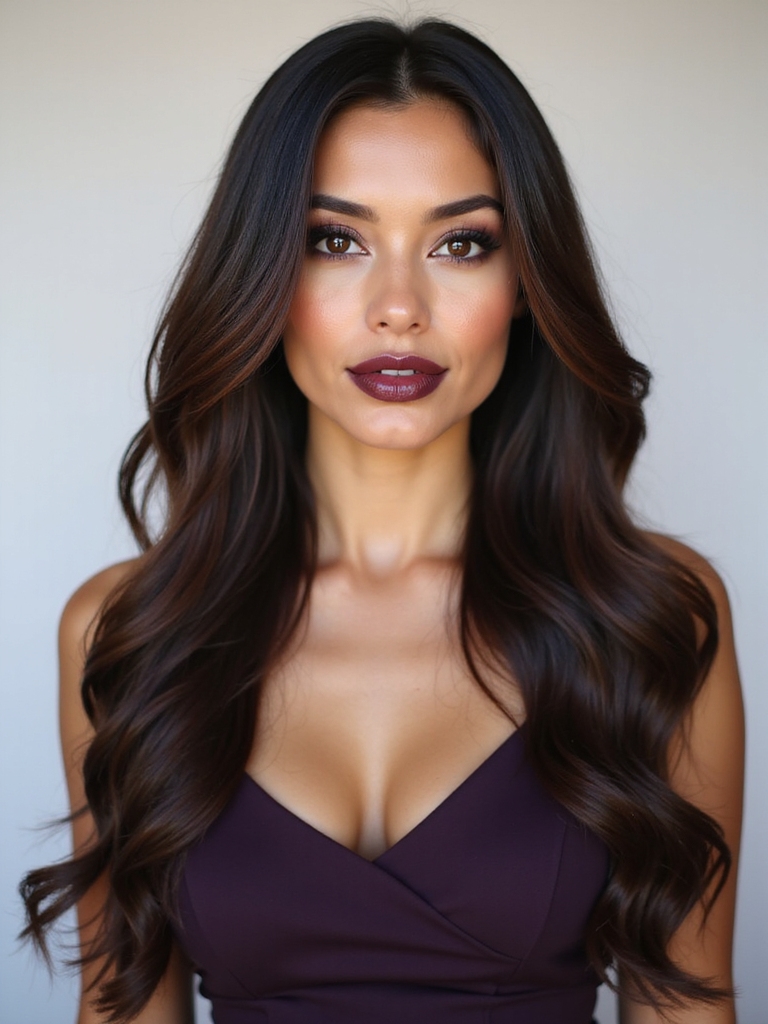
Chin-length face-framing layers bring movement right up to the face on straight hair. The shortest pieces graze the chin and frame the jaw and cheekbones, adding softness to the front while the length flows below. Here is how to wear them:
- Have the shortest face-framing pieces graze the chin.
- Blend them into your length so there is no hard step.
- Sweep them back with a brush to open up the face.
“After years of cutting straight hair, I can tell you it is the least forgiving texture there is. Every layer shows, so bring a clear photo and choose a stylist who specializes in precision cutting. On straight hair, the skill of the cut is everything.”
U-Shaped Straight Layers
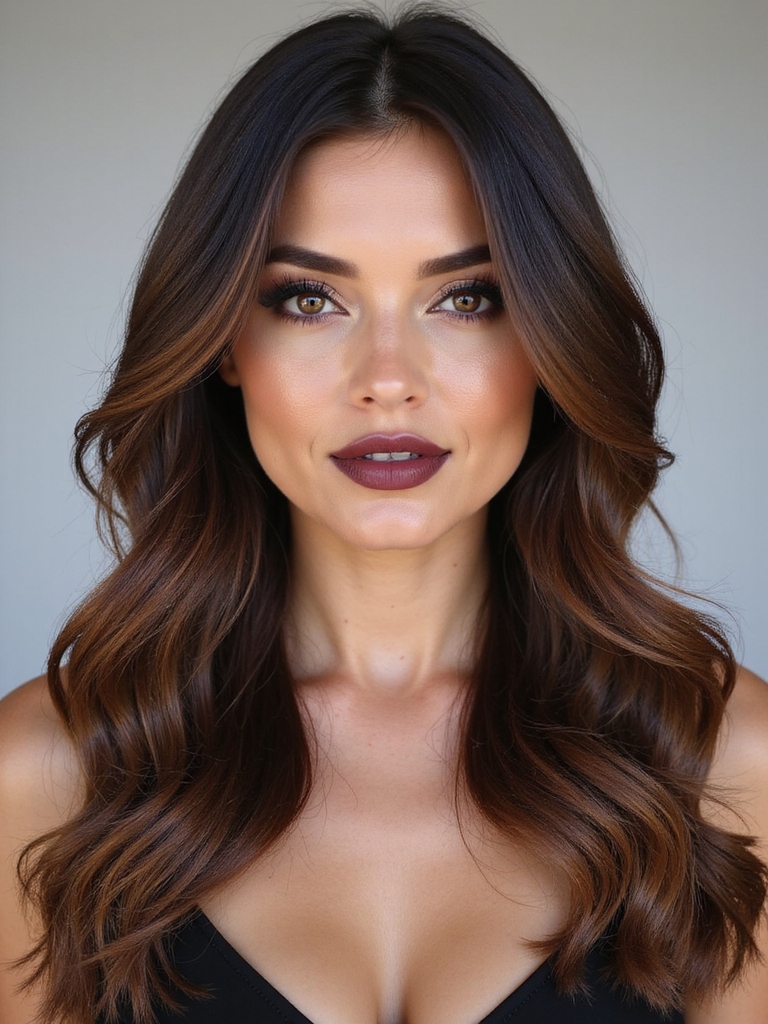
A U-shaped cut leaves the length in a soft U at the back with layers cascading toward the face, and it is a beautiful way to layer long straight hair. The shape adds graduated movement while keeping the length long and full at the back.
It is ideal for anyone who wants layers but is protective of their length, since the back stays long while every bit of the movement is built up toward the face, which means you never have to choose between keeping your length and finally giving straight hair some shape.
Style it worn down and smooth so the cascading layers catch the light. Minimal styling lets the shape speak for itself.
V-Cut Straight Layers
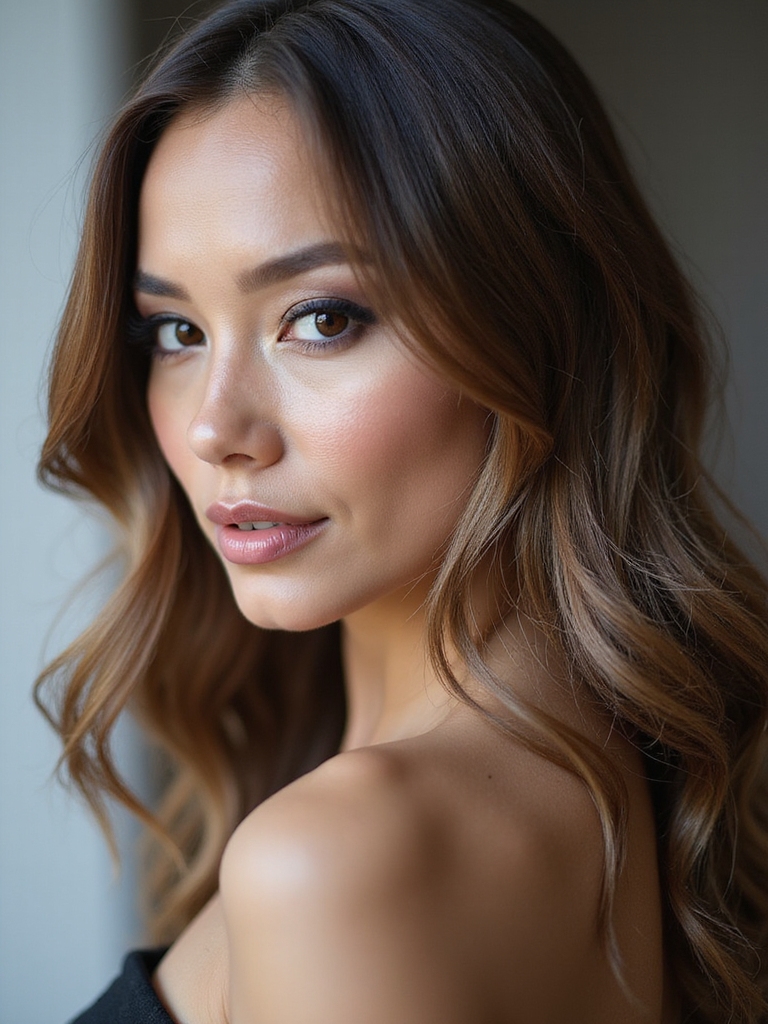
A V-cut is the sharper cousin of the U-shape, with the back coming to a defined V point. On long straight hair, it creates a dramatic, elongated silhouette with layers that taper toward the point.
It suits very long hair best, where the V has room to show. The taper adds movement while drawing the eye downward to make the hair look even longer than it is, which is exactly why it has become a favorite for women growing their straight hair as long as it will go.
Micro Layers for Thick Straight Hair
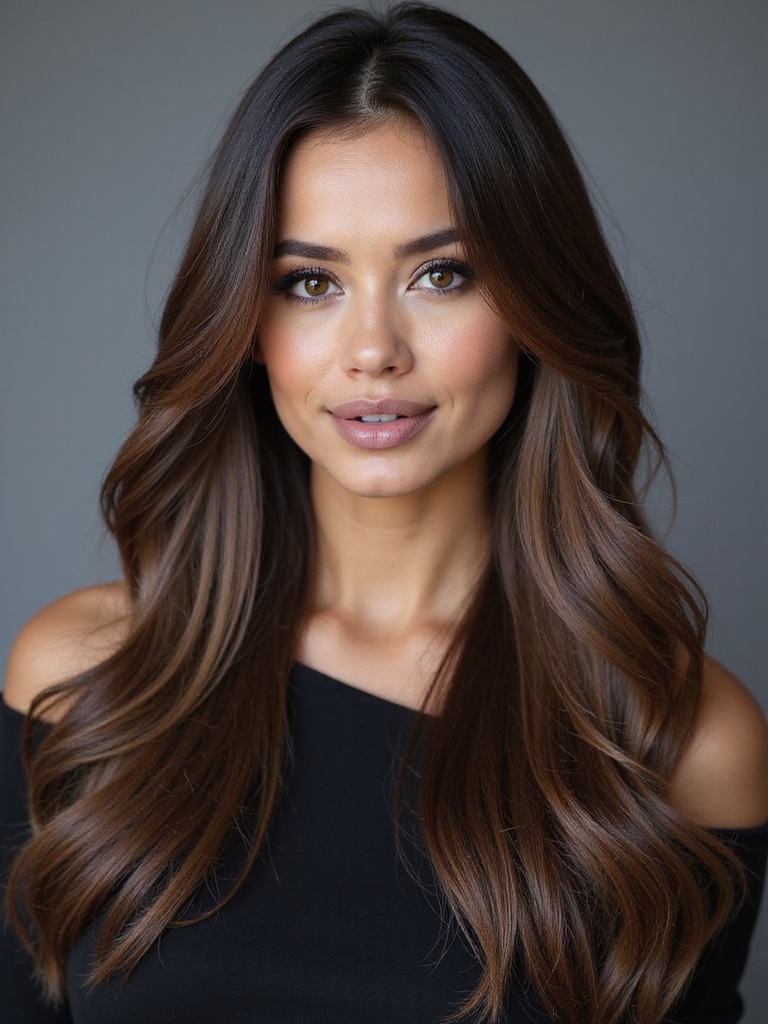
Thick straight hair carries a lot of weight, and micro layers manage it without changing the shape. Tiny internal layers remove bulk from underneath, so thick straight hair moves instead of sitting in a heavy, solid block. I cut a lot of these for clients tired of their hair feeling like a curtain. Here is what to ask for:
- Ask for micro internal layers to debulk the density.
- Keep the surface and length intact for a clean look.
- Smooth with a cream while drying to control the texture.
A Side-Swept Fringe With Straight Layers
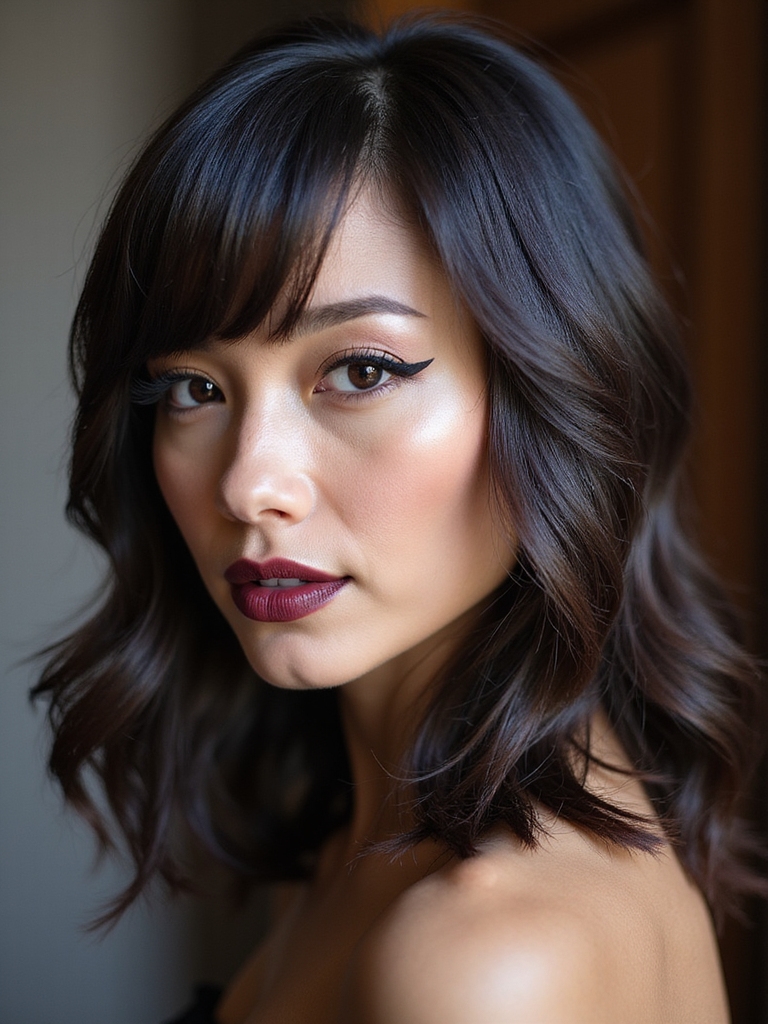
A side-swept fringe softens straight layered hair and frames the face on a diagonal. The fringe sweeps from a deep part into the face-framing layers, breaking up the straightness around the face. Here is how to pair them:
- Sweep a soft side fringe from a deep part into your layers.
- Keep it long enough to blend with the face-framing pieces.
- See the side-swept bangs guide for more fringe options.
Collarbone Straight Layers
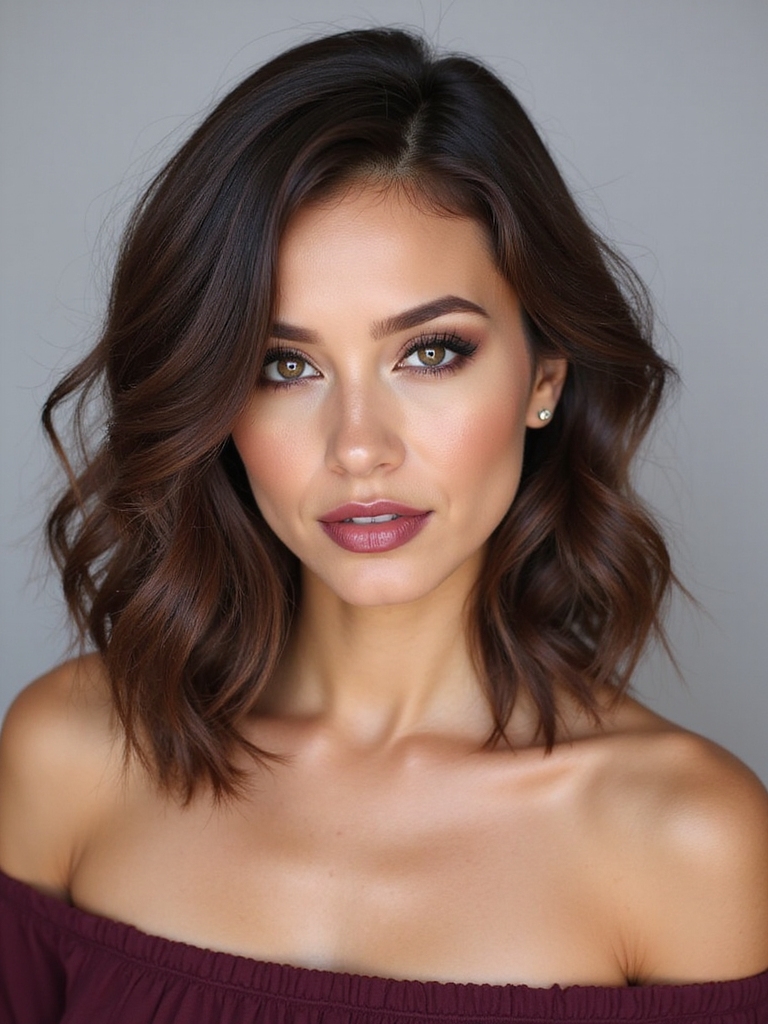
Collarbone-length straight hair with delicate layers is endlessly wearable. The length is long enough to feel feminine and short enough to stay easy, and soft layers add the movement straight hair needs at this length.
It is a low-maintenance, flattering choice for most faces. The delicate layers keep the collarbone length from looking blunt and flat.
- Ask for delicate, soft layers at a collarbone length.
- Add a few softer pieces around the face for extra movement.
- Air-dry with a cream or smooth with a brush.
Minimalist Underlayers
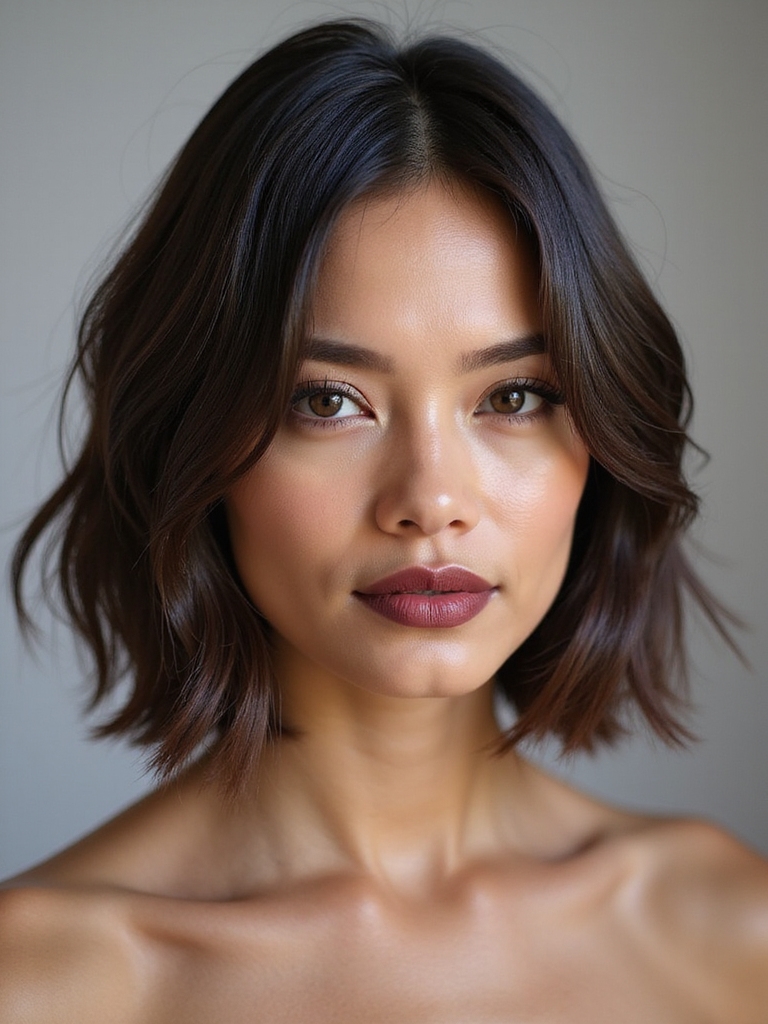
For the subtlest layered look, hidden underlayers add movement to straight hair while keeping a one-length surface. The layers are cut entirely underneath, invisible from the top, so the hair looks blunt and full but moves like it is layered.
Layers no one can see
It is the perfect option for anyone who loves a sleek, blunt look but wishes their straight hair had more life. From the outside, no one would know the layers are there.
Ask for hidden or internal underlayers, keeping the top and perimeter blunt. The cut stays minimal while the movement hides beneath.
Razor-Soft Straight Layers
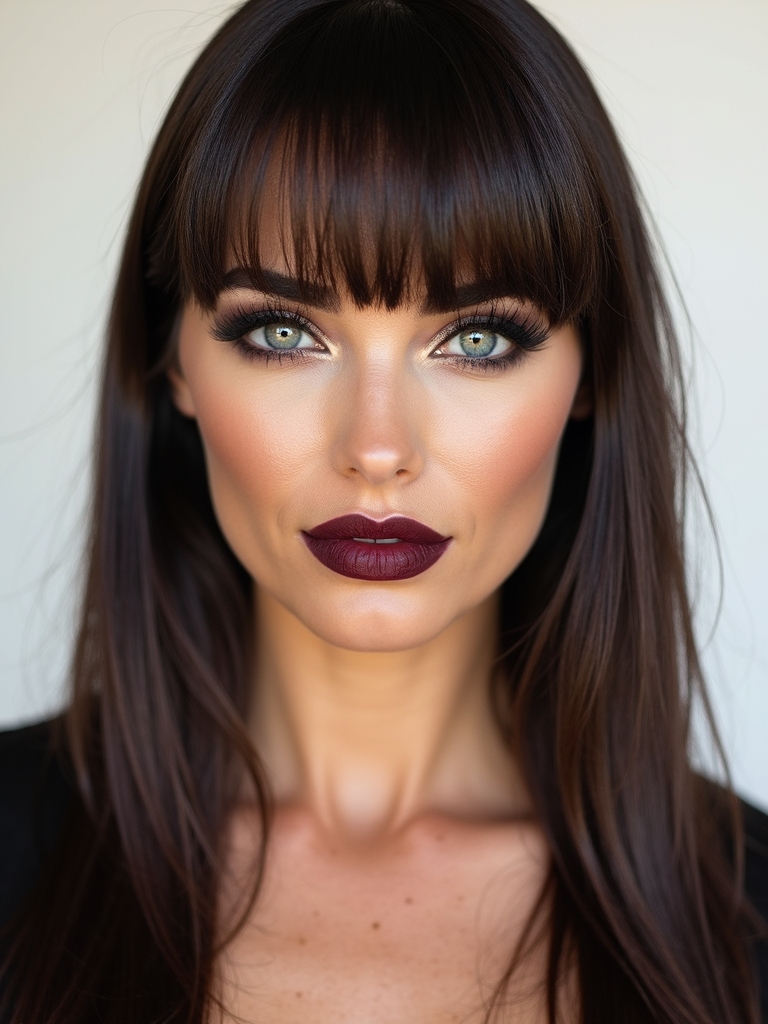
A razor finish gives straight layers their softest, most whispery texture. The blade thins and feathers the ends so the layers melt into airy pieces, softer than scissors can manage on straight hair. Here is what to know:
- Best on healthy straight to wavy hair; razoring can roughen dry or fragile hair.
- Ask for razored layers for an ultra-soft, feathered finish.
- Style with a light cream to keep the razored ends smooth.
Maintenance & Care
Layers on straight hair need regular trims, because straight hair shows grown-out layers more clearly than any other texture. As the layers lengthen, they lose their shape and the cut drifts back toward one blunt length. A trim every 8 to 10 weeks keeps the layers crisp and the ends feathered.
Between cuts, straight hair lives and dies by its ends, since there is no texture to hide damage. A heat protectant every time you style, a weekly mask, and a trim on schedule keep the ends smooth and the layers looking intentional. For more cutting detail, the layered haircuts for straight hair guide goes deeper.
Straight Layered Hair Questions
?Do layers make straight hair look thinner?
Only if they are overdone. Soft, well-placed layers add the look of movement and fullness, while heavy, choppy layering can thin straight hair out. Ask for soft layers and keep most of your length.
?What layers suit fine straight hair best?
Hidden underlayers win every time. By tucking the shortest pieces below a smooth top section, they bring bounce and body without exposing any thinness, so the hair still reads full from every angle.
?How do I keep straight layers from looking choppy?
It comes down to the finish. Ask for point-cut, feathered ends rather than blunt ones, since straight hair shows every blunt layer as a hard line. A skilled precision cut keeps the layers soft.
Movement, Made Visible
Straight hair shows everything, which is exactly why layers transform it so completely. The right layers add the softness, dimension, and movement that straight hair lacks, turning a flat sheet into something with life and shape. Whatever your length, there is a layered look built to flatter it.
The rule that matters most on straight hair is the finish: ask for soft, point-cut, feathered layers, not blunt, choppy ones, and find a stylist who cuts straight hair with precision. Get the cut right, and straight hair becomes the most polished texture there is.


