

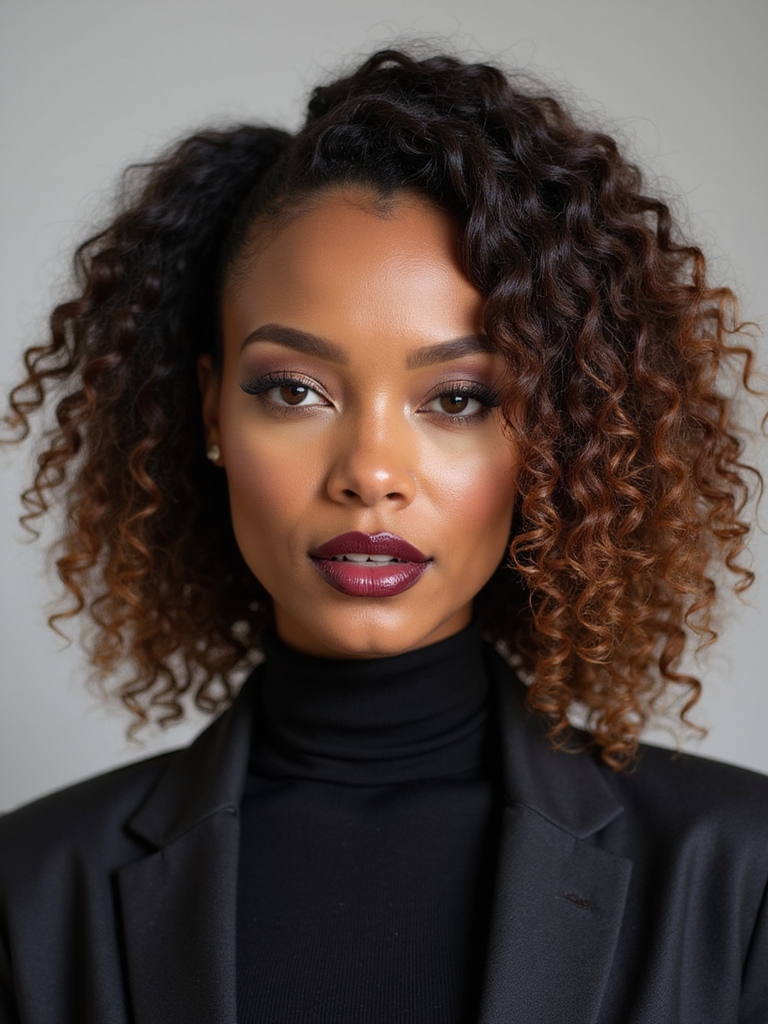
By December, my Black clients aren’t asking me for a new look so much as a plan—something that protects their hair through months of dry heat, wool hats, and cold that wicks every bit of moisture out of a curl. Winter is hard on textured hair, and the styles that get you through it aren’t an afterthought. They’re the whole strategy.
So these winter hairstyles for Black women are built for exactly that: protective and low-manipulation looks that tuck your ends away, hold moisture in, and survive a hat without sacrificing your edges or your style. From box braids to a silk-wrapped puff, each one balances how good it looks with how well it protects, because in the cold you shouldn’t have to choose.
What Protects Textured Hair in Winter
- Protective styles—braids, twists, faux locs, crochet—tuck your ends away from dry winter air and cut daily manipulation, which guards length and moisture at once.
- Match the style to your week: weeks-long braids and locs for deep cold, a quick puff or low pony for everyday.
- Seal moisture before and during any style, and sleep on satin or silk every night—it’s the difference between curls that thrive and curls that snap.
- Low-manipulation looks like a bun, puff, or twist-out let you stretch a wash and still look polished on the coldest mornings.
Protective Box Braids With Scarf-Wrapped Edges
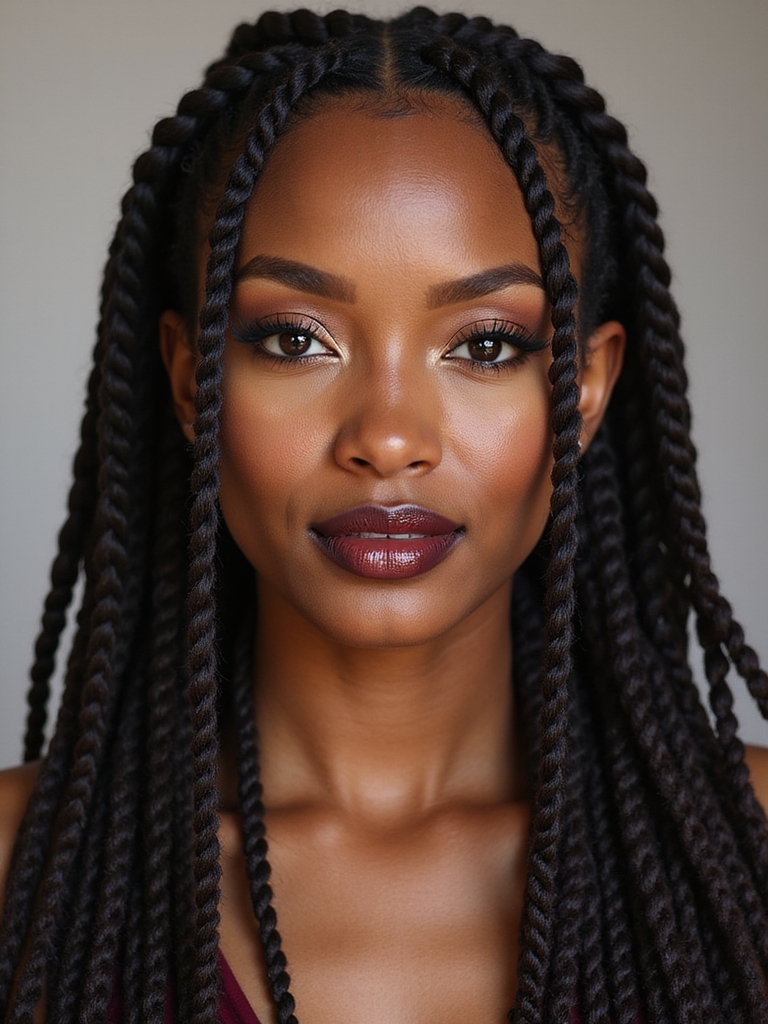
Box braids are the winter workhorse for a reason: they tuck every end away from the cold, cut your daily manipulation to almost nothing, and last for weeks. Wrapped with a silk scarf at the edges and at night, they hold moisture and stay neat under any hat. It’s the first style I book for clients heading into a brutal winter.
The protection only works if the install is kind to your hair. Keep the braids medium rather than tiny if your edges are fine, and ask your braider to keep the perimeter loose, since a set that’s too tight stresses your hairline for weeks. A satin scarf at the edges overnight keeps your baby hairs laid and your line strong. The winter protective hairstyles with braids guide covers the care routine.
- Tucks ends away from cold, dry air for weeks of protection.
- Keep the perimeter loose to protect your edges from traction.
- Silk at the edges and at night holds moisture and baby hairs.

Low-Manipulation Two-Strand Twists
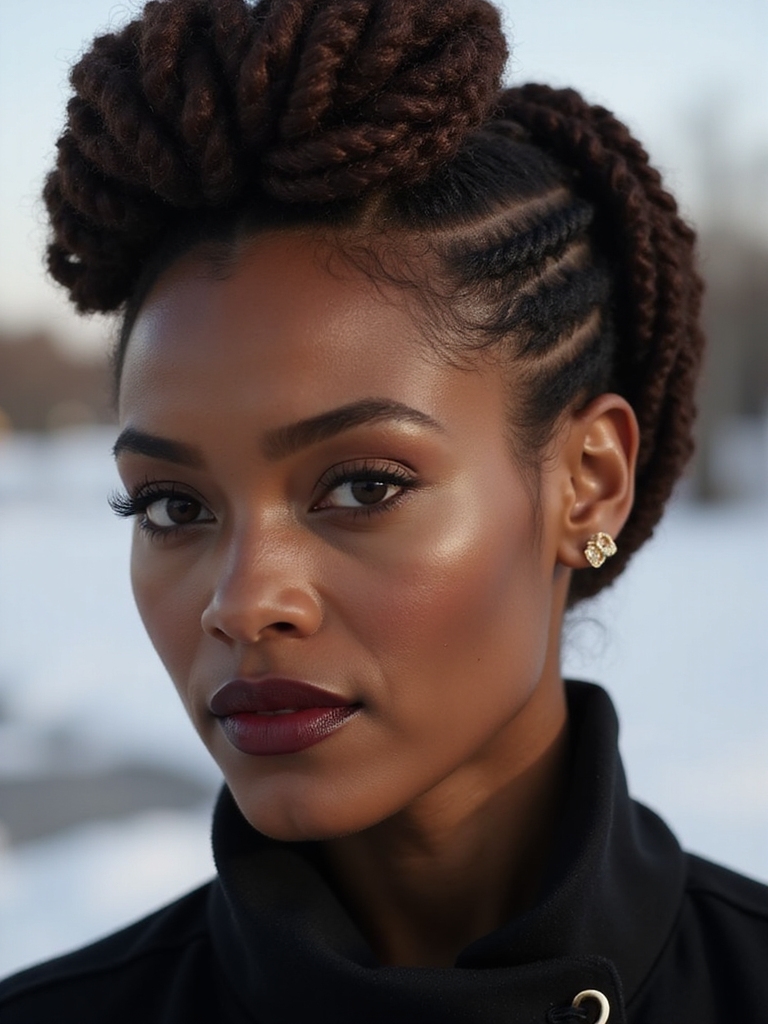
Two-strand twists are the gentlest protective style there is—your own hair, twisted in sections, with no extensions and no added tension. They protect your length. They stretch a wash for a week or more. And when you want a change, they unravel into a soft twist-out. For winter, they’re the low-effort foundation everything else builds on.
- Your own hair twisted in sections, with no added tension.
- Protects length and stretches a wash for a week-plus.
- Unravels into a defined twist-out for a second look.
A winter twist that lasts and protects:
1Start clean, moisturized, and sealed
Wash, deep-condition, then work a leave-in and an oil through soaking-damp hair.
2Twist in sections and protect at night
Two-strand twist each section, then wrap in silk so they stay neat until morning.
Faux Locs With Hat-Friendly Bases
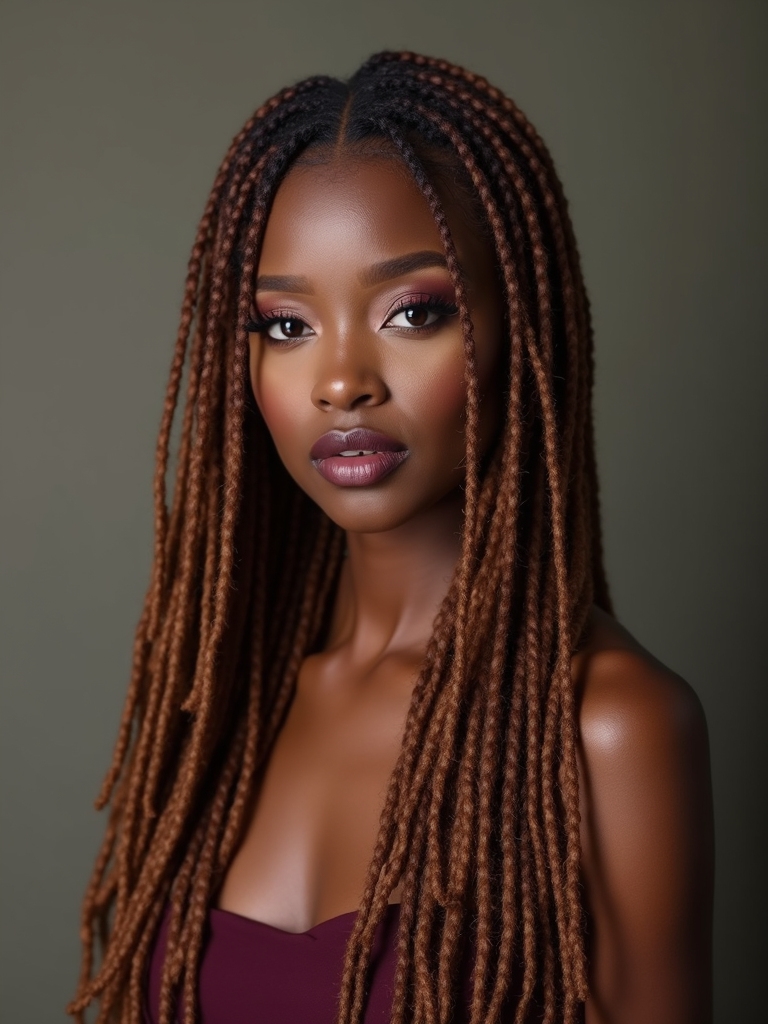
Faux locs give you the look and the protection of locs without the long-term commitment, and the winter version keeps the base low and snug so a hat sits flat. Installed with a soft, low-tension base, they protect your hair for four to six weeks while you barely touch it.
The key in winter is moisture underneath—your real hair still needs to be sealed before the locs go on, or the dry air gets to it through the style. Keep the install loose at the hairline, and a satin scarf at night keeps the base neat. Faux locs run $150 to $300 and last well over a month.
- The look of locs with none of the long-term commitment.
- A low, snug base sits flat under hats and hoods.
- Seal your real hair first—dry air reaches it through the style.
Sleek Low Bun With Baby Hair Styling
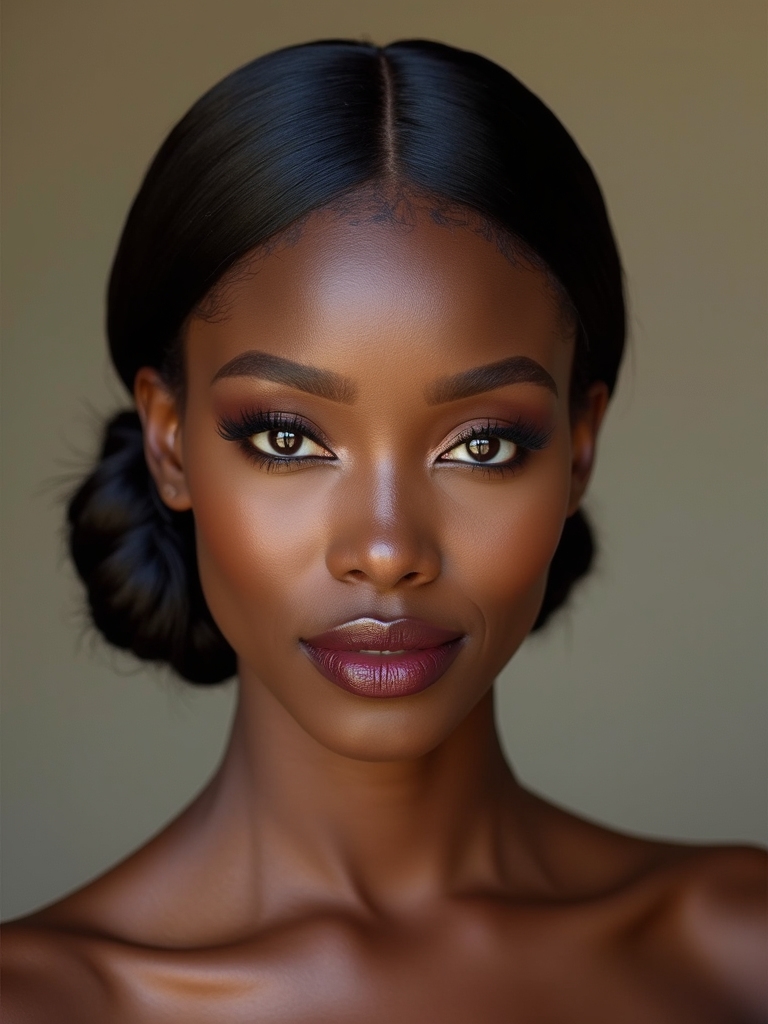
When you want polished and protective at once, a sleek low bun with your baby hairs laid is the move. It pulls your hair off your neck, tucks the ends into the knot, and the laid edges turn a simple bun into something finished.
Laying Edges Without the Damage
Use a soft brush and an edge product with hold. Style your baby hairs with a light hand. Edges are delicate, and heavy daily slicking is what thins them over time. I have re-grown edges for clients who slicked theirs to death every morning for a year, and the only fix was a lighter touch. A little goes a long way, and you don’t need to redo them every single day.
Smooth the bun with a moisturizing gel, wrap it in silk at night, and it lasts several days. It’s the protective style that still reads dressed-up. The winter hair color for black women guide pairs well if you’re coloring too.
Which protective style fits your winter?
1Weeks of low effort
Box braids, faux locs, or crochet—install once and stay protected for a month.
2A fresh look every few days
Twist-outs, bantu knot-outs, or a puff you refresh as you go.
Flat Twist Updo for Extra Warmth
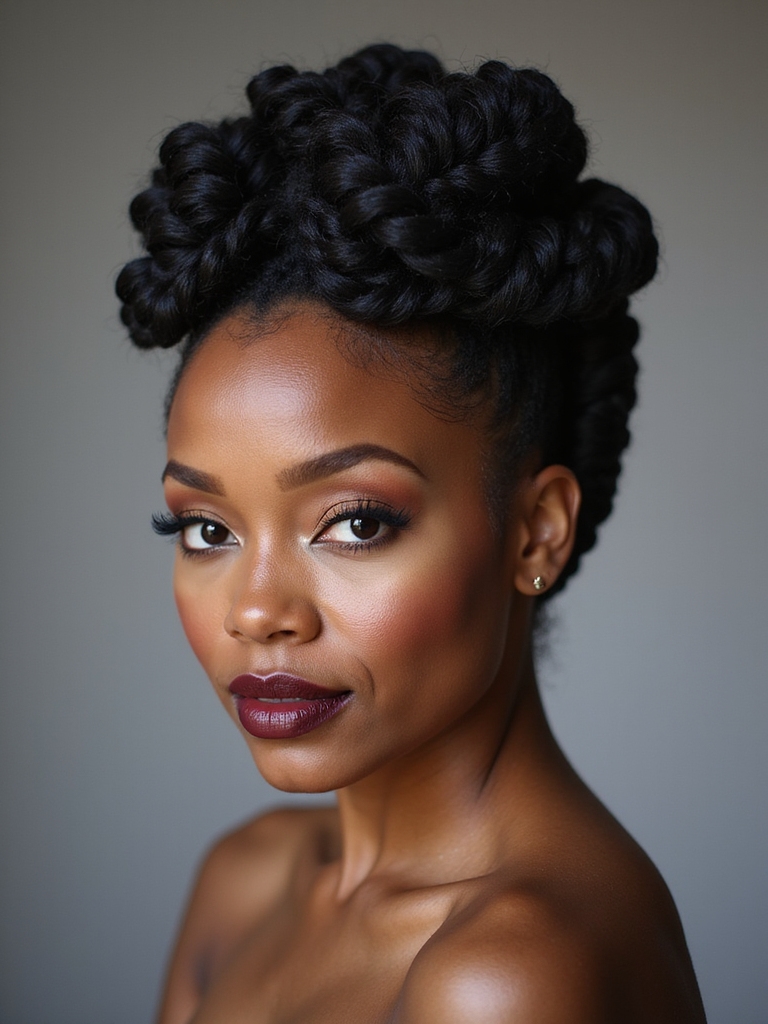
A flat twist updo keeps your hair close to the scalp, off your neck, and tucked completely away, which makes it one of the warmest protective styles you can wear. Flat twists along the scalp gathered into a low updo protect your ends and look intricate for the effort they take.
- Flat twists hug the scalp and tuck ends away from the cold.
- Keeps hair off your neck and ears for real warmth.
- Gentle on the hair, since it’s your own with no added weight.
Crochet Braids With a Moisture-Rich Liner
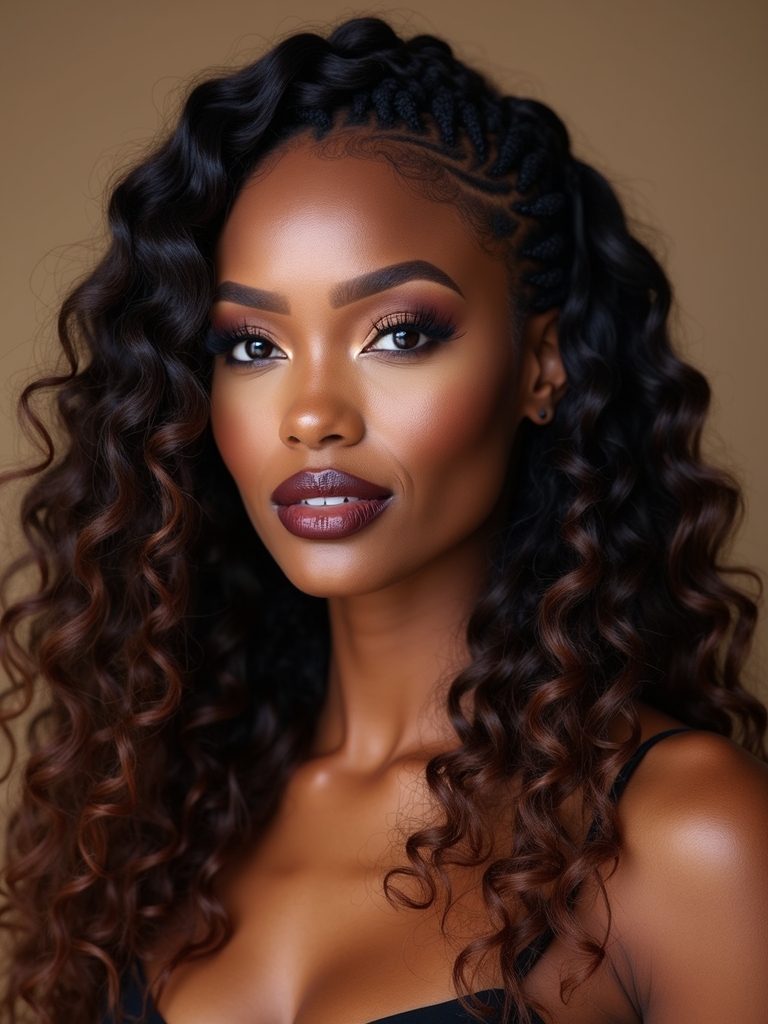
Crochet braids are fast and gentle. Your hair is cornrowed underneath, with curly or wavy hair crocheted in for instant length and volume. They install in a fraction of the time of individual braids and protect your hair completely underneath.
Keeping Moisture In Underneath
The foundation is everything. Moisturize and seal your cornrows before the crochet goes in, and a moisture-rich leave-in keeps your real hair from drying out under the style. You can still oil your scalp through the cornrow channels.
Crochet styles last four to six weeks and let you switch up texture and length easily. A crochet install runs $80 to $180 depending on the hair. It’s the protective style for anyone who wants versatility without hours in the chair.
ℹ️Good to Know
Cold air holds less moisture, so it pulls it straight out of your hair—which is why curls feel drier and snap more in winter. Sealing with an oil over a water-based leave-in traps the moisture in before the air can take it.
Silk-Scarf Wrapped High Puff
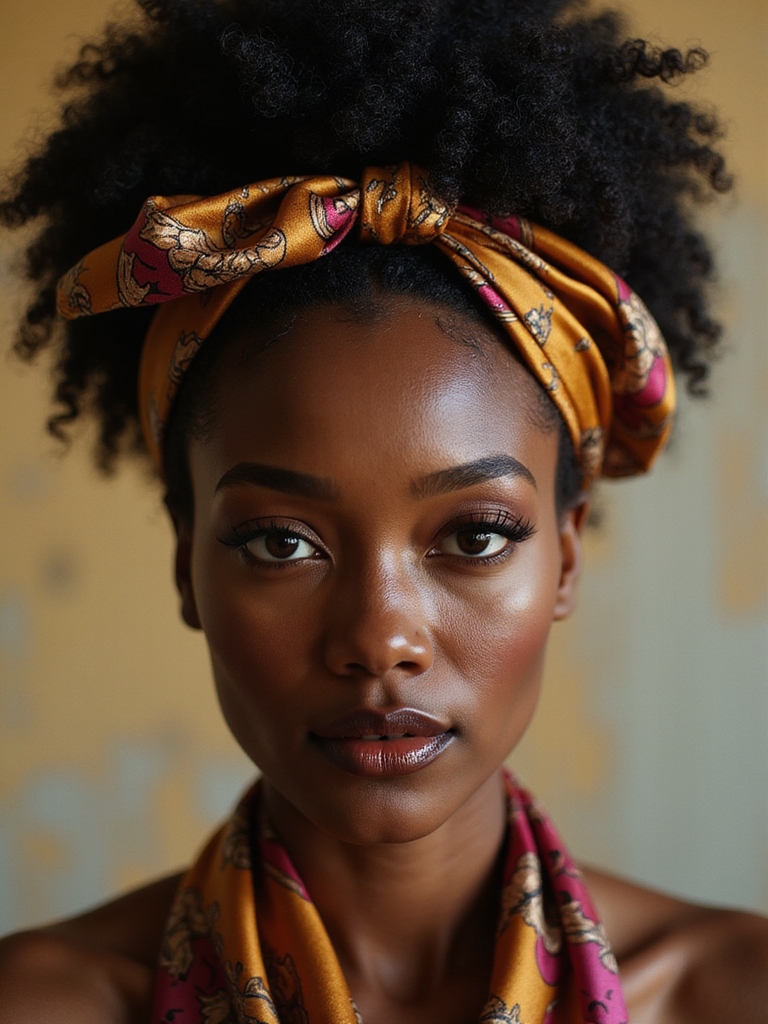
A high puff is the everyday natural style that takes almost no time—you gather your hair up and out into a soft, rounded puff—and wrapping the base with a silk scarf makes it both protective and polished. The scarf shields your edges from the elastic and adds a finished frame.
The puff works on stretched or shrunken hair, and it keeps your length off your collar where friction builds. Use a satin-lined band or a scarf at the base, since a tight elastic right there is exactly where breakage starts.
Refresh it with a little water and leave-in, and re-wrap the scarf. It’s the protective style that takes the least time and still looks intentional, which is why it’s a winter staple.
Goddess Braids Styled Into a Crown
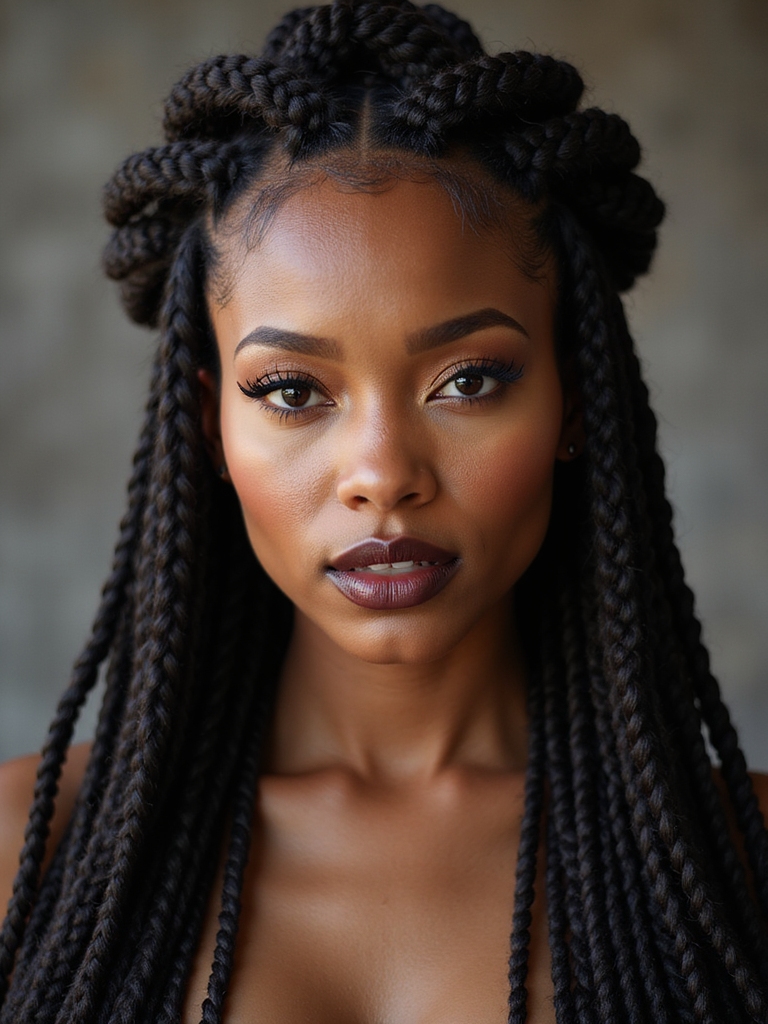
Goddess braids wrapped into a crown are protective styling at its most regal—larger, raised braids taken around the head like a halo, enclosing your length and keeping your hair completely off your neck. They’re warm, they’re striking, and they protect your hair for a week or two with almost no daily upkeep.
The crown placement keeps a hat sitting flat on top, and the style frames your face beautifully. Keep the braids loose enough at the hairline to spare your edges, and wrap at night with silk. The winter braided hairstyles guide has more cold-weather braid styles.
- Raised braids wrapped like a crown, every end tucked away.
- Keeps hair off your neck and a hat flat on top.
- Loose at the hairline plus silk at night protects your edges.
Protect Your Edges
If a braided or twisted style gives you a lasting headache, bumps along your hairline, or stinging that outlives the first hour, it’s too tight—and repeated tension is what leads to traction alopecia over time. It’s always okay to ask your stylist to loosen the perimeter. Your edges outlast any single style.
Bantu Knot-Out for Defined Texture
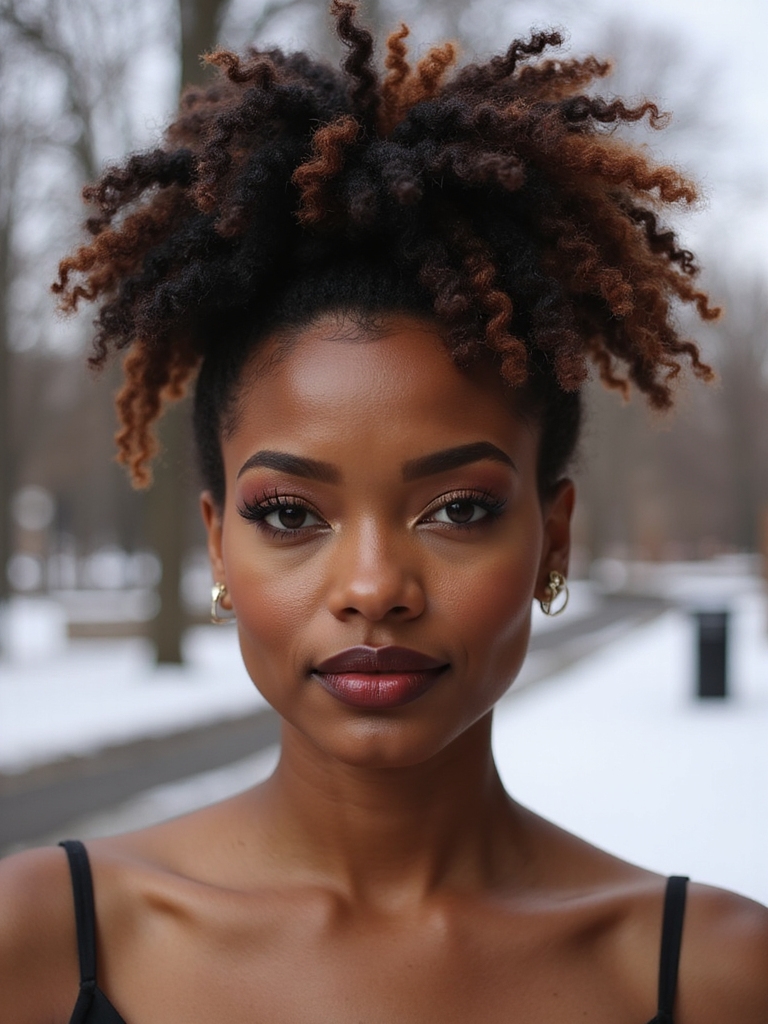
A bantu knot-out gives you some of the most defined, springy curls there are, with no heat at all. You coil sections into small knots, let them set, then unravel into coiled, defined curls. The no-heat part is the point. Your hair is already fighting dryness in winter, and skipping the iron keeps it strong.
- Coil hair into small knots, set, then unravel for defined curls.
- Completely heat-free, which protects fragile winter strands.
- Set on moisturized hair and sleep on satin to hold the definition.
Curly Wig With a Deep Side Part
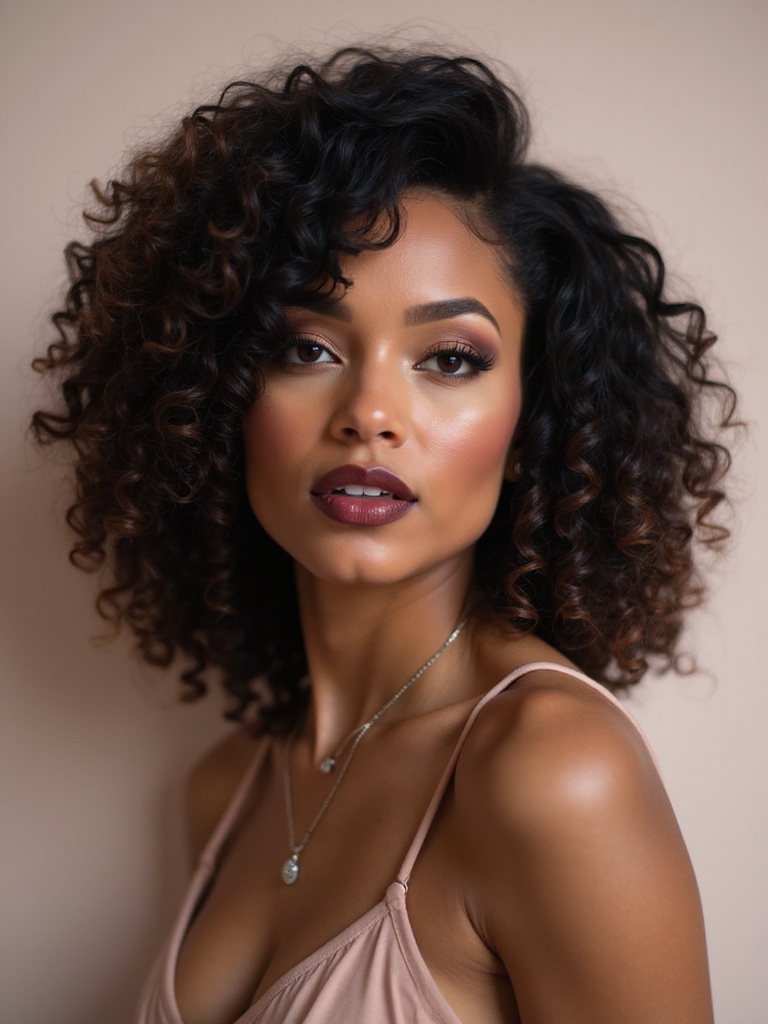
A curly wig is the ultimate low-manipulation winter option—your own hair cornrowed and protected underneath while a curly unit gives you a full, styled look in seconds. A deep side part and a realistic curl pattern make it read completely natural.
Protecting What’s Underneath
The wig only protects if your real hair is cared for under it. Cornrow and moisturize before you install, wear a wig cap, and take it off at night to let your scalp breathe and to re-wrap your hair in silk.
It’s the move for anyone who wants their hair fully protected but still wants to switch up their look daily. A quality curly unit is an investment, but it lasts and saves your hair through the harshest months.
Pineapple Puff for Nighttime Protection
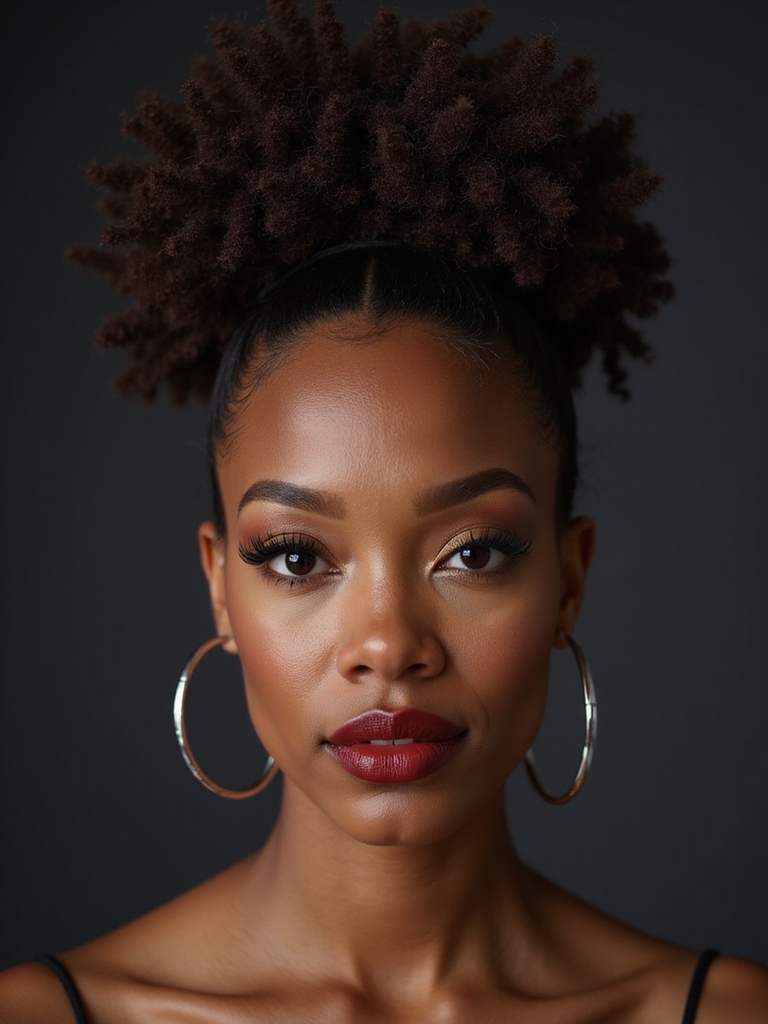
The pineapple is less a style than a nighttime ritual, and it’s how curly and coily hair survives winter sleep. You gather your hair loosely at the very top of your head—the pineapple—so your curls aren’t crushed against the pillow, then cover with a satin bonnet or scarf.
It preserves your curl pattern overnight so you wake up with definition instead of a flattened mess, and it keeps the cotton-pillow friction that causes breakage off your hair entirely. In the morning, take it down, fluff, and refresh.
I keep a stack of satin bonnets at my station and hand them out like candy, because this one habit does more for winter curls than any product. A satin bonnet costs a few dollars and protects every style you wear, which makes it the single best buy for textured hair in the cold months.
Halo Braid With Decorative Pins
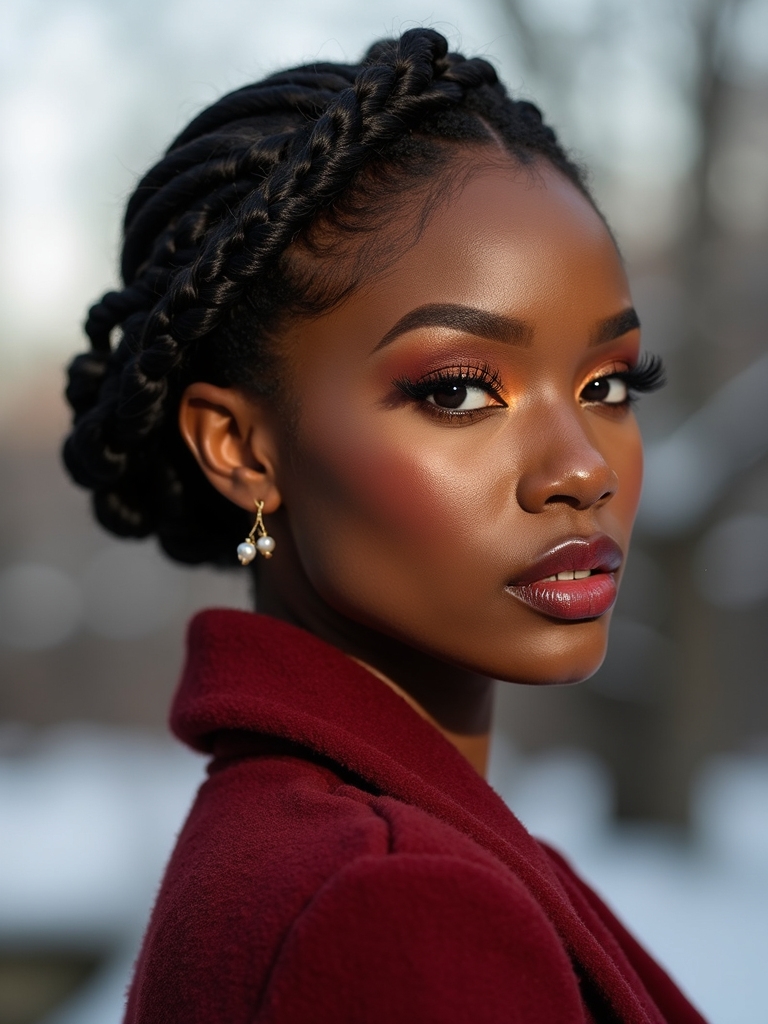
A halo braid dressed with decorative pins is the protective style for when you want something special—a single braid taken around the head and finished with pretty pins for the holidays or a night out. It encloses your ends and keeps your hair protected while looking anything but practical.
- A single braid around the head, ends tucked and protected.
- Decorative pins dress it up for holidays or events.
- Loose at the hairline plus a silk wrap at night keeps edges safe.
Heat-Free Rod Set for Elongated Curls
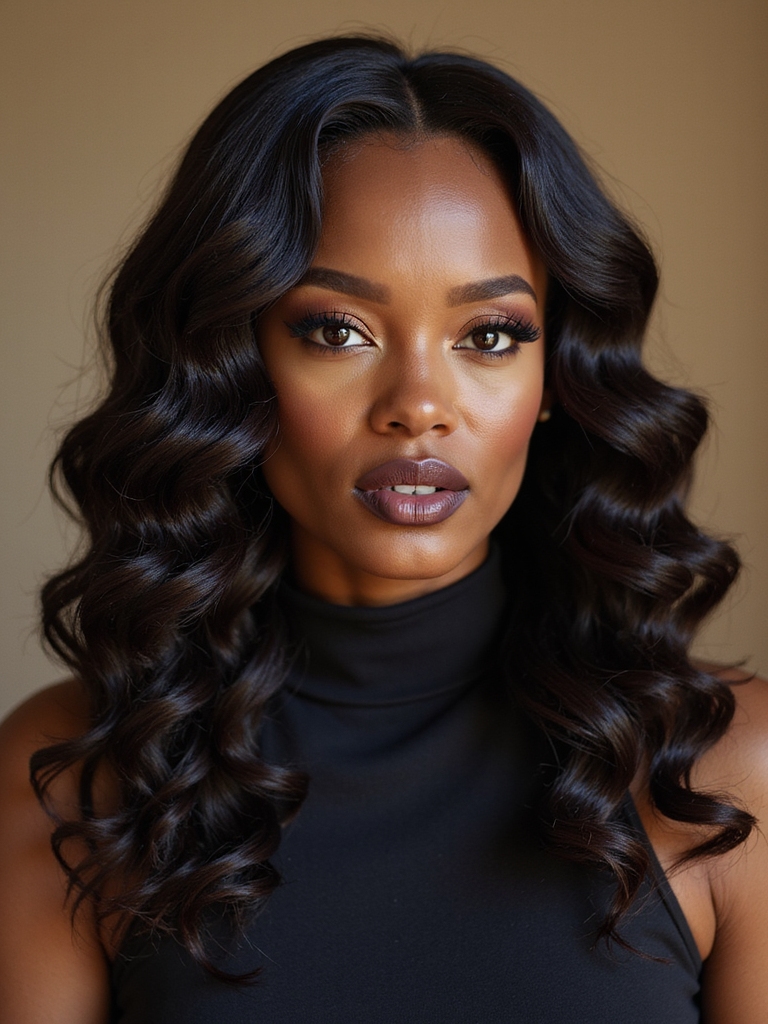
A rod set gives you elongated, springy curls with zero heat—you wrap damp, product-coated sections around perm rods, let them dry, and unravel into stretched, defined curls. For winter, the heat-free part protects hair that’s already stressed by dry air.
The set takes time to dry, so most people do it overnight under a bonnet. The payoff is days of defined, bouncy curls with no damage. Seal with a leave-in and oil before you set, and the definition holds beautifully. It’s the protective way to wear your hair out and styled.
- Wrap damp sections on rods for elongated, heat-free curls.
- No iron means no extra stress on dry winter hair.
- Set overnight under a bonnet for days of definition.
Low Ponytail With a Protective Band
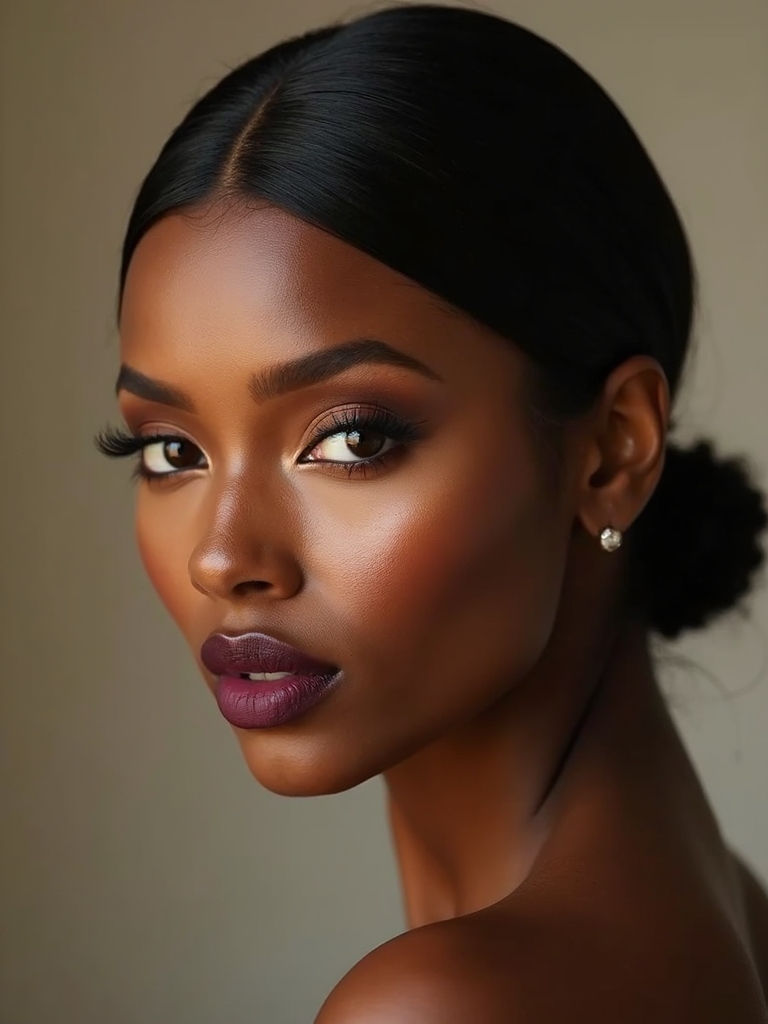
When you need quick and gentle, a low ponytail secured with a satin-covered or fabric band is the everyday answer. Gathering your hair low and using a protective band instead of a tight elastic keeps your length contained without the breakage a snagging band causes.
Wrap a small section around the base to hide the band, smooth your edges lightly, and you have a neat, protective style in two minutes. Keep it loose, sleep on satin, and it’s gentle enough for daily wear all winter. For more cold-weather braid and protective ideas, the winter hair braid ideas roundup has plenty.
How to Ask Your Stylist
If you’re booking a protective style this winter, a few clear asks make the difference between a style that protects and one that costs you. First, say the words ‘please keep it loose at my edges’—a good stylist or braider will respect it, and the ones who get defensive tell you what you need to know. Tension headaches and stinging mean it’s too tight, and it’s always okay to ask them to redo a section.
Second, talk moisture before they start: ask them to make sure your hair is moisturized and sealed underneath, especially for braids, crochet, or a wig, and bring your own leave-in if you have a favorite. Then ask how to maintain the style at home—how to wash, how to refresh your edges, and how often to oil your scalp.
The stylists worth keeping want your hair healthier when the style comes down than when it went in. The winter protective hairstyles guide covers the full conversation.
Protecting Textured Hair in Winter
?What are the best protective styles for Black hair in winter?
Box braids, faux locs, two-strand twists, and crochet braids all tuck your ends away from dry cold and cut daily manipulation, which protects length and moisture. For everyday, a silk-wrapped puff or a low pony with a protective band works. Keep them loose at the hairline and sleep on satin.
?How do I keep my natural hair moisturized under a protective style?
Seal before you install—moisturize and oil your hair, then braid or twist over it. Use a moisturizing leave-in, oil your scalp through the parts a couple of times a week, and never skip the satin bonnet at night. Dry winter air reaches your hair even through a style.
?How do I protect my edges with braids and styles all winter?
Keep tension gentle—nothing should sting or pull at your hairline. Choose medium over micro braids if your edges are fine, style baby hairs with a light hand rather than heavy daily slicking, and wrap a satin scarf at the edges at night. If a style hurts, it’s too tight; ask for it to be loosened.
Style That Protects, All Winter
The throughline for every style here is the same: in winter, protecting your hair and looking good aren’t separate goals. Box braids, faux locs, a twist-out, a silk-wrapped puff—each one tucks your ends from the cold, holds moisture in, and survives a hat, while still looking like a choice rather than a compromise. The styles that carry textured hair through the season are the ones that work with your hair, not against it.
So pick the protection level your winter actually needs—weeks-long braids for the deep cold, a quick puff or low pony for everyday—keep your edges loose and your nights on satin, and your hair comes out of winter stronger than it went in. That’s the real goal: not just getting through the cold, but thriving in it.


