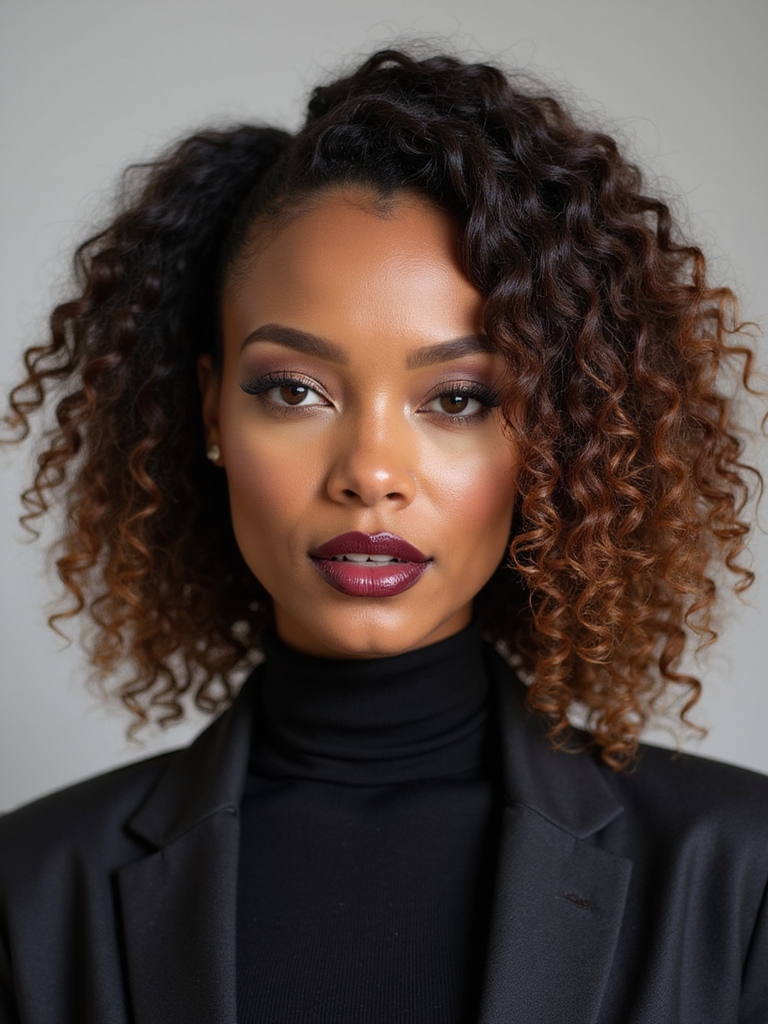
Most winter braids fail for one reason: they sit too high. The second you pull a beanie over a crown braid, it flattens, and by lunch you’ve got a dent across the top of your head and frizz everywhere else. The winter hair braid ideas that actually work all live low—at the nape, against the scalp, tucked where a hat can’t crush them.
So these fifteen are sorted by exactly that logic. Low buns, slicked fishtails, scalp-hugging Dutch braids, and micro braids that protect your ends through the dry months. I’ll show you where to keep tension gentle, what holds under a hood, and roughly what each costs in time and money if you’re booking it out.
Before You Start Braiding
Which winter braids actually stay flat under a hat? Anything low and close to the scalp—a nape bun, a slicked fishtail, double Dutch braids. Volume up top is what a beanie crushes, so keep all the bulk low.
How do I protect my edges with all this braiding and friction? Keep tension gentle at the hairline, never braid soaking-wet hair tight, and wrap with a satin scarf at night. If a braid stings going in, it’s too tight—say so.
Are these protective, or just nice to look at? Both, when they’re done right. Low manipulation, tucked ends, and a satin-lined hat protect your length through the dry months. The smaller installs like micro braids do the most.
Low Braided Bun for Beanie Days

A low braided bun is the one I set up most on beanie days, because it solves the whole hat-hair problem in a single move. Braid loosely down the back, coil it into a knot at the nape, and pin it flat. The beanie slides over a smooth surface, so nothing dents.
The braid underneath is what keeps it from sagging by afternoon. A plain bun loosens as you move; a braided one holds its shape even after you’ve pulled a hood up and down a dozen times. Use a soft elastic so you’re not building a tight band of tension at one spot.
It works on every texture. Looser hair gets a sleeker finish, while coily and curly textures build a fuller, rounder knot that I honestly like better. Either way, it comes down at night without the flat crown a regular bun leaves behind.

Sleek Low Braided Pony for Puffer Coats

A puffer hood eats a ponytail unless it sits low and braided. I smooth the hair back with a dime-size drop of lightweight serum, tie it low at the nape, then braid the tail so it doesn’t puff out under the collar. The braid adds just enough weight to keep everything lying flat against your back.
It looks modern for a commute. The whole thing takes under five minutes once your hands know the motion. Cut the static with a quick mist of water or a leave-in, since dry winter air and a synthetic hood together will lift every flyaway you own. Finish with a small elastic that matches your hair so it disappears.
💡Protect Your Edges
Sleek, low styles tempt you to pull everything tight, and that daily tension is what thins a hairline over a season. Keep the hair at your temples soft, skip the rattail-comb slick on back-to-back days, and if a style stings going in, loosen it. Tight is not the same as secure.
Double Dutch Braids Tucked Under a Scarf

Double Dutch braids are the most secure thing you can do before wrapping a scarf, since they’re braided against the scalp and have nowhere to slip. Two braids, parted down the middle, each one tucked and pinned at the bottom so no ends poke out from under a knit or silk wrap.
Keeping the Tension Even
The mistake I correct most on Dutch braids is uneven tension—braiding tighter at the front than the back, which is what makes a scalp ache by noon. Keep the pull consistent and gentle the whole way down. A salon set takes about 20 to 30 minutes and runs $25 to $50; at home it’s free once you can braid by feel.
These hold two to three days easily, which makes them my pick for a ski weekend or a stretch of cold commutes. Tie a satin scarf over them at night and they stay crisp. For more cold-weather options built around plaits, the winter braided hairstyles roundup goes deeper on hat pairings.
Side Braid Wrapped Into a Low Knot

When mornings are rushed and freezing, this is the fastest dressed-up braid I know. One side braid, twisted into a knot, pinned low—it photographs polished and survives a hood without any fuss. Here is the whole thing in three moves.
- Braid one loose three-strand braid starting just behind your ear and running down to the ends.
- Twist the finished braid into a coil at the opposite nape and pin it underneath.
- Tug a few face-framing pieces loose and mist with a light-hold spray.
Not sure which low braid fits your morning? Match your situation:
1You have five minutes flat
A side braid wrapped into a knot—one braid, a twist, two pins, done.
2You want it to last three days
Double Dutch braids close to the scalp, with a satin scarf at night.
Loose Rope Braid Pinned at the Nape

A rope braid looks intricate and takes only two sections. Split a low ponytail in two, twist each piece in the same direction, then wrap the two twists around each other the opposite way—that counter-twist is what locks it. Pin the whole rope flat at the nape.
Why It Holds in Wind
Because the strands are twisted against themselves, a rope braid doesn’t unravel the way a loose three-strand can when the wind catches it. It stays put on a blustery platform or a long dog walk. It’s my go-to when I want texture that survives real weather.
It suits fine to medium hair especially well, since the twist fakes the look of thickness. On very thick or long hair, split it into two smaller ropes so the whole thing tucks neatly under a collar.
Halo Braid Worn Under a Hood

A halo braid wraps around your head like a crown and tucks every end away, which makes it quietly one of the warmest braids here—nothing hangs loose to freeze or tangle. Braid from one side, around the back, and pin the tail into the start. The trick under a fur or sherpa hood is to set the halo a little higher so the trim sits over it, not on it. Plan on 15 to 20 minutes until your fingers learn the around-the-head motion.
- Best on hair past your shoulders; shorter lengths won’t reach all the way around.
- Pin at the anchor points—front, side, and where the tail tucks back in.
- A little texture spray first gives a slippery, fresh-washed halo something to grip.
👍Why a halo braid wins in winter
- +Keeps hair completely off your neck and ears
- +Looks finished the second your hood comes down
- +No loose ends to tangle in a scarf
👎Where it falls short
- –Takes practice to braid around your own head
- –Can flatten if your hood has a stiff trim
- –Not enough length to wrap under about shoulder-length
Milkmaid Braids Secured Low for Warmth

Milkmaid braids usually sit up high like a headband, but pulled lower they trap heat and keep your ears clear of the wind. Two braids crossed over and pinned just above the nape instead of the crown—same romantic look, far warmer, and flat enough for a hat to sit clean on top.
- Make two braids, one on each side, starting low behind the ears.
- Cross each braid up and over to the opposite side and pin it low against your head.
- Tuck and hide the ends, then smooth the top with a drop of oil warmed on your palms.
Braided Crown Tucked Under a Slouchy Hat

A braided crown only peeks out at the front under a slouchy hat, which is exactly the point—you get the pretty braid framing your face and the warmth of a beanie over the rest. Braid low and snug along the hairline so the hat sits flat on top without a bump.
Keep the front section smooth and the braid tight enough to survive the hat going on and off all day. This is what I set up for clients who want to look put-together on a school run or a coffee date without doing their whole head. For a fuller protective version, the winter protective hairstyles with braids styles build on the same idea.
| Braid | Time to install | How long it holds |
|---|---|---|
| Double Dutch braids | 20 to 30 minutes | 2 to 3 days |
| Micro braids | 4 to 8 hours | 4 to 8 weeks |
Half-Up Braided Twist to Beat Hat Hair
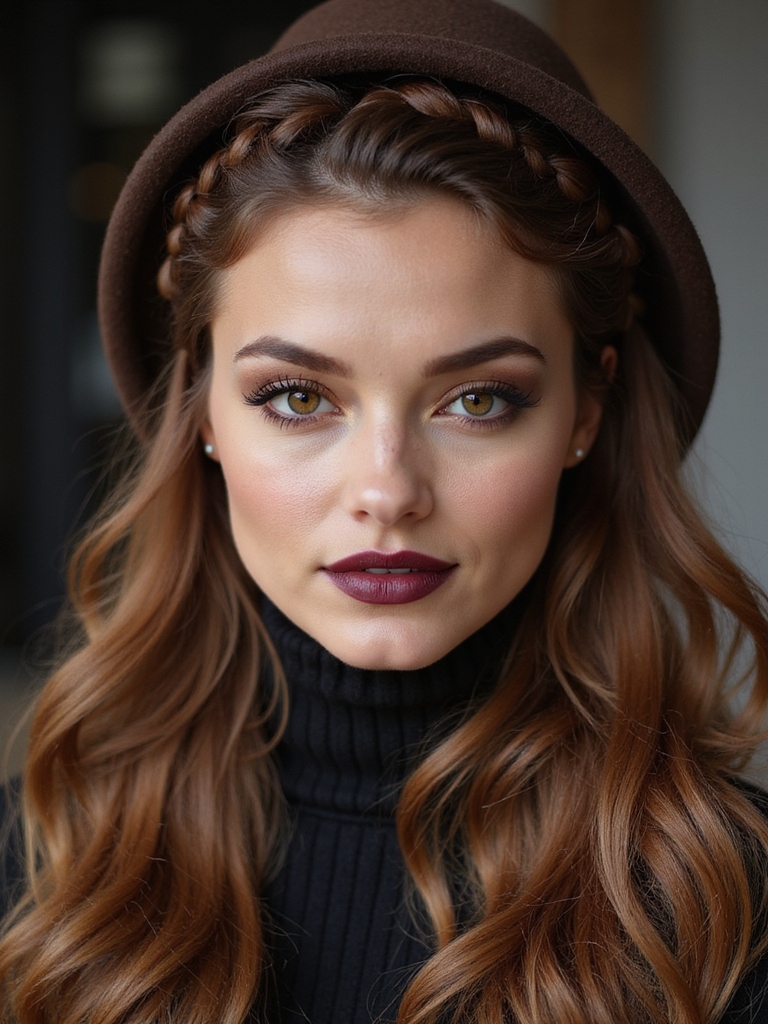
Hat hair starts at the roots—a flattened crown with no lift left. The fix is to secure a crown section before the hat ever goes on. Take a triangle of hair at the crown, twist or braid it back, and pin it low so there’s built-in height a beanie can’t fully crush.
When you pull the hat off, you finger-comb the rest and the crown still has shape. It’s the smallest effort-to-payoff ratio on this list. A texture spray on the twist locks it so the lift lasts from morning drop-off through afternoon pickup.
- Section the crown in a clean triangle from the temples back.
- Twist tight enough to hold but loose enough to still look soft.
- Pin under the twist so the pins don’t catch on a hat.
French Braid Ending in a Low Bun

A French braid that melts into a low bun is the work-appropriate one—sleek enough for the office, soft enough to live under a scarf all day. Braid snug from the crown down to the nape, keeping the tension even, then coil the leftover tail into a small bun and pin it.
The braided top means no flyaways lifting under your hood, and the low bun means no bulk fighting your collar. Pull two pieces loose at the front so it never looks severe. It’s one of those styles that looks like far more effort than the ten minutes it actually takes.
Boxer Braids for Active Winter Days

Boxer braids—two Dutch braids running tight to the scalp—are what I’d braid for anyone skiing, running, or chasing kids in the snow. They don’t move. Nothing comes loose, nothing blows around, and they sit perfectly flat under a helmet or a hood.
Braid close to the scalp but keep the pull even, so you’re not stressing your hairline for a whole active day. They hold a solid two to three days, which is the real appeal when you’re traveling. If you like that scalp-braided look as an everyday style, the cornrow hairstyles guide covers caring for them over the long haul.
- Use grippy elastics that won’t slip mid-activity.
- A light-hold spray keeps frizz down without any crunch.
- Re-smooth the front with water and a brush on day two.
Fishtail Braid Slicked Down for Warmth

A slicked fishtail hugs your head and your neck, so a scarf and collar sit smooth against warm skin. Loose hair under a collar bunches; a flat braid lets the fabric lie right. Press the hair down with a bit of lightweight gel, part it sharp, and weave a tight fishtail that lies close all the way down.
A fishtail looks complicated, but it’s just two sections crossing small pieces over—slower than a three-strand, about the same difficulty. It’s my favorite when I want something sleek that still has visible texture peeking out from under a beanie.
- Start with a low side ponytail to keep the fishtail off-center and modern.
- Cross thinner pieces for a finer, tighter weave that traps more warmth.
- Pancake it slightly only if you want softness; leave it tight for true sleekness.
Low Bubble Braid for Hat-Proof Volume

A bubble braid is the playful one, and low at the nape it controls volume that would otherwise bulk up under a hat. Smooth the base, tie evenly spaced elastics down a low ponytail, then gently puff each segment between the ties into a rounded bubble.
The bubbles sit flat against your back, so a hood goes on clean. A drop of lightweight oil on the base first keeps it sleek where the hat hits. It’s a fun one for teens and anyone who wants their winter braid to feel a little less serious than a chignon.
Twisted Low Chignon With a Braid Accent

When I want something dressier than an everyday braid but still hat-friendly, I twist a low chignon and weave one thin braid along the side for detail. The knot sits at the nape, flat and secure, and the little braid keeps it from looking plain.
It’s the move for a winter dinner or a holiday party where you’ll be in and out of a coat all night. Coat-check is rough on hair. Pin tightly so the shape survives the shuffle, and tuck the braid’s end into the knot so nothing works loose. The twist hairstyles looks use the same low-and-secure logic if you prefer twists to braids.
Micro Braids Gathered Low to Protect Ends
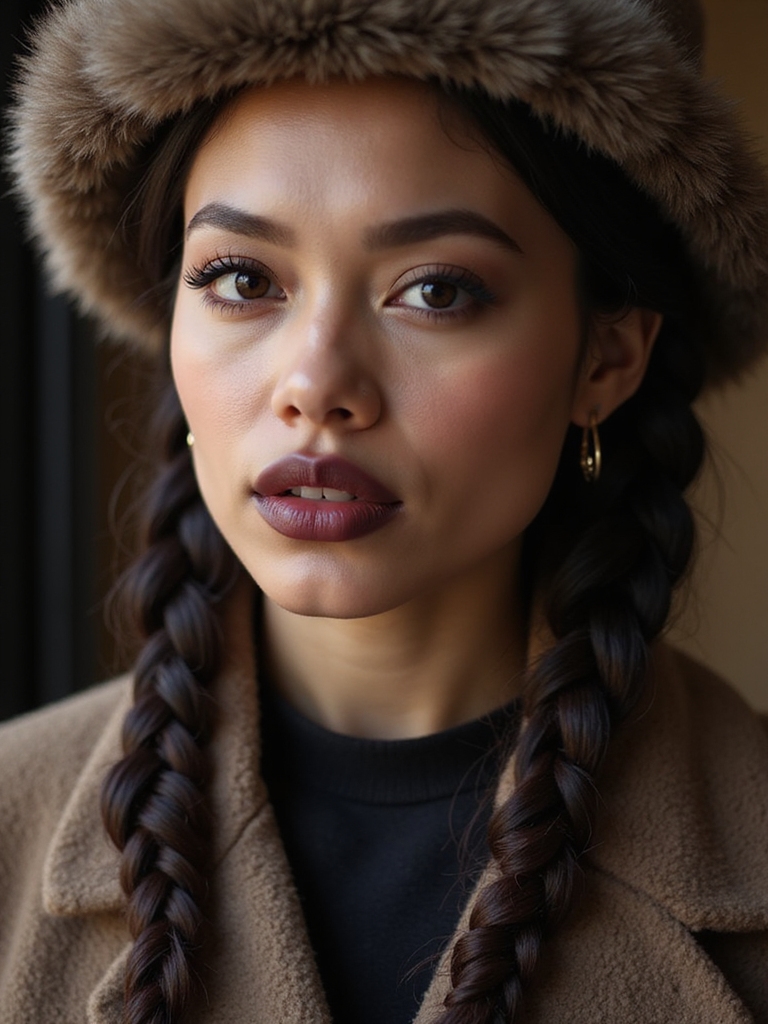
Micro braids are the heaviest lift here and the most protective—tiny braids that tuck your ends away and cut daily manipulation to almost nothing through the dry months. Gathered low into a loose bun or ponytail, they sit easily under any hat. This is a real commitment of time and money: a full install runs 4 to 8 hours and $150 to $400 depending on length and braider, and it lasts four to eight weeks.
To keep your edges and length safe, ask your braider to keep the perimeter loose, sleep on satin, and take them down if they ever feel painful. Done with care, protective installs like box braids hairstyles will carry you through the worst of the season.
- Keep the hairline braids looser than the rest to spare your edges.
- Oil your scalp lightly a couple of times a week to fight winter dryness.
- A satin scarf or bonnet at night keeps the braids from frizzing.
Keep It Low, Keep It Kind to Your Hair
The through-line for every winter braid worth wearing is the same: keep it low, keep the tension gentle, and tuck your ends away from the cold. Styles that fight a hat lose by noon. The ones that work with it stay neat from the first hood-up of a frozen morning straight through to the last walk back to the car at night, no dent across the crown and no frizz lifting at the temples.
If you’re new to braiding your own hair, start with the low bun or the side braid and build from there. And whatever you install, bring a satin scarf into your nighttime routine this season—it’s the cheapest thing you can do to keep braids crisp and your hair healthy through months of dry air and friction.