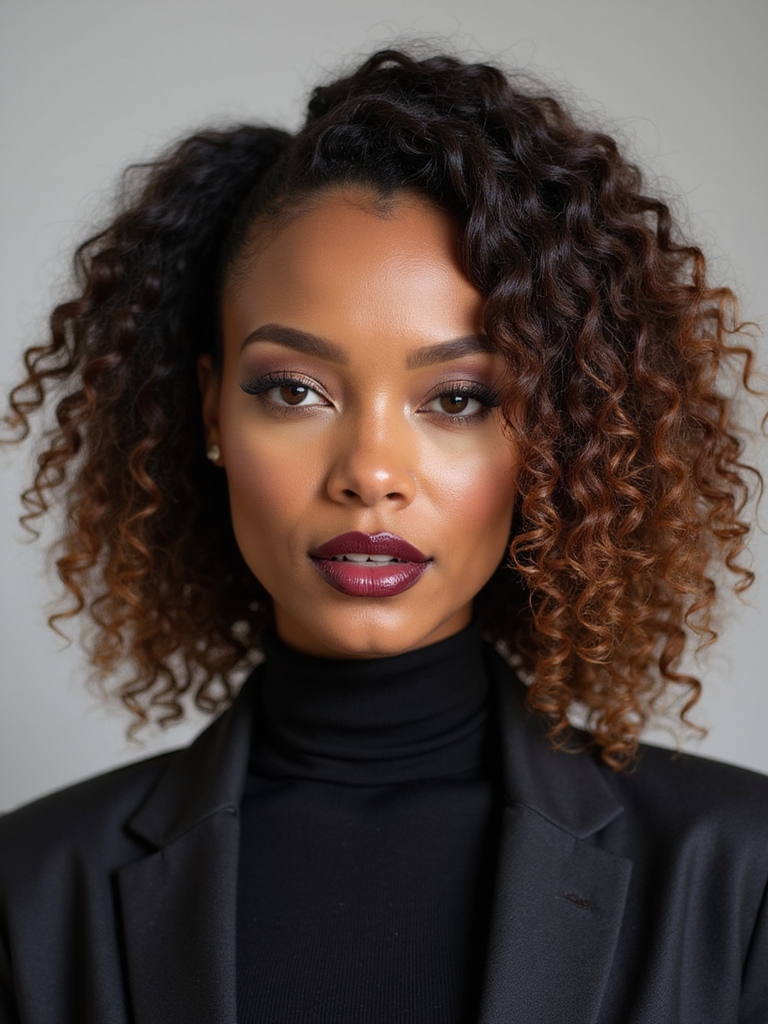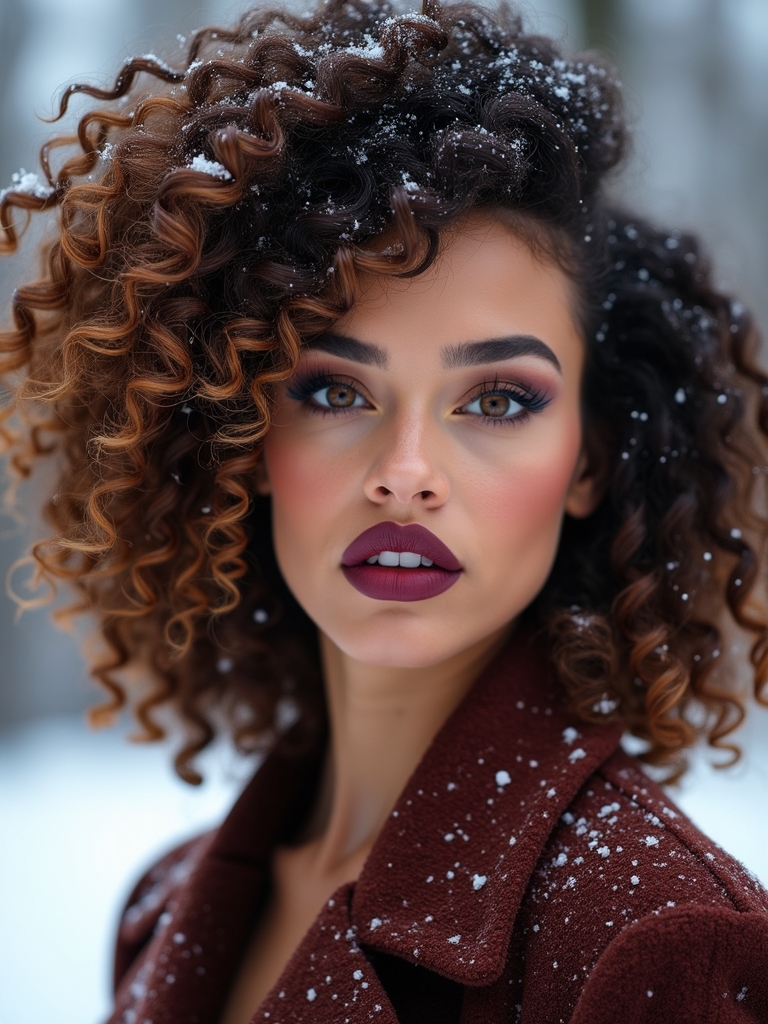
A client texted me a photo in January once: her curls, frizzed flat on one side where a wool hat had sat all day. Cold, dry air does that. It pulls moisture out of curls and coils, and the second the hydration drops, so does the definition.
Winter curly hair is really a moisture problem wearing a styling costume. The cuts and styles below are chosen for the season: shapes that hold definition without going crunchy, and protective looks that lock hydration in against the cold. Fourteen ways to keep every coil intentional through the dry months, each with the products and technique that make it work.
Keeping Curls Defined Through Winter
- Moisture comes first. Style on soaking-wet hair with a leave-in and a curl cream or gel, since dry curls lose their clump and frizz fast in cold air.
- Protective and overnight styles save your definition. A pineapple, a low bun, or a braided halo locks hydration in and keeps coils from rubbing flat under hats.
- Diffuse on low heat or air-dry, then seal with a drop of oil. High heat and friction are what rough up the cuticle and trigger winter frizz.
Layered Bob for Weighted Definition

A layered bob gives curls that perfect weighted definition. Shorter layers on top add movement, while longer pieces at the ends keep the volume grounded, so the shape holds and stays smooth even in dry winter air.
The cut is everything here. I shape it dry so I can respect each curl’s spring, and I keep the layers precise to control bulk without losing bounce. A heavy hand turns a curly bob into a triangle, so this is a cut worth booking with someone who works on texture.
Style it with a lightweight cream to preserve the bounce, and the bob stays modern and low-fuss all season. For more on this shape, these curly bob ideas go deeper.

Long Layers With Face-Framing Pieces

Long layers with face-framing pieces add movement while honoring your natural curl pattern, which is the whole trick on longer textured hair. The layers distribute weight so thick curls fall in soft, defined coils, and the face-framing pieces soften your features. Those front pieces need extra care in winter:
- Protect the delicate face-framing strands with a leave-in, since they dry and break first.
- Cut the layers to distribute bulk and let the curl pattern spring.
- Style with a curl cream so the length stays defined and healthy. See more layered curly looks.
A reliable winter wash-day routine for defined curls:
1Wash and condition
Use a sulfate-free cleanser and a rich conditioner, finger-detangling while the conditioner is in.
2Style soaking wet
On dripping-wet hair, rake in a leave-in, then a curl cream or gel to form and hold the clumps.
3Dry and seal
Diffuse on low heat or air-dry, then seal with a drop of oil and gently break any gel cast.
Short Tapered Cut for Tight Coils

A short tapered cut lets tight coils breathe while staying polished, which is exactly why it becomes a winter favorite for anyone who is tired of fighting a heavy, dense shape every single morning before work in the cold. The shape carries volume on top and tapers close at the nape, so the coils stay defined and the silhouette stays clean.
It is a low-maintenance, modern shape that handles winter humidity swings well. Build it around these details:
- Keep volume and soft lift at the crown for shape.
- Taper the nape close for a clean line against the coil volume above.
- Use a moisture-rich curl cream to keep the coil clumps defined.
Curtain Bangs That Blend With Curls

Curtain bangs cut into face-framing curl layers soften your features while keeping all the movement. They lift the face and let your natural texture take center stage, the chic bridge between vintage shape and modern curl care.
Drying Bangs Without Frizz
Drying them is where winter gets tricky. I diffuse the bangs gently so they keep their definition without frizzing, and I match the products to your curl pattern so a cream or gel sets the shape and keeps it light.
Worn right, curly curtain bangs melt into the rest of your curls as one connected shape. A little leave-in keeps them from drying out and snapping in the cold.
🅰️A Cut for the Season
Layered bob, tapered cut, or finger-coiled pixie. The shape itself holds definition, so daily styling is fast.
🅱️A Protective Style
Pineapple, low bun, or braided halo. Tucks coils away from cold and friction to lock in moisture and shape.
Pineapple Ponytail for Nighttime Shape

The pineapple is the oldest trick in the curly book, and it earns its keep all winter, when a single night of coils crushed against a cotton pillowcase can undo a wash-day set you spent a good hour building. Tucking your curls into a loose, high ponytail before bed preserves the volume and keeps the spiral from flattening overnight. Here is how to do it right:
- Gather the hair high and loose with a soft scrunchie, letting the ends tumble free.
- Sleep on silk or satin, or add a satin bonnet, to cut friction overnight.
- In the morning, shake it out, fluff at the roots, and smooth any flyaways.
Low Moisture-Protective Bun

A low protective bun tucks your curls away from the cold and the drying wind, which shields the more fragile ends through the worst of winter. Before I twist it up, I mist the scalp lightly with a hydrating tonic so it stays comfortable and hydrated underneath.
Keep the bun gentle on your edges. Smooth the hairline with a soft brush and a little product, keeping the bun gentle, since one set with too much tension strains the delicate baby hairs over time. Done with a light hand, it stays polished and keeps your curl pattern intact for the next wear.
Which winter curly style fits your day?
🎯I want low effort that still looks done
A sleek low pony or a headband tuck: fast, polished, and gentle on your curls.
🎯My definition keeps falling out by midday
A wet set or diffused clumped curls, then a pineapple at night to protect the shape.
🎯I want my hair off my face and protected
A low moisture-protective bun or a braided halo locks in hydration and shields your coils from the cold.
Half-Up Twist With Defined Ends

A half-up twist is the playful, polished option that lifts your face while showing off the curl shape at the tips. It keeps the front out of your way and lets the rest of your coils cascade free, so it works for a winter workday or a night out.
The defined ends are what make it look finished:
- Twist two front sections back and secure them lightly.
- Leave soft crown volume so the top does not look flat.
- Smooth and define the ends with a little gel or cream for snap.
Braided Halo to Lock in Moisture

A braided halo crowns your curls and does real work in winter, wrapping hydration close to the roots while looking polished. It is protective and pretty at once, which is a rare combination on a cold, dry day.
I braid it loosely to preserve the volume underneath, then tuck the ends so the halo looks smooth and finished. A loose braid also keeps the tension off your hairline, so it protects your edges while it works.
A light mist of sealant adds shine and locks the moisture in. Worn overnight or through a windy day, the halo keeps your coils hydrated and your style intact.
👍Why These Styles Suit Winter
- +Protective and overnight styles lock in the moisture cold air strips.
- +Curl-respecting cuts hold definition with little daily effort.
- +Most work on a range of curl and coil patterns.
👎What to Watch For
- –Curls still need a real moisture routine; no style fixes dryness alone.
- –Wool and friction still rough up coils, so reach for satin-lined hats.
- –Wet sets and twist-outs need drying time, so plan wash day ahead.
Sleek Low Pony With a Moisture Seal

A sleek low pony is the polished, practical answer for a busy winter day. The hair slicks back at the crown and the natural curl bounces free below, so you get a clean line up top and texture where it counts.
Sealing Against the Cold
The moisture seal is what protects it through the cold. I smooth the lengths and finish with a targeted seal so the strands stay glossy and shielded through the cold.
Keep the edges soft and the placement low, and set it with a light gel. A satin wrap at night keeps the whole thing fresh for a second day.
Deep-Conditioning Wet Set

A wet set is the winter reset your curls actually crave. A couple of times a week, I work a rich mask through the hair and set it soaking wet, and that single habit does more to bring back the shine, elasticity, and definition that cold air keeps stripping out than any leave-in used on its own ever could.
Why Wet Setting Works in Winter
The order matters. After the mask, I finger-detangle gently, then set the hair with a lightweight gel and clips to shape consistent curl clumps while it is soaking wet.
After a gentle air-dry, I diffuse briefly and seal with a few drops of oil. The payoff is curls that hold definition for days, which is exactly what dry winter air keeps trying to steal.
Finger-Coiled Pixie for Precision

A finger-coiled pixie gives you total control over each curl, sculpting crisp, compact coils that look modern and intentional. It is a bold, low-length winter look with a lot of polish. Build it this way:
- Shape each coil with product and deliberate tension for definition.
- Keep the edges neat and the nape tapered for contrast.
- Finish with a shine-and-hold product so the coils stay crisp in the weather.
Loose Twist-Out for Soft Volume

When you want soft, airy volume with a gentler curl, a loose twist-out is the move. I twist larger sections with a lightweight cream and let them set, usually overnight, for a fuller, gentler curl.
Separating for Volume, Not Frizz
The morning unraveling is the fun part. I gently separate each twist for lift and airiness, careful not to over-separate into frizz, so the volume stays soft and defined.
It is a low-fuss style that holds shape without stiffness, which suits cold days when you want movement and a little polish. A satin bonnet overnight keeps the set intact while it forms.
Headband Tuck for Windy Days

When the wind picks up, a statement headband is the fastest way to keep your curls under control and still look done, which is why it has saved me on more than one freezing, running-late morning when there was no time for anything more than tucking everything under a band and walking out the door. You tuck the hair under the band, leaving texture to peek out, so the wind has far less to grab.
Why a Satin-Lined Band
I secure the stray pieces, smooth the hairline gently, and let the face-framing curls breathe. A satin-lined band is worth seeking out, since it protects the hair underneath, where a plain fabric one tends to rough up the cuticle.
The result is neat edges with a soft peek of coils, polished but easy. It is the winter style I keep coming back to for a bad-weather morning when you are short on time.
Defined Clumped Curls With a Diffuser

A diffuser is how you turn wet curls into sculpted, clumped coils that hold definition with a soft, touchable finish. The low, even airflow sets the pattern while keeping frizz down, which matters most in dry winter air. Here is the method I use:
- Rake a lightweight cream through soaking-wet hair, then scrunch sections up.
- Diffuse on low heat, cupping the curls to set the clump without disturbing it.
- Finish with a mist of oil and a little root lift so the shape stays full.
Maintenance & Care for Winter Curls
Every style here lives or dies on moisture, so build the routine around it. A weekly deep-conditioning mask plus a leave-in keeps curls elastic and defined, while a bond or protein-light treatment every few weeks keeps strands strong through the dry season. Always style on soaking-wet hair and seal with a drop of oil, since water is what your products lock in.
Then protect what you made. Sleep on silk or satin, or wrap your curls in a satin bonnet, to stop the friction that flattens and frizzes coils overnight. Stretch the days between washes by refreshing with water and a little leave-in, and keep tension off your edges with any tucked or pulled-back style. For more cold-weather ideas, browse these curly hairstyles, protective styles, and a color companion in these winter curly color ideas.
Winter Curly Hair, Answered
?How do I keep my curls defined in cold, dry air?
Style on soaking-wet hair with a leave-in and a curl cream or gel to form strong clumps, then diffuse on low heat or air-dry and seal with a drop of oil. The dryness is the real enemy, so a weekly deep-conditioning mask does as much for your definition as any styling product.
?What are the best protective styles for curly hair in winter?
A loose pineapple for overnight, a low moisture-protective bun, or a braided halo. All three tuck your coils away from cold air and friction while sealing in hydration. Keep them loose and gentle on your edges, and use a satin-lined accessory or bonnet to protect the hair underneath.
?How do I stop my curls frizzing under a winter hat?
Friction and dryness are the cause, so reach for a satin-lined hat or beanie, which is far gentler on coils than wool or cotton. Make sure your curls are fully dry before you put a hat on, keep them well moisturized, and refresh with water and a little leave-in once the hat comes off.
Keep Every Coil Defined This Winter
Winter curls come down to one thing: moisture, protected. Whether you go for a curl-respecting cut like a layered bob or a tapered shape, or a protective style like a pineapple or a braided halo, the goal is the same, holding hydration in so your definition survives the cold and the wool hats.
Start with soaking-wet styling, lean on silk and satin to protect your coils, and pick the look that fits your day. Do that, and every curl stays intentional from the first frost to spring. If you are due for a refresh, a curl-respecting cut is the best place to start.