If you want that effortless cool‑girl edge, I start with stacked crown lift, soft curtain or face‑framing pieces, and choppy, shattered layers that move. I keep ends feathered, the perimeter piecey, and styling simple: light mousse at roots, texturizing spray through mids, matte paste to pinch.
Rough‑dry or diffuse for a lived‑in finish. From wolf cuts to micro bobs to coil‑aware shags, here’s how to choose the version that actually fits your life.
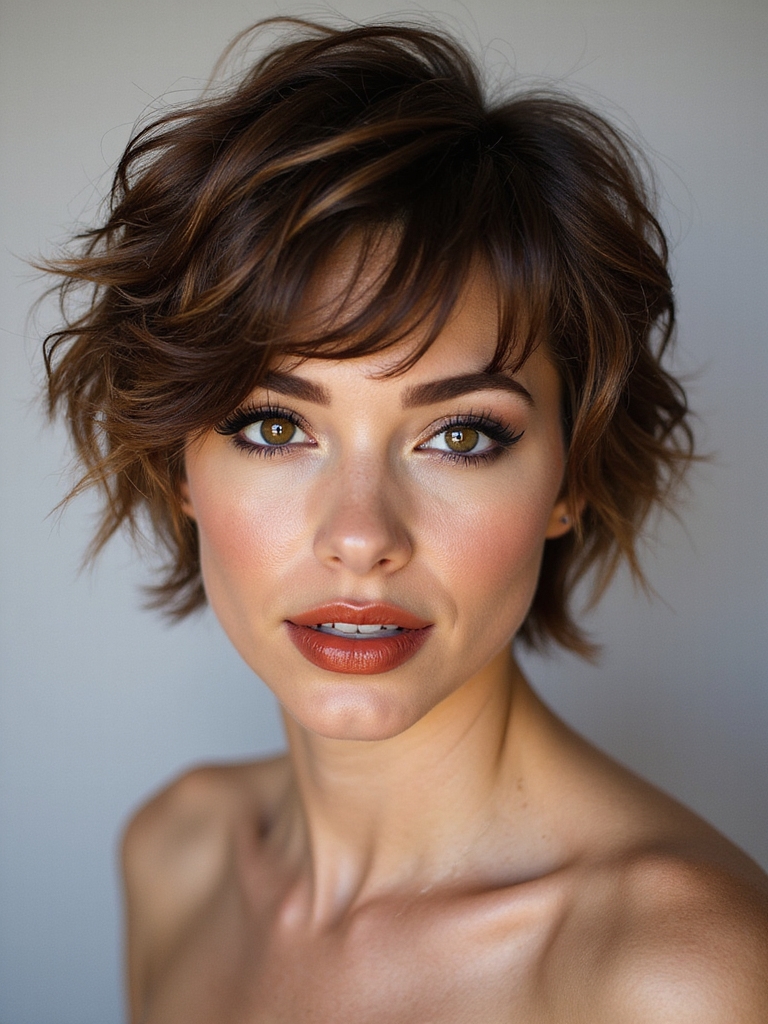
Curtain Bang Shag for Soft, Face-Framing Movement

Starting with soft curtain bangs sets the tone for a shag that moves and flatters. I section a center part, point-cut bangs to skim cheekbones, then layer around the jaw and crown for airy lift.
I keep ends feathered, not blunt. I style with a light mousse, round brush, and cool-shot. I finish with texturizing spray, scrunch, and a quick root shake for floaty movement. This approach emphasizes the effortless, layered shag Layered Shag that complements modern hair trends.
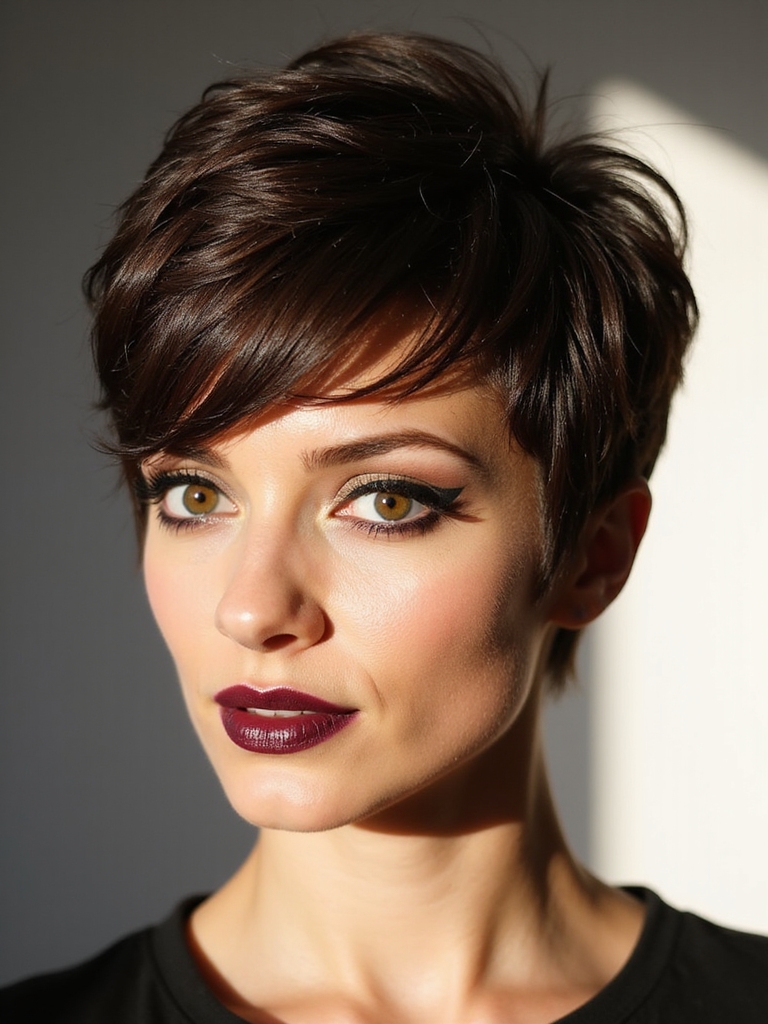
Modern Wolf Cut With Tousled Layers

I’m taking your wolf cut modern with face-framing shag layers that skim the cheekbones—ask for choppy pieces around the fringe and longer, shattered lengths through the sides.
To build effortless textured movement, I rough-dry, then scrunch in a light mousse or texture spray and finish with a quick tousle using my fingers.
At home, you’ll refresh shape by flipping your part, misting sea salt, and squeezing the mid-lengths for that airy lift.
The result is a Modern Shag Pixie that delivers effortless edge and volume with minimal fuss and maximum attitude, embracing effortless edge in styling.
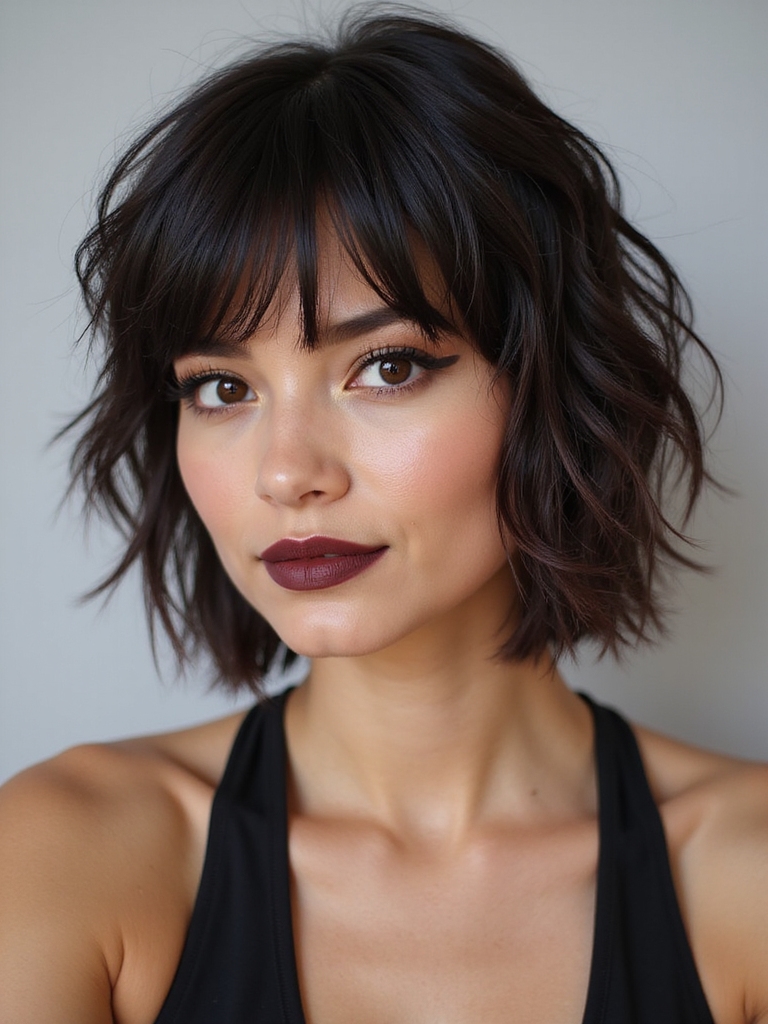
Face-Framing Shag Layers
Softening harsh lines while spotlighting your best features, face-framing shag layers—think a modern wolf cut with tousled movement—add instant lift and edge.
I ask for cheekbone-grazing pieces, a shattered curtain fringe, and subtle tapering toward the jaw. Keep the crown slightly airy, ends texturized, and sideburn bits wispy. Bring photos, part where you naturally fall, and schedule micro-dust trims every 8–10 weeks to maintain shape.
The Effortless Shag Bob brings those same textured, modern vibes to shorter lengths, making it a versatile option for many face shapes and hair types textured haircut.
Effortless Textured Movement
Those face-framing layers set the stage; now I push the cut into effortless, textured movement with a modern wolf shape.
I carve shaggy crown layers, drop shattered lengths, and keep ends airy. I mist salt spray, rough-dry upside down, then pinch-piece with matte paste. Flip the part for lift. Snip micro notches monthly.
Sleep in a loose braid. Let bend, not polish, lead. Modern shag techniques emphasize textured layers to create that lived-in, cozy look.
Curly Shag That Enhances Natural Volume

While curls can feel unpredictable, a curly shag channels that energy into lift, shape, and effortless movement.
I ask my stylist for crown layers, cheekbone-framing pieces, and weight removed at the ends to open the curl. I diffuse on low, scrunch in a light mousse, then seal with a curl cream.
I air-dry when possible, fluff roots with a pick, and trim every 10 weeks. A shag cut especially flatters textured hair by enhancing natural volume and movement with strategic layering and crown layers.
Micro Bob Shag With Jagged Ends

I’ll show you how a micro bob shag can sharpen your look with face-framing micro layers that highlight your cheekbones.
Ask your stylist for jagged, choppy texture at the ends to add airy movement and edge.
Style with a light texturizing spray and rake your fingers through to keep it piecey, not bulky.
Micro bobs prove that Tiny Tech can create surprisingly big style changes with minimal maintenance.
Face-Framing Micro Layers
A few snips can turn a plain micro bob into a face-framing shag with jagged ends that looks effortless and modern.
I ask my stylist for whisper-thin micro layers around my cheekbones and jaw, then keep the crown slightly shorter for lift.
I style with a lightweight cream, air-dry, and pinch pieces forward to spotlight my features.
- Request cheekbone-grazing micro layers.
- Keep crown subtly shorter.
- Style with minimal product.
Shaggy lobs are a great option for adding texture to fine hair without sacrificing volume.
Jagged, Choppy Texture
Slice in choppy, jagged ends to turn a micro bob into a true shag with attitude and movement.
I ask my stylist for point-cut ends, internal micro-chips, and a shattered perimeter.
At home, I rough-dry, then pinch wax into tips for piecey lift.
Flip the part, mist salt spray, and scrunch.
Keep the crown airy, ends uneven, and trim dustings monthly to preserve bite.
This choppy bob approach is an evolution of the classic bob with effortless choppy layering for modern texture and edge.
Long Layered Shag for Effortless Texture

Start with strategic layers that release weight and build movement from mid-lengths to ends. I keep lengths long, carve soft face-framing, and leave the crown airy to encourage natural texture.
I dry with fingers, then pinch in definition so it looks undone yet intentional. You’ll feel lighter, swingier, and effortlessly polished.
- Ask for long, blended layers.
- Air-dry with curl cream.
- Finish with matte texturizing spray.
Shag cuts are ideal for creating effortless texture and everyday movement.
Shag Mullet With Rock-And-Roll Edge

Turn up the attitude with a shag mullet that marries choppy texture up top with elongated, piecey lengths in back.
I ask for shattered layers around my crown, a cheekbone-skimming fringe, and a tapered nape for swagger.
To style, I rough-dry with salt spray, pinch ends with matte paste, then mist flexible hold.
Trim every 6–8 weeks, and keep the neckline sharp for impact.
This edgy shag pixie mullet nods to classic Shaggy Pixie Mullet silhouettes while feeling modern and wearable.
Wavy Shag With Airy, Piecey Finish

Often, I lean into a wavy shag for effortless movement and an airy, piecey finish. I keep layers light, crown lifted, and ends shattered so waves spring to life without bulk. You’ll get undone texture that still feels polished, perfect for everyday cool.
- Rough-dry roots, diffuse mid-lengths, scrunch ends.
- Pinch pieces with matte paste; avoid heavy oils.
- Micro-trim monthly to maintain buoyant layers.
A wavy shag works especially well to create natural-looking volume when you maintain light layers and avoid added bulk.
Coily Shag That Shapes and Defines

I map layered volume so your coils stack light and high without bulk at the ends.
Then I define face-framing coils to contour your cheekbones and jaw, using curl-by-curl refinement and a light hold gel.
Finally, I balance fringe and overall shape—trim the curl springs dry, set the bang length at brow graze, and taper the crown so the silhouette stays lifted.
This approach is inspired by the Short Curly Shag technique, which emphasizes layered volume for a modern, low-maintenance finish.
Layered Volume Mapping
Map your coils with intention: Layered Volume Mapping sculpts a coily shag so it expands where you want height and cinches where you want shape. I section, elevate, and point-cut to build airy stacking at the crown, then taper the nape for contour.
I diffuse low, scrunch gel-oil, and lift roots to lock balance. Embrace texture and movement with an Effortless Curly Shag approach to keep your coils bouncy and modern.
- Section crown-high, nape-sleek.
- Point-cut, avoid bulk lines.
- Diffuse low; lift roots.
Defined Coil Framing
After building lift with layered volume mapping, I frame the face so coils read clean and intentional.
I pinpoint cheekbone and jaw anchors, then carve vertical micro-sections, snipping on coil tension for crisp edges.
I refine perimeter with curl-by-curl dusting.
I define with gel-cream, rake-and-shake, then clip roots to set.
I stretch ends lightly for silhouette.
Finish with diffuser hover and a touch of sheen.
I often recommend shaping with face-framing layers to enhance movement and reduce bulk for a better shag bangs silhouette.
Fringe and Shape Balance
Because fringe sets the mood of a coily shag, I cut it early and let it dictate balance. I map density, shrinkage, and face shape, then carve layers that echo the fringe’s lift. I keep crown volume intentional, sides tapered, and ends airy so coils stack, not swell.
- Dry-cut the fringe to true length.
- Layer with coil tension in mind.
- Diffuse upward; pinch shape.
I prioritize creating texture and movement throughout the cut so the medium shag flows naturally with the coils.
Shag With Heavy Fringe for Bold Impact
While you want a shag that turns heads, a heavy fringe delivers the boldest punch. I ask for dense, brow-grazing bangs and internal layers to keep movement.
I blow-dry forward, then bevel ends with a round brush. I texturize lightly so the fringe sits thick, not bulky. Use matte paste at roots, shine spray on tips. Trim every six weeks. Own the drama.
Mid-Length Shag With Feathery Layers

A mid-length shag with feathery layers gives airy movement without losing shape, and I tailor mine to skim collarbones for versatility.
I cut soft, tapering layers to lift the crown, open the face, and keep ends whisper-light. You’ll get swing, texture, and easy styling that still looks polished.
- Ask for cheekbone-framing pieces and crown lift.
- Diffuse with light mousse, scrunch upward.
- Finish with dry texture spray, pinch ends.
Razor-Cut Shag for Weightless Separation

Slice through bulk with a razor-cut shag to get airy lift and weightless separation that moves.
I ask for internal layering with a razor, keeping ends tapered, not blunt.
I direct my stylist to carve channels around the crown for float.
At home, I mist lightweight texture spray, diffuse roots, then pinch with matte paste.
Trim every eight weeks to preserve swing and ease.
Shag With Face-Framing Tendrils and Lift

I shape soft, wispy tendrils to skim your cheekbones, then taper the ends so they flutter instead of clump.
For instant crown volume, I rough-dry the roots forward, then lift with a round brush and a light mousse or root spray.
To finish, I pinch the tendrils with a touch of wax and mist the crown to lock in airy lift without stiffness.
Soft, Wispy Tendrils
With a feather-light touch, I use soft, wispy tendrils to frame the face and give a shag instant lift. I point-cut tiny face pieces, then air-dry with a diffuser for movement. A pea of lightweight crème tames frizz without flattening. Keep ends airy, not blunt, so the shape feels effortless and modern.
- Snip vertical, not horizontal.
- Pinch-twist while drying.
- Mist texture, scrunch lightly.
Crown Volume Boost
Lift the crown to awaken the shag’s shape and balance those face-framing tendrils.
I prep with a lightweight volumizing mousse, focusing on roots. I rough-dry upward with fingers, then round-brush the crown for lift. I mist a heat protectant, add a few crown bends with a large-barrel iron, and cool-set.
I finish with texturizing spray, gentle backcombing at the crown, and a touch of shine serum.
Shag Pixie Hybrid for Sculpted Texture

Though short on length, a shag pixie hybrid packs sculpted texture and attitude. I shape cheekbone-grazing layers, choppy bangs, and tapered sides to carve movement without bulk.
You’ll get instant edge and effortless styling with minimal product.
- Ask for razor-cut layers and a soft, shattered fringe.
- Work matte paste on dry hair, pinch and twist ends.
- Air-dry, then mist lightweight texture spray.
Color-Popped Shag With Lived-In Highlights

Dial up dimension and keep it effortless: I weave face-framing layers through a shag, then thread in lived-in highlights to make the texture pop without harsh lines.
I map brightness around eyes, cheekbones, and crown, keeping roots shadowed for depth. Ask for micro-weaves, midshaft-to-ends lightening, and toned honey or sand.
Style with a light salt mist, diffuse gently, and tuck pieces to showcase contrast.
Wet-Look Shag Styling for High-Gloss Cool

Loved the soft glow of lived-in highlights? Let’s shift to high-gloss cool with a wet-look shag. I rake gel-cream through damp layers, pinching ends for separation and shine. Air-dry or diffuse low for movement, then mist with gloss spray.
Keep the crown touchable, not stiff—sleek meets effortless.
- Emulsify gel-cream; apply root-to-tip.
- Clip bends; diffuse on low.
- Finish with shine spray, tame flyaways.
Ready to claim cool‑girl energy? I start with stacked crown lift, then cut in face‑framing pieces and a piecey perimeter. Keep ends feathered, lengths shattered, and layers airy. Style light: rake in mousse, rough‑dry or diffuse, then mist texturizing spray.
Pinch with matte paste for separation; twist tendrils to frame. Refresh on day two with dry shampoo and a water spritz. Trim dust every 8–10 weeks. Pick your shag, trust the movement, and let it live in.