


The most common request I get for a short cut isn’t a bob, it’s a bob but sharper. What they’re pointing at is almost always an angled bob, cut close in the back and left longer toward the front, a construction detail that sounds small on paper but changes the entire read of the haircut.
That single diagonal line is what separates a great short cut from a forgettable one, and angled bob haircuts have been my most-requested short style for years because of it.
This isn’t a gallery of looks so much as a working guide to owning one: how to pick your slope, style it fast, and dodge the mistakes that turn a great cut into a regret.
The Angled Bob at a Glance
| What it is | Best for | Upkeep |
|---|---|---|
| Shorter back, longer front | Sharpening a soft or round face | A trim every 5 to 6 weeks |
| A soft to steep diagonal | Fine hair wanting fullness | A few minutes of daily styling |
What Actually Makes a Bob Angled
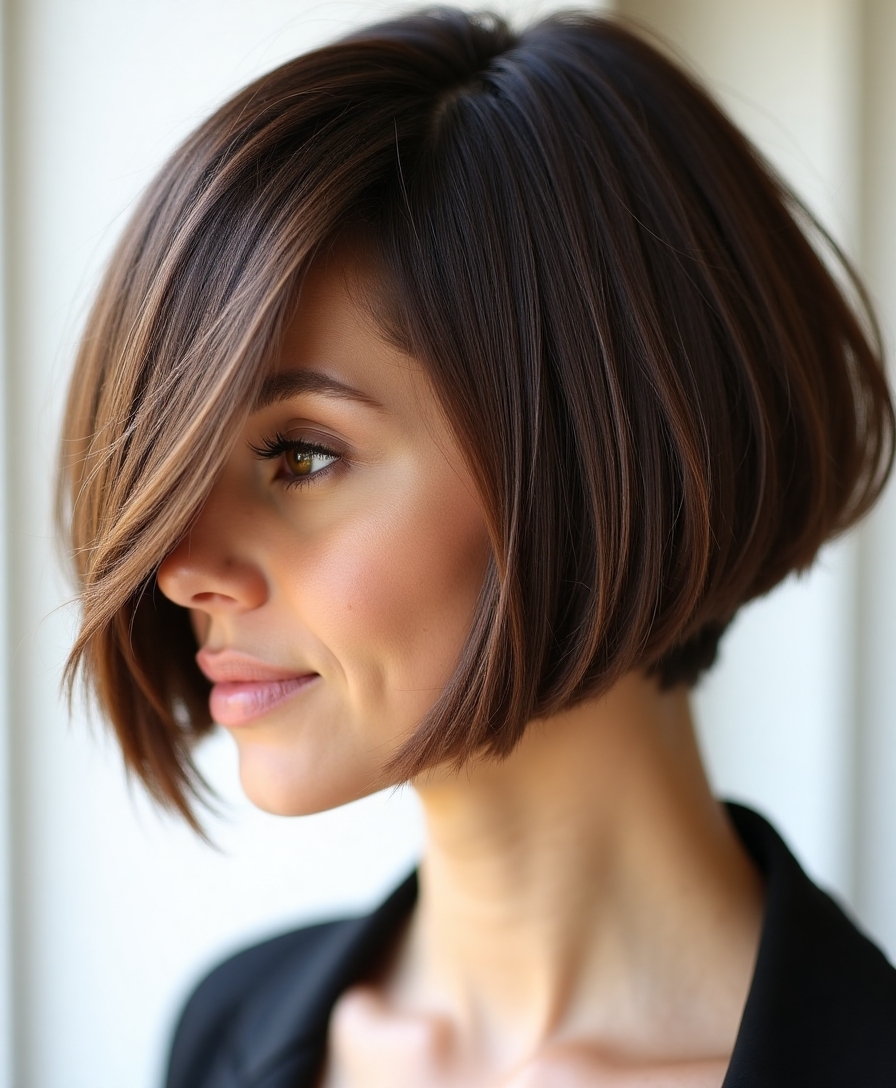
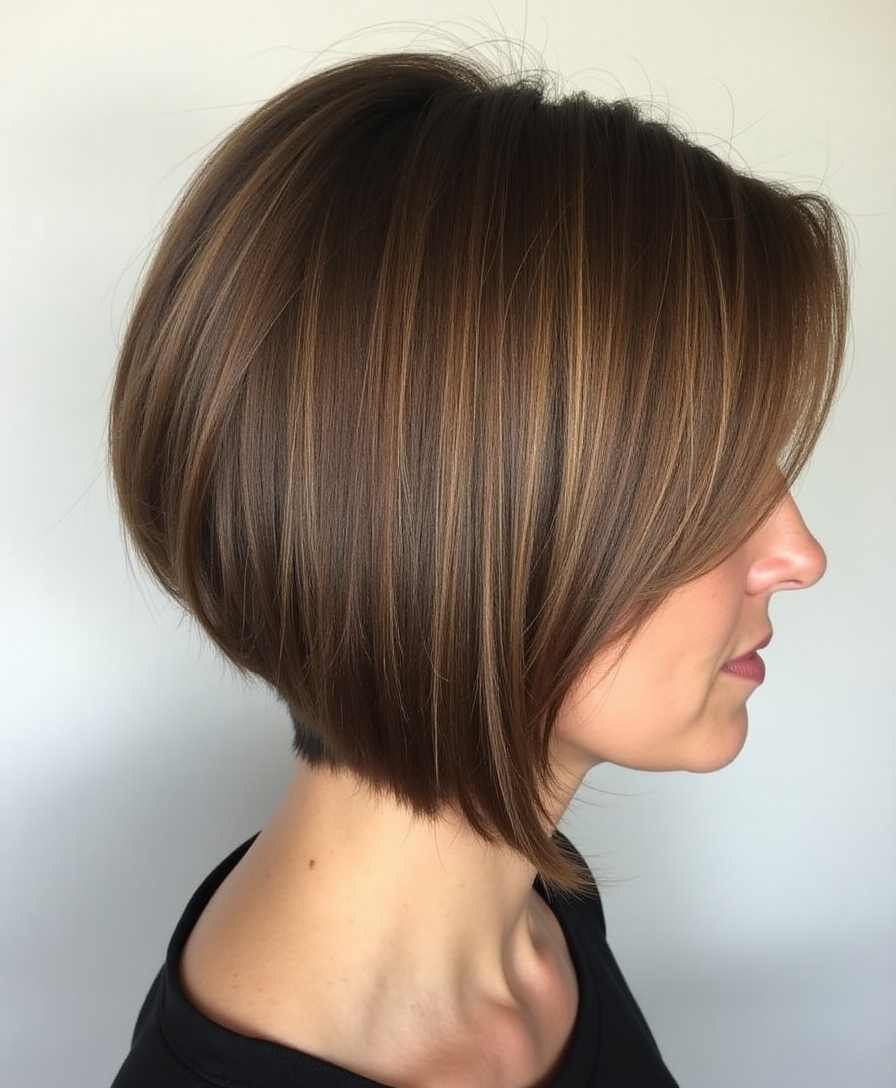
Strip away the styling and an angled bob is one idea: length that increases from back to front. The hair sits shortest at the nape and grows gradually longer toward the face, so the front pieces hang below the back. That forward diagonal is the whole cut.
How steep that diagonal runs is the big variable. A soft angle drops just an inch or two for a subtle shape; a steep one plunges dramatically from a cropped back to long front pieces. The A-line is the steepest end of the family, while a gently angled lob is the softest.
The angle earns its keep by doing two things at once: the short, stacked back builds volume, while the long front frames and slims the face. For the full range of versions, our angled bob guide walks through each one; this guide is about living with whichever you choose.

Pick Your Slope by Face Shape
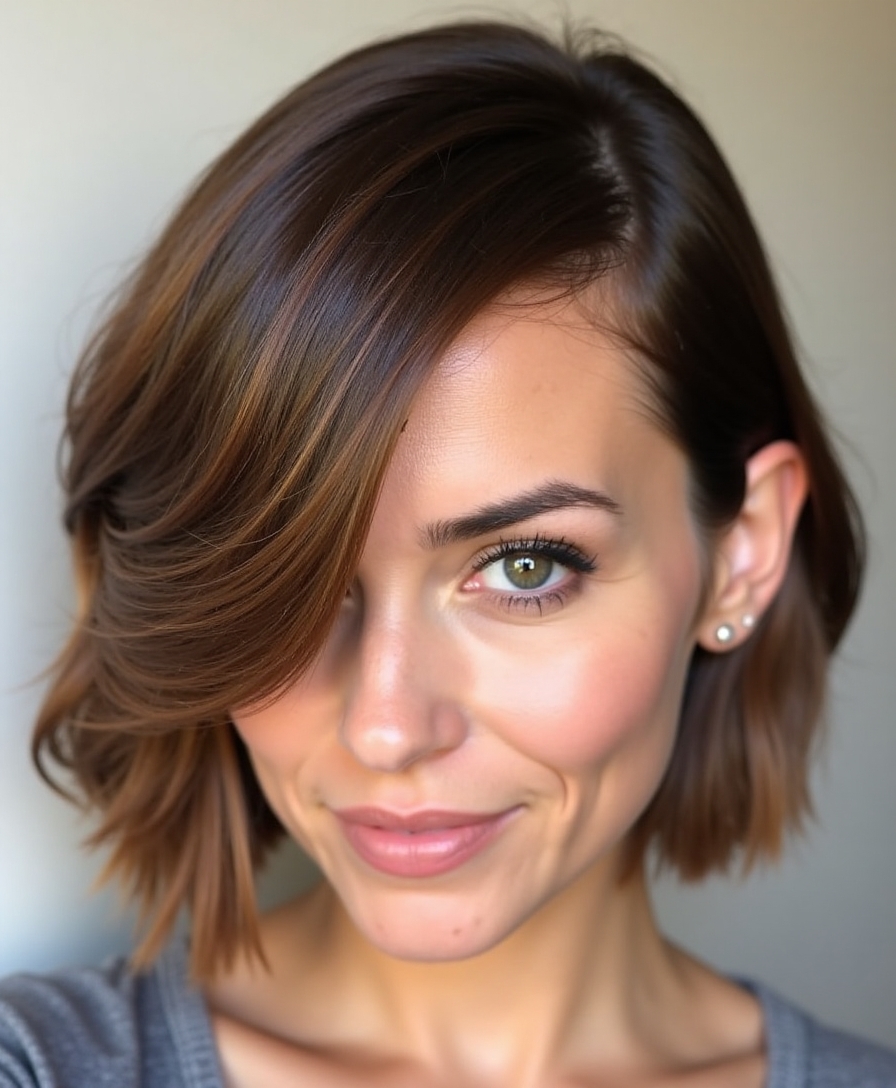
The single most important decision is how steep to go, and your face shape should answer it, since a steeper angle is dramatic and slimming while a softer one is gentle and forgiving. Here’s how I match slope to face:
- Round or full faces: a steeper angle and longer front pieces to slim and lengthen.
- Long or narrow faces: a softer angle and some width at the sides to add balance.
- Square faces: a moderate angle with soft, curved ends to ease a strong jaw.
Not sure how bold to go?
🎯Play it safe
A soft angle, an inch or two of drop, flatters nearly everyone.
🎯Make a statement
A steep angle from a short back to long front pieces turns heads.
Styling Options for the Basic Shape
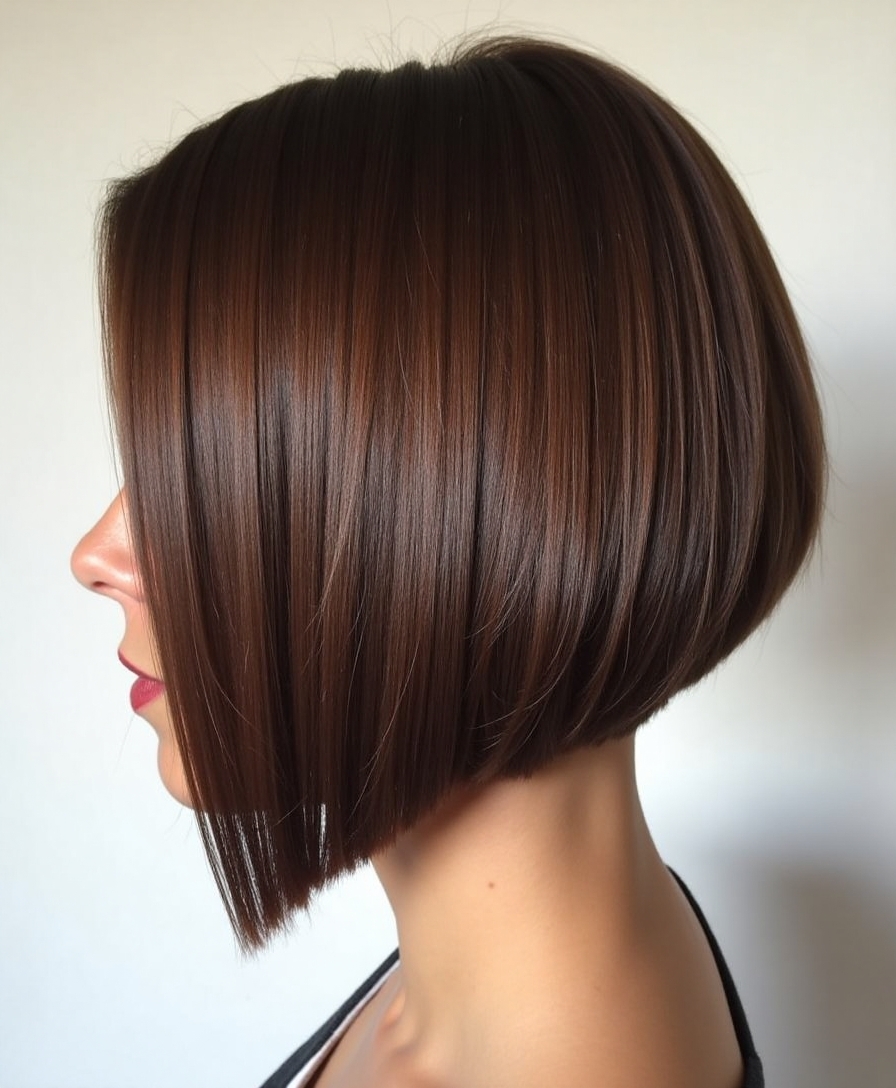
The classic angled-bob finish is a smooth tuck under: the ends curve inward at the front, following the line of the jaw. It reads polished and professional, and it’s the one I set most often over a round brush in a few minutes of drying.
The Everyday Version
But the same cut takes texture just as well. Rough-dried with a texture spray, it turns undone and cool; waved with a large barrel, it softens into something romantic. The angle holds through all of it, which is what makes the cut so versatile.
For most people, most days, the move is simple: rough-dry the roots for lift, smooth the lengths over a round brush, and tuck the front ends under with a quick pass. Two minutes, and the line does the rest.
Which Hair Types Suit It Best
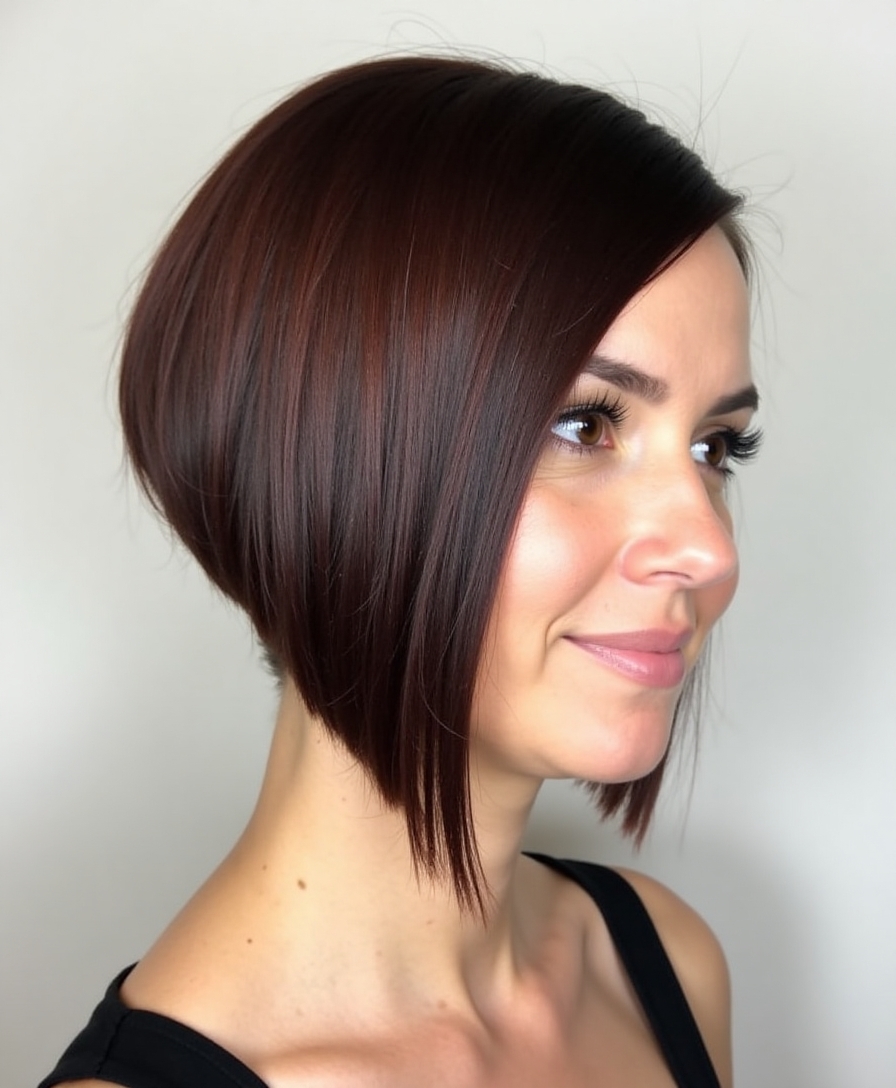
The angled bob behaves differently across textures, and knowing how yours will respond saves disappointment. Texture changes everything. Broadly, here’s what to expect:
- Fine hair: a favorite, since the blunt front and stacked back fake real fullness.
- Thick hair: needs internal weight removed so the short back lies flat and controlled.
- Curly and coily hair: cut dry so the angle survives shrinkage, then worn full and rounded.
Fine hair and an angled bob are a perfect match. All that weight concentrated in the long front pieces makes thin hair look twice as thick as it does hanging long and limp.
Keeping the Shape Between Cuts
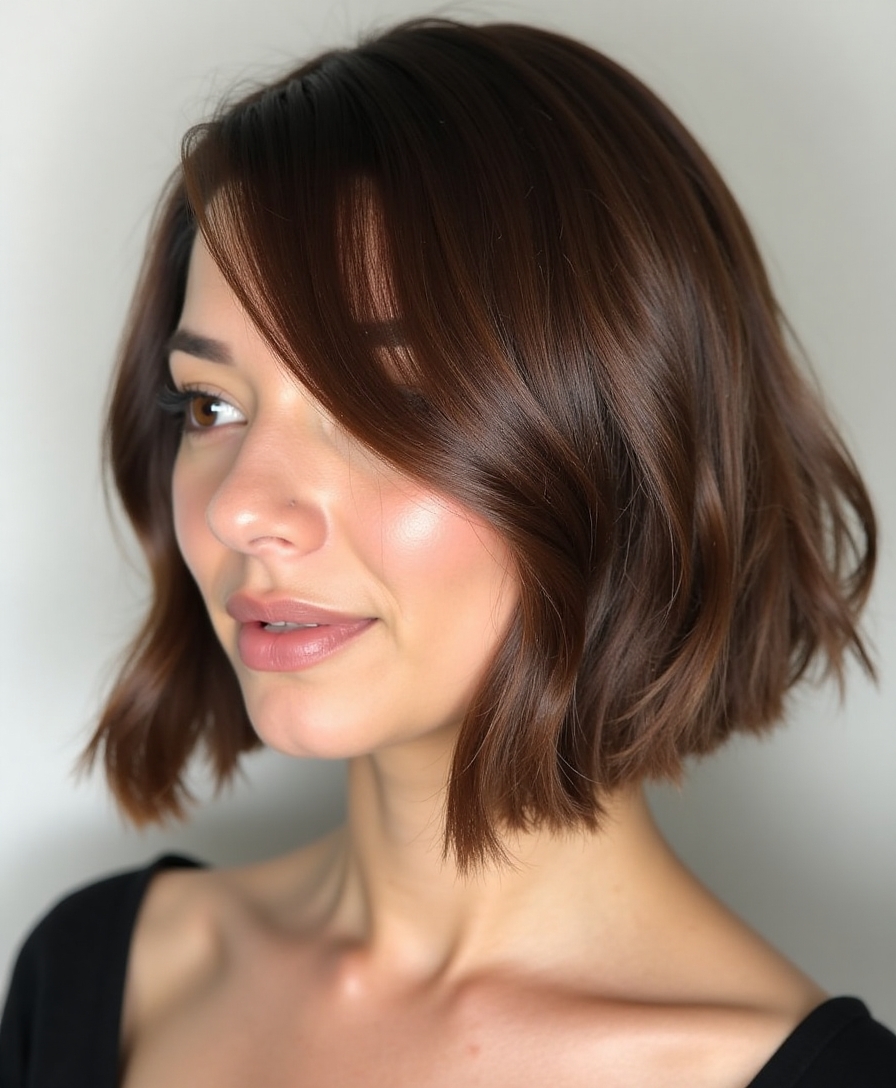
The one real demand an angled bob makes is trims. Because the whole look rides on a precise line, it loses its shape faster than long hair does, blurring at the back as it grows. A little discipline keeps it sharp:
- Get a shape-up roughly every five or six weeks, sooner if your angle is steep.
- Ask specifically for the back to be re-stacked, well beyond a simple end-dusting.
- Between cuts, a flat-iron pass on the front line revives the whole shape in seconds.
Bringing the Right Inspiration Photo
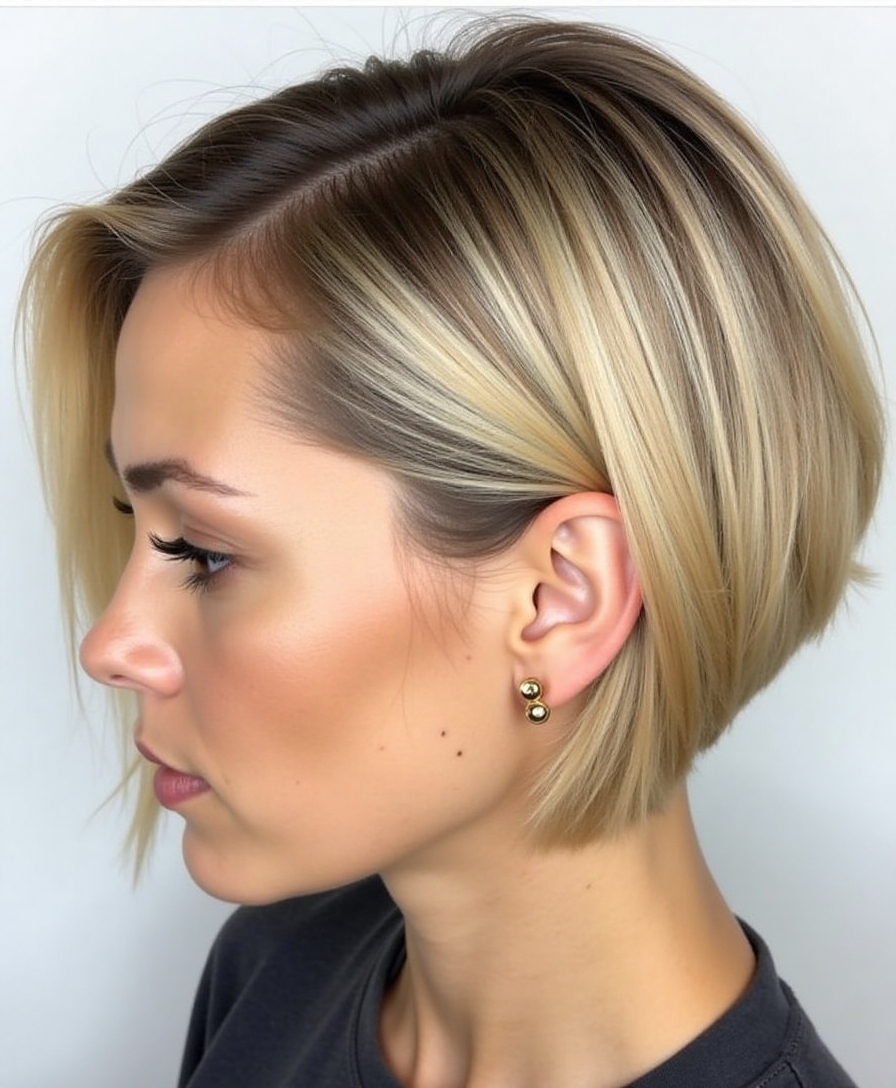
The word bob covers a hundred cuts, so the fastest way to a disappointing appointment is to walk in with just a word. A photo says what the word can’t, and the right one saves both of us a lot of guessing.
What to Show Your Stylist
The trick is bringing a picture that shows the back, or at least a side profile, since the angle only makes sense in three dimensions. A straight-on front shot tells me almost nothing about the slope you actually want.
Ideally, bring two or three photos: one for the length, one for the steepness of the angle, and one for the finish. And be honest about your hair, since a photo on poker-straight hair looks different on your waves. That trio tells me more than any single dramatic shot.
Color That Shows Off the Angle
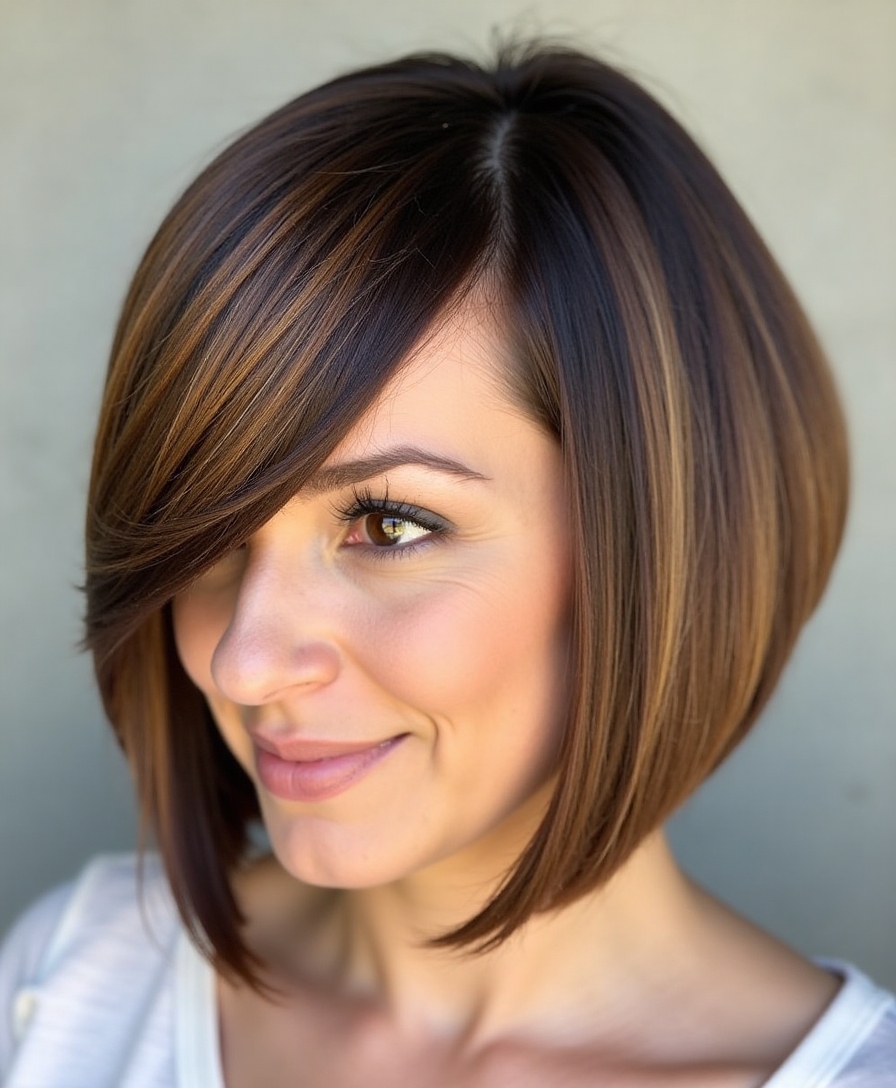
Color and an angled bob are natural partners, because the cut has a strong directional line for color to follow. Placed with the shape in mind, it exaggerates the slope and adds dimension, usually for around $150 to $220 with a gloss. What works:
- Balayage that lightens toward the long front pieces, drawing the eye down the angle.
- A slightly deeper back so the stacked shape reads as depth and volume.
- A face-framing money-piece where the front pieces land, for instant brightness.
The Tools That Earn Their Place
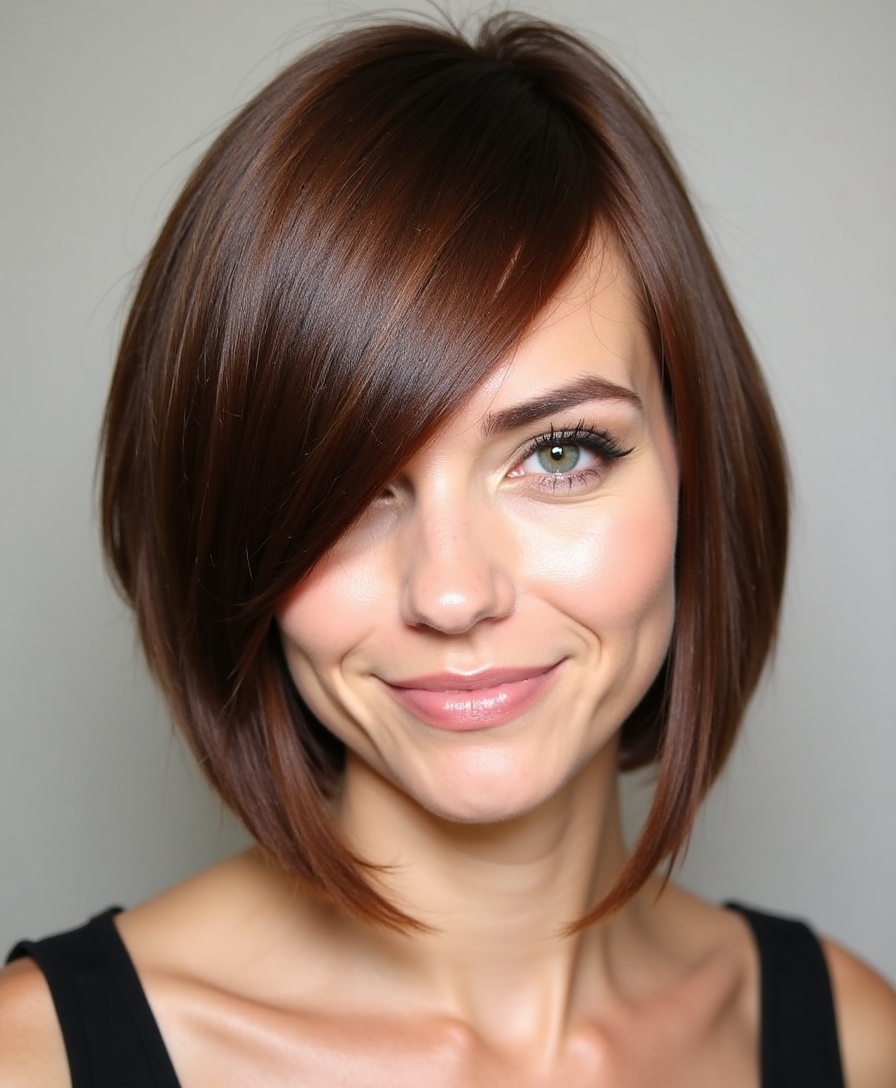
You need far less than the beauty aisle suggests to style an angled bob well. After years of doing them, my short list is a good round brush, a flat iron, a texture spray, and a smoothing serum. That’s honestly it for most finishes.
The round brush does the everyday tuck and the crown lift; the flat iron sharpens the front line and revives day-two hair; the texture spray adds grip and the undone option; the serum kills frizz and adds shine. Each one does a specific job the others can’t.
What you can skip is a drawer crammed with gadgets. A crowded kit usually just means you haven’t found the two or three tools that actually work for your hair yet.
Two styling myths worth dropping:
❌ Myth: Myth: you need a tiny brush for a short bob.
✅ Reality: A medium round brush gives more control and smoother ends than a small one; small brushes just tangle.
❌ Myth: Myth: more product equals more hold.
✅ Reality: On a bob, heavy product drags the shape down. A little texture spray at the roots does more than a handful of anything.
Mistakes I See Most Often
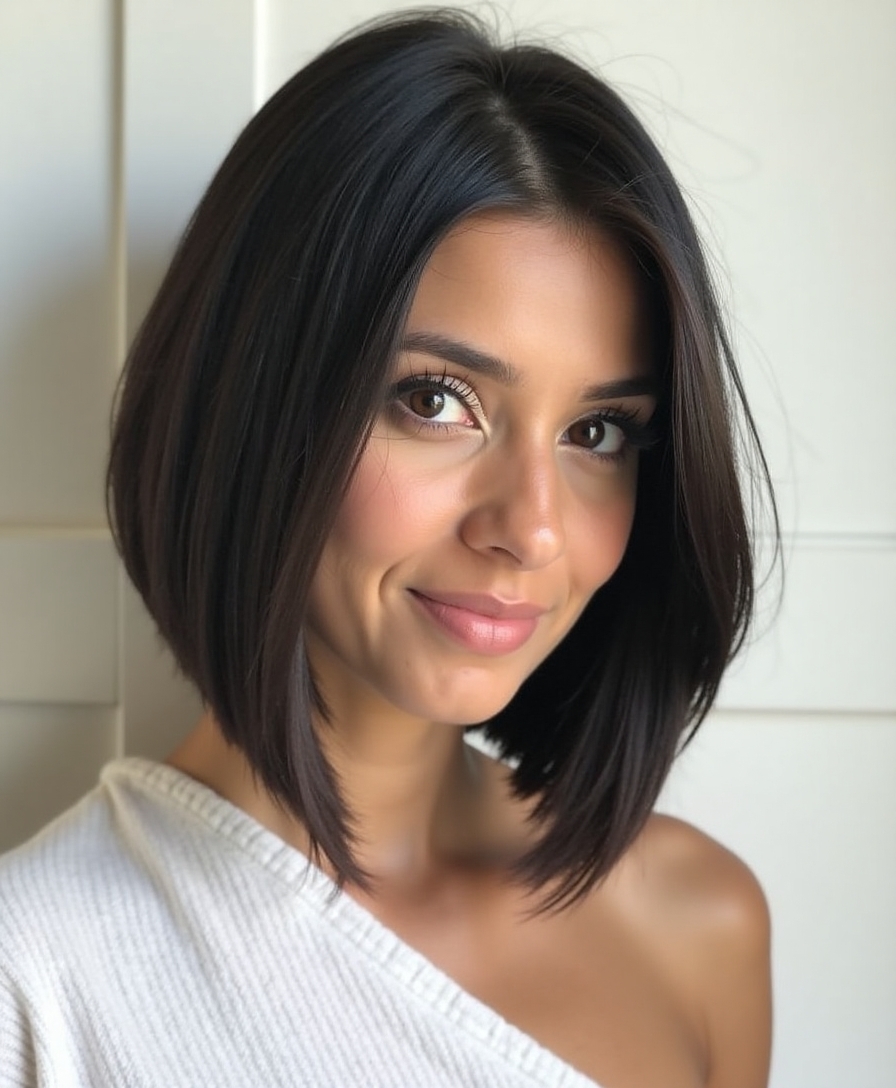
After cutting hundreds of these, the same handful of avoidable errors come up again and again. They’re all easy to dodge. Sidestep them and the cut delivers:
- Going too steep too soon, since a dramatic angle is hard to walk back once it’s cut.
- Skipping the back-and-side photo, which leaves the slope up to guesswork.
- Neglecting trims, which is how a sharp line blurs into a shapeless grow-out.
Short Angled Bob Versus Long
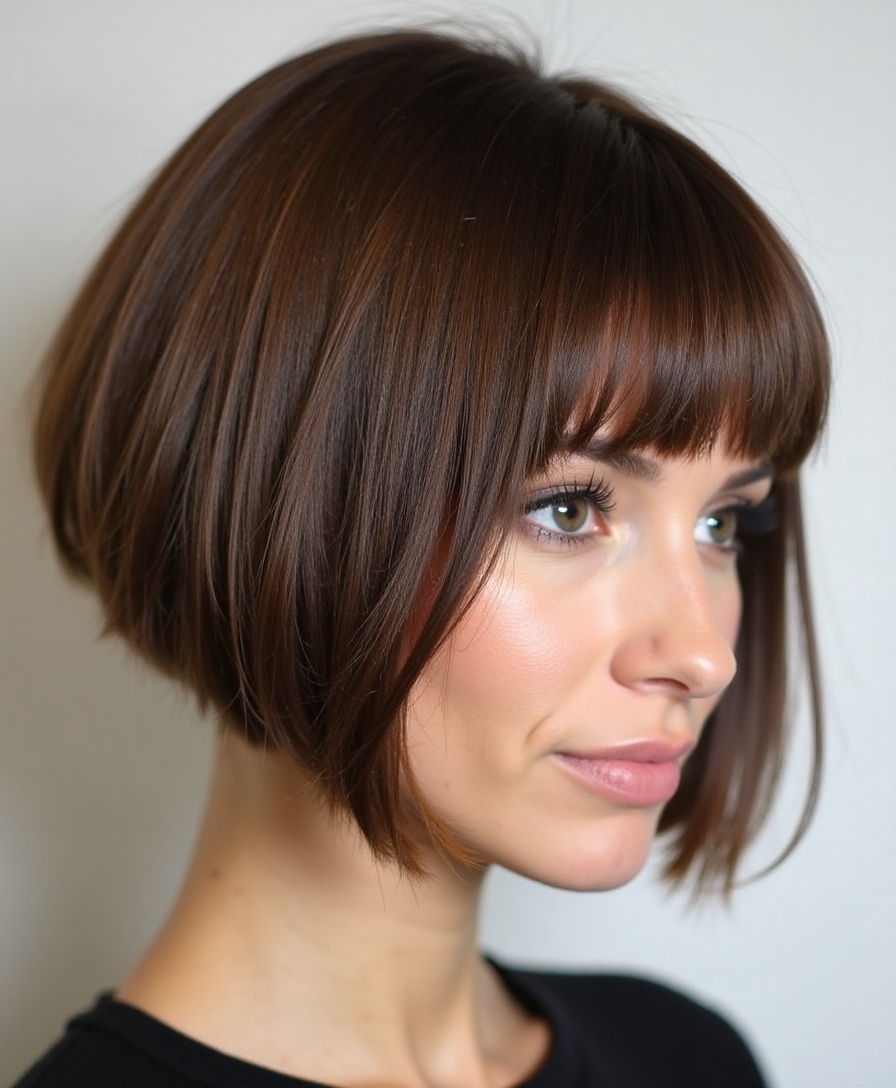
The same angle feels completely different at two lengths, and choosing between them is really choosing your comfort level. A short angled bob cropped at the jaw is bold and graphic, all sharp edges and confidence, and a gift for fine hair. A longer, collarbone version keeps the slope but softens it, staying easy to tie back and far more forgiving.
If you’ve never gone short, start long. You keep most of the angle’s flattering effect with none of the commitment, and you can always go shorter once you know you like the line.
- Short: graphic, high-impact, best for fine hair and strong features.
- Long: soft, versatile, easy to grow out and tie back.
- In between: a jaw-to-shoulder angle suits almost everyone.
Styling It Through the Seasons
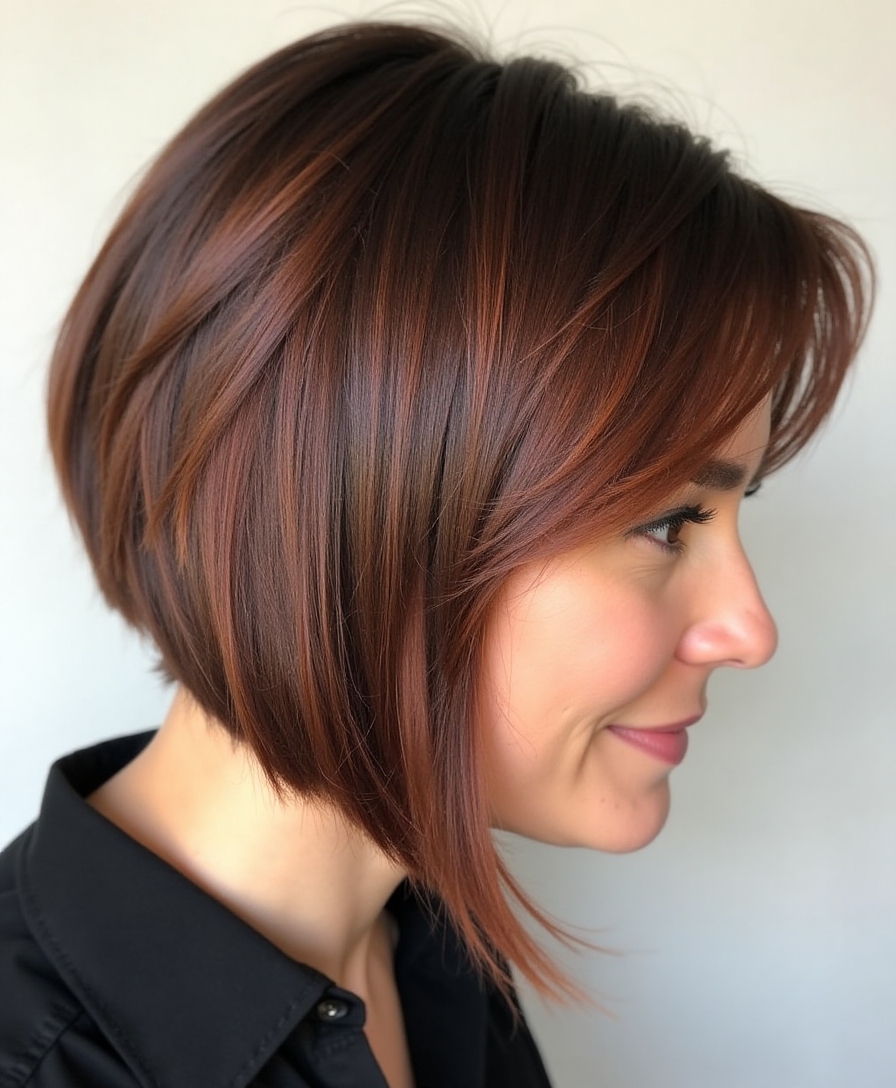
How I finish an angled bob shifts with the weather, and yours can too. In humid summer months, I lean on texture instead, reaching for a salt spray and a simple air-dry, since fighting frizz into a sleek line is a losing battle. In dry winter air, the sleek tuck holds beautifully, so it’s the season for the polished version.
Static and hat hair are the winter enemies, so a little serum and a dry-shampoo refresh go a long way under a beanie. The cut is the same year-round; only the finish needs to flex with the air.
- Summer: embrace texture and air-dry to beat the humidity.
- Winter: go sleek and glossy, and mind the static under hats.
- Transitional months: whichever finish matches your mood.
Texture Tricks for Real Volume
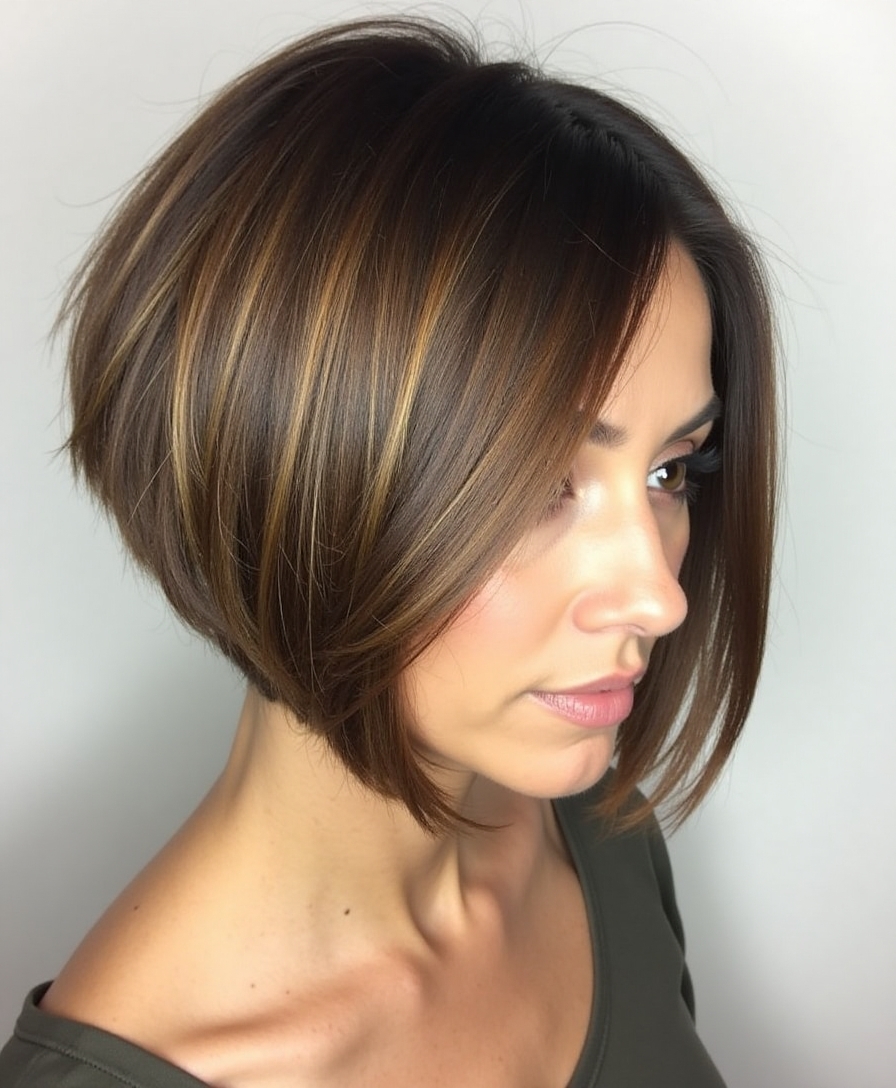
The most common complaint I hear about bobs is that they fall flat, and the fix almost always lives right at the roots. That’s where the real work happens. Volume on an angled bob is built where the hair meets the scalp, especially at the crown and the short stacked back.
For Really Flat Hair
The simplest trick is drying against the grain: flip your head and rough-dry the roots in the opposite direction to how they fall, then let them settle. A root-lifting spray at the crown before you dry holds it far longer than backcombing alone.
If your hair is stubbornly flat, a light backcomb at the crown roots plus a mist of dry texture spray adds height that lasts all day. Keep it at the roots and smooth the surface over, so you get lift without any visible teasing.
Professional Styling Tricks You Can Copy
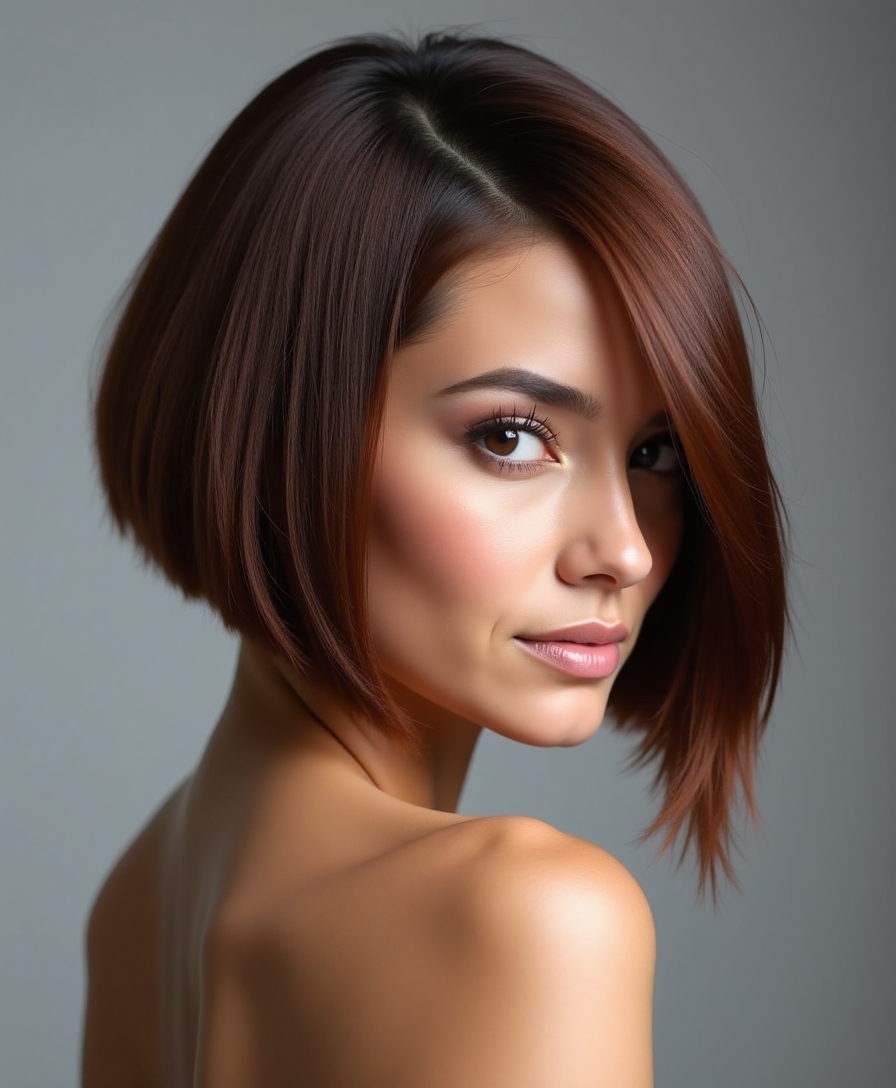
The reason a salon blow-out lasts comes down to technique far more than the tools, and most of it is easy to copy at home. The biggest one is drying in sections: clip the top up, dry the bottom smooth first, then work up. Trying to dry it all at once is why home blow-dries fall out by lunch.
The Finishing Touch
The second is the cool shot. After you shape each section with the round brush, hit it with the cool button before you release, which sets the shape the way heat alone can’t. It’s the step everyone skips and the one that makes the difference.
Last, finish cold and light: a tiny amount of serum smoothed over the top, and a whisper of hairspray on the front line only. Over-finishing is what makes home styling look done in the wrong way, all stiffness and no shine.
👍Blow-out at home
- +Lasts for days when dried in sections
- +Costs nothing once you own a brush
- +Fully in your control between salon visits
👎Watch for
- –Takes practice to get the front line even
- –Harder on very thick or very curly hair
- –Needs a cool-shot dryer to set properly
Turning Your Current Cut Into One
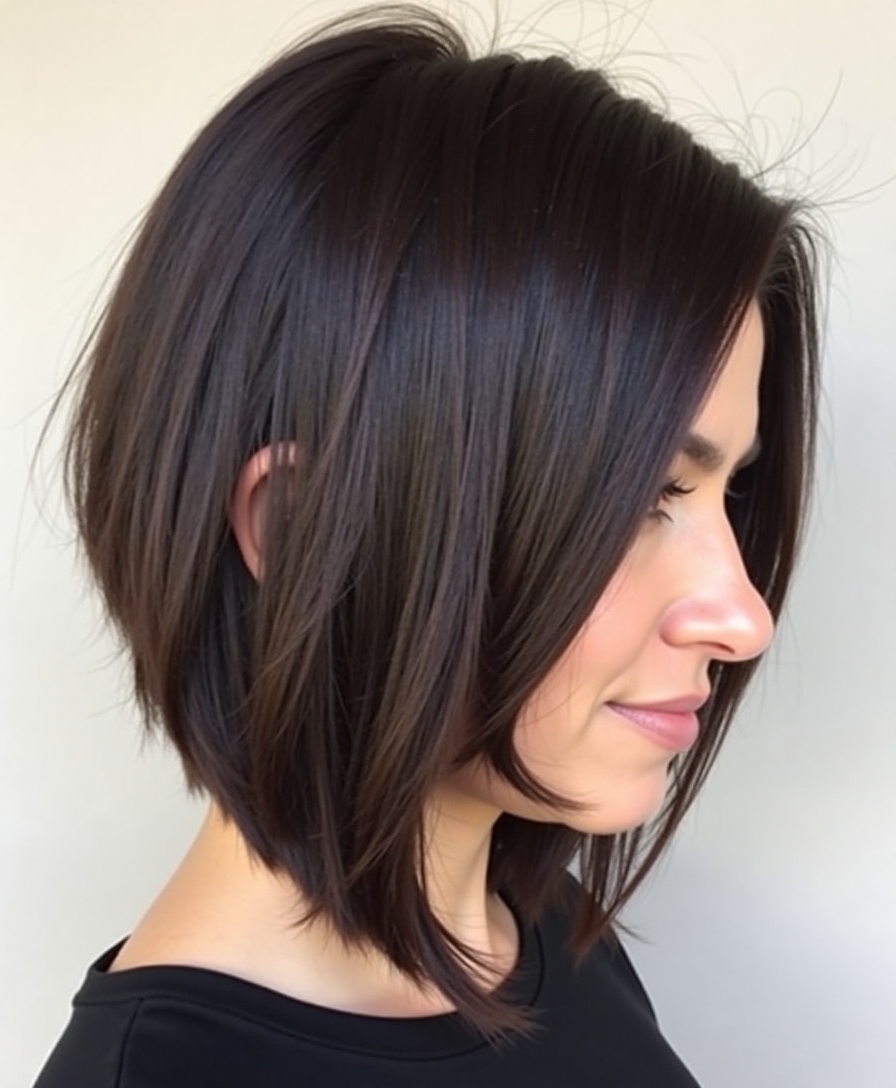
You don’t always need to start from scratch. Plenty of cuts convert into an angled bob with a single thoughtful appointment, which makes it an easy change to test. Whether yours will depends on where you’re starting:
- A blunt bob or lob: the easiest convert, just angle the existing length forward.
- A grown-out pixie or short cut: possible once the front reaches the chin.
- Long hair: a bigger jump, so bring photos and commit, since there’s no undo.
From Day to Night in Five Minutes
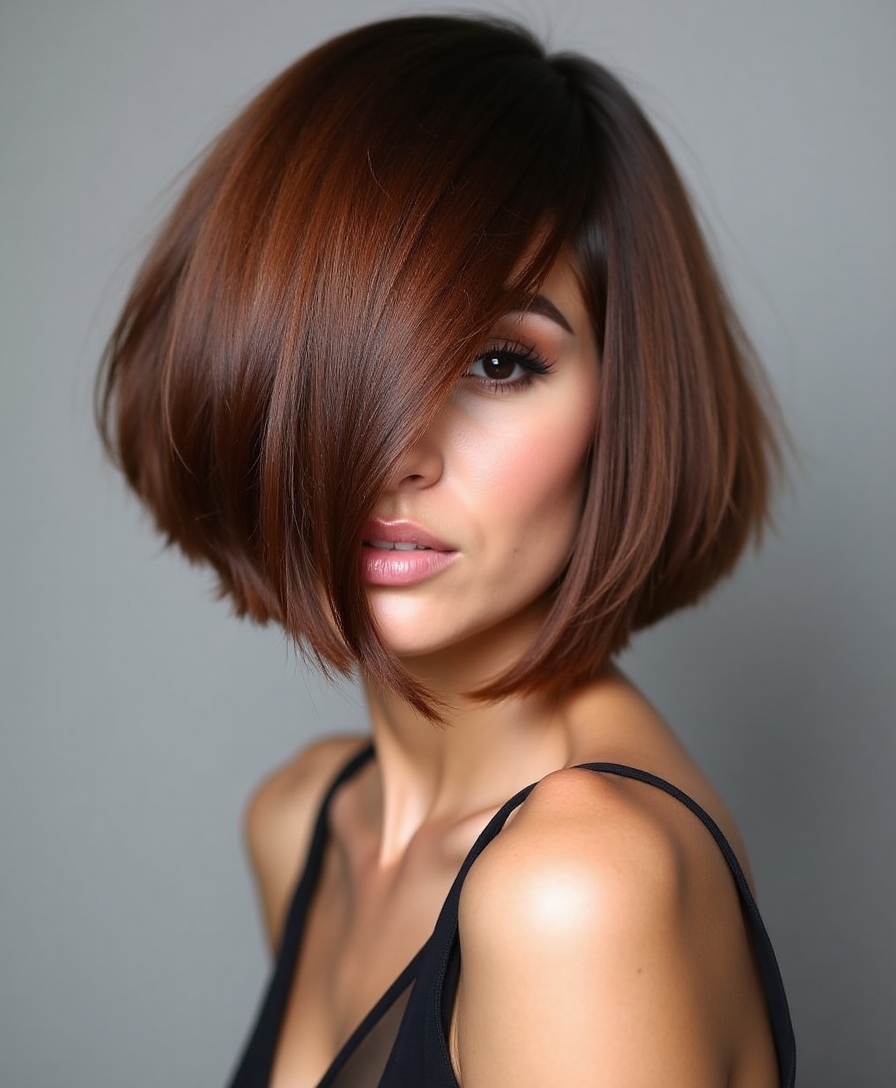
One of the quiet perks of a short cut is how fast it restyles. Taking an angled bob from a workday to an evening out takes about five minutes, no wash required. The short length means you’re just reshaping what’s already there, which is exactly why it’s so fast. Here’s my go-to:
- Add a few bends with a flat iron or wand for instant movement.
- Mist texture spray at the roots and tousle for undone volume.
- Tuck one side behind the ear and add a bold lip; done.
Adding Bangs to the Mix
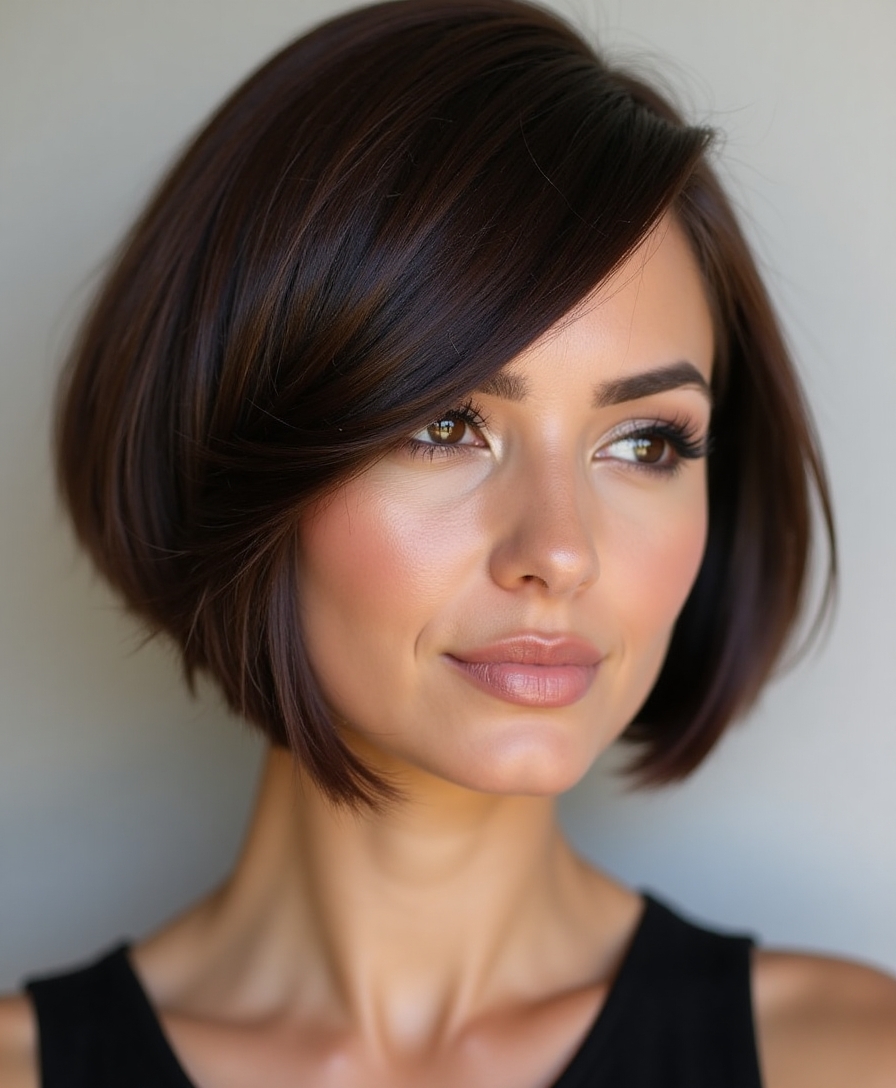
Bangs and an angled bob are a striking combination, because the fringe softens the top of the face while the angle sharpens the bottom, balancing the whole look. A bob with bangs is among the most-requested versions I cut.
Curtain bangs are the safest pairing, framing the face and blending into the long front pieces so they grow out easily. A blunt fringe makes a bolder statement but demands more upkeep; either way, the bangs and the front angle should work as one flowing shape.
Growing It Out Gracefully
Every short cut grows out, and the angled bob has a real awkward stage as the back catches up to the front. But with a plan it’s manageable, and there’s a graceful path from bob to lob to long. The strategy:
- Keep shaping it as it grows, letting the back lengthen toward the front.
- Add a few layers once there’s length to work with, to keep it from going blocky.
- Lean on face-framing pieces and clips through the in-between months.
One Line, a Whole New Look
For all the styling and upkeep talk, the angled bob comes down to one confident line, and everything else, the volume, the framing, the sharpness, follows from it. It’s the rare cut that looks like a lot of effort but demands very little once you know how to work with it.
If any of this has you tempted, save the notes that fit your hair and your routine, then find a stylist who cuts a lot of bobs and bring your photos from the side. Get the line right, and the angled bob might be the sharpest, easiest cut you’ve ever owned.


