

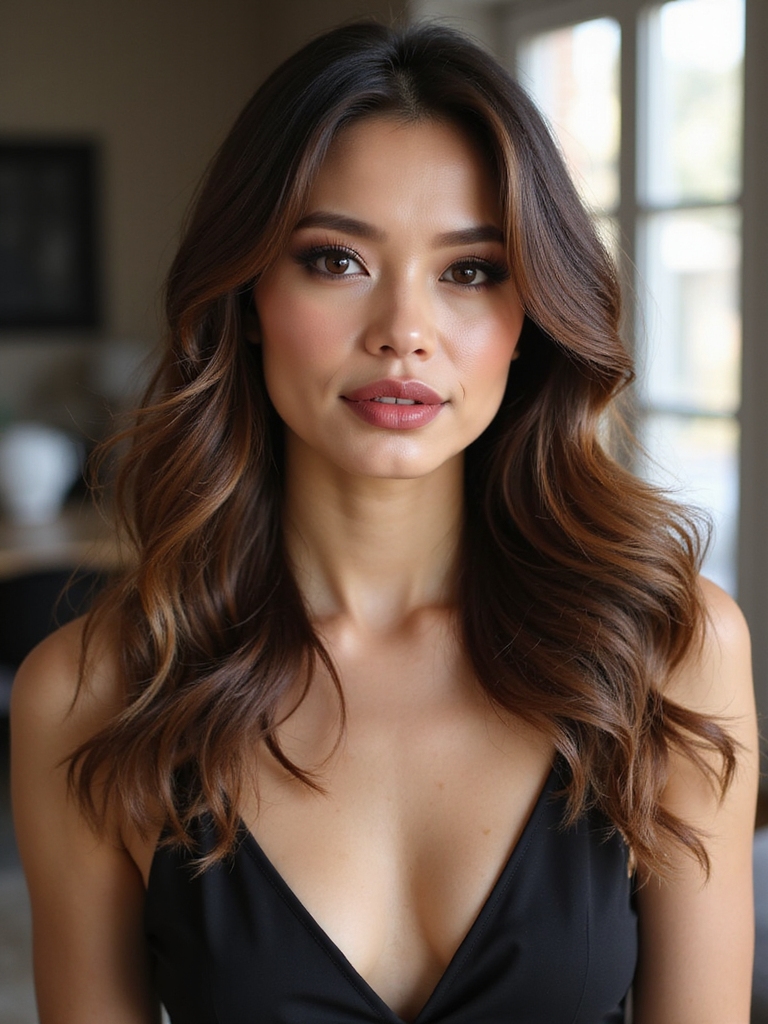
The volume does not come from the layers. That is the misunderstanding behind most disappointing side-part appointments, and it sends people back asking for shorter layers when the layers were never the problem.
Side part layered hair gets its lift from crossover: hair that grew pointing one direction being asked to travel the other way, which props the root up off the scalp for as long as it takes to fall back. The layers only decide what happens to that volume once it exists. Fifteen versions follow, sorted by how much crossover each one needs.
How Deep to Part
| Part depth | What it gives you | Who it suits |
|---|---|---|
| Just off-center, about an inch | Gentle asymmetry with very little root lift, and it stays put all day without help | Hair that already has natural volume, or anyone who dislikes fussing |
| Deep, at the arch of the brow | Maximum crossover volume at the root, and it needs re-setting most mornings | Fine or flat hair where lift is the entire objective |
Long Layers With a Deep Side Sweep
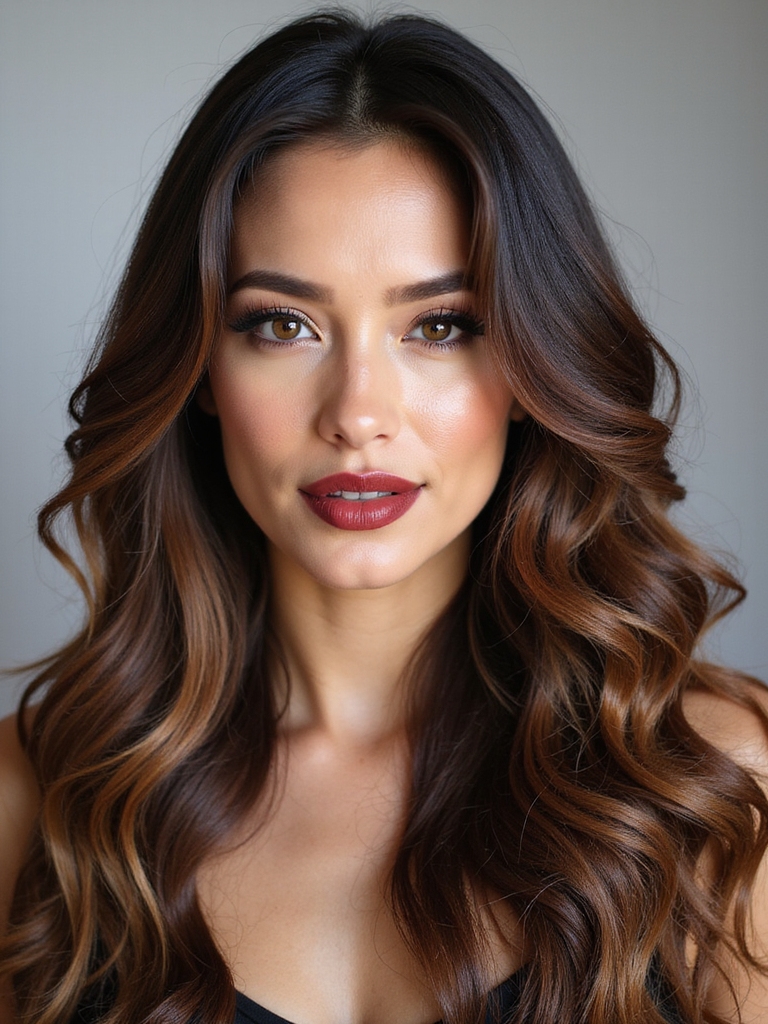
Long hair carries the most weight and therefore benefits most from crossover, because the root has the furthest to be lifted. A deep part sends a substantial panel of hair across the top of the head, and that panel rests on the hair beneath it, well clear of the scalp.
Cut It With the Part Already Set
The layering job here is to stop that panel collapsing under its own weight. Long, blended layers through the interior remove enough mass that the crossover survives past mid-morning.
Ask for the layers to be cut with the part already in its finished position. A layer cut on a center part and then swept across sits an inch or two away from where it was intended, which is a common and completely avoidable disappointment. Our long layered hair notes cover the cut itself.

A Chin-Length Lob With Feathered Ends
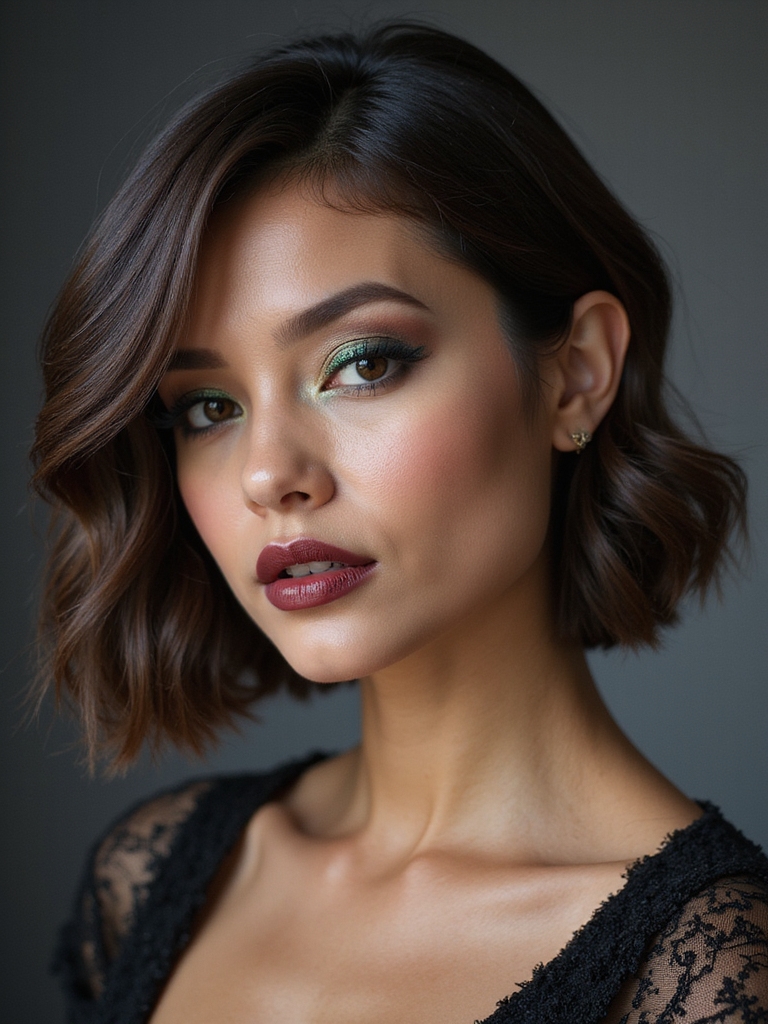
At chin length there is less weight fighting you, so a moderate part produces plenty of lift and a deep one can tip into looking staged.
Feathering the ends is what keeps the shape modern. A blunt perimeter at this length combined with a strong side part starts to look like a set from 1962, and softening the last half inch fixes it.
The shorter side needs attention at the cut. Because a side part takes length from one side and gives it to the other, an even-looking lob has to be cut slightly unevenly on purpose.
🅰️Feathered ends
Softens the perimeter so a strong part still reads as a modern haircut. Best on fine to medium hair, and it hides an uneven grow-out.
🅱️Blunt ends
Keeps weight at the bottom and a sharper line. Stronger on thick hair, though paired with a deep part it can start looking styled in an old-fashioned way.
Side-Parted Curtain Layers
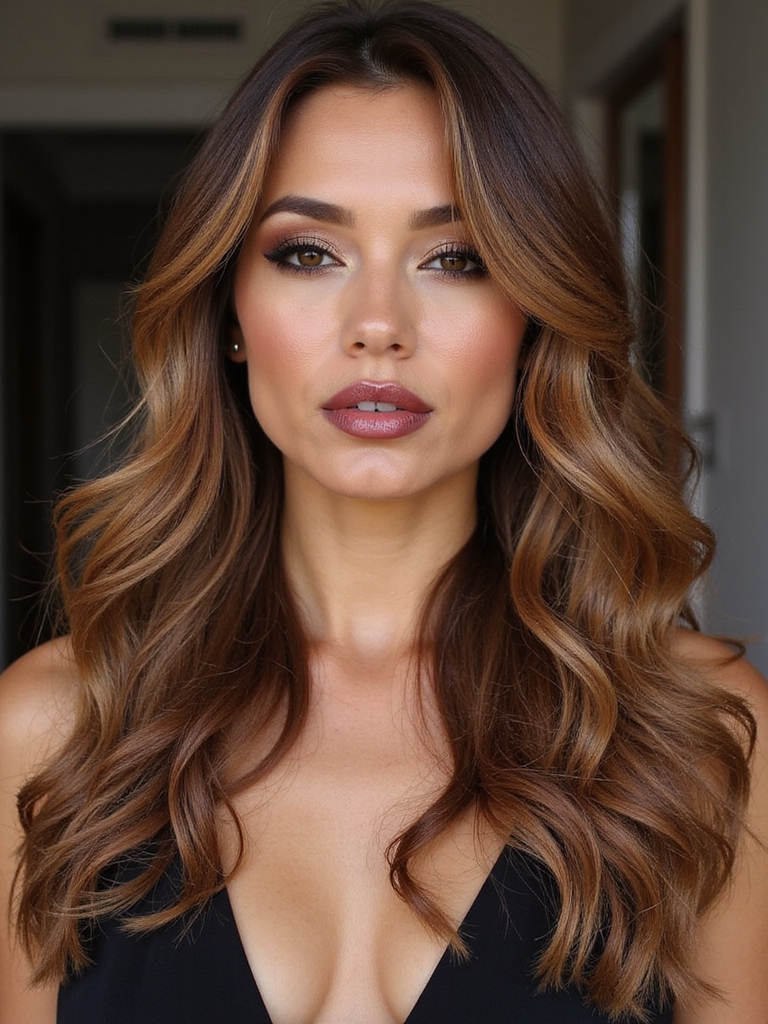
Curtain layers are usually shown on a center part, and moving them off-center changes the whole character. One side becomes a full sweep across the forehead, the other a shorter tapered piece, and the asymmetry does the flattering.
The technical requirement is a longer transition. Curtain shapes cut for a center part are symmetrical; cut for a side part, the heavy side needs to travel further before it rejoins the length.
This suits anyone who wants a fringe without committing to one. Nothing is short enough to be a real fringe, so growing it out means the pieces simply lengthen into your framing layers.
Face-Framing Layers on Medium Lengths
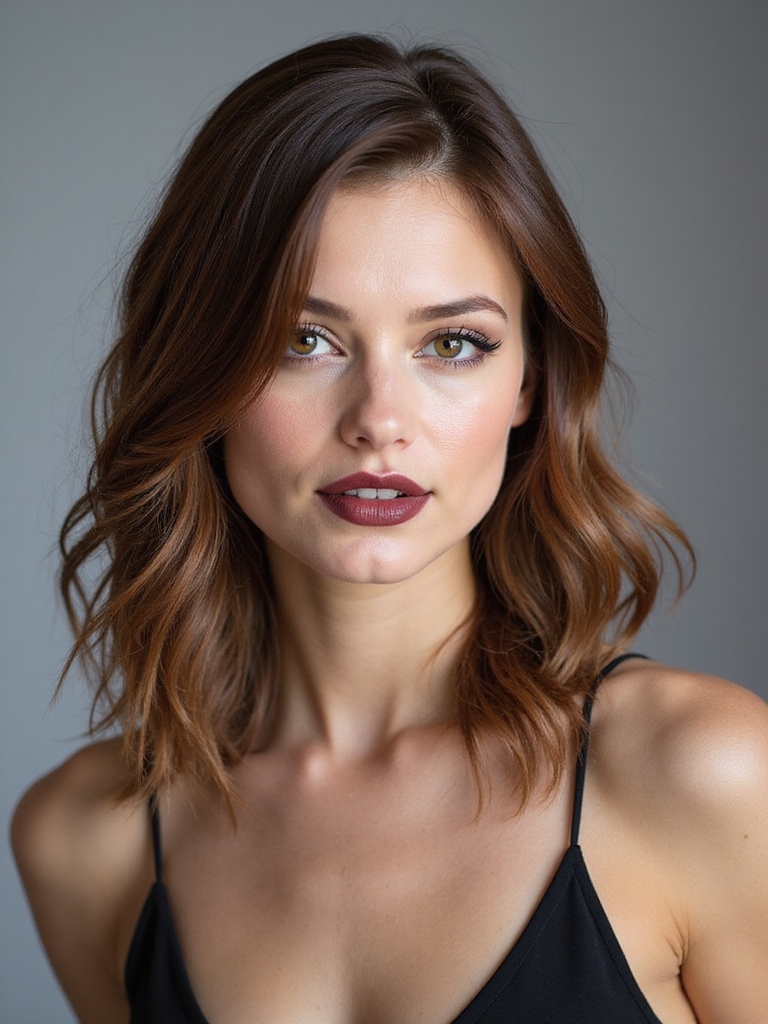
Mid-length hair is where the side part earns its reputation, because it can take a strong diagonal without the weight problems of long hair or the precision demands of a bob.
The framing pieces should be cut asymmetrically on purpose. On the heavy side the shortest piece can sit at the cheekbone; on the light side it wants to start lower, around the jaw, or the two sides fight each other every time you move your head.
An Airy Side-Part Shag With Piecey Texture
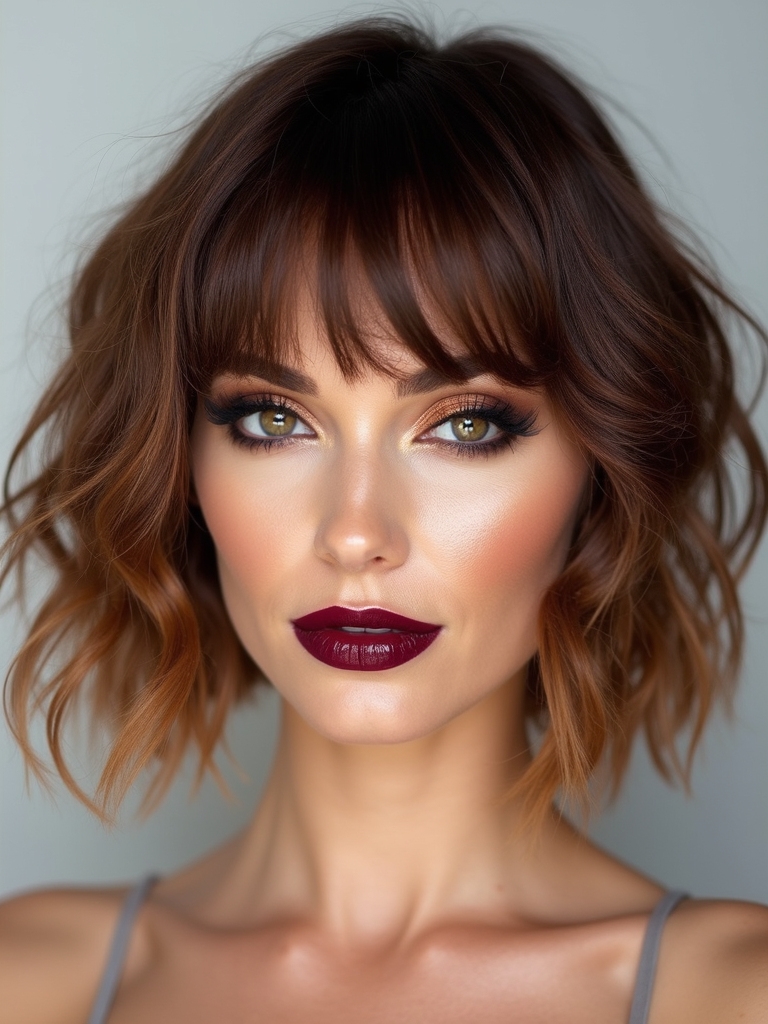
A shag already builds volume at the crown through short layering, so adding a deep part stacks two volume mechanisms on top of each other. The result is properly big, which is either the point or a warning depending on your hair.
On fine hair the combination is ideal. On thick hair it can produce more height than anyone wanted, and the fix there is a shallower part, with the layers left alone. Our shag haircut guide covers the cut in full.
A Voluminous Side-Part Blowout

A blowout is where crossover volume gets locked in with heat, and the order of operations matters more than the tools. Roots first, over-directed against the way they grew, then the lengths.
Set the Part Last
The trick most people miss is that the part gets set at the end, not the beginning. Dry the crown straight up with the part opened out, then drop everything across to the finished side once it is cool.
It takes about fifteen minutes on mid-length hair once the sequence is familiar, and a salon version runs near $50 in most markets. Hair set this way holds for two days if you sleep with it loosely pinned in the direction it was dried.
Heat on the Same Root, Daily
A deep part concentrates every blow-dry on the same narrow strip of scalp and the same root section, day after day. Over months that shows as breakage right along the part line, where the hair is already most exposed to sun. Alternate which side you part on at weekends, use a heat protectant on the roots and not only the ends, and keep the nozzle moving.
A Side-Parted Wolf Cut With Controlled Lift
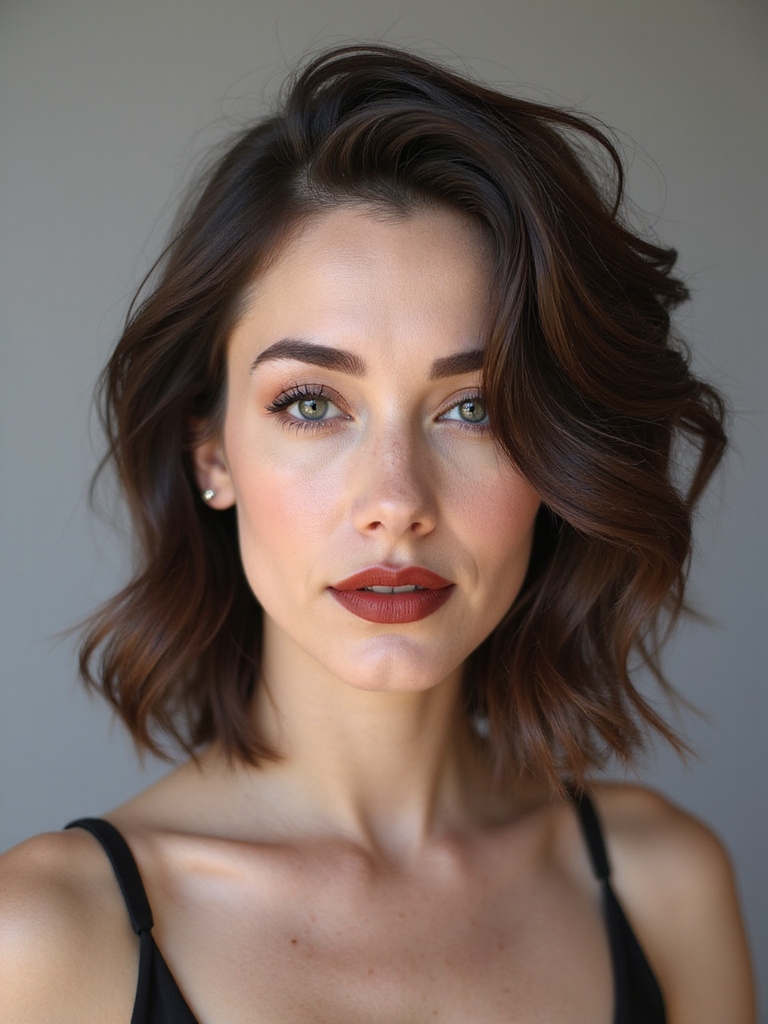
A wolf cut is short and heavily layered at the crown with length left underneath, which produces volume in every direction at once. A side part gives that volume somewhere to go.
Direction Turns Volume Into Shape
Direction is what turns a wolf cut from chaotic into designed. The crown layers all lean one way, the diagonal across the forehead reinforces it, and suddenly the shape has a front and a back instead of just being large.
It is the highest-maintenance combination here. Crown layers this short show growth quickly, and the part has to be re-set every wash or the layers pick their own direction. Our wolf cut guide has the full breakdown.
Side Bangs With Long Tapered Layers

Ask for this one when you want an actual fringe and not just a sweep. The shortest piece sits at the brow, tapers back along the cheek, and connects into the layers behind it with nothing abrupt in between.
The connection is the whole craft. A side fringe cut as its own separate section leaves a visible break where it ends, and once you notice that break you cannot stop seeing it. Our side-swept bangs guide covers the shaping.
A Layered Bob With an Asymmetric Part
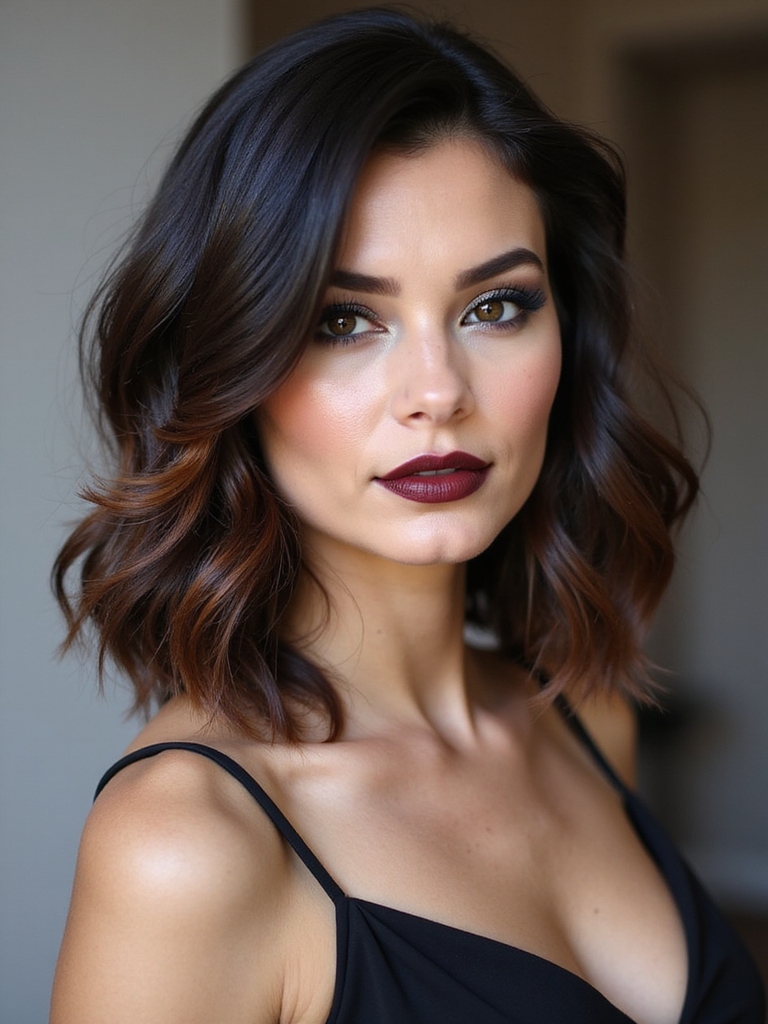
On a bob the part does something a longer cut cannot: it changes the apparent shape of the cut itself. The same bob parted deep on one side looks angled even when it was cut level, because more hair now hangs on one side of your face than the other.
That effect is strongest at chin length and disappears past the collarbone. If you like the idea of an angled bob but are not ready to have one cut, moving your part is the free version. Our layered bob guide covers the cut properly.
A U-Shaped Cut With Cascading Side-Parted Layers

A U-shaped perimeter, longer through the center back and shorter at the sides, gives long hair a sense of layering without any interior layers at all. Adding a side part on top of it directs that cascade to one side.
It is the lowest-risk combination on this page for anyone whose previous layered cut showed visible steps. Nothing is cut into the interior, so there is nothing to show, and the part supplies all the asymmetry.
Side-Parted Layers for Fine Hair Density

Fine hair gains more from a side part than any other type, for a reason worth understanding: crossover puts hair on top of hair. The panel swept across sits above the hair beneath it, and two layers of fine hair stacked look considerably denser than one.
The layering has to stay restrained to protect that effect. Every layer removes some of the density doing the stacking, so two or three long framing pieces is the sensible limit.
It also matters where the part sits relative to a natural cowlick. Parting against a strong cowlick gives you the most lift and the least staying power, and parting just alongside it gives you nearly as much lift that actually holds.
“The sentence that changes the outcome is set my part where I actually wear it, then cut. Most disappointing layered cuts on fine hair were measured from a part the client has never worn in her life, and no amount of styling recovers those inches afterward.”
Side-Sculpted Layers for Thick Hair
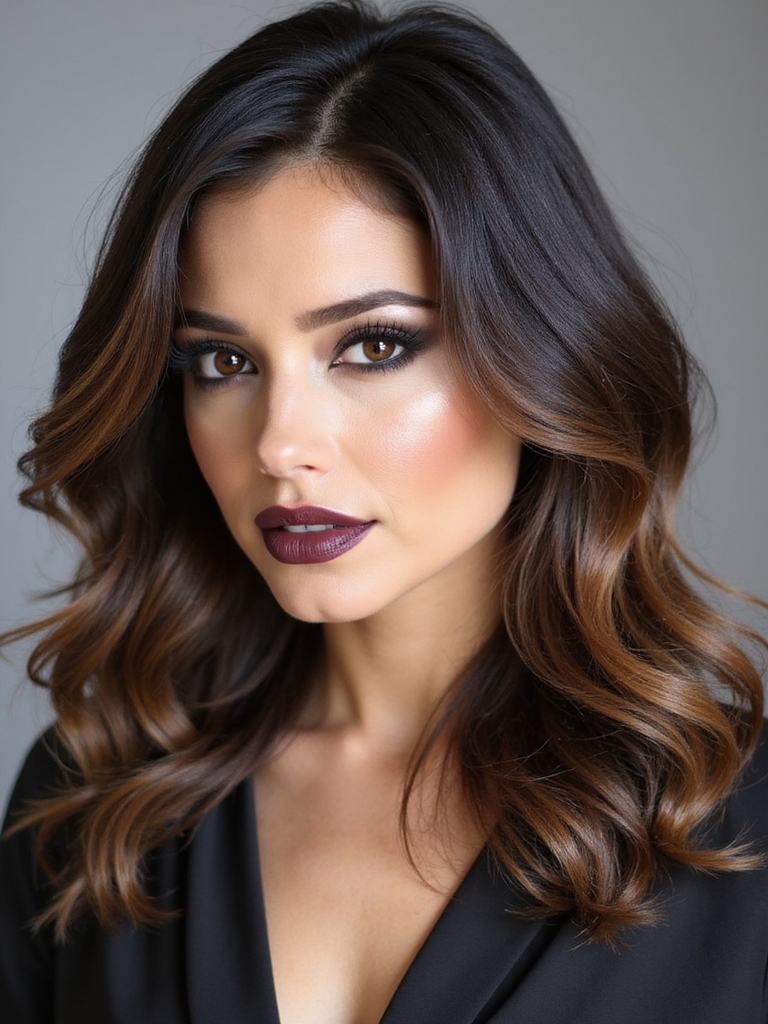
Thick hair has the opposite problem. Crossover on a dense head produces a pile of hair at the part line, and without weight removed underneath the whole top of the head sits high and wide.
Internal debulking through the crossover panel is the specific fix. Weight comes out from beneath the section that travels across, the surface stays smooth, and the volume flattens into a controlled sweep.
- Ask for weight removed from underneath the panel that crosses the part, not throughout
- Keep the part shallower than you think; density supplies lift you do not need to add
- Skip thinning shears near the part line, since regrowth there is the most visible place on your head
A Curly Side Part With Shaping Layers

Curly hair takes a side part beautifully and holds it badly, which is the tension to plan around. Curls have their own ideas about direction, and a part combed in wet often migrates by the time everything dries.
Set It Wet and Walk Away
Setting the part while soaking and then leaving it entirely alone is what makes it stay. Every touch during drying loosens the clumps holding that line.
The layering should follow the curl, and no diagram survives contact with a real head of it. Shaping cut dry, curl by curl, lets the stylist put weight exactly where a spring is pulling too high. Our curly layered hair guide covers the method.
Two words that explain why the part works
📖Over-direction
Combing or drying hair away from where it grows before setting it. The root is forced upright, and it holds that lift until humidity or gravity wins.
📖Cowlick
A spot where hair grows in a spiral with no single direction. Parting across one gives dramatic lift that collapses fast; parting beside one gives lift that lasts.
A Coily Side Part With Stretch and Definition
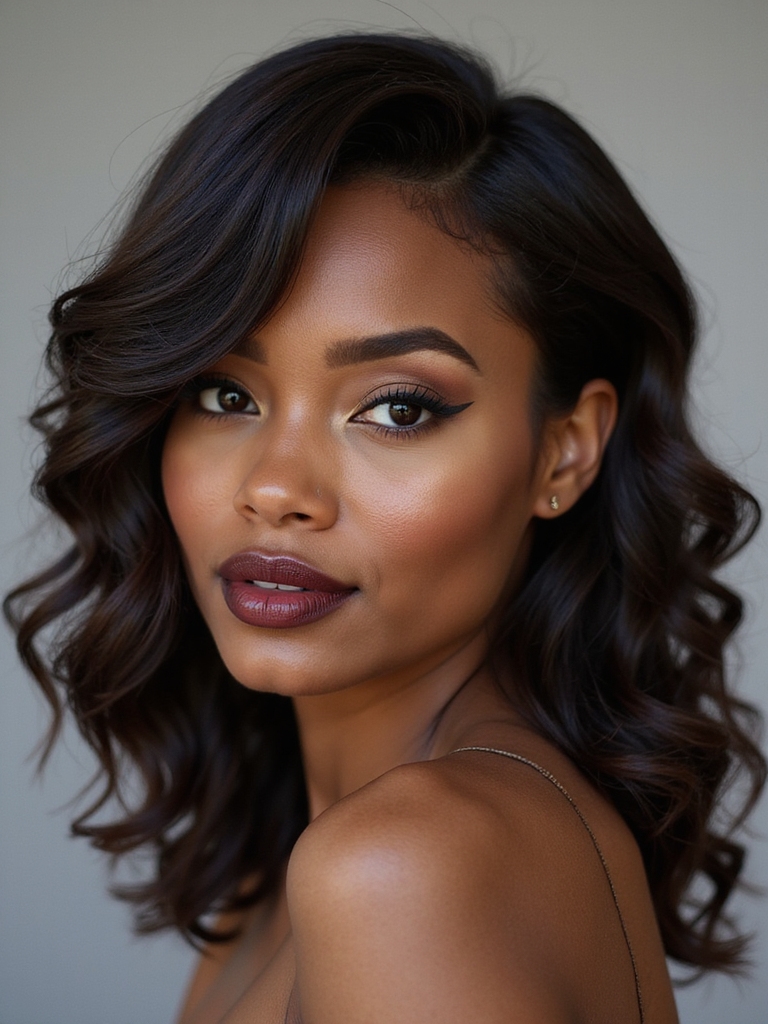
On coily texture a clean part is a design element in its own right, and it is a long-standing one in Black hairstyling. The precision of the line against dense, matte texture is the contrast that makes it work, which is why the parting itself deserves as much care as the styling around it.
- Part with the tail of a rat-tail comb on damp, conditioned hair, in one continuous motion
- Stretch the sections with banding or a blow-dryer on cool before defining, so the part stays visible
- Smooth the edges gently with a soft brush and a light gel; hard slicking week after week is what thins a hairline
Heatless Side-Part Styling for Lasting Lift
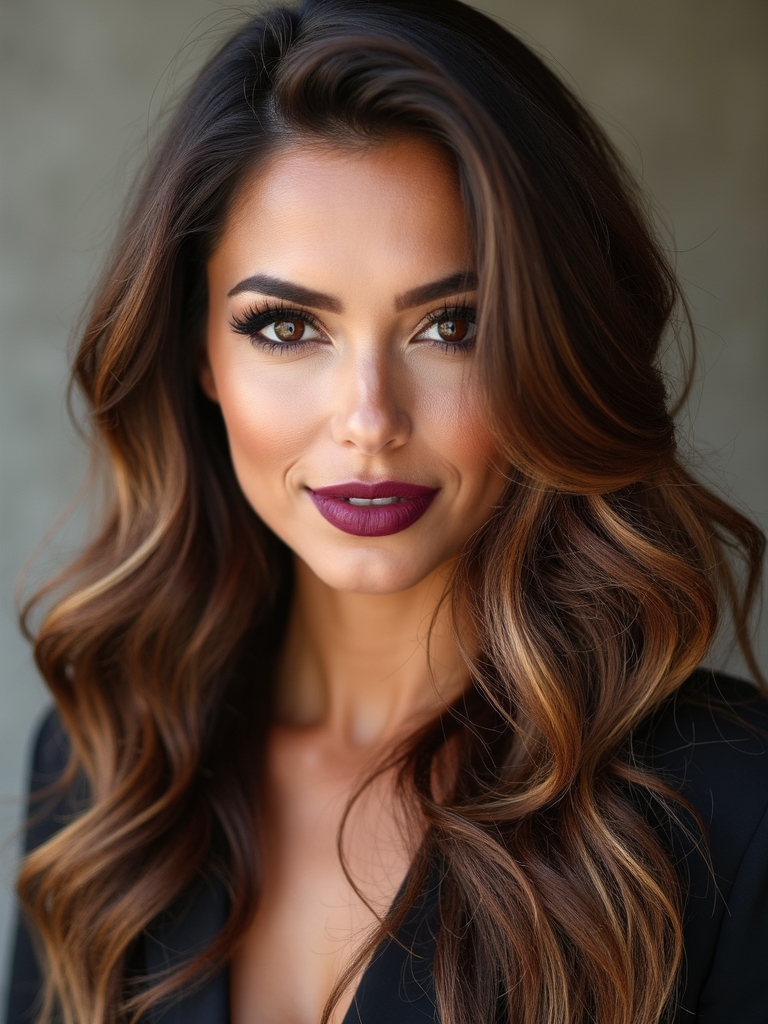
Crossover volume does not require heat, which surprises people who assume a blowout is the only route. What it requires is that the hair dries in the position you want it, and gravity is working against you the whole time.
Clipping the crown sections upward while damp and leaving them until fully dry produces the same root lift a dryer would, at the cost of an hour of doing nothing. Overnight versions work the same way.
- Clip two or three sections at the crown straight up while damp, then remove once bone dry
- A volumizing mousse at the root before clipping roughly doubles how long it holds
- Sleep with the part on the opposite side and flip it back in the morning for free lift
Common Mistakes to Avoid
The most common mistake is asking for layers to fix flat hair when the part is the actual lever. Layers remove weight, which helps, but a person with a center part and no lift will get more from moving the part two inches than from any amount of layering. Try the free version for a week before booking anything.
The second is having the cut done on a part you do not wear. Stylists work with hair parted wherever it fell when it was combed wet, and unless you say otherwise, that is where your layers get measured from.
Say at the start which side you part on and how deep, and have it set that way before any cutting begins. The third is fighting a cowlick head-on for years; parting alongside one rather than across it gives almost the same lift and stops the daily argument.
Side-Part Layering Questions
?My side part goes flat by lunchtime. What is going wrong?
Usually the root was never dried in the lifted position, so there is nothing holding it. Dry the crown with the part opened out and the roots pushed upward, let it cool completely, and only then sweep everything across. Product applied to already-flat roots cannot lift them.
?How do I switch to a side part when my hair has been center-parted for years?
Give it about a week. Hair develops a memory at the part line and will drift back for the first several days, which is normal. Wash, part it where you want it, and clip the crown while it dries. After a handful of washes it stays without help.
?Should the layers be different lengths on each side?
Yes, if the part is deep. A deep part moves several inches of hair from one side to the other, so cutting both sides identically leaves you with a visibly longer heavy side. A stylist cutting with the part already set handles this automatically, which is the main reason to set it first.
The Cheapest Change in Hairdressing
It is worth sitting with how little this costs. A deep side part takes four seconds, requires no appointment, and does more for flat hair than most products on the shelf, which makes it the rare thing in this industry that is free and works.
The layers matter too, but they matter second. Save the versions here that look like your hair, wear the part for a week before your next appointment, and then let a stylist cut layers that were designed for the head you actually walk around with.
You Might Also Like





