

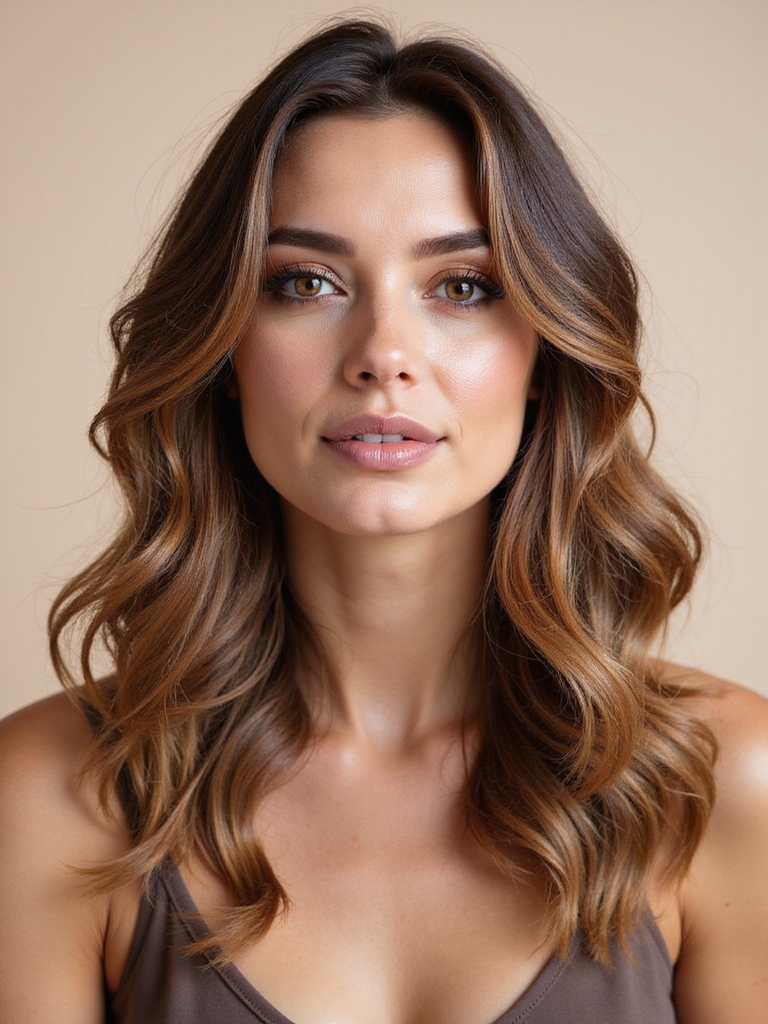
Scroll through any layered-cut board right now and you’ll find the same ten or so looks saved thousands of times over: butterfly layers, the wolf, curtain bangs, a soft lob. Popular doesn’t always mean it behaves the same way on your head that it does on the model’s, and that gap is where most salon disappointments start.
This is a working list of what’s actually filling those boards this season, sorted by how much effort each one really asks of you once the photo shoot ends. Expect an honest read on upkeep, who it flatters, and what to hand your stylist so the cut still looks like the photo once you’re home.
Before You Screenshot Anything
- Match the cut to how much time you actually spend styling each morning, not to how it looks in a still photo.
- Softer, longer layering survives the trip from screen to bathroom mirror better than sharp, choppy versions do.
- Bring four or five photos of the same look so your stylist can see the pattern across all of them, more useful than one flattering angle.
Butterfly Layers, and Why They’re Booked Solid

Butterfly layers are the one nearly every layered board leads with this season, and the reason isn’t hype alone. A short, cropped section sits over your full length, so the crown lifts into real volume while the ends stay long underneath. The lift is real.
The bounce in those photos depends entirely on length. Anything shorter than mid-back struggles to show the two distinct layers, and the shortest piece needs real distance from the longest, or the two layers blur into a single uneven line.
Diffuse the crown upside down for a few minutes before touching the rest, and the lift holds all day without extra product. Save it if your hair already reaches past your shoulders; skip it if you’re still growing out a shorter cut.

The Wolf Cut, Cropped and Undone

The shaggy wolf cut is the one clients under thirty ask for by name, screenshot already open. Dense, disconnected layers crop the crown while the rest spills into wispy, uneven lengths, all volume and no polish. This one has range.
Who Actually Suits It
What the photos don’t show is how little the finished look actually needs. A texture spray worked through damp hair and left to air-dry gets you most of the way there. A rough tousle with your fingers does the rest.
It rewards hair with some natural movement already; poker-straight strands may need a curling iron to fake the piecey separation the cut is built around.
Cheekbone-Grazing Pieces That Flatter Almost Everyone
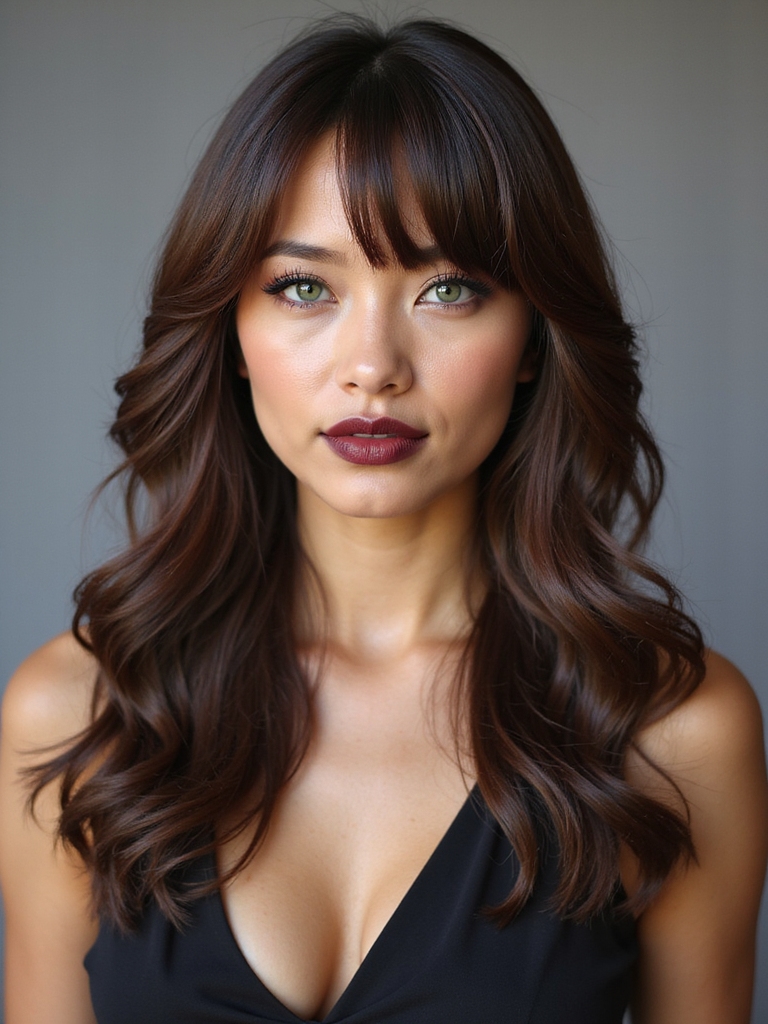
Face-framing layers might be the quietest over-performer on any board, saved constantly because they ask for almost nothing and flatter nearly every face. Almost nobody skips this one. The shortest piece starts around the cheekbone and lengthens back to blend into the length behind it.
Ask your stylist to keep that shortest point right at the cheekbone, not higher; anything shorter turns into a daily styling commitment. Paired with a fringe, this idea shows up again in layered hair with bangs.
- Works on straight, wavy, and curly textures alike
- Needs a round brush only on days you want it swept back; left alone, it falls loose
- Grows out into a longer version of the same shape, no awkward stage
Long Layers That Lift the Weight Off

Long layers are the board staple for anyone growing their hair past their shoulders and tired of the weight pulling it flat. A few cuts cut deep into the length are what let it move. The technique itself is simple. Left at one length, that same hair just hangs flat under its own weight, and the technique asks very little of a stylist’s chair time. For more on layering the rest of long hair, see long layered hair.
- Best once hair sits past the collarbone, where there’s enough length to layer into
- Air-dries with movement on its own; no round brush required
- Keeps nearly all your length while still adding real motion
“Tell your stylist you want to keep length. Ask for layers cut only through the last third of your hair, starting well below the crown, which keeps the weight and density most long-hair fans are protecting in the first place.”
A Soft, Cascading U Instead of a Blunt Line

Soft U-shaped cuts show up constantly on long-hair boards, and it’s easy to see why once you compare them to a blunt cut. The back curves into a gentle U, longest at the center, so the ends fall into a rounded, cascading curtain along the back. The shape holds itself.
Best on Hair Past Mid-Back
It’s a more deliberate shape than a one-length trim, and the curve is built into the cut itself, needing no extra effort each morning.
A light cream worked through damp ends keeps the shape soft rather than stiff once it air-dries. If you want the same idea at a shorter length, a long layered bob uses the same curved logic.
A Choppier Shag for the Barely-Trying Look

This version of the shag piles heavy layering through the crown, then chops the face-framing ends short and choppy, so the whole cut looks intentionally rumpled from every angle. Undone is the whole point.
It might be the easiest cut on this whole list to live with day-to-day. This is the rare cut where messy between washes is the plan, not an accident.
- Best if your hair has natural movement already, from a loose wave up to real thickness
- A dime-sized amount of texture paste on dry ends is the entire routine
- Fine, thin hair can lose too much density if it’s over-layered this heavily
Curtain Bangs, Blended Into the Layers

Curtain bangs have outlasted plenty of hair trends by now, and pairing them with layers finally gives the fringe somewhere to blend, tying it into the layers around it.
The One Move That Makes It Work
The center-parted fringe sweeps out to frame the face on both sides, softening whatever length or texture sits behind it. The blend is the trick.
What most boards leave out is the daily styling: without a quick round-brush pass while the fringe is still damp, it dries straighter and flatter than the photo promises. For the fringe-first version of this pairing, see layered hair with curtain bangs.
The Collarbone Lob That Grows Out Without Drama

A layered lob sitting at the collarbone is the practical save on this list, current enough to photograph well and low-effort enough to actually book. Booking it rarely disappoints, and it’s usually the cheapest cut on this whole list to keep up, running around $65 for a cut-only visit at most mid-range salons. For the wider category, layered haircut covers more variations.
- Request layering that runs the full length past the tips, so the ends swing with real movement
- Round-brush the ends under while blow-drying for the bend shown in most photos
- Missed trims barely show; the grow-out blends into a slightly longer version of the same cut
💡Grow-Out Math
A cut like this holds its shape for close to two and a half months before the ends start looking stringy. Put the next trim on the calendar early; waiting until it already looks tired means cutting off more length than you’d like.
Layers You Can’t Actually See

Invisible layering is built for anyone who loves how much hair they have and doesn’t want to lose the look of it. The layers sit well beneath the surface, removing weight from underneath while the top stays one smooth, dense length.
From the outside, it could pass for all-one-length hair that somehow still moves. Nothing about it shows. The work happens in sections you never see finished.
This one takes a stylist who actually knows the technique by name. Ask for the technique by its real name when you book.
Layering That Finally Respects Curl Pattern

Layered cuts built for curls are finally showing up on boards in real numbers, and it’s a welcome shift after years of straight-hair defaults dominating every list.
The key difference from a straight-hair layered cut: curls have to be shaped while completely dry, curl by curl. Dry cutting changes everything, because wet curl length and dry curl length are rarely the same number.
Skip a stylist who insists on cutting curls wet and stretched. Ask specifically for a dry-cutting specialist, and expect the coils to spring up noticeably shorter than they looked sitting in the chair.
Micro-Layering for Hair That Falls Flat

Fine-haired boards cling to precision micro-layering because it promises volume without thinning out what little density is already there. Subtlety is the whole game.
Light, closely-spaced layering lifts the roots and adds the illusion of thickness, but push it too far and fine hair loses the small amount of weight holding it together.
- Keep the layering subtle and high, away from the ends
- A root-lift mousse on damp hair roughly doubles the effect
- Tell your stylist your hair is fine before the first cut begins
| Hair Type | Layer Intensity | What to Watch For |
|---|---|---|
| Fine or thin | Light, high layers only | Over-layering thins it further |
| Medium | Moderate layering through mid-lengths | Holds shape well between trims |
| Thick or dense | Heavier, deeper layers | Needs the weight actually removed to move |
Point-Cut Layers With Visible Separation

Choppy, point-cut layers break hair into distinct pieces that move independently, each piece catching the light on its own. Attitude is the entire appeal, and that’s what gives the whole cut its edge in photos.
- Works best on hair with some natural wave or coarseness to hold the separation
- A texture paste worked into dry ends is what defines each piece
- Skip it if a polished, uniform finish matters more to you than attitude
Feathered Ends for a Softer Finish

Feathering thins the very ends of the hair so they flick and float, giving layered cuts a delicate, almost weightless finish. The ends do the work.
It gives a softer, pricier impression than the cut actually costs to maintain, though thinned ends need extra conditioning to stay healthy and full.
- Best on medium-to-thick hair that has extra length to lighten
- Used sparingly on fine hair, or the ends thin out too much
- A round brush on the last few inches brings out the flick
The Midi Length Most People Land On

Midi-length layers sit in the gap between collarbone and chest, and it might be the most-booked length range simply because it suits the most lifestyles. Most people land here.
Layers through that midi length add the bounce that gives the length a styled, finished look each morning, and the upkeep stays reasonable for someone without an hour to spare. If you’re specifically working with mid-length hair, mid-length layered haircuts goes deeper on that range.
- A quick round-brush pass at the ends gets most of the movement
- Sits comfortably between a short bob and a full long-hair commitment
- Forgives an extra week or two past a trim date better than shorter cuts do
Clients rarely ask for ‘midi length’ by name. They bring in three photos of different lengths, and it turns out every one lands in that same in-between zone.
A Layered Pixie That Isn’t Severe
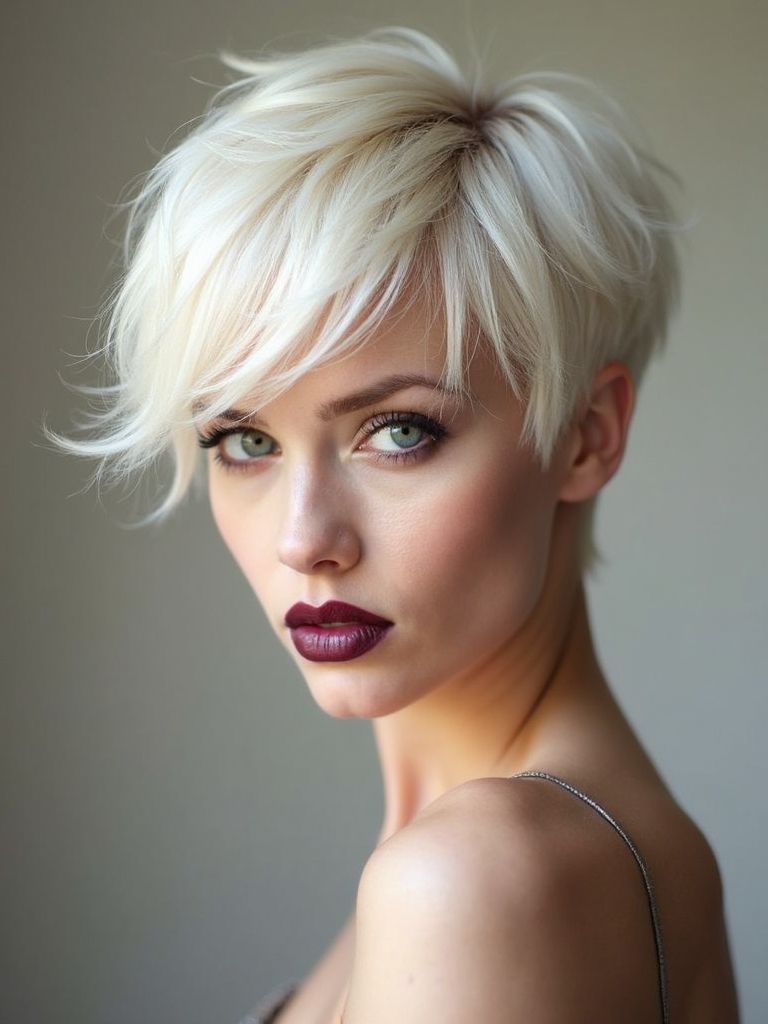
A layered pixie swaps the usual short-and-severe read for something textured and soft, using layers through the crown to build lift at the top. Texture replaces severity.
- Best if your hair has enough texture to hold a short shape without frizzing out
- A small amount of paste worked through dry hair defines the top texture
- Plan on a trim close to every two months to keep the shape from growing shapeless
Styling the Layers So They Actually Move

None of these cuts survive without the right finishing routine, and the good news is most only need one or two moves total. Two moves, tops.
- Dry the roots first, lifting away from the head, for the volume most photos show
- A round brush sets the bend through the lower two-thirds of the hair
- Finish with a small amount of paste or a light serum; more product flattens the very lift you just built
Bringing the Right Reference Photos In
A single perfect photo tells a stylist less than you’d think. One photo undersells it. A folder of saved looks shows the throughline your favorites share, which matters more than any one flattering angle.
Try to include at least one photo on hair close to your own texture and thickness. The same layered cut behaves differently on straight hair than it does on wavy or curly hair, and a stylist needs to see that before cutting.
- Say out loud how much time you’ll really spend styling on a normal morning
- Mention if you’re growing your hair out or planning to keep it at this length
- Ask which of your saved photos is closest to your actual hair type
Layered Cut Questions Worth Asking First
?Do any of these layered styles hold up on second-day, unwashed hair?
Soft, longer layering, like long layers, the soft U, or the collarbone lob, tends to hold its shape into day two or three since there’s less structure to fall out of. Heavily point-cut or micro-layered styles rely more on a fresh style each time, since the separation softens as natural oil builds up.
?What actually separates a shag from a wolf cut, since the photos look so close?
The wolf cut crops the crown more aggressively and leaves the ends distinctly wispy and uneven; a shag layers more evenly through the whole head with a rounder, less severe silhouette. In the chair, I’ve watched clients ask for one and describe the other; ask to see both sketched out before you commit, since stylists sometimes use the terms loosely.
?Can I go from one-length hair straight into heavy layering in a single appointment?
Usually, yes, since heavy layering mostly removes hair rather than adding it, and most lengths can handle that in one visit. Very short one-length hair is the exception, since cutting it that heavily can throw off the balance of the cut entirely.
?Is there anything here that works while I’m still growing my hair out?
Long layers, invisible layering, and the collarbone lob are the three built for that; each adds movement without cutting off length. Butterfly layers and the wolf cut both work against a grow-out, since they depend on a defined length gap to read correctly.
Save What You Love, Book What Actually Fits
Every look on this list earns its place on a board for a real reason: the volume, the softness, the low-key edge all photograph the way they do because the technique behind them works. Popular and right for your hair, though, are two separate questions.
Pick the version that matches the mornings you actually have, not just the photo you keep re-saving, and bring more than one reference to whoever’s holding the shears. That’s the difference between walking out with the cut in the photo and walking out with an approximation of it.
Related Reads





