


Here is the best thing about a pixie: curl is a styling choice, not a haircut. Add a bend, a spiral, or a bounce and the whole crop changes, the curls catching light and giving short hair a movement that flat styling lacks. You can wear it sleek one day and curled the next, all with the cut you already have. And curling a short crop is easier than it looks once you know the basics.
Below are fifteen ways to curl a pixie, from soft tousled waves to glossy spirals to natural coils, plus the technique and the few products that keep the curl soft and lasting.
Curling a Pixie, Quickly
Can I curl hair this short? Yes, easily. A small-barrel wand grabs short sections, and even a flat iron can bend a crop into soft waves with a twist of the wrist. Short hair curls fast and holds well, so it takes only a few minutes.
How do I make the curls last? Three things: a heat protectant, curling away from the face, and letting each curl cool before you touch it. A flexible-hold spray sets them without the crunch.
Do I need heat at all? No. If your hair is naturally curly or coily, a curl cream and a diffuser bring out your own texture with no hot tools, which is gentler and lower effort.
Soft Tousled Curls With Natural Movement
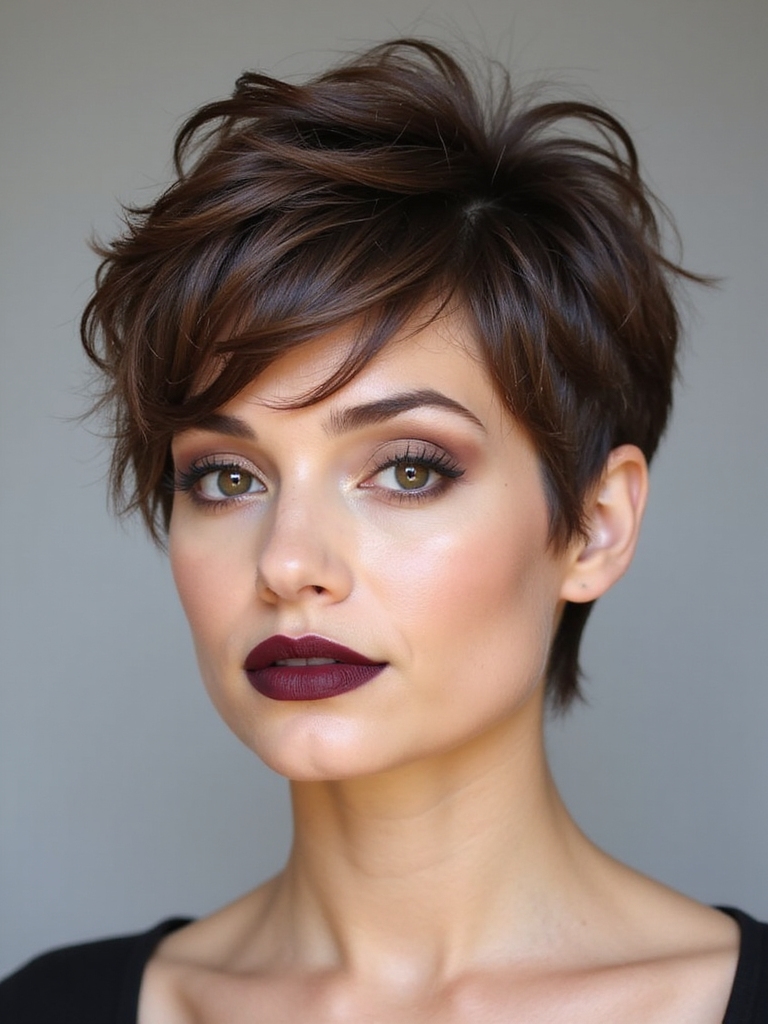
Soft, tousled curls are the most wearable way to curl a pixie, the crop curled loosely and then broken up for natural, easy movement. The curls sit soft and loose. They read relaxed and modern. A large-barrel wand or a few bends with a flat iron create them, and a finger-break softens the finish. This is the everyday curled look, and it takes about five minutes.
- Loose, broken-up curls for relaxed movement
- A large barrel or a flat iron does it
- Finger-separate so they never look stiff

Defined Spiral Curls With Glossy Shine
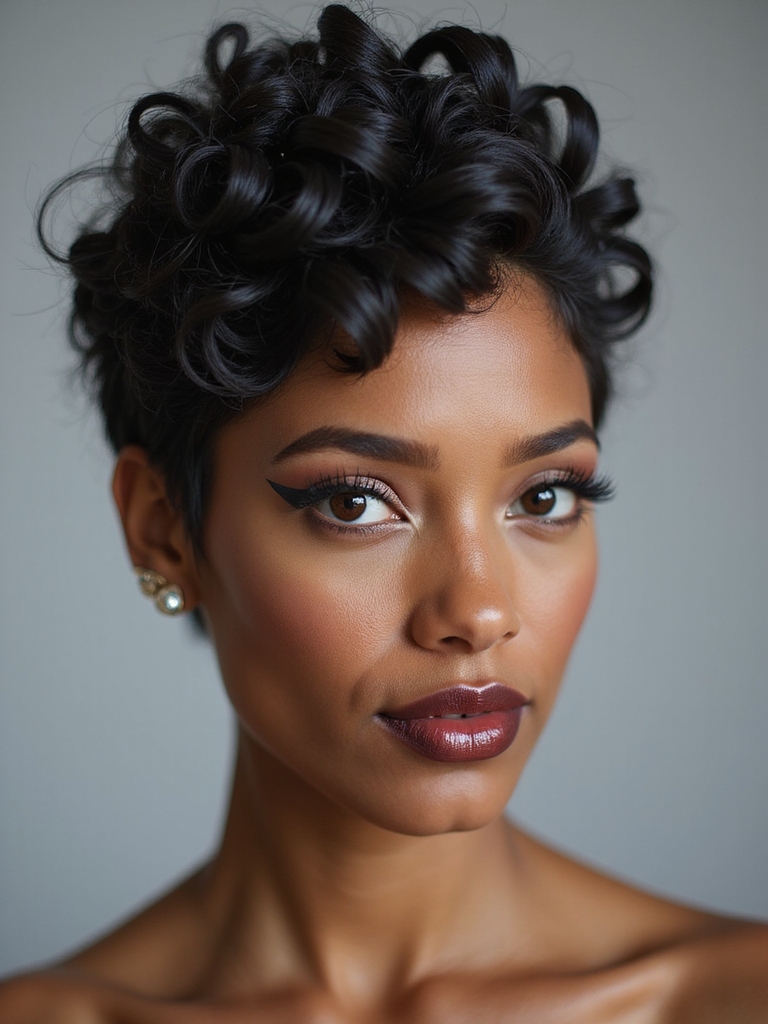
Defined spiral curls give a pixie crisp, dressed-up texture, the crop set into clear, distinct rings. The shape is sharp and deliberate.
A glossy finish makes the spirals look polished and intentional. A small wand, around half an inch, sets each ring. Mist a little hairspray on the section before you wrap it, since that holds the spiral far longer on short hair. Seal with a shine drop at the end. This is the version for an event, when you want the curl to look deliberate and sharp, and it takes maybe ten minutes for a full head.
How to curl a pixie in about five minutes:
1Prep with heat protectant
Mist dry hair before any hot tool touches it, even on a short crop.
2Wrap small sections away from the face
A small wand grabs short pieces; hold each one a second or two.
3Cool, then break them up
Let each curl set, then finger-separate for soft movement and a flexible-hold mist.
Side-Swept Curls With a Deep Part
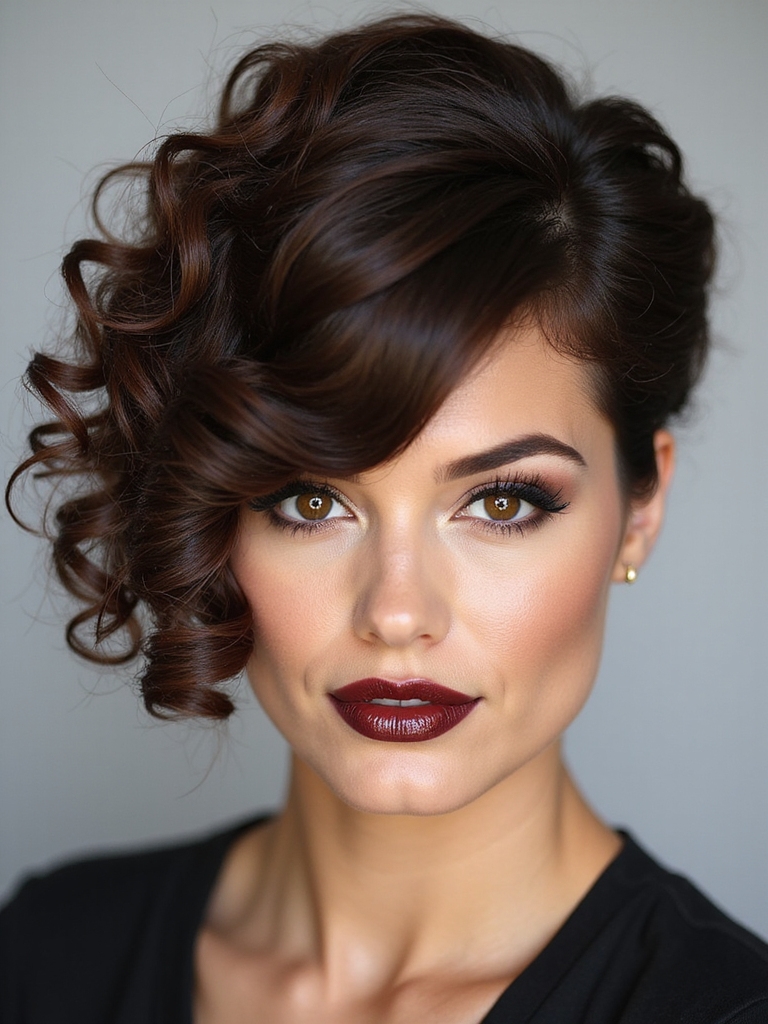
Side-swept curls from a deep part give a curled pixie glamorous shape, the curls swept across in a flattering diagonal.
Occasion-ready in minutes
The deep part and the sweep look polished and dressed-up. It is the version I curl for clients heading to an event, since it photographs beautifully and holds.
A wand curls the crop, then you sweep it to one side from the deep part and set it with a little hold.
Curled Pixie With Tapered Sides
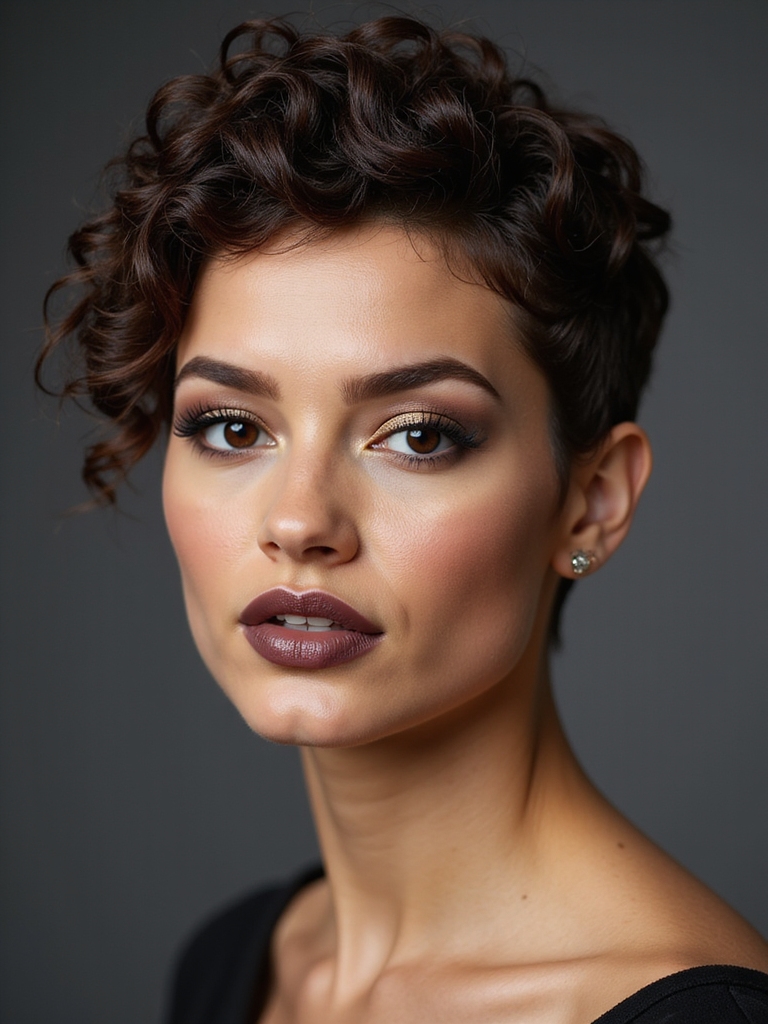
A curled pixie with tapered sides keeps the curls full on top while the sides taper clean.
Texture up top, neat at the sides
The taper frames the curls and keeps the shape sharp, letting the curled texture be the focus.
A wand curls the top, and the tapered sides stay neat with a trim every few weeks. It is a balanced look that flatters most faces.
A pixie is the one length where curl is a daily choice, not a commitment. Sleek on Monday, curled on Friday, all with the cut you already have.
Voluminous Crown Curls for Lift
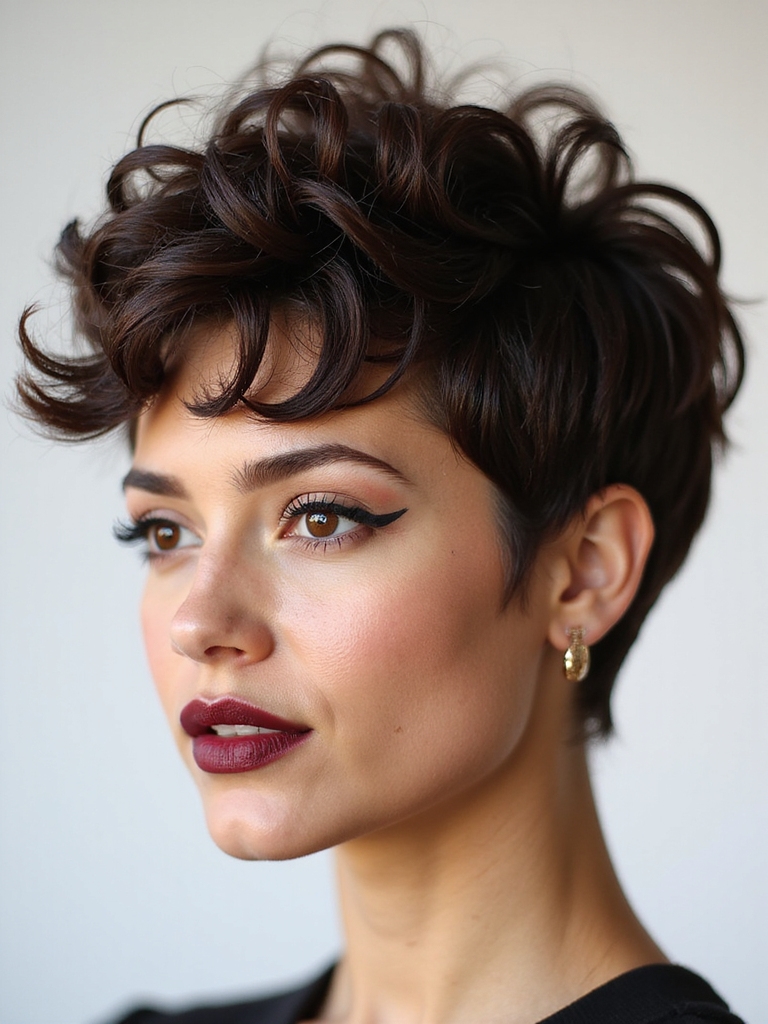
Crown curls add flattering height, the curls built up tall at the top to lift the whole crop. The volume balances the proportions of a short cut and gives it real body.
A round brush or wand lifts and curls the crown, and a volume product holds it. Here is what gets you real height: tip your head forward and curl the crown up and back, so gravity sets the lift for you. This is the move to make if your pixie tends to sit flat on top by midday.
- Curl and lift the crown for height
- Balances the proportions of a short cut
- A volume product holds the lift all day
Finger-Wave Curls With Retro Glam
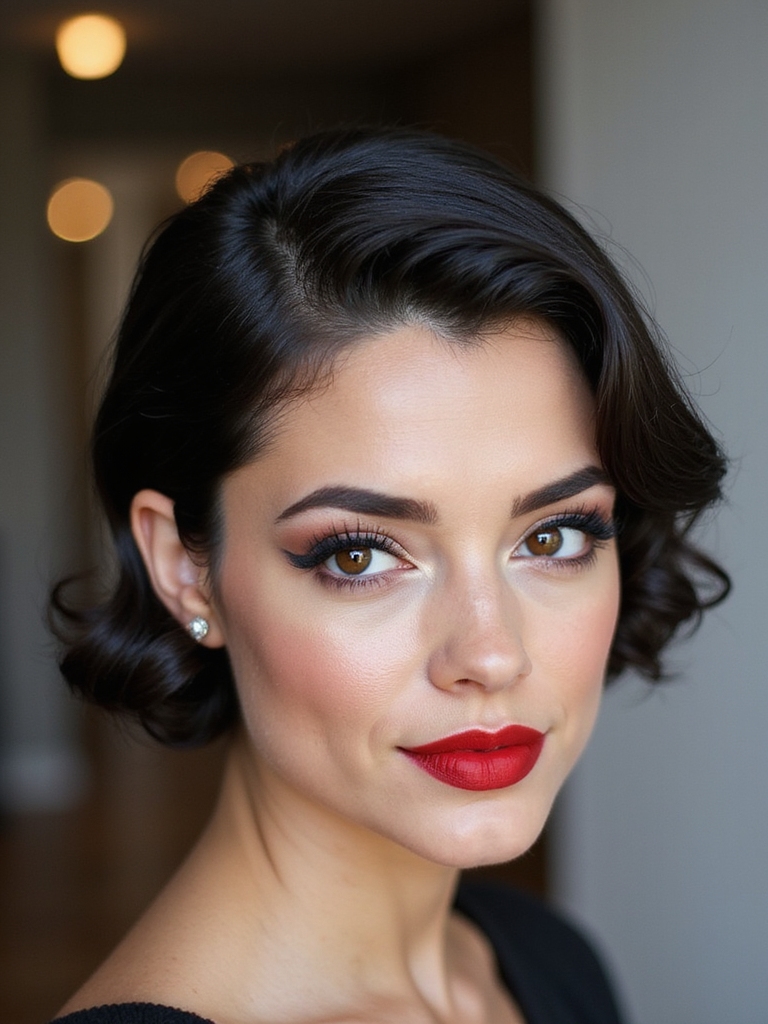
Finger-wave curls bring sculpted, retro glamour, the front molded into smooth waves that blend into curls behind.
The finger-wave detailing nods to vintage style and looks polished and special.
A gel sets the waves at the front while a wand curls the rest. Comb the gel through the front in an S-shape and pin each ridge with a clip until it dries. It is a showstopper for an event, though it takes more patience than a quick tousle, so give yourself twenty minutes.
🅰️Heat curl
A small wand or flat iron bends short hair in minutes, soft or defined, then cools into shape.
🅱️Natural curl, no heat
Curl cream and a diffuser bring out your own coils, gentler on the hair and lower effort.
Curled Pixie With an Undercut Edge

A curled pixie with an undercut edge plays soft against sharp, the sides shaved close beneath a full curled top.
The undercut lightens the crop and sets off the curls, reading bold and modern. A wand curls the top, and the shaved sections stay crisp with a trim every few weeks. See more in our undercut pixie guide.
- Shaved sides under a full curled top
- Soft curl against a sharp undercut
- Lightens a thick crop, too
Face-Framing Ringlets for Softness

Face-framing ringlets soften the crop, the front curled into bouncy rings that skim the cheeks and frame the eyes.
The ringlets flatter the features and add soft, romantic movement up front. A small wand sets just the framing pieces, which is quick even on a busy morning.
- Front curled into soft, bouncy ringlets
- Skims the cheeks and frames the eyes
- A small wand sets just the front
💡Stylist Tip
Always curl away from the face for the most flattering shape, and let each curl cool fully before you touch it. Touching a warm curl drops it. That cooling step is what makes curls last all day on short hair.
Curled Shag-Pixie Hybrid
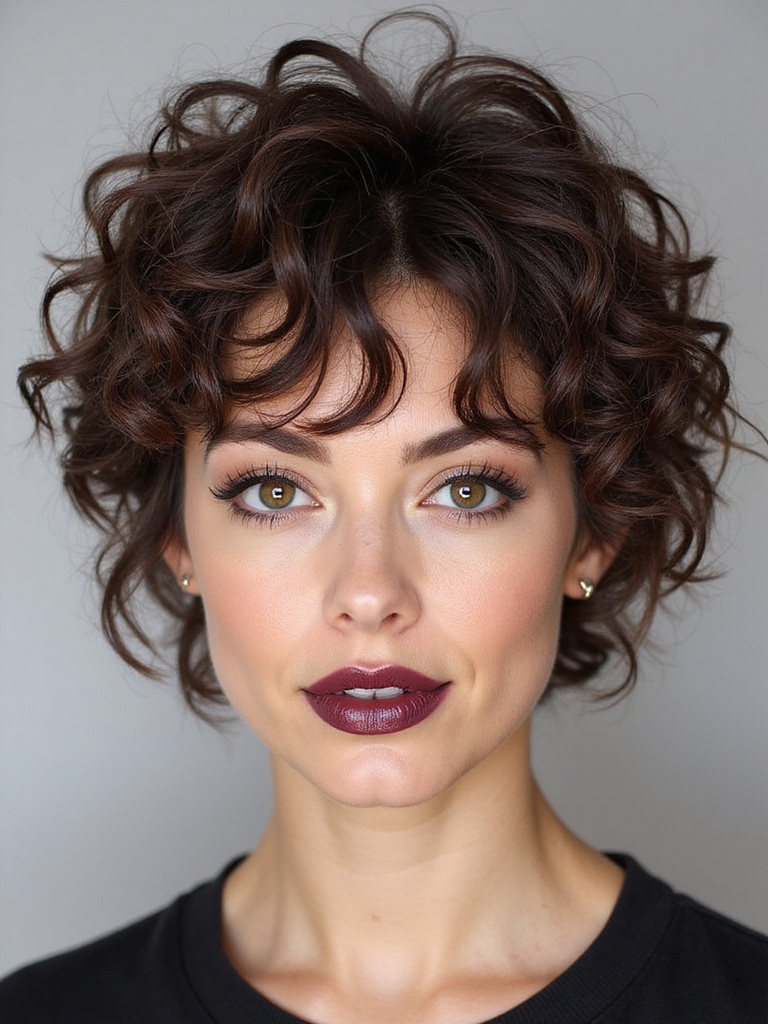
A curled shag-pixie hybrid adds rumpled, full volume, the curls worn shaggier and looser.
Cool and rumpled
The shag influence gives the curled crop a retro-leaning fullness. It is the one I reach for on clients who want curl but hate anything that looks too done.
A wand curls the crop, then a finger-fluff builds the shaggy volume. It looks cool and relaxed. Nothing about it feels overworked.
Wet-Look Curls for a Night Out
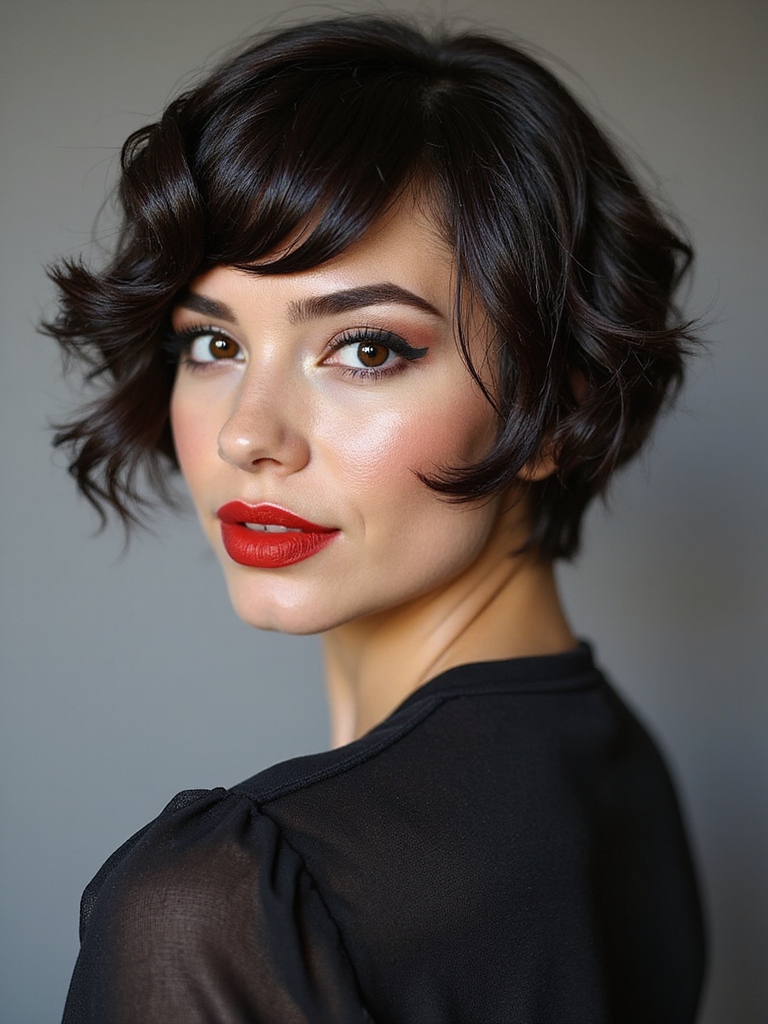
Wet-look curls give a curled pixie a sleek, evening-ready edge, the curls defined with a high-shine, wet finish. A glossy gel shapes them into a polished, shining silhouette. The look catches every light in the room. It is a statement for a night out, and it goes on in minutes once your hair is damp.
- A glossy gel defines the curls wet and sleek
- Polished and evening-ready
- Fast and dramatic on damp hair
Micro Bangs With Bouncy Curls
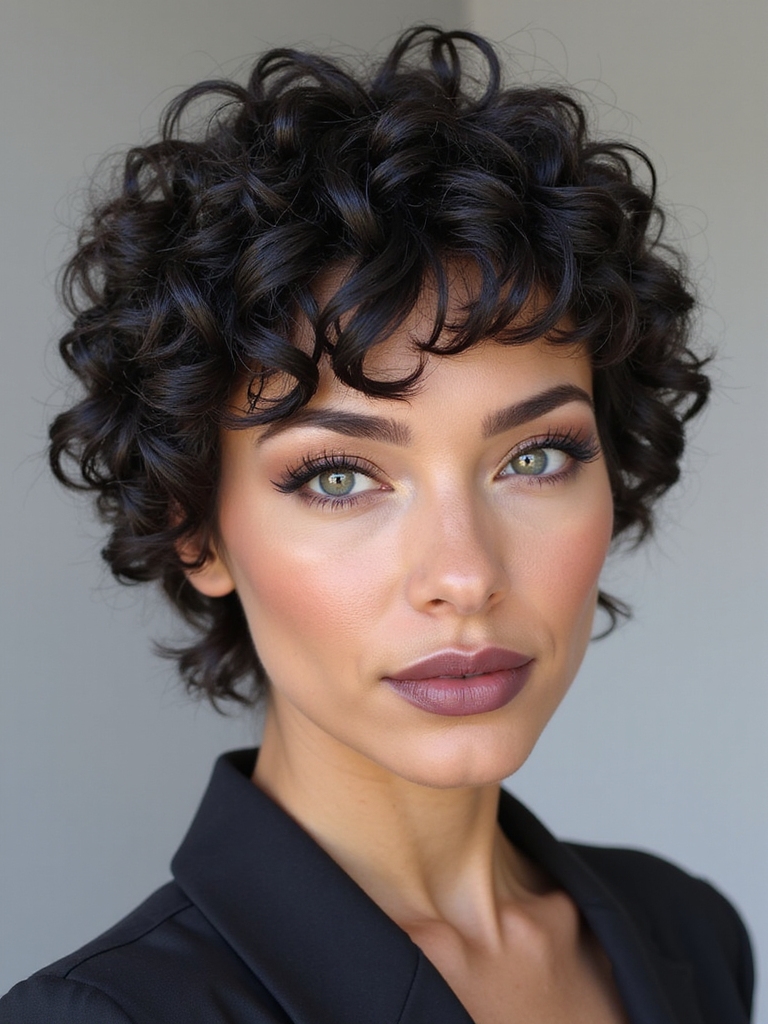
Micro bangs with bouncy curls give a curled pixie a playful edge, the blunt baby fringe set against soft, curled texture.
The contrast of a sharp micro fringe and bouncy curls looks fun and modern. A wand curls the crop while the micro bangs stay blunt and neat, so the two play off each other.
- A blunt baby fringe against bouncy curl
- Playful, modern contrast
- Keep the fringe trimmed; it grows fast
Asymmetrical Curled Pixie
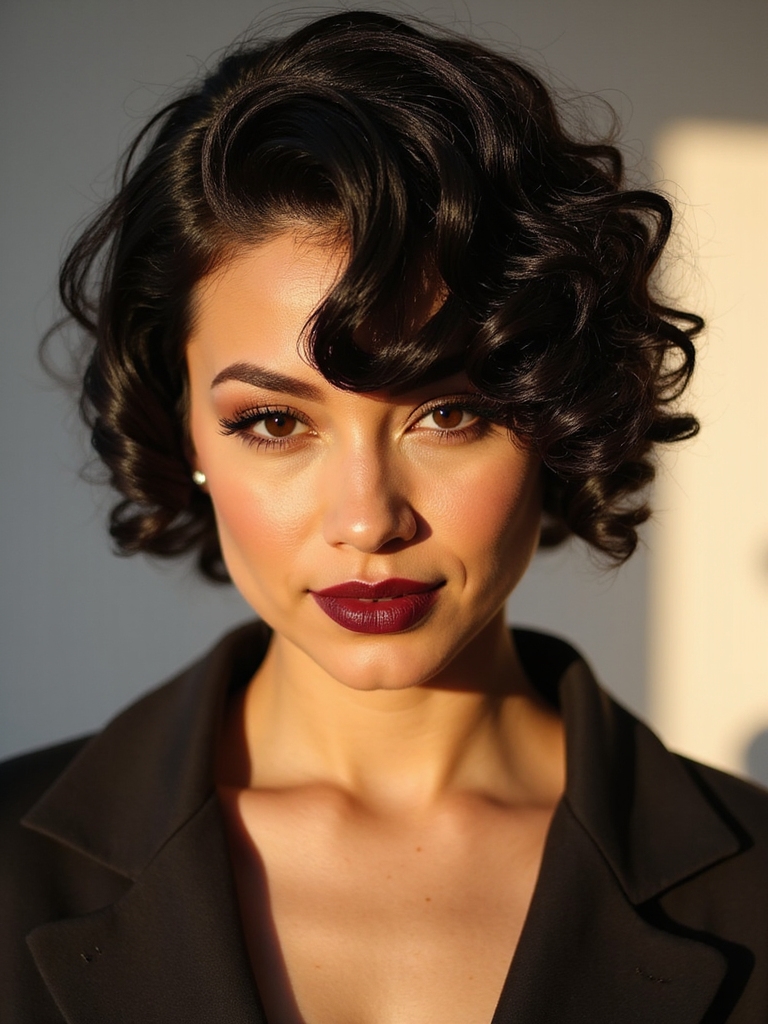
An asymmetrical curled pixie sweeps the curls into a bold diagonal, one side worn longer and fuller.
The off-balance shape and the curl together create modern, confident movement. A wand curls the crop, worn full on the longer side and closer on the other. See more in our asymmetrical pixie looks.
- One side longer and fuller for a diagonal
- Modern, confident movement
- Wear it full on the longer side
Coily Pixie With Defined Edges

A coily pixie with defined edges celebrates natural texture, the coils worn full with a crisp, clean lineup. Best of all, it needs zero hot tools.
The defined edges frame the natural coils for a sharp, polished finish. Apply a curl custard to soaking-wet hair, scrunch, and let it air-dry or diffuse on low. A clean shape-up keeps the edges crisp, and a satin bonnet at night protects the curl pattern so you wake up to defined coils, not a flattened side. See more in our curly pixie guide.
- Natural coils worn full, no hot tools needed
- A crisp lineup frames the texture
- A satin bonnet at night protects the coils
Curled Pixie With Highlights and Lowlights

A curled pixie with highlights and lowlights adds depth, the curls brightened and deepened with placed color. The light and dark tones show the curl off, catching the eye as the texture moves and giving a short cut real dimension. A wand curls the crop, and a color-safe routine plus a gloss keep the tones rich between salon visits.
- Light and dark tones show the curl off
- Adds dimension to a short cut
- A gloss keeps the color rich
Tousled Bedhead Curls With a Matte Finish

Tousled bedhead curls with a matte finish give a curled pixie a cool, undone look, the curls roughed up and finished without shine.
The matte texture reads relaxed and modern, the kind of thrown-together that actually takes a minute to fake.
A wand curls the crop, then a matte paste and a finger-tousle rough it up. Warm a pea-size bit of paste between your palms first so it does not clump. It is the most casual way to wear curl on short hair, and it forgives second-day texture beautifully.
Common Mistakes to Avoid
The mistake I see most is touching the curls while they are still warm. A warm curl has not set, so handling it drops it flat within the hour. Let each one cool fully, then break them up. The second slip is skipping heat protectant, which short hair needs as much as long hair, since you are putting a hot tool right against fine ends.
Two more: using a barrel too big to grab short sections, and over-loading the hair with product so the curls go stiff and greasy. A small wand and a light hand fix both. Curl away from the face for the most flattering shape, and finish with a flexible-hold spray so the curls stay soft.
Curled Pixie Questions People Ask
?How do I curl a pixie that is really short?
Use a small tool and work in small sections. A small-barrel wand grabs even short pieces, wrapped for a second or two, and a flat iron can bend very short crops into soft waves with a twist of the wrist. Always curl away from the face, let each curl cool, then break them up with your fingers.
?How do I make curls last in a pixie?
Start with a heat protectant, curl away from the face, and let each curl cool fully before touching it. A flexible-hold spray sets them. Short hair actually holds a curl well, so once it is set it tends to last the day.
?Can I curl a pixie without heat?
Yes, if your hair has natural texture. A curl cream worked into damp hair and a diffuser on low brings out your own coils with no hot tools, which is gentler and a real time-saver.
?What tools work best on short hair?
A small-barrel wand, around half an inch, is the easiest, and a flat iron works for soft bends with a twist of the wrist. Skip large barrels, which are too big to grab short sections cleanly. A clipless wand also gives you more control on tiny pieces, and a heat-protectant spray is non-negotiable on a crop this short.
?How often will I need to trim a curled pixie?
The cut itself needs a trim every four to six weeks to hold its shape, around $40 to $75 depending on your salon. Curl is just the daily styling on top, so it changes nothing about the upkeep.
Short Hair, Soft and Bouncy
Curl turns a pixie soft. A bend, a spiral, or a bounce gives a short crop movement and light, taking the same cut from sleek to glamorous to undone, all with styling rather than scissors.
Keep the basics in mind: a small tool for heat curls, curl cream and a diffuser for natural texture, a light hold, and a finger-break for softness. Let the curls cool before you touch them, protect them at night with satin, and in a few minutes the pixie you already have becomes a different look entirely.
Keep Reading





