


A layered wolf cut earns its name from the layering, not the shock value. Stacking short, airy pieces over longer ends builds lift at the crown, soft face-framing pieces, and a tapered finish that actually swings when the head turns.
Sixteen ways to wear the shape follow below, matched to length, face shape, and texture, along with what a consultation should actually cover and what the cut asks for between visits.
The Wolf Cut, Mapped Out
- Layers do the work: short crown pieces add lift, longer ends keep the swing, and point-cut tips stop the shape from reading flat.
- Length should follow face shape more than trend photos. Collarbone or longer elongates a round face; cheekbone-grazing shortens a long one.
- Most stylists plan on a trim roughly every two to three months to keep the layers from blurring together.
The Shaggy Wolf Cut, Defined
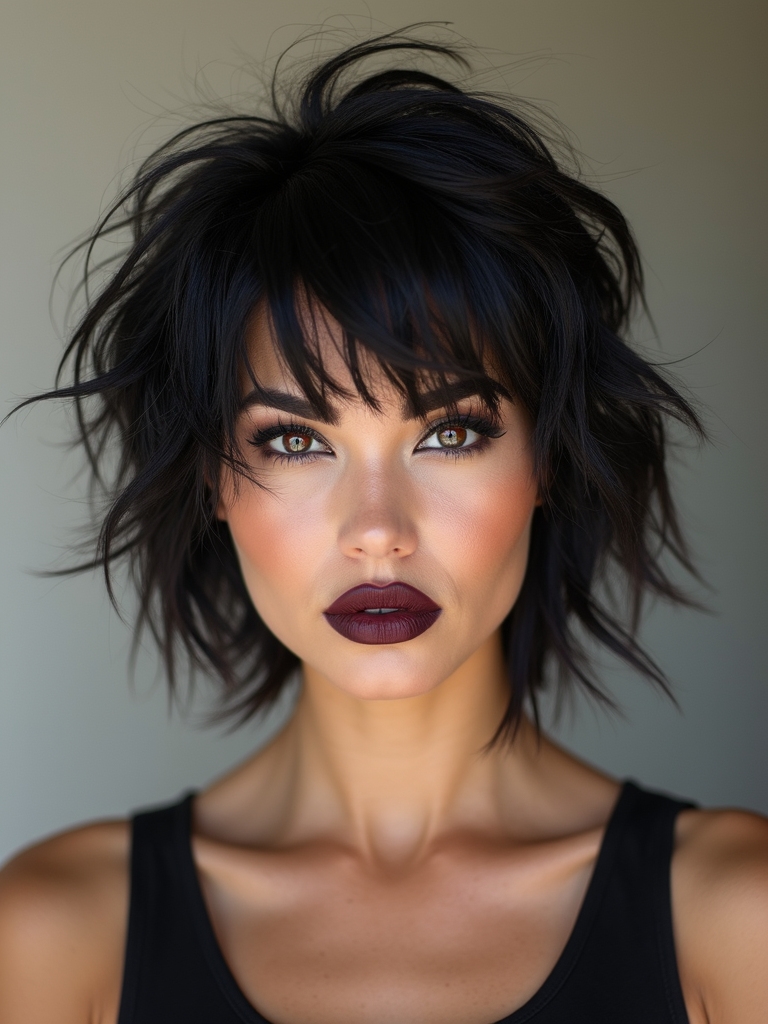
Plenty of shaggy cuts circulate right now, so what actually sets this one apart is the layering logic underneath: airy movement at the crown, soft wings framing the face, and piecey, tapered ends that keep the whole shape from reading static.
The difference lives in the internal layering more than the surface texture, which is why two wolf cuts can look completely different depending on where the shortest layer actually falls.
- Airy crown layers build the lift the cut is known for.
- Soft framing pieces do most of the face-shaping work.
- Piecey, point-cut ends stop the silhouette from going helmet-flat.

Matching Layers to Face Shape
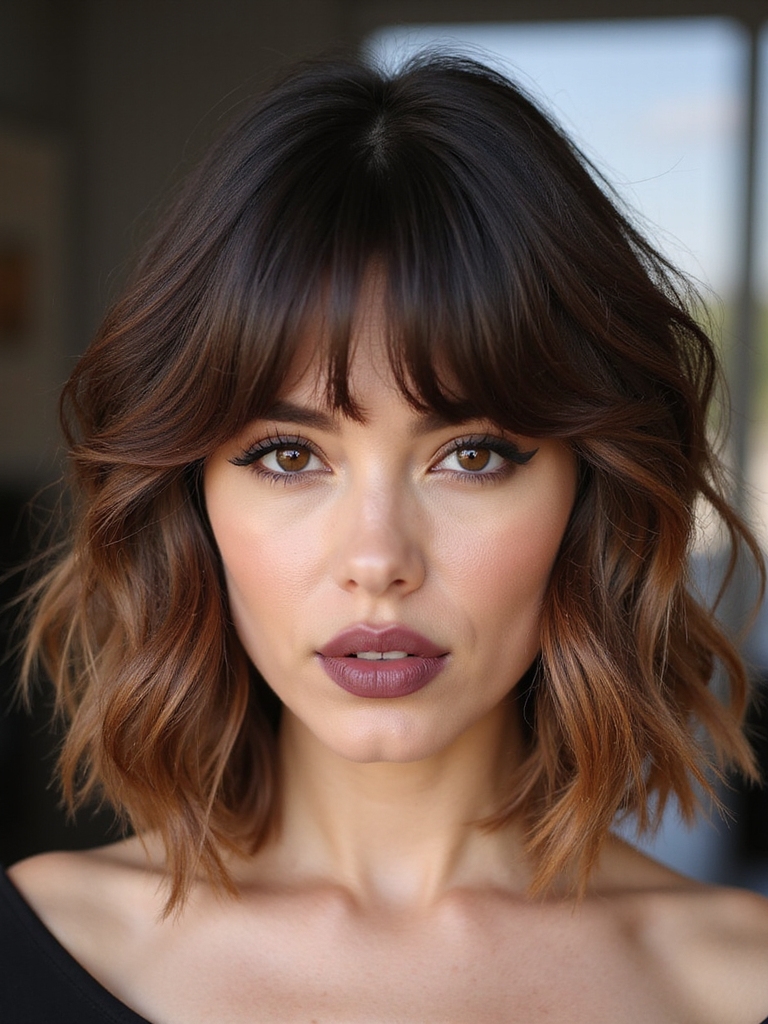
Length is where this cut moves from fine to truly flattering. Most stylists match the shortest layer and the overall length to face shape, so the cut is chosen to complement whatever shape is already there.
- Round faces tend to want length below the collarbone to draw the eye down.
- A strong jaw softens under cheekbone-skimming pieces.
- Heart-shaped faces often do best with chin-to-shoulder length and a curtain fringe.
Feathered Layers for Real Movement
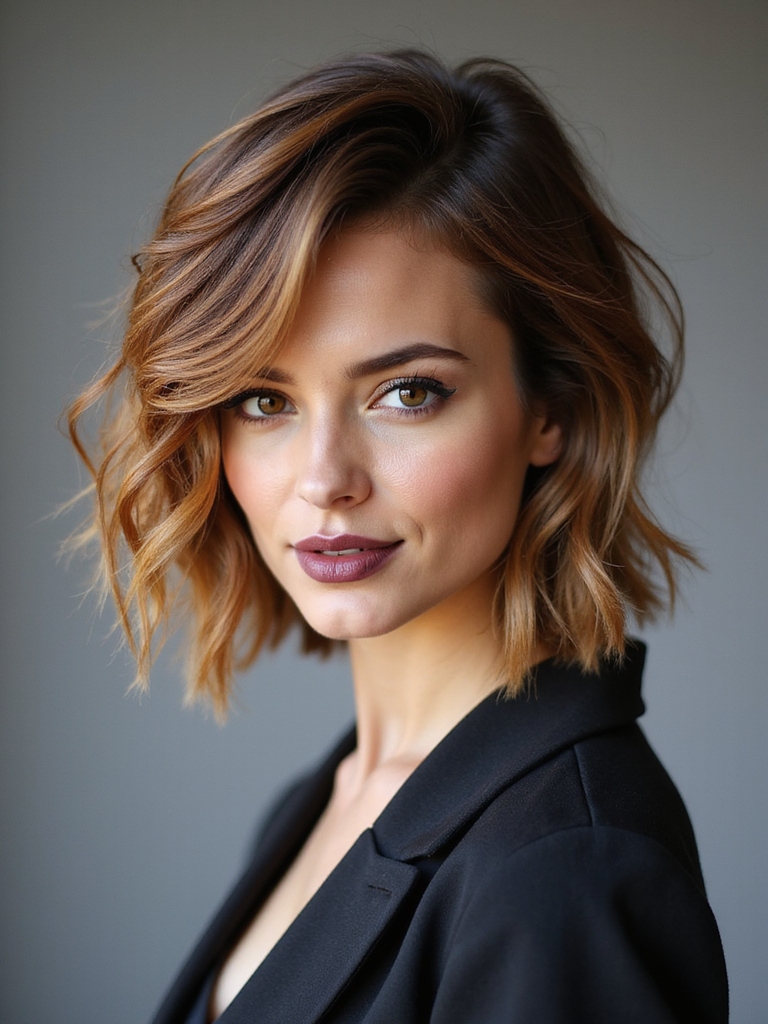
Feathered layers are the softer route into this shape, built around layers that skim the cheekbones and lift gently at the ends rather than chopping in hard. The order matters more than the tools:
- Keep bulk out of the mid-lengths so the shape can actually swing.
- Feather the perimeter with a point-cutting motion for floaty ends.
- Add a wisp of length around the cheekbones to open up the face.
A few cutting terms worth knowing before a consultation:
📖Point cutting
A technique where the scissors point into the hair vertically to break up the ends, giving them a soft, piecey finish.
📖Internal layering
Shorter layers cut underneath the visible length to build lift without shortening the overall shape.
📖Debulking
Removing weight from thick hair so it doesn’t sit heavy, without changing the outer length.
Razor-Cut Texture for Bold Volume
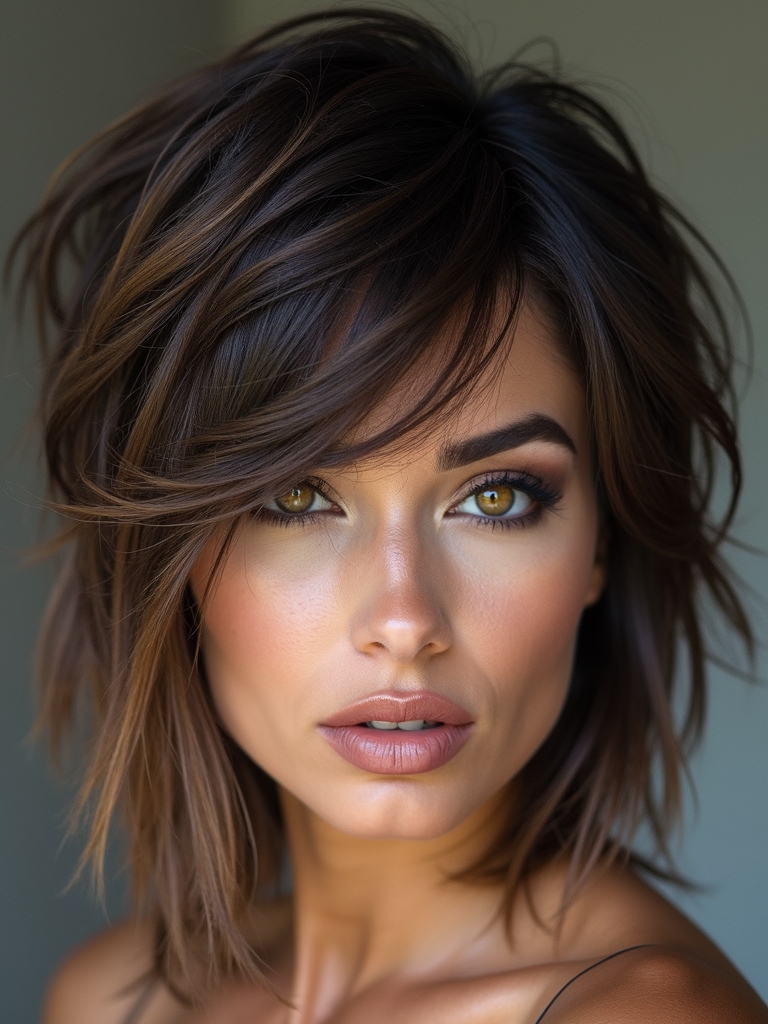
Razor-cutting shatters the ends just enough to boost texture without adding bulk, since the blade thins as it shapes the ends into a soft taper. It isn’t for every head: fine or fragile hair can fray under a razor, so most pros save this technique for medium-to-coarse density.
- Best suited to medium-to-coarse hair that can handle the texture.
- Worth skipping if ends are already fragile or color-damaged.
- A matte paste on dry hair finishes the grit the razor creates.
Soft, Eye-Framing Bangs
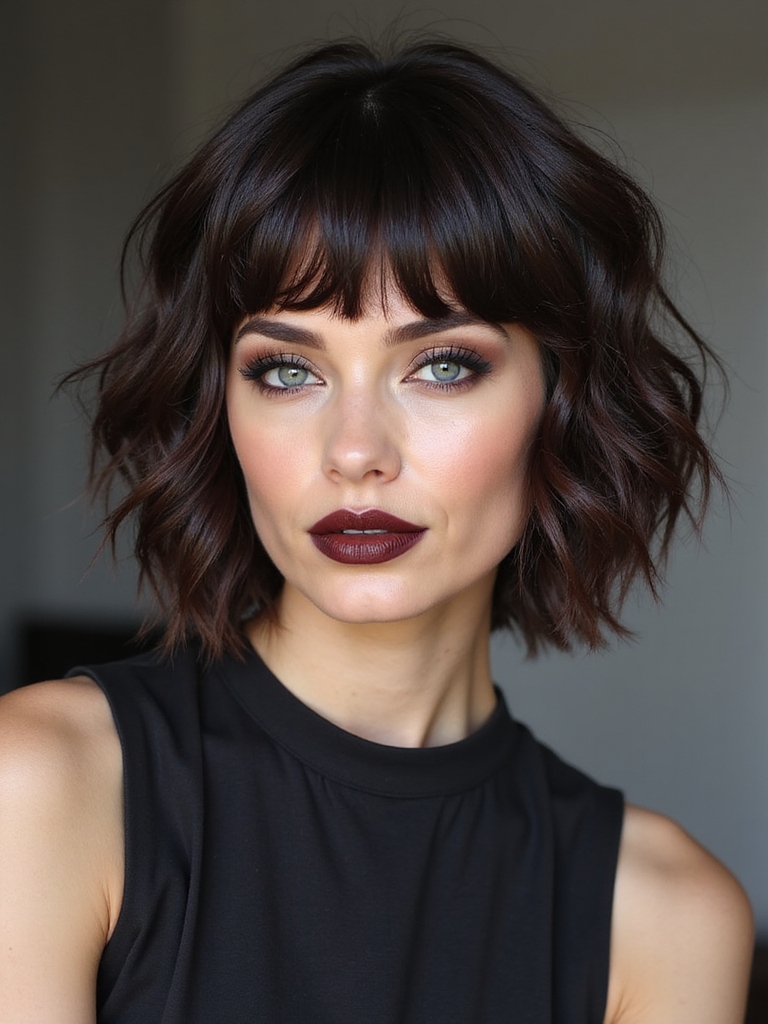
Curtain bangs or a micro fringe change the whole front of this cut, and the right choice usually comes down to styling patience more than face shape. A few ways to test the decision before committing:
- Tuck or pin a faux fringe for a day to feel the length before cutting anything.
- Curtain bangs suit anyone who wants a low-effort, blendable frame.
- A micro fringe only makes sense for someone truly willing to trim it on a tight schedule.
👍What a Fringe Adds to This Cut
- +Curtain bangs blend into the layers with almost no separate upkeep.
- +A micro fringe makes a sharp, fashion-forward statement.
- +Either option reshapes the face without a full cut change.
👎What It Asks in Return
- –A micro fringe needs its own trim on a much tighter schedule.
- –Curtain bangs still deserve a day of testing the length before committing.
- –Fine hair can look thin under a heavier fringe without the right layering.
Graduated Layers for Fine Hair
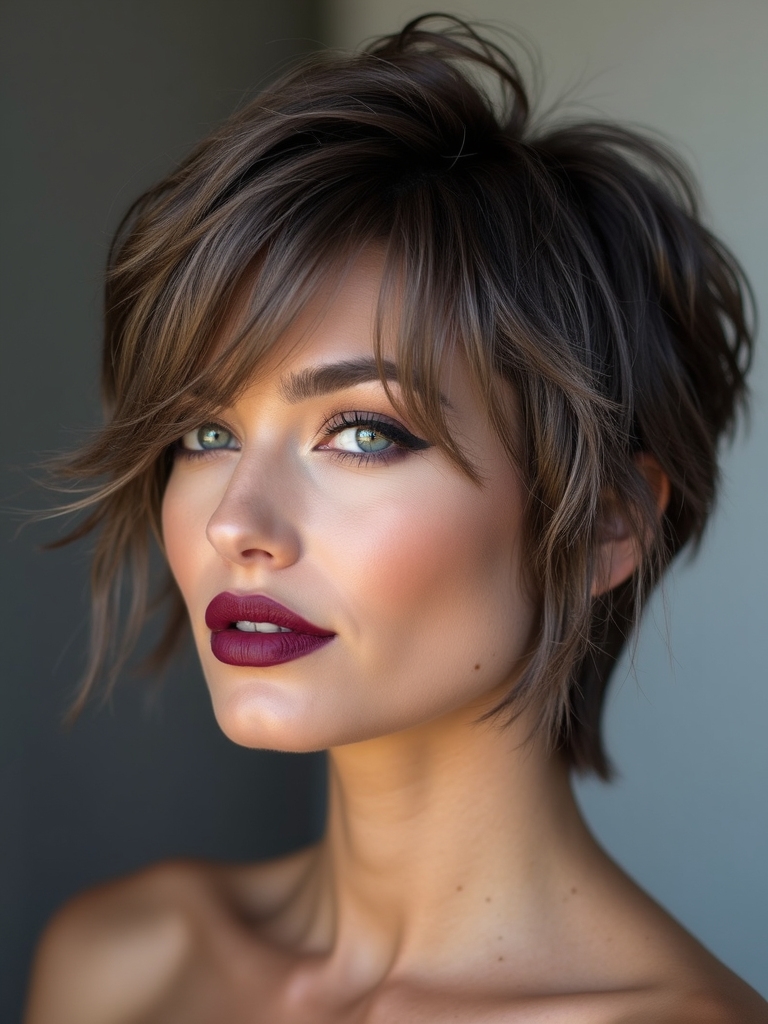
Fine hair carries this shape well once the layering starts in the right place. Keeping graduated layers starting around the cheekbone protects density at the crown, where fine hair needs it most, while the ends stay slightly blunt so they don’t wisp into nothing.
- Layers starting near the cheekbone protect crown density.
- Slightly blunt ends hold more visual weight than fully feathered ones.
- Cutting the shape dry lets a stylist see exactly how much weight to remove.
Debulking Layers for Thick Hair
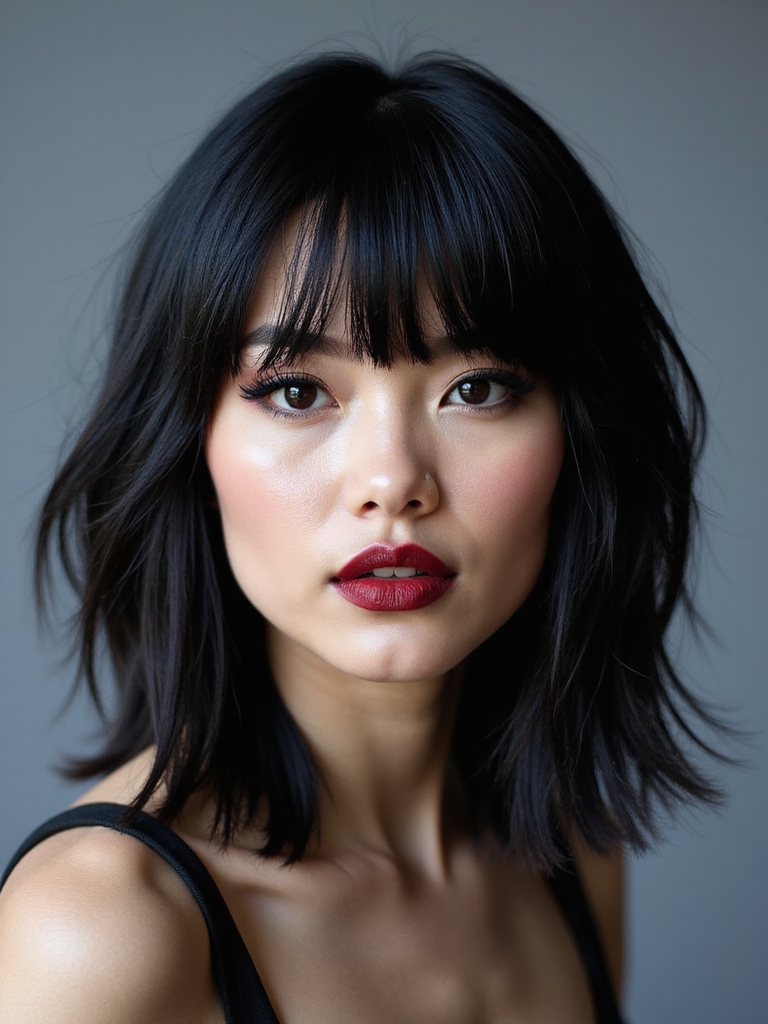
Thick hair needs the opposite plan from fine hair: targeted weight removal so the shape falls where it should without losing the texture that makes a wolf cut work. Layer placement maps around the face and crown to build movement while pulling bulk from the mid-lengths and nape.
- Debulking targets the mid-lengths and just below the crown.
- Face-framing pieces stay longer so the shape doesn’t balloon outward.
- A light mousse and scrunch-drying keep the result airy. For an even bouncier finish, the fluffy wolf cut guide pushes the volume further.
Straight Hair, Built for Dimension
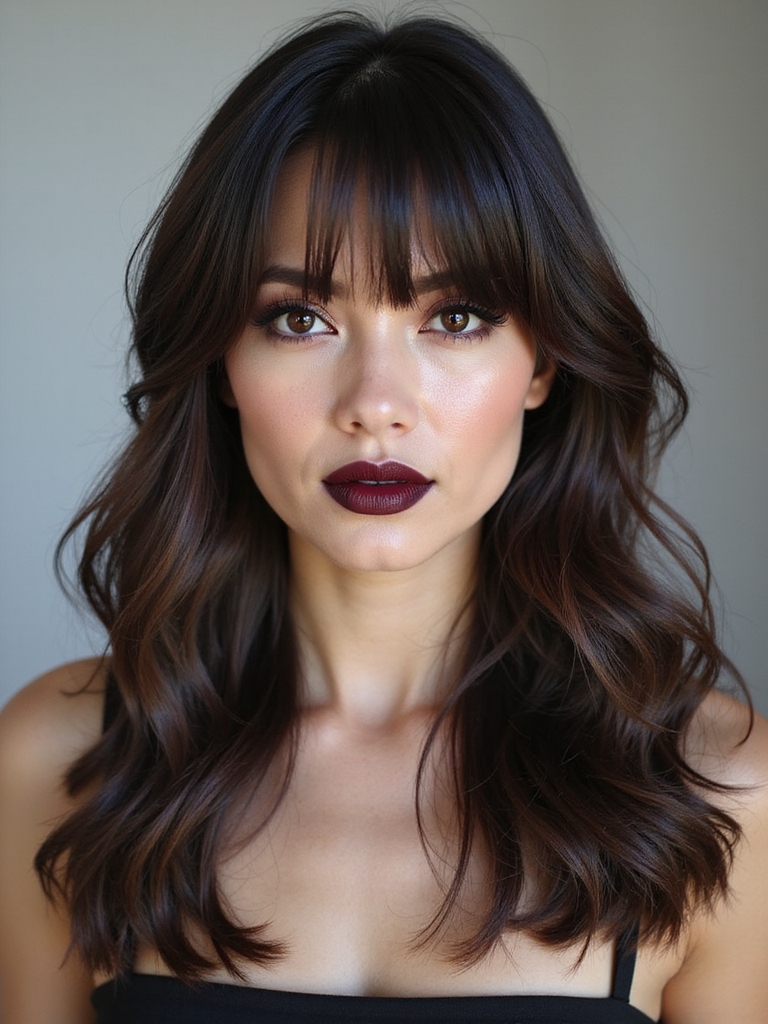
Straight hair can sit heavy in this cut unless the layering does the lifting. Internal graduation, shattered pieces around the face, and invisible texturizing through the mid-lengths are what give straight strands the appearance of real dimension along the length.
- Internal graduation builds shape without shortening the visible length.
- A root-lifting mist plus a round brush adds bend at the crown.
- A featherlight paste holds the texture without weighing hair back down.
Shaping Layers for Curls and Waves
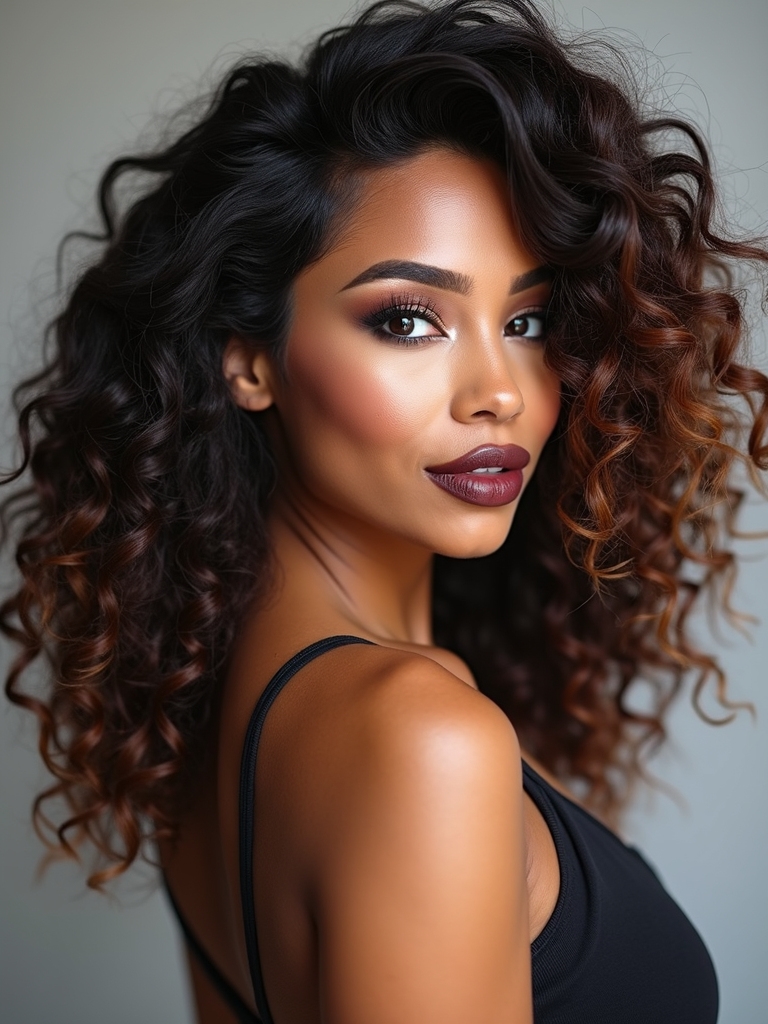
Curls and waves change the whole approach, since the layers have to be cut for how the pattern actually springs once it dries rather than how it lies wet.
Why Curl Pattern Decides the Cut
Most curl specialists shape this cut dry, in its natural state, so they can read exactly where each curl will land. Shorter crown pieces add lift, while longer face-framing lengths tame volume without smothering the movement.
The goal is controlled, intentional curl movement. A lightweight cream, a light touch of gel, and hands-off diffusing lock the shape in without disturbing the pattern. The wolf cut for curly hair guide goes deeper on pattern-specific shaping.
“Most pros ask two things before a single cut: where the shortest layer should fall, and how the natural texture actually dries. Everything else, fringe, part, blend, follows from those two answers.”
Cropped and Shaggy, With Attitude
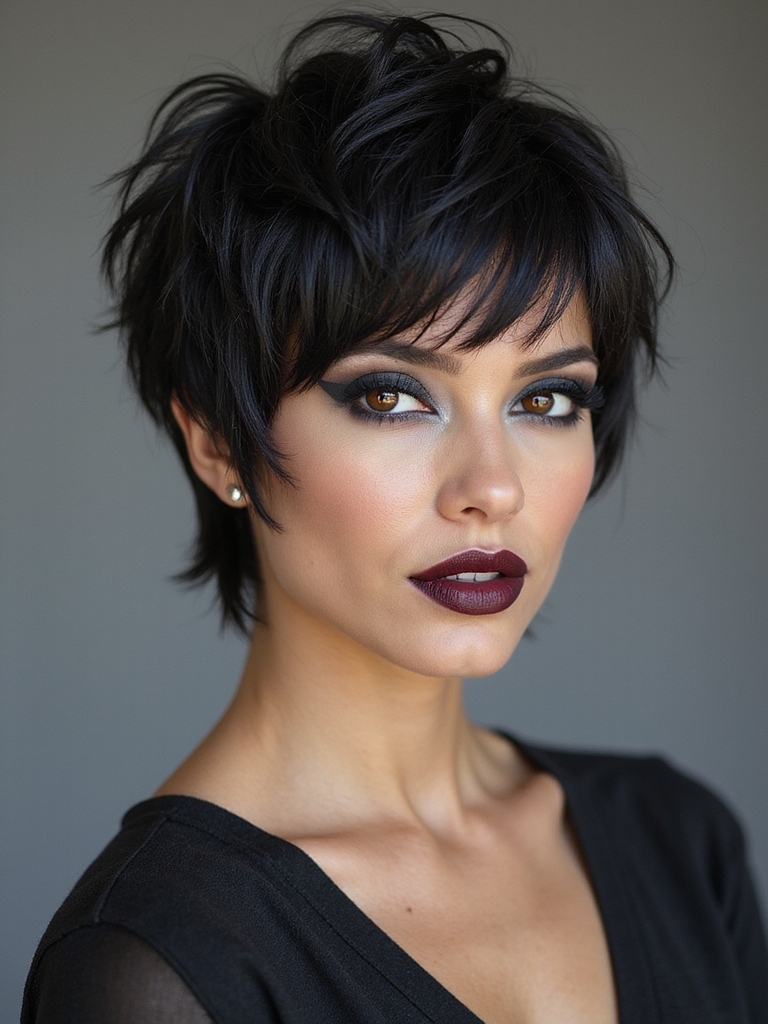
A cropped version of this cut is a real shift, not a subtle one. Short, shaggy layers and a choppy fringe carry attitude on their own, usually paired with cheekbone-grazing bangs and tight shaping at the nape to keep the whole thing crisp.
- Cheekbone-grazing fringe adds most of the visual impact.
- Tight nape shaping keeps the shorter length from looking undone in the wrong way.
- A short version like this blurs fastest of any length here, so trims can’t be pushed off long. The wolf cut for short hair guide has more cropped variations.
The Medium-Length Everyday Shag
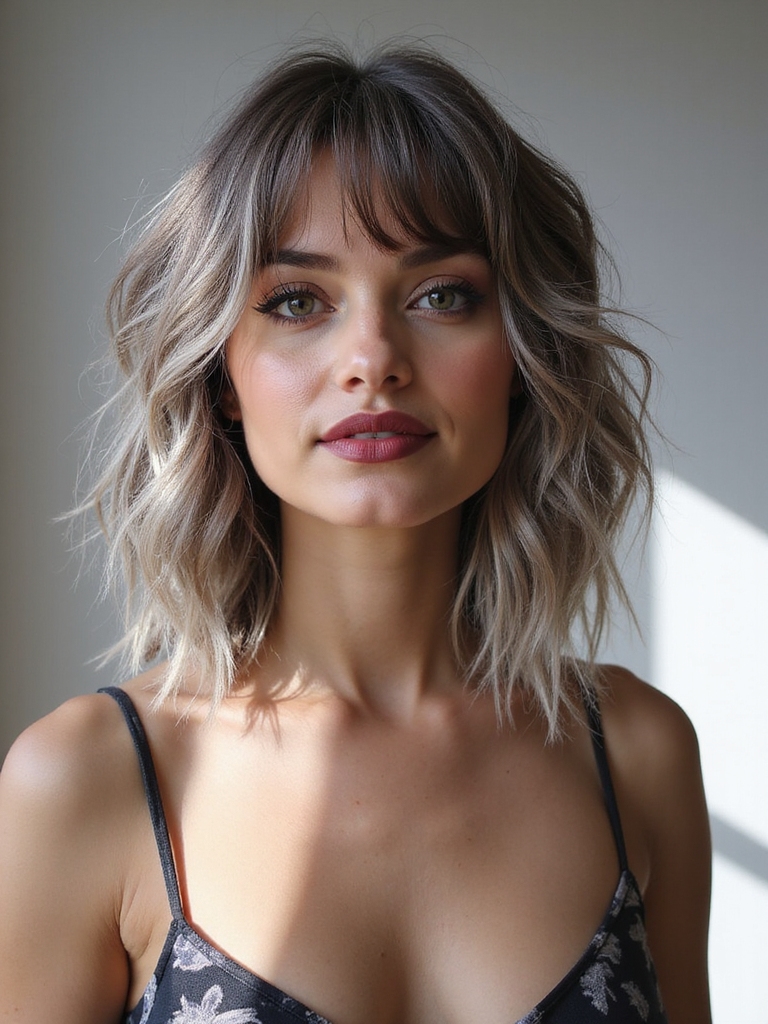
A medium-length version of this cut is the one most stylists suggest for real, busy lives. It flexes from a desk to dinner without extra effort: soft shag layers, a fringe that flips or parts down the middle, and length that air-dries into texture on its own.
Blown smooth with a round brush, it reads as a more polished day, or it can stay tousled with zero extra effort. A touch of paste at the ends finishes either version in seconds.
- Tousled ends grazing the collarbone hit a comfortable middle length.
- A wispy curtain fringe frames the eyes without much daily fuss.
- The most forgiving length for anyone unsure which version to start with; the medium wolf cut gallery has more length cues.
Long Layers, Still Full of Movement
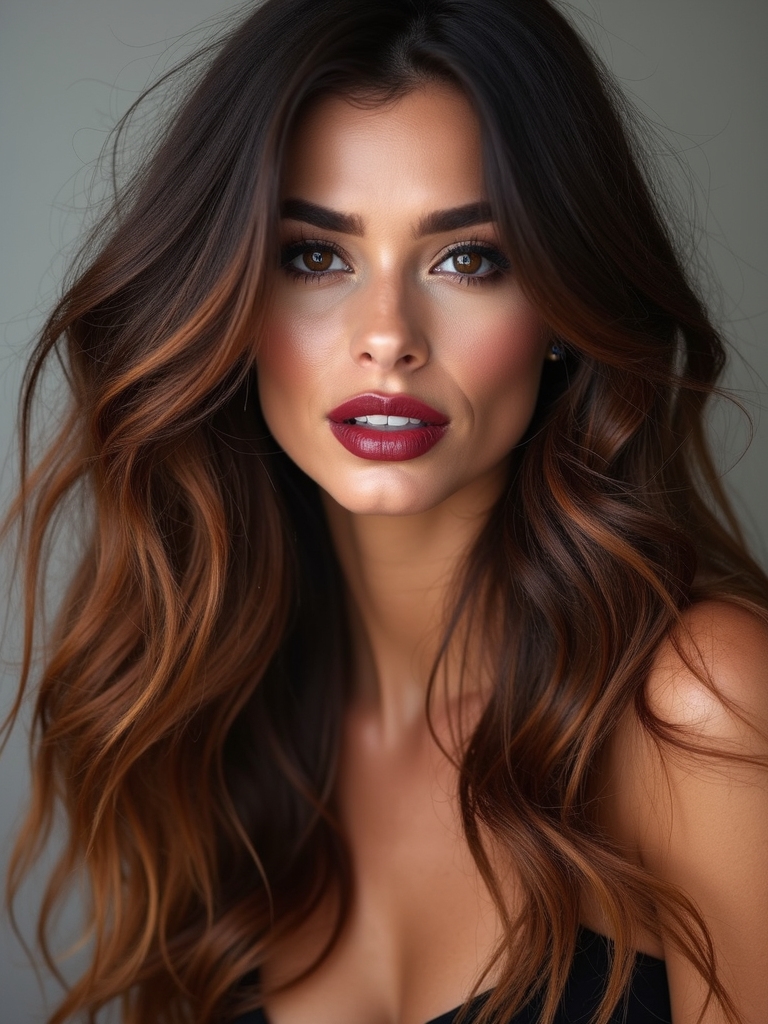
A longer version of this cut delivers the most visible drama: fluid layers, face-framing movement, and a fringe that melts into cascading length rather than stopping short. It reads especially well on thick or wavy hair, since the layering diffuses bulk throughout the length.
Shattered, graduated layers and cheekbone-skimming pieces keep the length from ever looking like a single flat curtain. For anyone who wants swing and volume without giving up length, the long layered wolf cut guide shows how far this version can go.
Two assumptions about this cut worth checking before booking:
❌ Myth: A wolf cut always grows out looking messy.
✅ Reality: Less than most layered cuts, actually. Because the shape is built on movement, it loosens into a long shag rather than going blocky.
❌ Myth: It only works on thick or wavy hair.
✅ Reality: Fine, straight hair can carry it too, with the layers started further back and less bulk removed overall.
Diffusing and Scrunching the Texture at Home
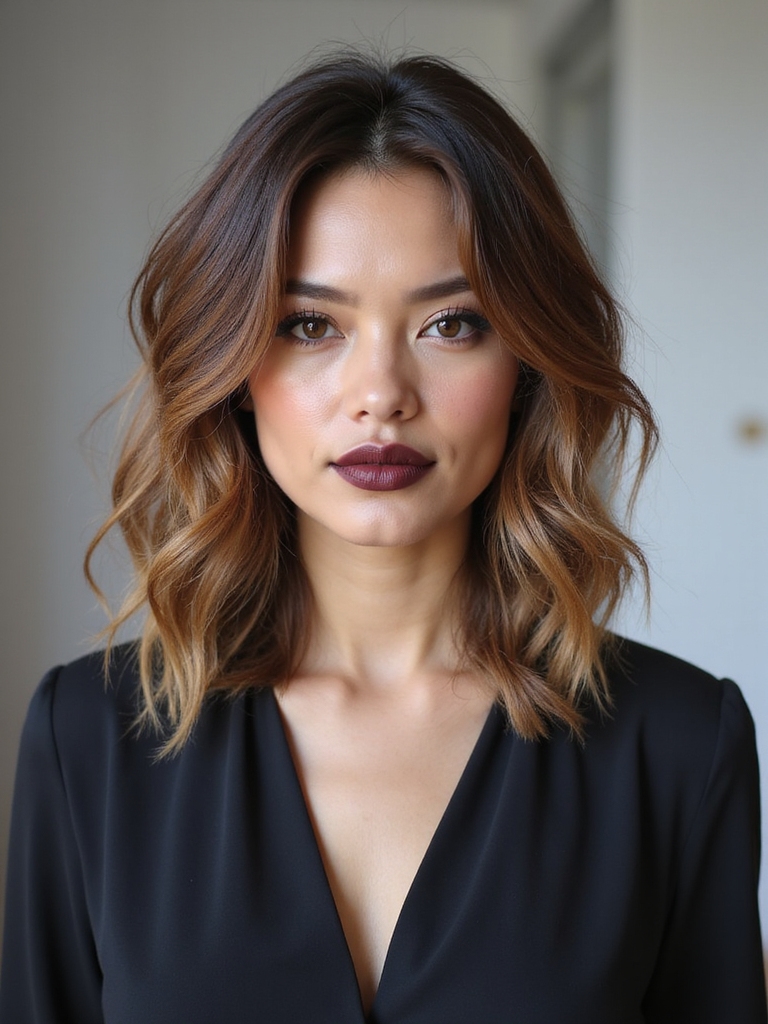
Styling this cut at home gets simple fast once the basic kit is in place, and a full routine rarely runs past ten minutes. The order below covers most of the work:
- Blot with a microfiber towel first, then diffuse on low heat to set the movement.
- Mist a salt spray, scrunch upward, and seal with a small amount of light serum.
- On second-day hair, a spritz of water and a texture foam bring it back to life without a full rewash.
The Specifics Worth Discussing With Your Stylist
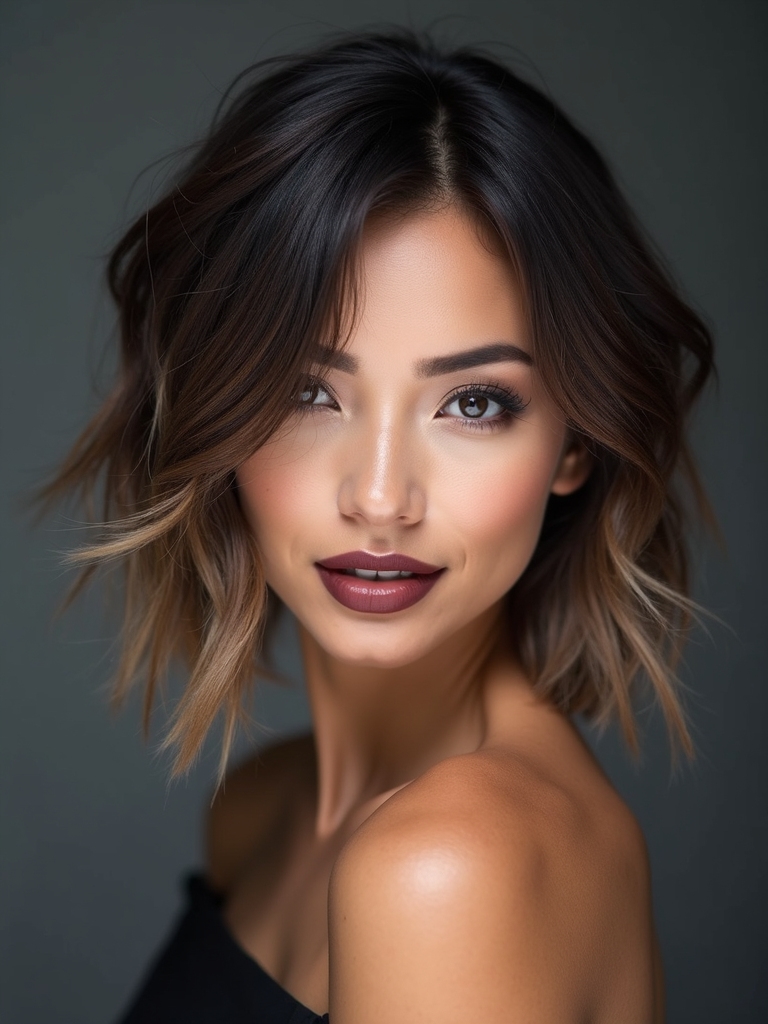
Walking into a consultation with the right questions is what separates a cut that matches the photo from one that doesn’t. Two questions matter more than any other: where should the shortest layer fall, and how will texturizing affect overall density?
From there, the conversation usually moves to fringe options, parting, and how the layers will blend with natural texture and any cowlicks. Bringing two or three reference photos, plus being honest about actual styling time and heat habits, saves a repeat visit later.
Most versions of this cut hold their shape for roughly two to three months before the layers start to blur into one length, which is a useful number to have going in.
Air-Drying and Dusting Between Full Cuts
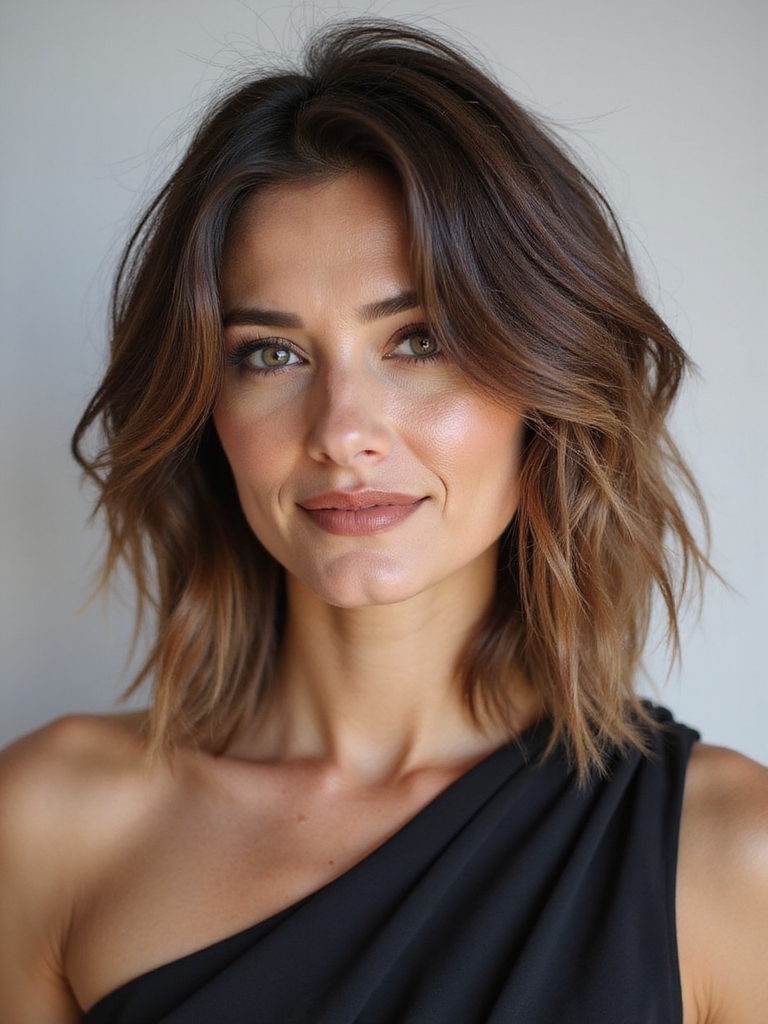
What this cut asks between visits is fairly light, as long as the styling works with the texture it’s actually cut for. A few habits stretch the time between full trims noticeably:
- Air-dry with a light curl cream, then fluff the crown to keep the shaggy lift.
- Dust split ends on a monthly basis rather than waiting for a full cut.
- Switch the part occasionally for fresh movement, and sleep on a satin pillowcase to cut down on frizz.
Styling Tips
A few tools cover nearly every version in this guide: a diffuser for texture, a round brush for polish days, and a matte paste or light serum to finish. Matching the product to the specific version matters more than owning every tool available.
The most common styling mistake is treating every wolf cut the same way. A razor-textured version wants a scrunch-and-diffuse routine; a sleek, straight-hair version wants a round brush and heat. Working with the specific texture of the cut, not the idea of it, is what makes the daily routine actually easy.
Layered Wolf Cut Questions
?Will this cut grow out looking awkward?
Less than most layered cuts, since there’s no single hard line for the growth to disrupt. Expect the silhouette to soften gradually into a longer shag over a few months, with maybe one dusting appointment to keep the edges from getting too heavy in the meantime.
?How much does a layered wolf cut typically cost?
It varies by salon and region, but most versions start somewhere around $80, more for longer hair or added texturizing. Asking specifically about the dry-cutting step is worth it, since that’s what makes the layering work.
?Can fine hair actually handle this much layering?
Yes, with a few adjustments made at the consultation. Layers usually start further back on the head, ends stay a touch heavier than a thicker-hair version would use, and the internal graduation gets kept lighter overall so density at the crown isn’t stripped away.
?What’s the real difference between this and a standard shag?
A shag tends to distribute layers evenly throughout; this cut concentrates lift at the crown and keeps more length and movement toward the face and ends, which is what gives it the more dramatic silhouette.
Start With the Length You’ll Actually Style
This cut lives or dies by its layering, not its length. Feathered lift, choppy ends, and a fringe that suits the face wake up the whole shape, but only when the cut matches the texture actually being worked with and the time actually spent on it day to day.
Anyone on the fence is usually better off trying a medium length with soft curtain bangs first. It’s the most forgiving entry point, and going shorter or choppier later is always an option once the layers are understood on that specific head of hair.
Keep Reading





