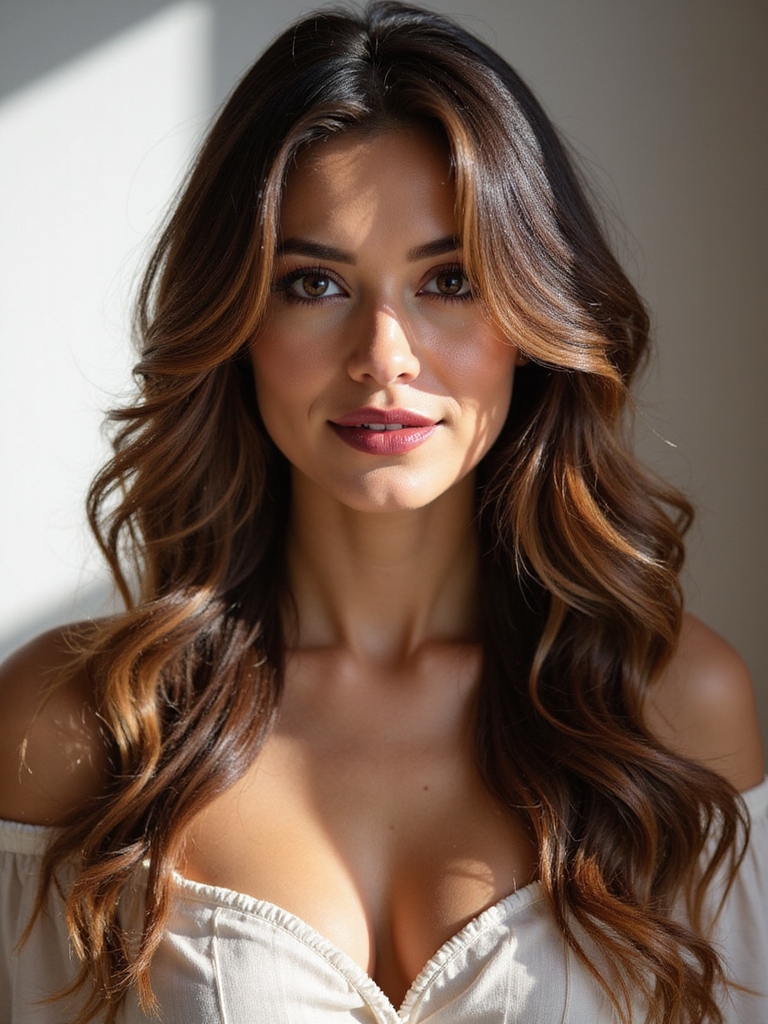
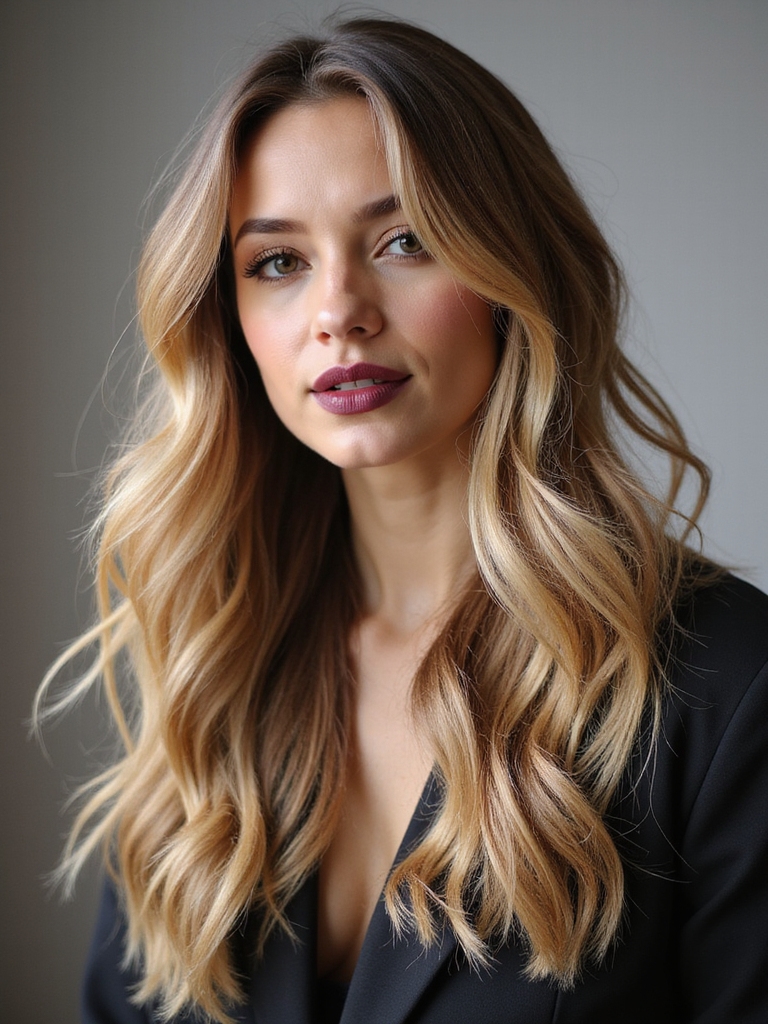
Years of growing hair past the waist tend to end in the same disappointing place: all that length starts looking flat, heavy, and strangely shorter than a measuring tape says it is. The length itself hasn’t changed. The weight of carrying it all at one length finally has.
Layers are the fix, and on long hair they’re closer to necessary than optional. The fifteen approaches below lighten and lift long length without cutting off the inches it took years to grow.
Before You Book Any of These
- Long layers cut correctly barely change your length; only short, choppy layering shortens the overall look.
- Most versions here hold their shape for ten to twelve weeks between trims, since length hides grow-out unusually well.
- Match the approach to what’s actually working against your hair, weight, thinness, or texture, not just the prettiest photo.
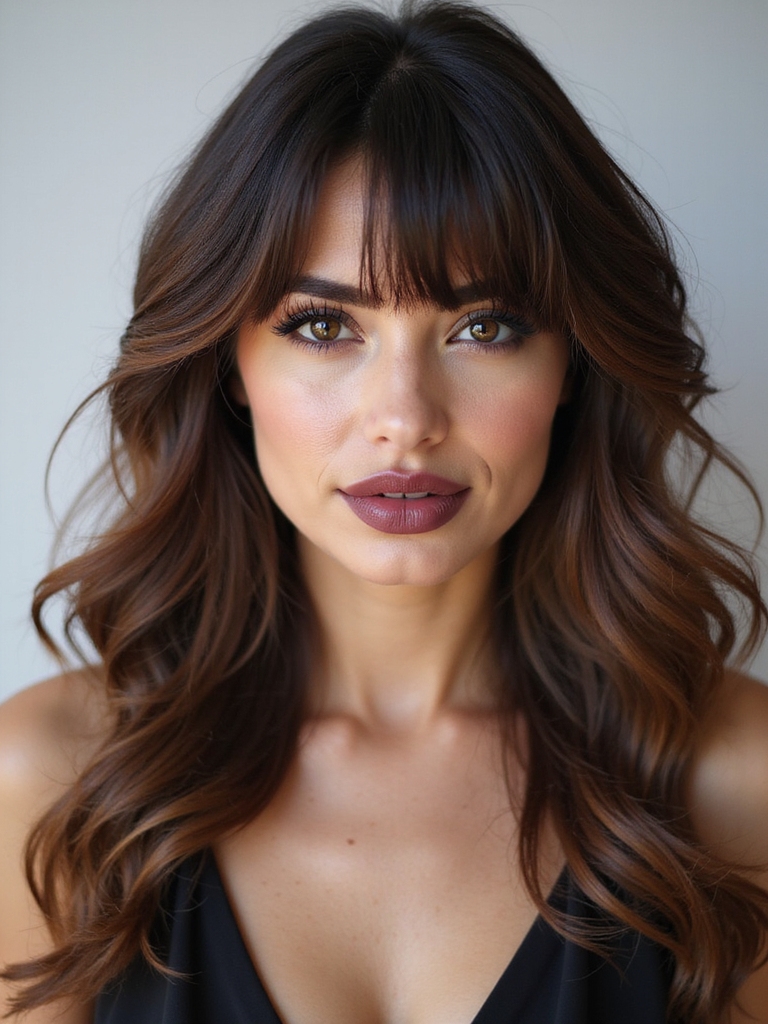
Face-Framing Layers as the Lowest-Risk Starting Point
On long hair, face-framing layers are where most stylists start a nervous client. Only the pieces around the face get shaped; everything below stays exactly where it was, so the change reads clearly from the front and disappears entirely from the back.
Experts map it to the safest entry point into layering long hair, since there’s very little to regret if the result doesn’t suit. A few inches of face-framing simply grow into the rest of the length within a season.
- Cut the shortest piece at the cheekbone or jaw, whichever suits your face
- A quick sweep with a brush, or just fingers, sets it once it’s dry
- Grows out with no distinct stage to manage
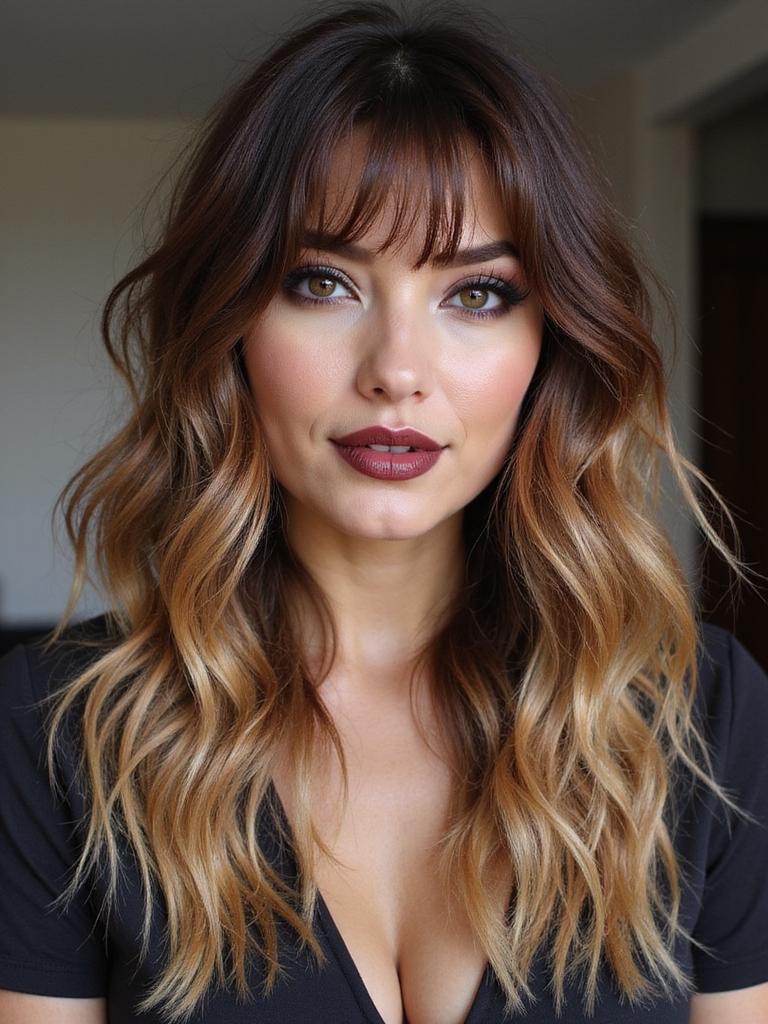
Curtain Bangs Paired With the Same Layers
Adding curtain bangs to face-framing layers refreshes the whole front of long hair while the back stays untouched. The center-parted fringe blends straight into the framing pieces, so the two read as one continuous shape instead of a fringe added onto a separate cut.
It’s the most-requested combination for long hair, largely because it’s also the easiest to walk away from later. For a deeper look at long layers on their own, long layered hair covers the base cut without the fringe.
- Keeps nearly all your length while changing the whole front
- A brush lifts and sweeps the fringe back on styling days
- Suits most face shapes; the framing softens whatever’s underneath
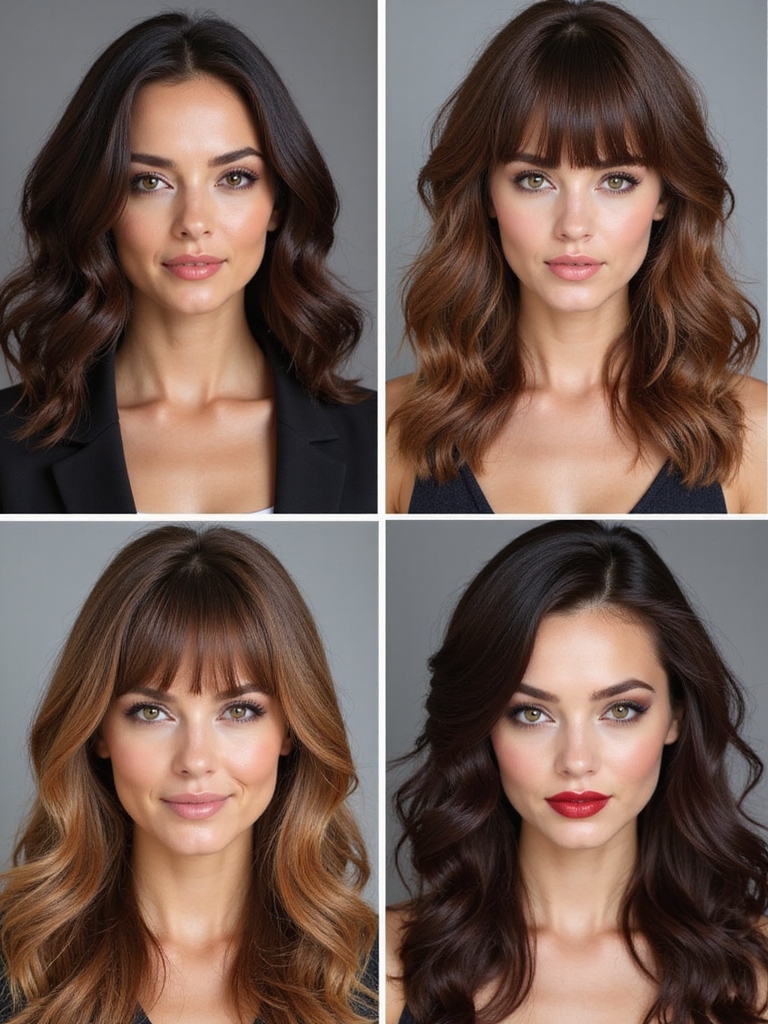
Two common starting points for long hair, and the difference comes down to how much of the front you actually want to change.
🎯Face-framing only
Change limited to the pieces around your face; the rest of the length stays completely untouched.
🎯Face-framing plus curtain bangs
Adds a center-parted fringe that blends into the same framing pieces for a fuller change up front.
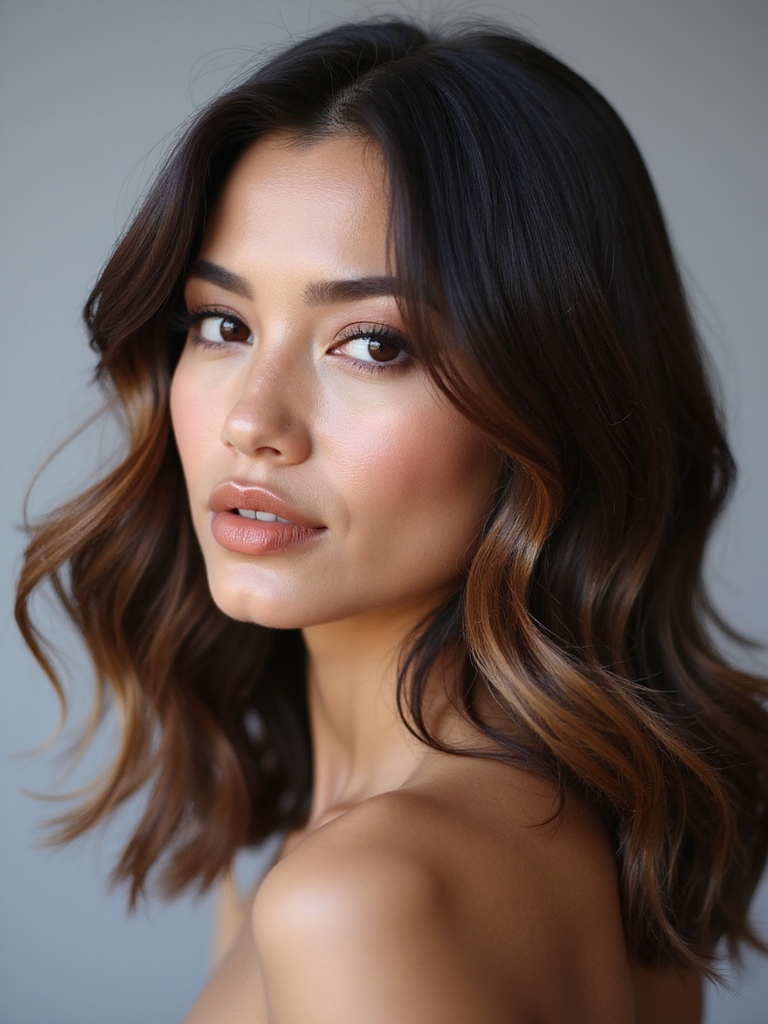
A Soft U-Shaped Cut for Gentle, Rounded Movement
A U-shaped cut is about as gentle as layering long hair gets. The back curves into a soft U, longest through the center and a touch shorter toward the sides, so the shape rounds off rather than carving anything dramatic.
Who Reaches for the U-Shape
It suits length that’s started to feel shapeless and heavy at the bottom without wanting to lose any of it. Most pros point to this as the cut clients request when they want their hair to look cared-for without anyone noticing they changed anything bold. A long layered bob carries the identical rounded shape onto a much shorter length.
Air-dry with a light cream to keep the curve soft rather than stiff.
Feathered Layers for the Lightest Possible Movement
Feathered layers give long hair the lightest, most weightless movement of the group. Careful tapering thins the ends so they float instead of dragging, pulling the heaviness out of length that feels dense by the middle of the day.
- Best for hair that feels flat and lifeless well before evening
- Tapered ends need more conditioning than a blunt cut does; keep a weekly mask in rotation
- Air-dries with natural movement; heat styling is mostly optional
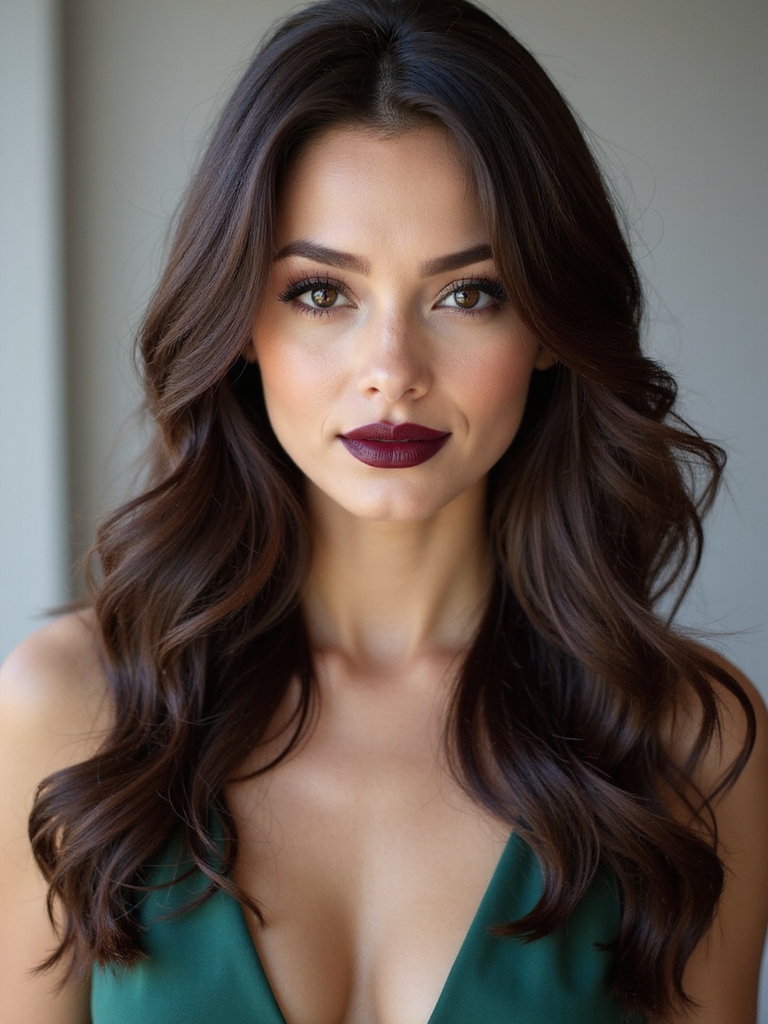
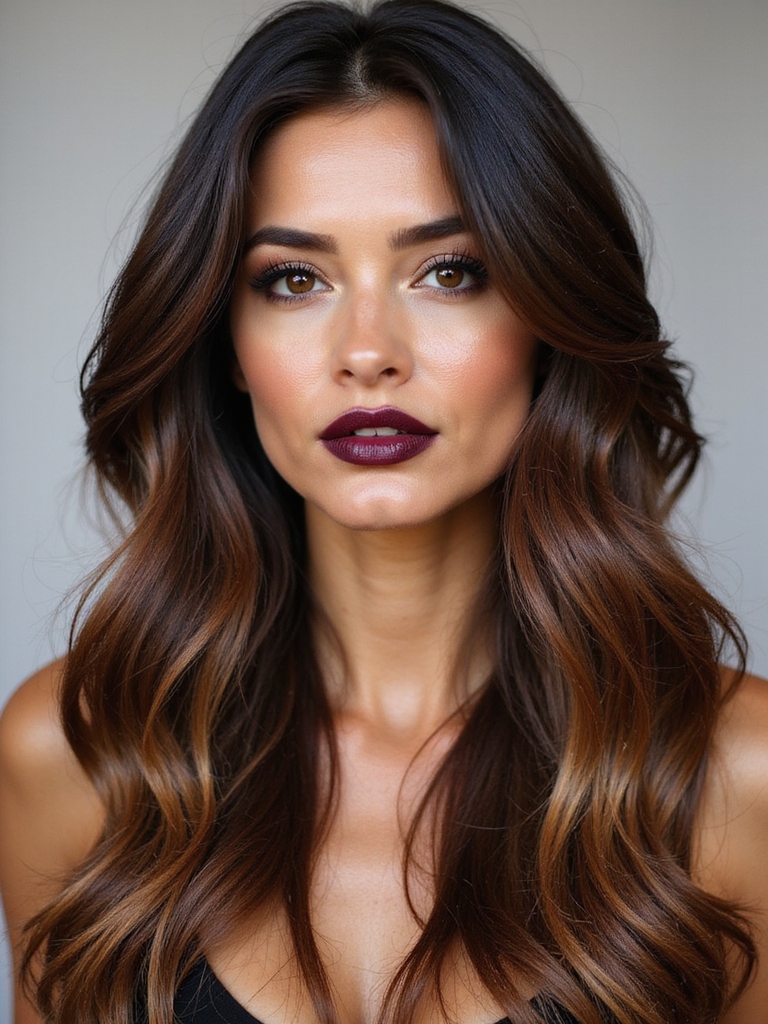
A V-Cut for Dramatic Long-Length Flow
A V-cut tapers the back to a sharp point, longest through the center, carving a striking silhouette that makes long hair look even longer as the eye travels down toward the point.
What Makes the V Read as Dramatic
It’s the boldest shape on this list that still keeps every inch of length; nothing about it shortens the overall look, it just draws attention to how much of it there is. For a full breakdown of this shape on its own, long layered haircut goes deeper into the technique.
Density matters here. Thin ends can’t fill out the point the way thicker hair does, so the drama reads differently depending on how much hair is actually behind it.
Invisible Layers That Never Show a Line
Invisible layers are built for anyone who wants long hair to look all-one-length while still moving underneath. The layering happens inside the hair, so the surface stays smooth and dense while the interior loses enough weight to swing.
It’s a technique-dependent cut more than a describable shape, so naming it specifically at the consultation matters more than describing what the finished look should be.
Shag-Inspired Texture Without the Full Commitment
Choppy, piecey layering borrowed from the shag trend brings texture and edge to long hair without the crop a full shag usually requires. The length keeps the whole thing from reading as extreme, while the texture keeps it from reading as plain.
- A texture spray scrunched through the lengths defines the piecey ends
- Softer and more office-friendly than a true shag or wolf cut
- Works especially well on hair with some natural wave already
🅰️Full Shag
Cuts real length off to build texture throughout the head; a bigger commitment with a noticeably shorter result.
🅱️Shag-Inspired Long Layers
Keeps the length and borrows only the piecey texture; a smaller change carrying most of the same drama.
Layering Thick Long Hair Down to Something Livable
Thick long hair carries more weight than any other texture, and layering is what turns it from a heavy cape into something that actually moves. Internal layering strips bulk from the interior while the visible ends stay full.
Most pros point to the same instruction here: lighten from within, keep the ends looking dense. Done that way, thick hair stops sitting flat under its own weight and starts swinging the way lighter textures already do.
The difference in hand-feel is often more dramatic than the difference anyone sees in the mirror; the same length simply weighs less afterward.
Layering Fine Long Hair Without Losing Density
Fine long hair has the opposite problem from thick hair: it’s light enough to go limp and stringy at the ends well before the day is over.
Where Fine Hair Loses the Most Density
Layers built for fine hair get placed high, lifting the crown while the perimeter stays fuller, so the length keeps its density instead of thinning out toward the ends.
A root-lift mousse and an upside-down rough-dry do more for the finished look here than any product applied to the ends ever will.
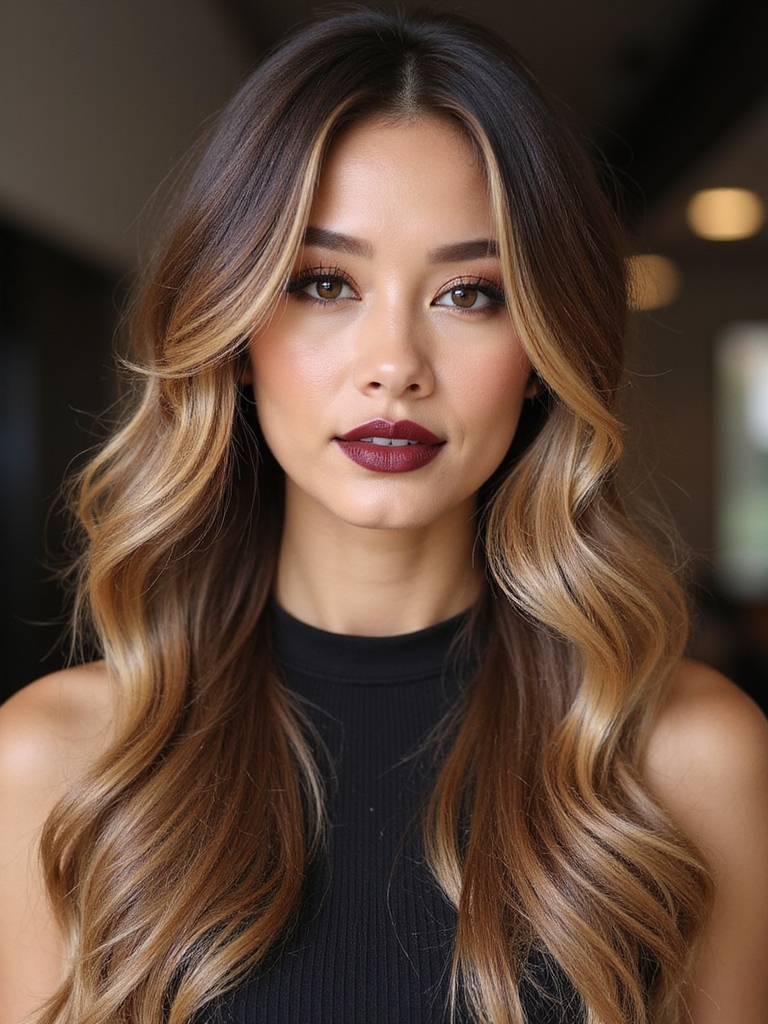
Layers That Let Long Waves Actually Move
Long wavy hair and layering suit each other unusually well. Layers give waves somewhere to bend and break, so the length falls into soft, airy pieces instead of clumping into one heavy mass.
Kept light and long, a few layers do the whole job. Heavier layering on waves shortens the ends enough that they frizz into a halo fighting the pattern instead of following it.
ℹ️The Wave Trade-Off
Long layers on wavy hair work best kept minimal. A few well-placed layers move with the wave, while heavy layering shortens the ends enough that they frizz out of the wave pattern instead of following it.
Layers That Respect a Long Curl Pattern
Long curly and coily hair needs layering more than any other texture, since the added weight of length flattens the natural pattern into a heavy triangle by the ends.
Layers cut into the curl give each coil room to spring and hold definition down the full length, rather than getting pulled straight by the sheer weight sitting above it.
The cut has to happen fully dry, shaped in the pattern as it actually sits, since a wet measurement on curls this long tells a stylist almost nothing useful once shrinkage takes over.
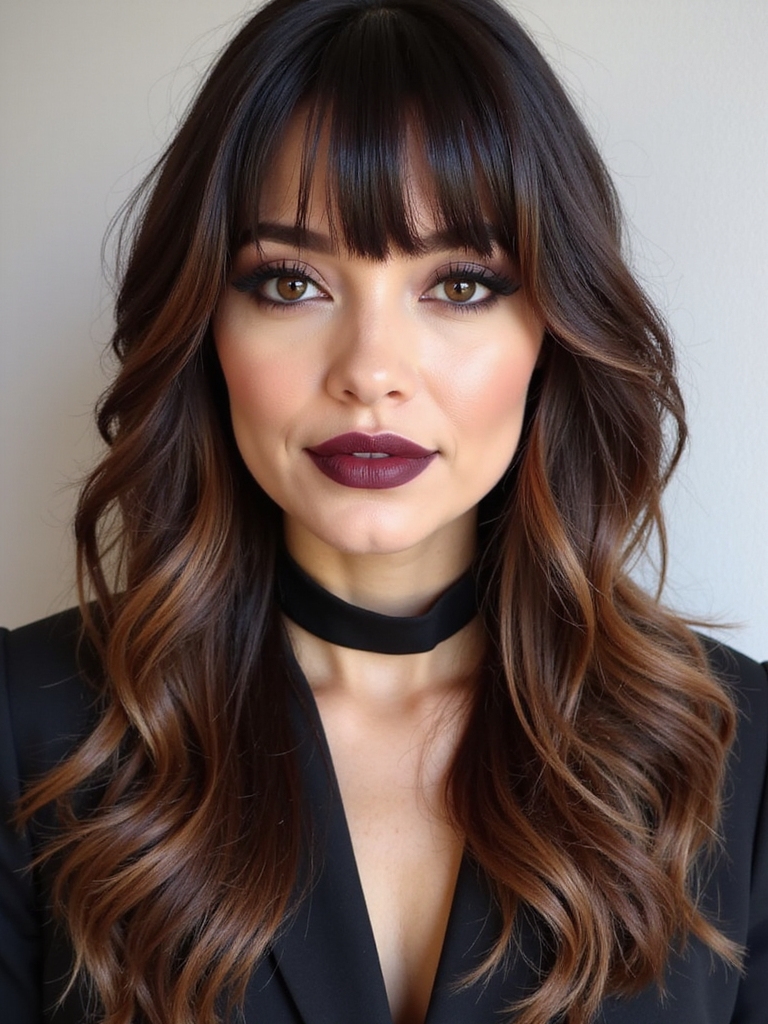
A Side-Swept Fringe Added to the Length
A side-swept fringe brings a soft diagonal line to long layers, sweeping from a deep part across the forehead and blending into the face-framing pieces already there. For the equivalent pairing done as a dedicated cut, long layered hair with side bangs goes further into it.
It’s one of the more forgiving fringe styles for a rounder or squarer face shape, and on long hair it grows out into the rest of the layers with no distinct awkward stage to manage.
“Set a deep side part before the cut even starts, not just for styling day. The deeper the part, the more dramatic the sweep reads, and a stylist needs to see it to place the fringe’s length correctly.”
Matching the Layers to Your Face Shape
Long layers aren’t one-size-fits-all, and where the shortest pieces land changes how the whole cut reads against your features. A good stylist places them to balance what’s there rather than ignoring it.
- Round faces: keep the shortest layers below the chin to add length
- Long or oval faces: add face-framing layers at the cheekbone for width
- Square faces or a strong jaw: soft, sweeping layers around the jaw soften the angle
Styling to Get the Volume These Cuts Promise
The single biggest payoff on long layered hair comes from drying it upside down. Flipping the head over to rough-dry the roots gives the layers volume and movement in place of lying flat against the scalp.
- Rough-dry the roots upside down first for crown lift
- Round-brush the lengths afterward to set the layers’ bend
- Finish with a light texture spray; a heavy oil undoes the whole effort
Keeping Long Layers Looking Fresh Between Cuts
Long layers blur slowly rather than all at once, so a handful of habits keep them looking sharp between salon visits.
Why the Ends Need More Attention Than the Roots
A mist of dry shampoo at the roots revives day-two volume, and a quick round-brush pass through just the face-framing pieces refreshes the whole front in a couple of minutes. Most versions here forgive a stretched-out trim schedule better than almost any other cut, since the length hides regrowth unusually well. A reshape like this is priced closer to a standard trim than a full restructuring service, typically around $65 even with all the length involved.
Condition the ends more than the roots. Long hair is the oldest hair on your head, sometimes years old at the very tips, and it runs drier there than anywhere else.
Who It Suits Best
Long layers reward hair that’s already reached past the shoulders, since anything shorter doesn’t carry enough length for the shape to read as intended. Past that point, almost every texture benefits from some version of the approaches above.
Match the specific version to what’s actually working against your hair, weight, thinness, texture, or a face shape the length is currently ignoring, rather than to the single prettiest photo. A cut chosen that way tends to last considerably longer than one chosen on looks alone.
Layers and Length Aren’t Opposites
Layering long hair isn’t about giving anything up. The goal is removing exactly the weight that makes length hang flat and heavy, while keeping every inch that took years to grow.
Before booking any version here, ask a different question than which photo looks best: what is your own hair actually doing right now, and are you willing to describe that plainly to whoever’s holding the scissors?


