


A long shag asks for one thing from you: hair past your shoulders that you don’t want kept pin-straight and predictable. Everything else, the face-framing pieces, the lift at the crown, the after-shower tousle, the cut supplies on its own once the layers are placed right.
That’s the trade most people don’t expect going in. Every long shag borrows its bones from the broader layered shag family; long is just the length that lets the movement travel the farthest. Below are sixteen ways to wear one, from the fringe you pair it with to the exact conversation to have in the chair.
What a Long Shag Actually Delivers
- It’s layer-dependent, not length-dependent: how the shag falls has more to do with where the layers stack than how long you grow it.
- Texture is built in, not added on: the cut is designed to hold its shape with minimal daily styling.
- It grows out on its own terms: because layers run through the whole length, you can stretch appointments without an awkward in-between stage.
Feathered Long Shag
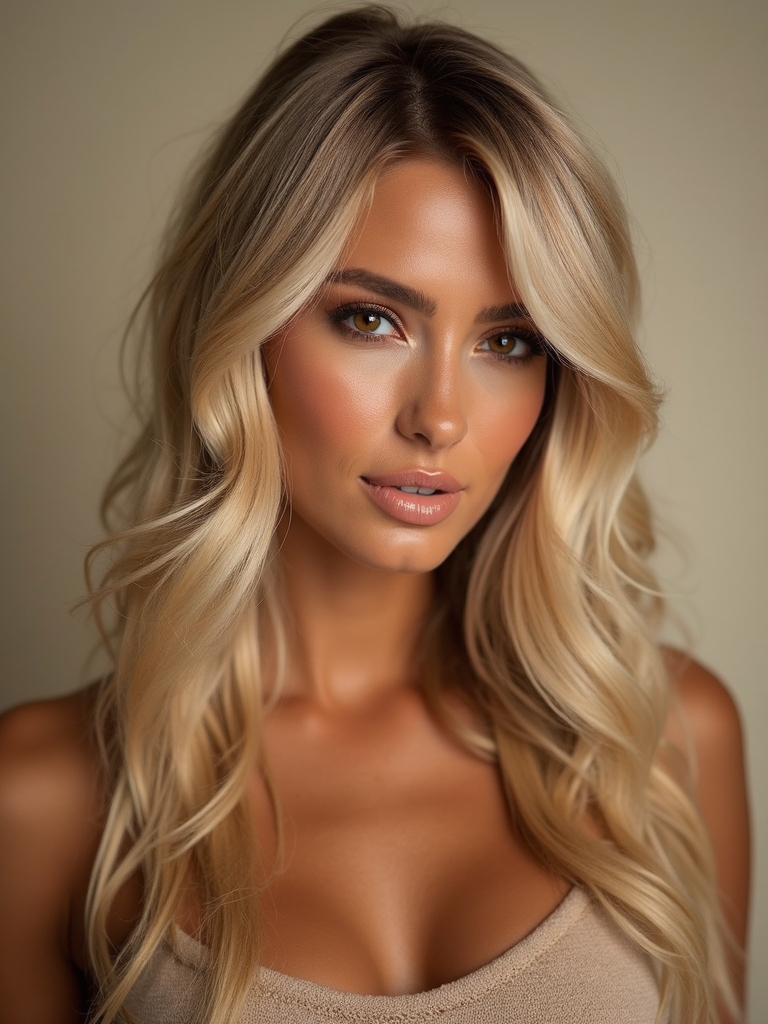
Feathered layers are the classic long shag move: hair cut fine through the ends and flicked back and away from the face, so movement travels through the whole length; a blunt cut, by comparison, would let all that weight pool at the bottom. It’s the version most people picture when they hear the name.
- Best suited to straight or wavy hair, where the feathered pieces show up clearly.
- A round brush lifts the roots and flicks the ends out during a blowout.
- Ask for the layers to start high, near the crown, so the feathering shows through the top third of the cut, not just the tips.

Curtain Bangs on a Long Shag
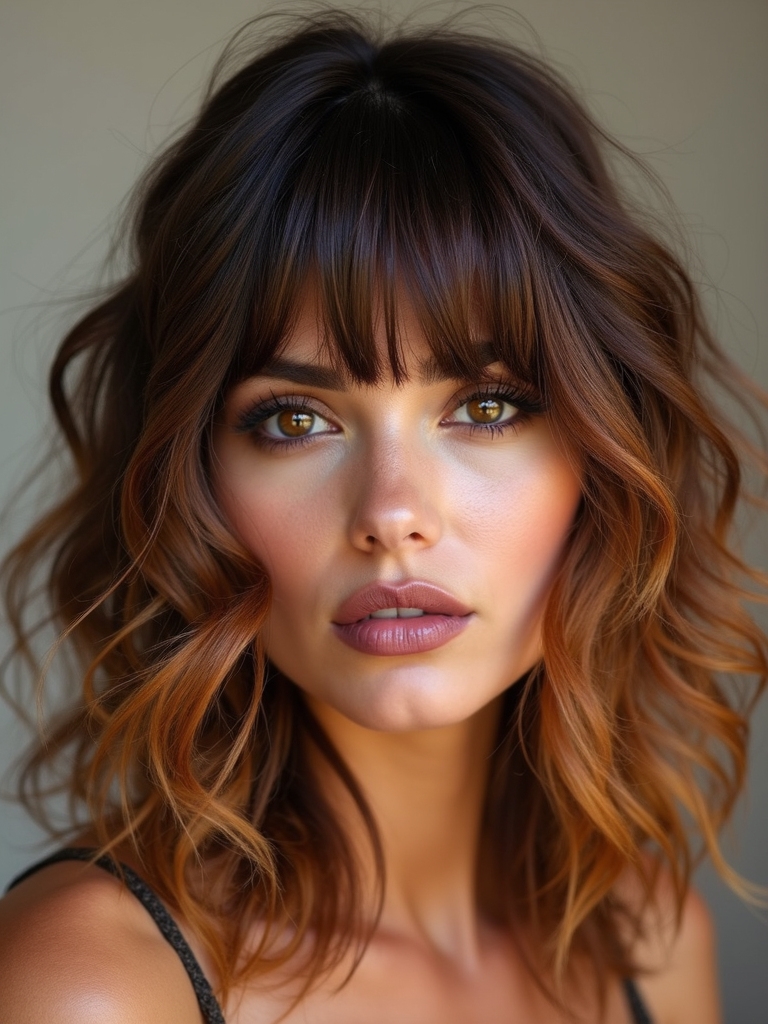
Curtain bangs sit naturally alongside a long shag because both rely on the same soft, face-framing shape. The fringe splits down the center, sweeps to each side, and blends straight into the shag’s layers, with no hard line where the bangs end and the cut begins.
- Works on nearly every face shape, since the open center part balances width at the forehead.
- Grows out without an awkward stage; the pieces simply lengthen into the rest of the shag.
- For a deeper look at the fringe itself, see our curtain bangs guide.
Straight Long Shag
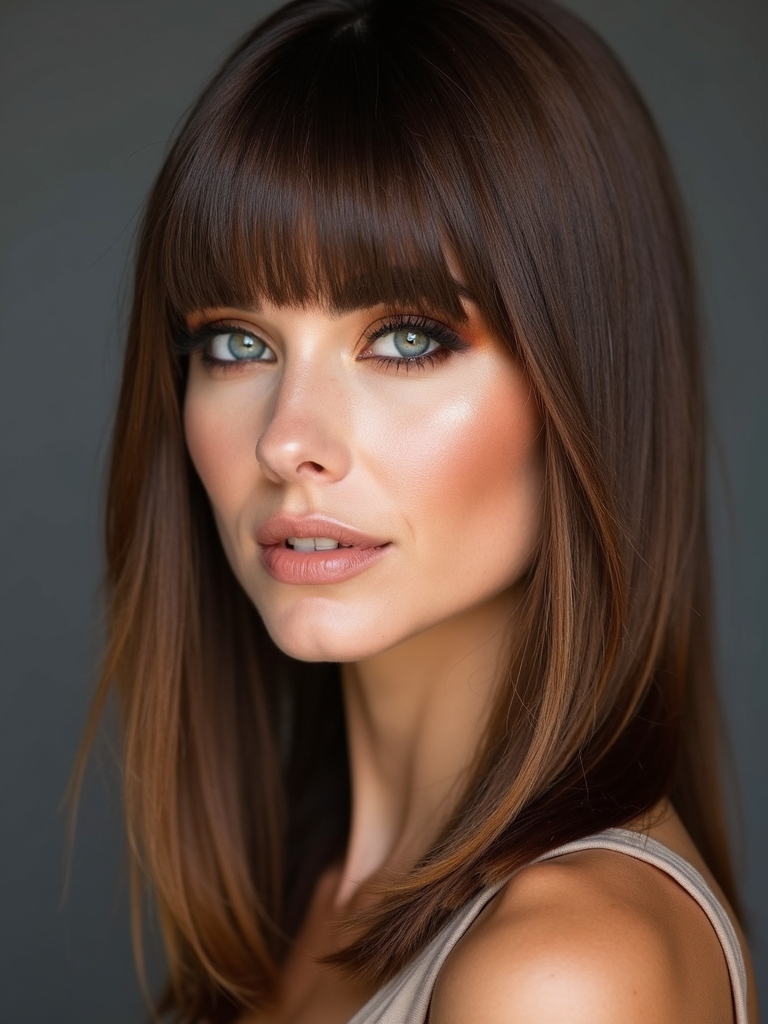
On stick-straight hair, a long shag keeps its sleekness while the layers do the work of adding shape. Internal layering, cut short underneath and blended longer toward the surface, gives the illusion of movement even when the hair itself has no natural bend.
You’ll notice the difference mainly in the ends, where point-cutting turns one blunt line into several separated pieces. A texture spray worked through dry hair builds grip that wavy or curly hair gets for free, and a flat iron with a slight bend at the tip keeps the ends from sitting flat.
- Point-cut ends prevent a blunt, one-length look.
- A texture spray adds grip before styling.
- Best paired with heavier layering than you’d use on textured hair.
Air-Dried Long Shag

A long shag is one of the few cuts built to look intentional straight out of the shower. The layering does the shaping, so a scrunch of product and an air-dry produce a finished result without a single hot tool.
Expect the texture to firm up as it dries. Damp hair looks looser and less defined, and the shape settles in over fifteen to twenty minutes. Hair with even a slight wave benefits most, since the layers have something to catch onto, though straight hair still gets shape from the cut alone.
Skip heavy creams here; they weigh the layers down and flatten the texture you’re trying to show off. A light, salt-based spray or mousse gives grip without the flatness.
Curly Long Shag
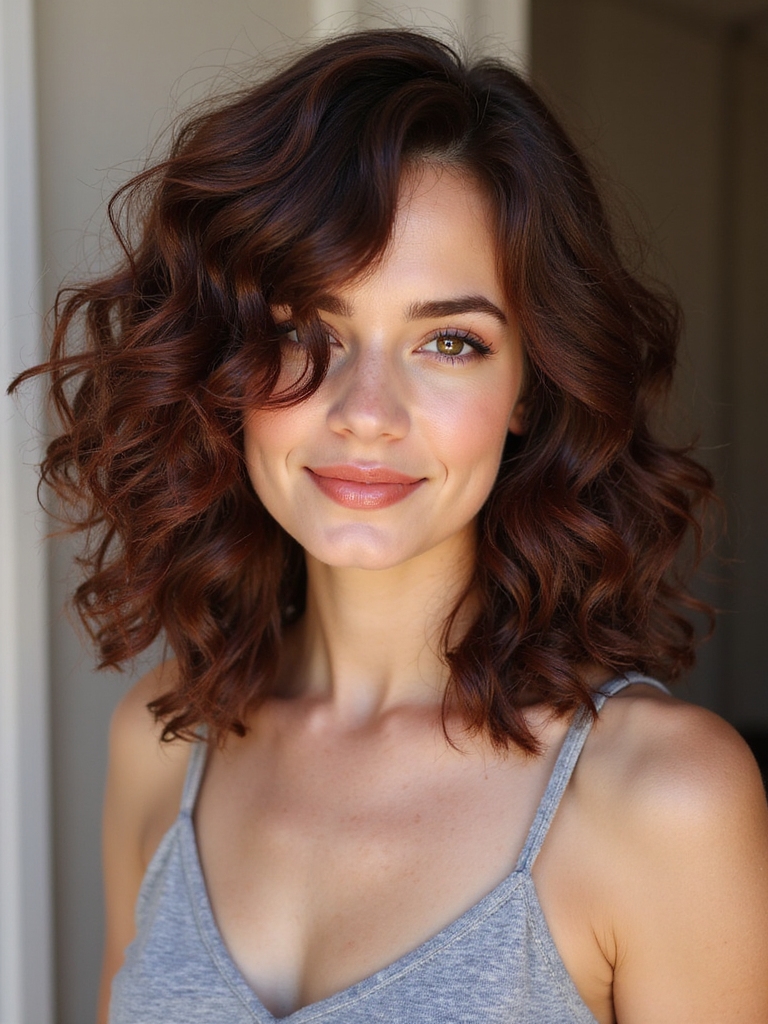
Curls and a long shag pair well because the heavy layering gives coils somewhere to go — without it, curls stack into one dense, heavy triangle. Layered length lets curls spring and separate into a fuller, rounder shape, the kind of movement a single-length curly cut almost never manages on its own.
- Curly hair should be cut dry, since curl pattern shifts once it’s released from a wet, stretched state.
- A defining cream scrunched into damp hair, then diffused on low heat, brings out the shape without frizz.
- Seek a stylist who regularly cuts curly and coily textures; dry-cutting takes a different skill set than cutting wet, straight hair.
“When a curly client asks for a long shag, the fastest way to build trust is asking how the last one grew out. If it lost its shape a few inches after the cut, the layers were placed for stick-straight hair, not curl pattern. Real curl expertise means cutting dry and cutting to the curl’s actual arc, not a formula pulled from a straight-hair chart.”
Face-Framing Fringe Long Shag
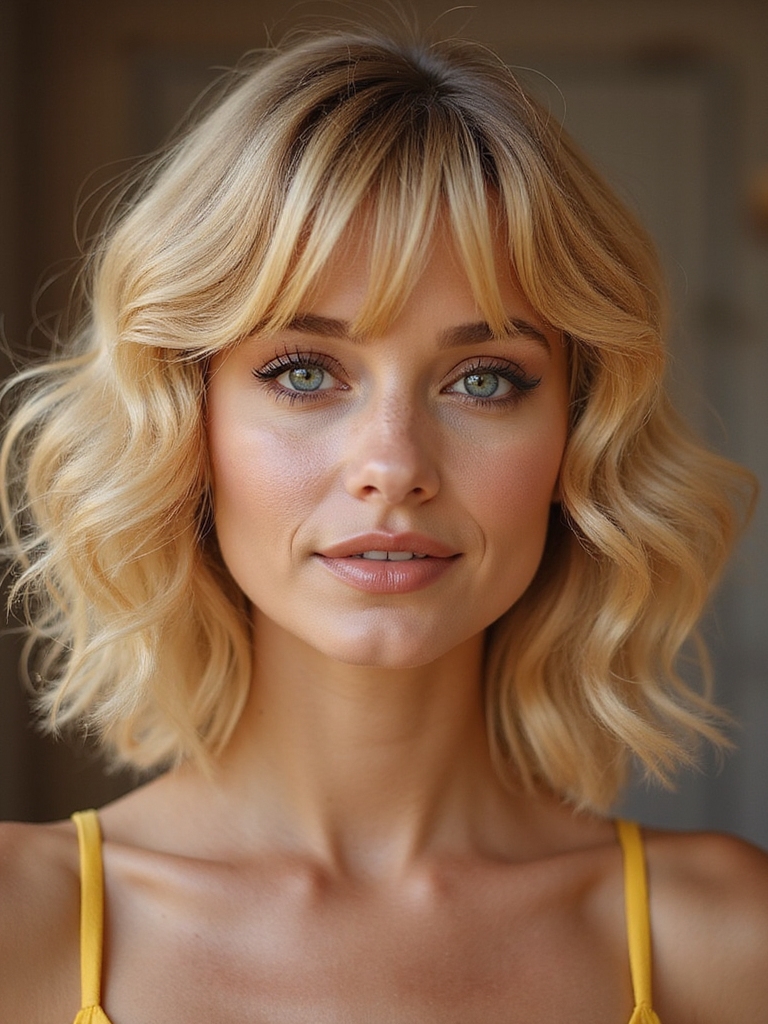
This fringe falls forward in one piece, point-cut into separated, wispy sections that land right around the cheekbones, a fuller frame than the open sweep of curtain bangs.
Why the shattered edge matters
It works across most face shapes because the broken-up ends avoid the heavy, blocked look of a straight-across fringe. The pieces frame the eyes without adding width at the forehead, which is where a solid fringe can overwhelm a rounder face.
Ask your stylist to point-cut this fringe. Expect a touch-up on a shorter cycle than the rest of the shag, since these pieces grow into one solid edge faster than the shag’s other layers.
Texturizing a Long Shag
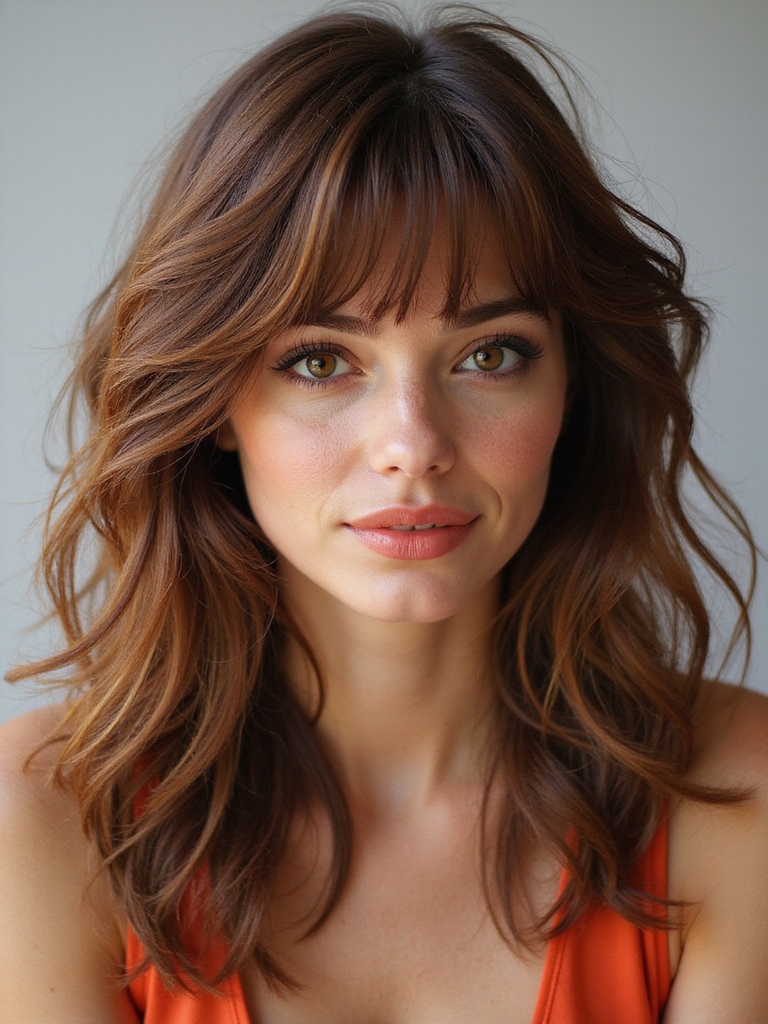
The character of a long shag comes from how it’s texturized as much as where the layers sit. A stylist reaches for a handful of cutting techniques to carve a smooth, heavy fall into the piecey movement the cut is known for.
- Point-cutting: small, angled snips into the very ends for subtle, everyday texture.
- Slide-cutting: the blade slides open along the hair, softening and thinning a whole section at once for heavier movement.
- Thinning shears: used sparingly to remove bulk from thick hair without shortening the length.
🅰️Point-Cutting
Small, angled snips into the very ends. Breaks up a blunt line without removing bulk. Good for subtle, everyday texture.
🅱️Slide-Cutting
The blade slides open along the hair while cutting, thinning and softening a whole section at once. Used for heavier, more dramatic movement.
Glossy Blowout Long Shag

A glossy, lifted blowout takes a long shag from casual to something closer to seventies red-carpet glamour. Hair gets blown out with a large round brush section by section, rooted for volume and flicked at the ends, then finished with a shine serum.
The transformation works because the same cut that dries into loose, undone waves also takes direction well under heat. Ten to fifteen minutes with the right brush size, bigger for looser movement, smaller for more curl, changes the whole mood of the style.
Save this version for occasions; it takes real heat and tension to pull off, more than the cut’s usual wash-and-go routine calls for.
Layer Placement in a Long Shag
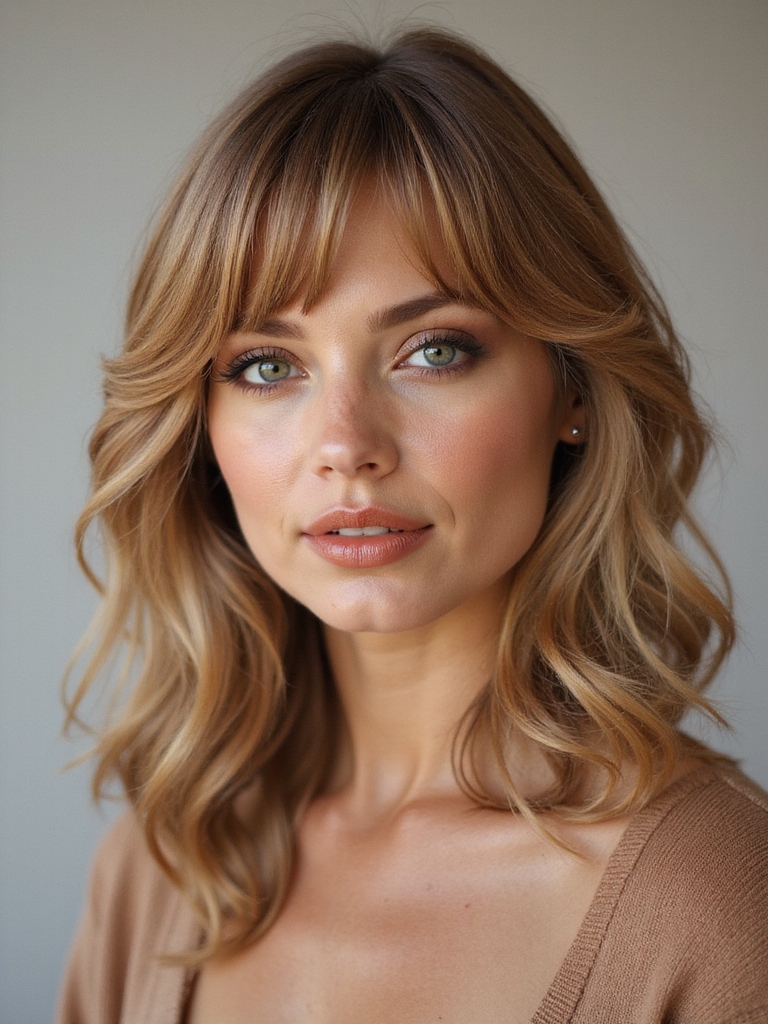
Where the layers sit decides whether a long shag reads soft and rounded or sharp and edgy. Layers concentrated at the crown push volume up top; layers spread evenly through the mid-lengths remove weight without changing the overall shape.
Matching layers to hair density
Fine hair almost always benefits from crown-heavy placement, since that’s where volume is hardest to fake with product alone. Thick or heavy hair usually wants layers spread lower, removing bulk without adding unwanted height.
This is the single decision that separates two long shags built on the same length. Bring a clear sense of how much volume you actually want before the first section gets cut; it’s easier to add texture later than to put weight back once it’s gone.
Layer placement changes everything about how a long shag behaves. Here’s how a stylist usually maps it out:
1Start at the crown
The first layers are cut short at the crown to build lift, then blended downward so the transition doesn’t leave a visible line.
2Taper toward the ends
Length below the crown is layered more gradually, keeping enough weight at the bottom that the shag doesn’t look thin or scraggly.
Choosing the Part for a Long Shag
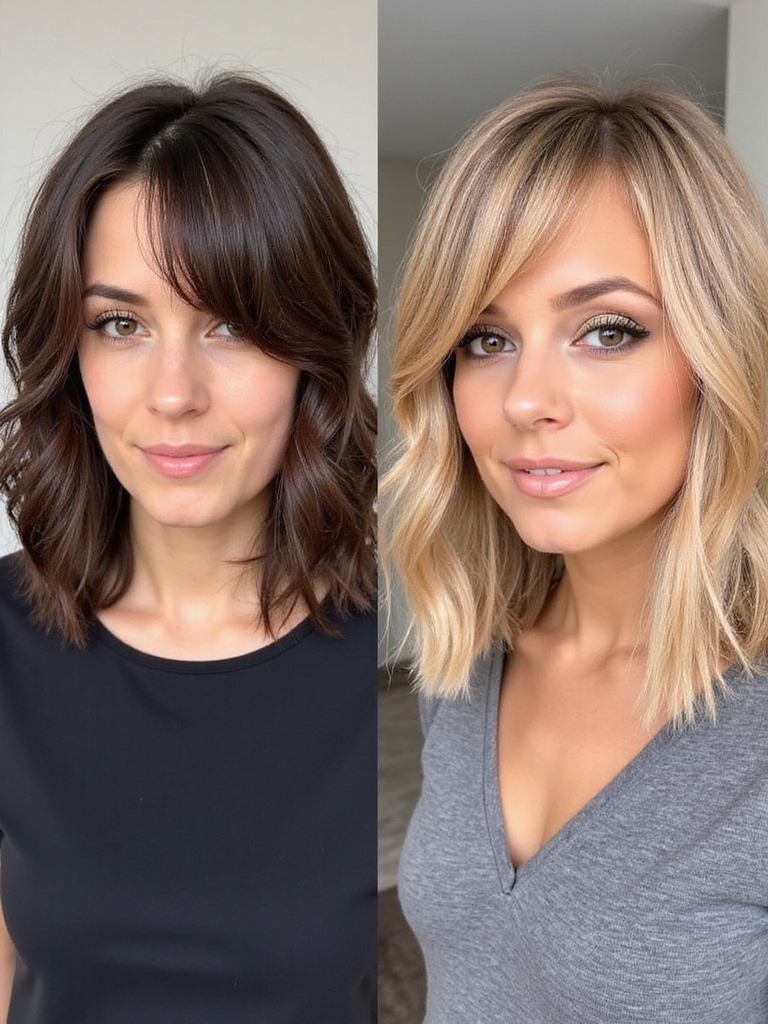
The part changes a long shag’s whole attitude without a single snip of the scissors. A center part reads even and symmetrical, letting curtain-style pieces fall the same way on both sides.
Center part vs. deep side part
Shift to a deep side part and the same cut suddenly carries more volume on one side, with a longer sweep of hair crossing the forehead, a look that leans more rock-and-roll than retro-classic.
Try both before settling on one. Wear the shag center-parted for a week, then switch, and notice which one needs less effort to fall into place; that’s usually the one that suits your natural growth pattern.
Mid-Back Long Shag
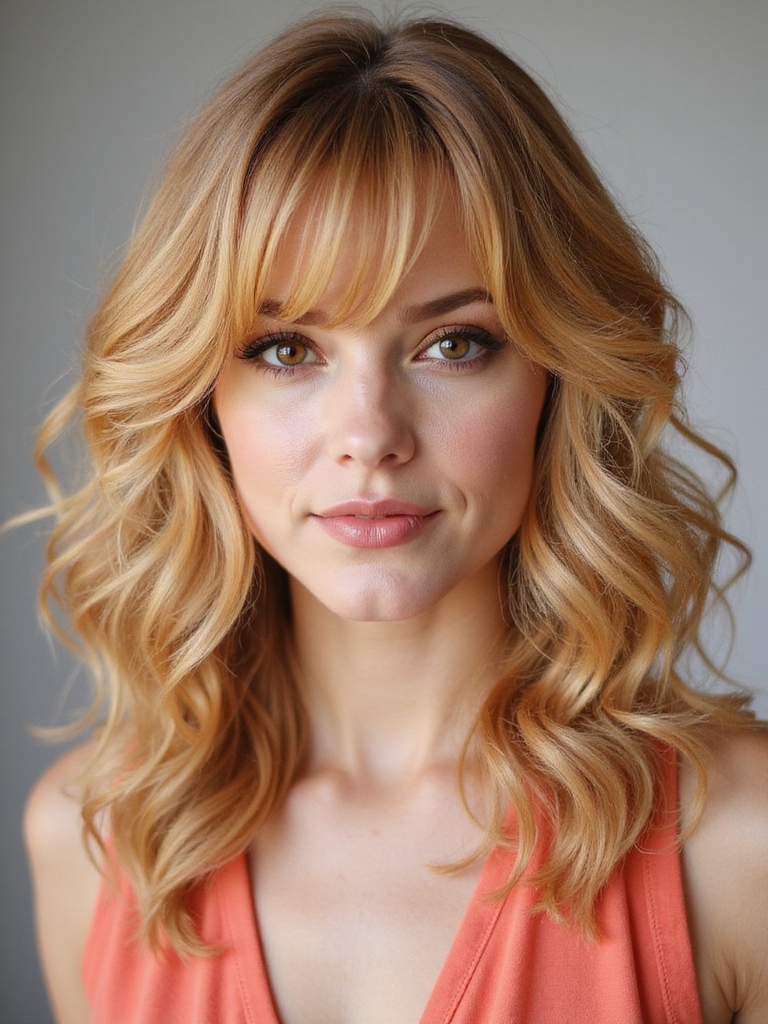
Taking a shag to mid-back length adds real drama while keeping the layering intact. The extra length doesn’t cancel out the movement; the layers still run from crown to ends, so the hair keeps swinging. Skip the layering at this length and it just hangs, one heavy, immovable sheet.
Expect a slightly longer blowout time since there’s more hair to direct, but the payoff is a cut that reads as both long and lively, something a one-length style at the same length can’t manage on its own.
Undone Ends on a Long Shag
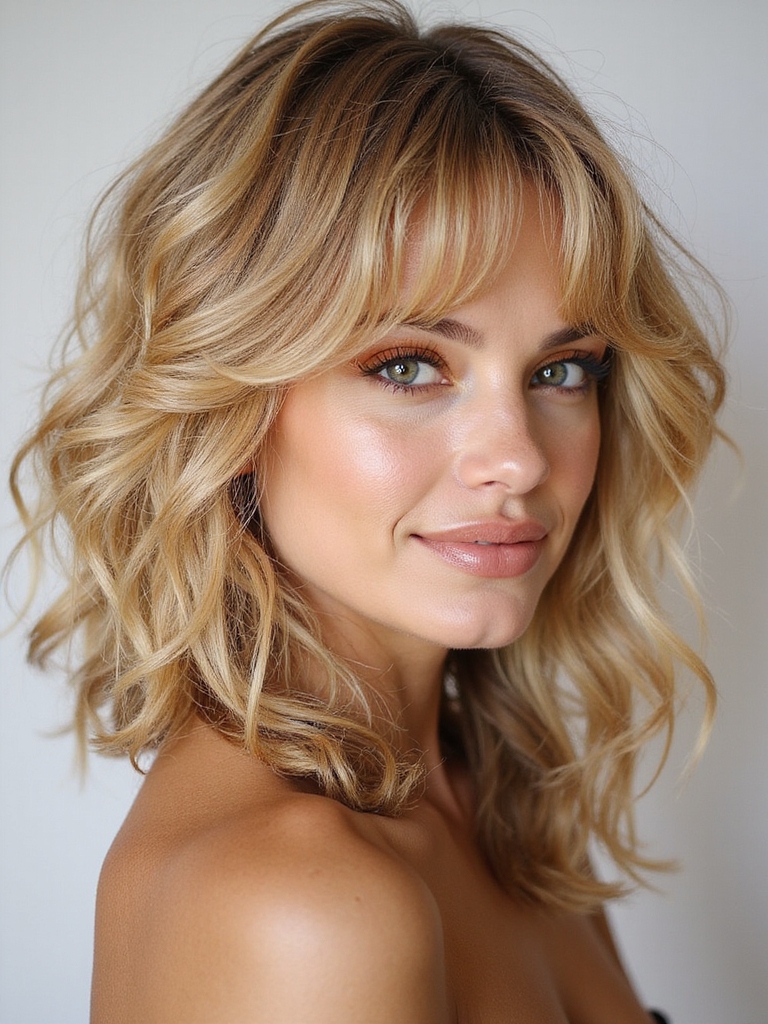
The ends of a long shag are meant to look a little broken up. Point-cutting into the last inch or two creates separated, wispy tips that move on their own, breaking up what would otherwise be one flat edge.
- A small amount of texture spray on dry ends emphasizes the separation.
- Skip the flat iron on these pieces; smoothing them erases the effect the cut is built around.
- Trim the ends every few months to keep them from splitting, even though the overall shape barely changes.
Color on a Long Shag
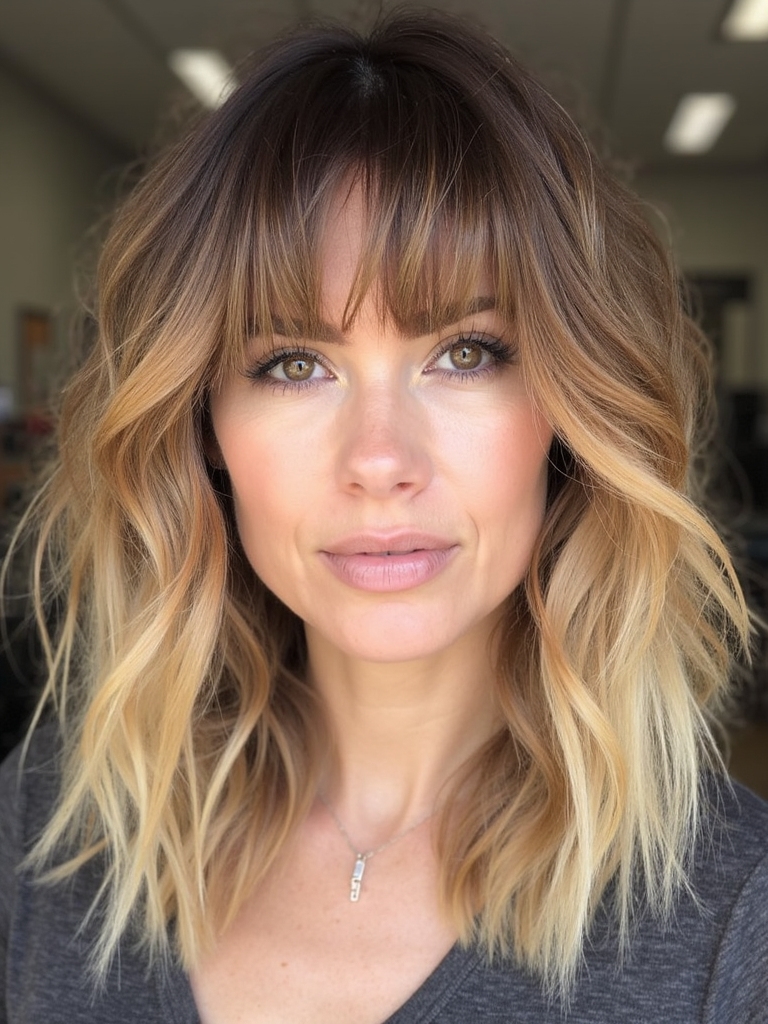
Color and a long shag work well together because the layering gives any technique somewhere to move. Highlights woven through the top layers catch light as the hair swings, while a soft balayage keeps the ends looking sun-warmed.
You’ll get the most from color that grows in gently, since a shag this layered already asks for regular trims. Matching that with a low-maintenance color technique keeps the whole routine manageable, so you’re not doubling your salon visits.
- Balayage or foilyage for the lowest-maintenance grow-out.
- All-over color shows off the shag’s movement most dramatically, but needs the most upkeep.
- Keep the root shade close to natural for the easiest regrowth.
| Technique | Best For | Upkeep |
|---|---|---|
| Balayage highlights | Low-maintenance, soft grow-out | Root touch-up around month 3 |
| All-over gloss | Boosting shine and depth | Refresh at the 6-week mark |
Styling Tools for a Long Shag
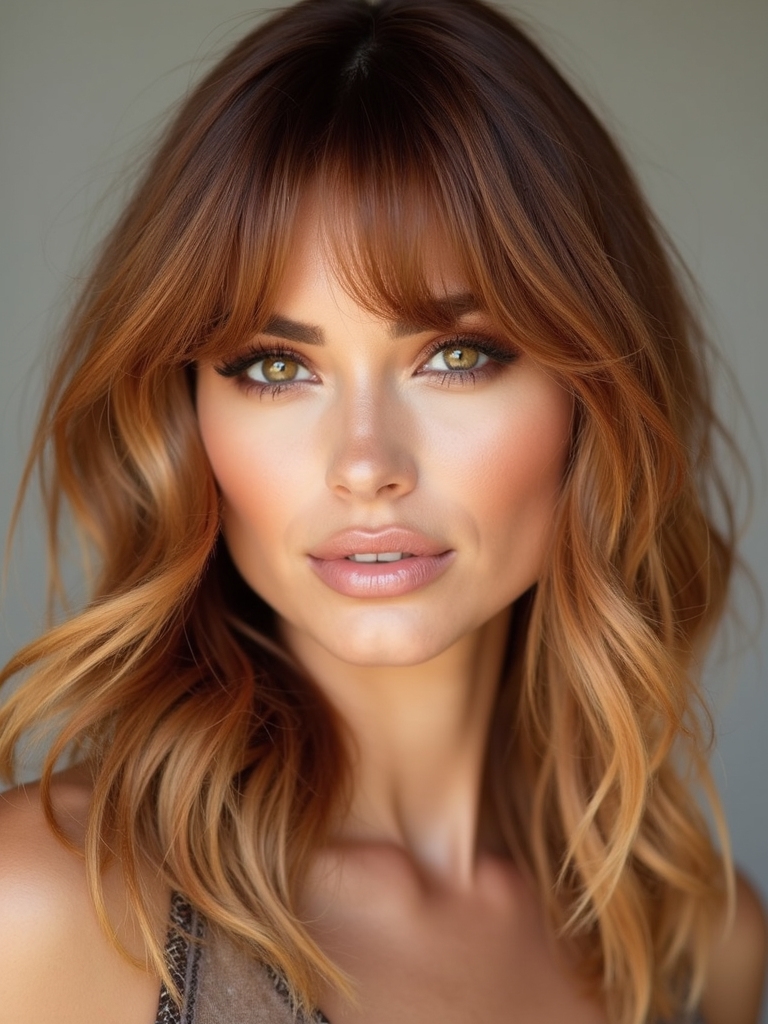
A long shag doesn’t ask for a full counter of product. Most of what shapes the cut day to day comes down to three or four tools used consistently, not a rotating collection. For more wearable options at other lengths, browse our full shag haircut roster.
- A texture or salt spray for definition on second-day or air-dried hair.
- A medium round brush for a lifted, glossy blowout when you want it.
- A lightweight curl or wave cream if your hair has any natural bend to enhance.
Growing Out a Long Shag
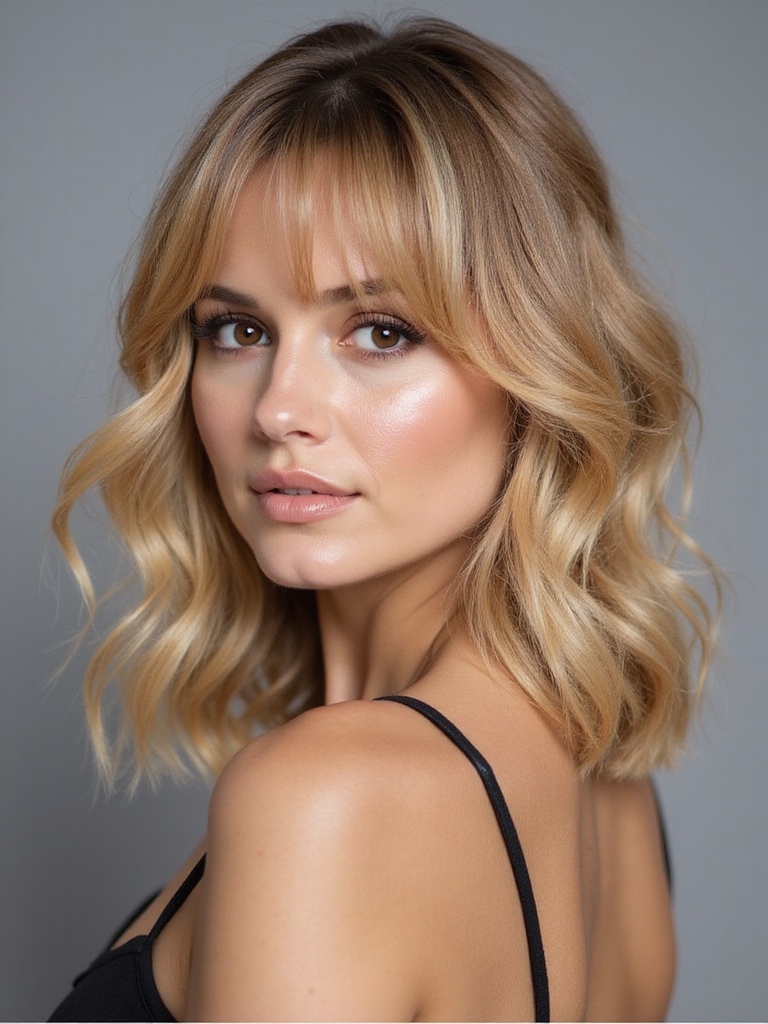
A long shag is one of the more forgiving cuts to let grow, mainly because the layers already run through the whole length. As it grows, the cut doesn’t hit a stage where it looks like it’s fighting itself.
Expect the layers to simply lengthen and soften over time, with the shape gradually shifting toward something closer to long layers rather than a defined shag, similar to how a medium shag hairstyles grows out, just with more length to work with.
The trade-off is that the texture reads a little less crisp the longer you wait, since shorter layers near the face are what keep the piecey look sharp. A single trim focused on the face-framing pieces can refresh the whole cut without touching the length.
What to Tell Your Stylist About a Long Shag
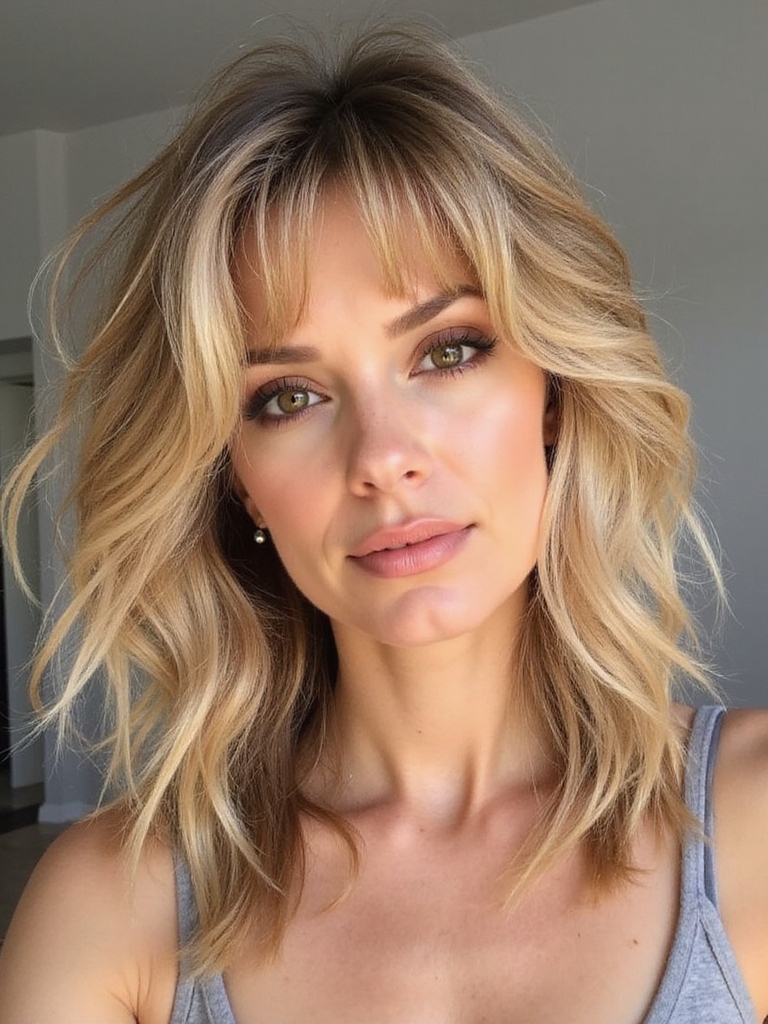
Walking in for a long shag, the most useful thing you can bring is clarity about how much texture you actually want, since the word covers a wide range of results. Mention whether you want it soft and feathered or choppier and more aggressive. A cut and style at this length usually runs $65 to $95, with heavier texturizing work sometimes pushing the total higher.
- Bring a photo, but be specific about which part of it you want: the fringe, the length, or the amount of texture.
- Mention your natural texture so the stylist can cut curly hair dry and adjust layering for density.
- Ask directly where the shortest layers will sit; that single detail decides most of the final shape.
Long Shag Questions People Ask
?Can a long shag work if I don’t want bangs?
Yes. The shag doesn’t require a fringe at all; the layering happens through the crown and sides regardless of what’s going on at the front. Skip the curtain bangs and the cut still delivers the same movement and volume, just with more length free to frame the face.
?How much length do I actually lose getting a long shag?
Less than most people expect. The layers are cut into the existing length without shortening it dramatically, so a stylist working from an already-long base can usually keep the overall length within an inch or two while still building in real movement.
?Does a long shag work on hair that’s color-treated and a little damaged?
It can, though texturizing techniques like slide-cutting put more stress on compromised ends than a blunt cut would. Ask your stylist to check the ends’ elasticity first, and be upfront about a color history; a more conservative amount of thinning protects hair that’s already fragile.
?Will a long shag look too similar to a wolf cut?
They share heavy layering, but a long shag keeps a smoother overall shape while a wolf cut pushes for more aggressive, choppy separation and shorter crown pieces. Ask your stylist for ‘shag’ specifically if you want the softer, more blended version.
?How do I keep a long shag from looking stringy?
Stringy usually means the ends are too thin relative to the length, often from over-texturizing fine hair or skipping trims too long. A texture spray applied to already-dry hair, rather than damp, tends to separate pieces cleanly. A trim focused on the ends alone can fix the problem without losing length.
Where Your Long Shag Goes From Here
A long shag rewards almost any hair type and any effort level, from a five-minute air-dry to a full glossy blowout for a night out. The layering is what makes both extremes possible from the same haircut.
Bring a clear sense of the texture and length you want into the consultation, and let the placement of the layers do the rest. So which version are you actually building toward: the soft, feathered take, or the sharper, rock-and-roll one?
More Inspiration





