

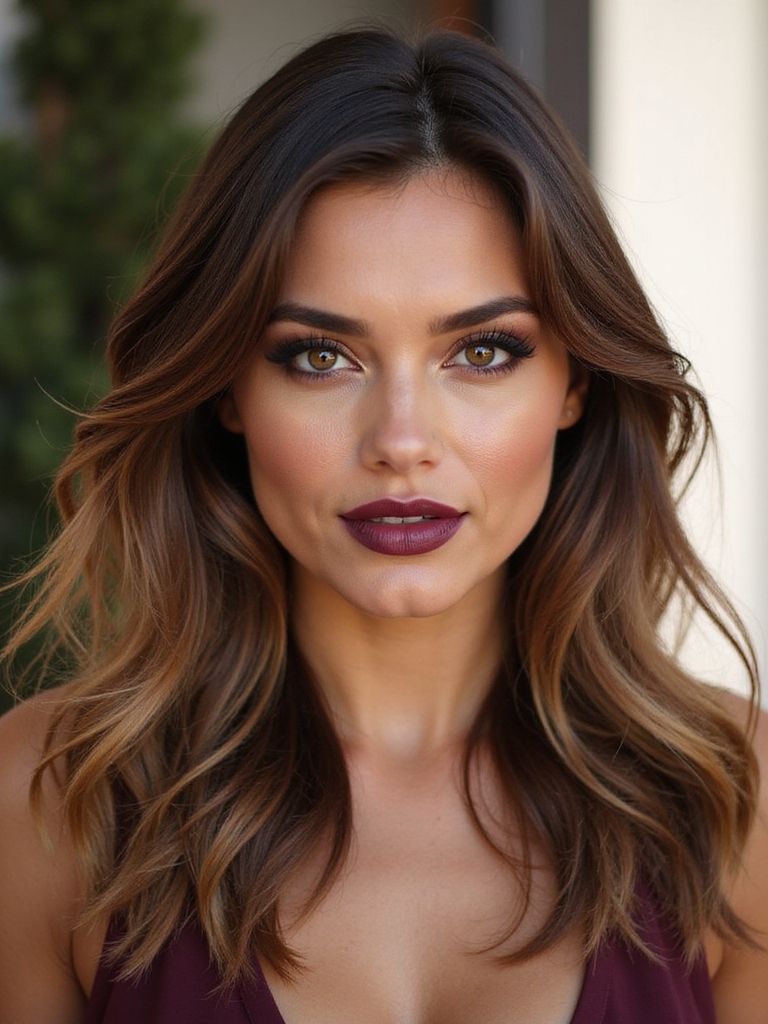
Ask for ‘layers’ without more detail and the result is a coin flip. Mid-length layered haircuts built around face-framing get a lot more predictable: the front pieces do almost all the flattering work, while the length underneath stays easy to wear.
Fifteen ways to place that framing follow below, sorted by texture and face shape, plus the exact placement that lifts each one.
Face-Framing, the Short Answer
What decides whether face-framing layers actually flatter? Placement more than quantity. Where the shortest piece falls, at the cheekbone, jaw, or chin, decides more than how many layers get cut in.
Does mid-length work for every face shape and texture? About as close to universal as a length gets. The collarbone-to-shoulder range settles softly on nearly every face shape and works across fine, thick, straight, and curly hair.
How much upkeep does the framing actually need? Plan on around two months between full reshapes, with the shortest framing pieces sometimes needing a touch-up sooner to stay sharp.
Collarbone Face-Framing Layers

Start with the most broadly flattering combination on this list: a collarbone-length cut paired with soft face-framing layers. Anywhere from the collarbone to true shoulder length works, and the framing carries nearly the whole look on its own. A few specifics to bring in:
- Ask for the shortest framing piece to start right at the cheekbone.
- Keep the rest of the length one continuous, unbroken line.
- For a shorter take on the same idea, the shoulder-length layered guide covers that range.

Money-Piece Framing

A money piece, two lighter sections framing the face, pairs color directly with the cut so both are doing the same job. Brightening just the front pieces draws the eye inward and lifts the whole complexion.
Color That Follows the Cut
This works especially well layered on top of face-framing layers, since the lighter color follows the exact shape the cut already created. Going subtle, a shade or two lighter, or bold with real contrast, both read intentional here.
Because only the front pieces get lightened, upkeep stays lower than an all-over color change, with a refresh needed just every few months.
The front two pieces are doing double duty here, shape and color working the same job at once. That’s part of why a money piece photographs so well against face-framing layers specifically.
The Invisible-Layer Lob

A modern lob with invisible layers suits anyone chasing movement without an obviously layered look. The layers get cut internally, hidden beneath the surface, so the lob keeps its full, blunt-looking shape while gaining body underneath. What to request:
- Ask specifically for invisible layers, not surface layers.
- Keep face-framing pieces at the front for shape without visible steps.
- This suits fine hair particularly well, since the surface stays dense-looking.
Airy Layers for Fine Hair

Fine hair needs layers placed with real restraint, since the wrong ones thin it out further. Airy, feathered layers fake the look of density on top of what’s already there. A few rules that keep this from backfiring:
- Keep the perimeter close to blunt so the ends always look dense.
- Place layers soft and low, keeping height at the crown to a minimum.
- Lift the roots with a light mousse and a round brush; skip heavy creams.
Two myths keep fine hair from trying layers:
❌ Myth: Layers always thin fine hair out.
✅ Reality: Only when placed wrong. Soft, low layers add body; heavy, stacked ones remove the weight fine hair needs.
❌ Myth: More layers means more volume.
✅ Reality: The opposite is often true. Fewer, well-placed layers usually read fuller than heavy all-over layering.
Internal Debulking for Thick Hair
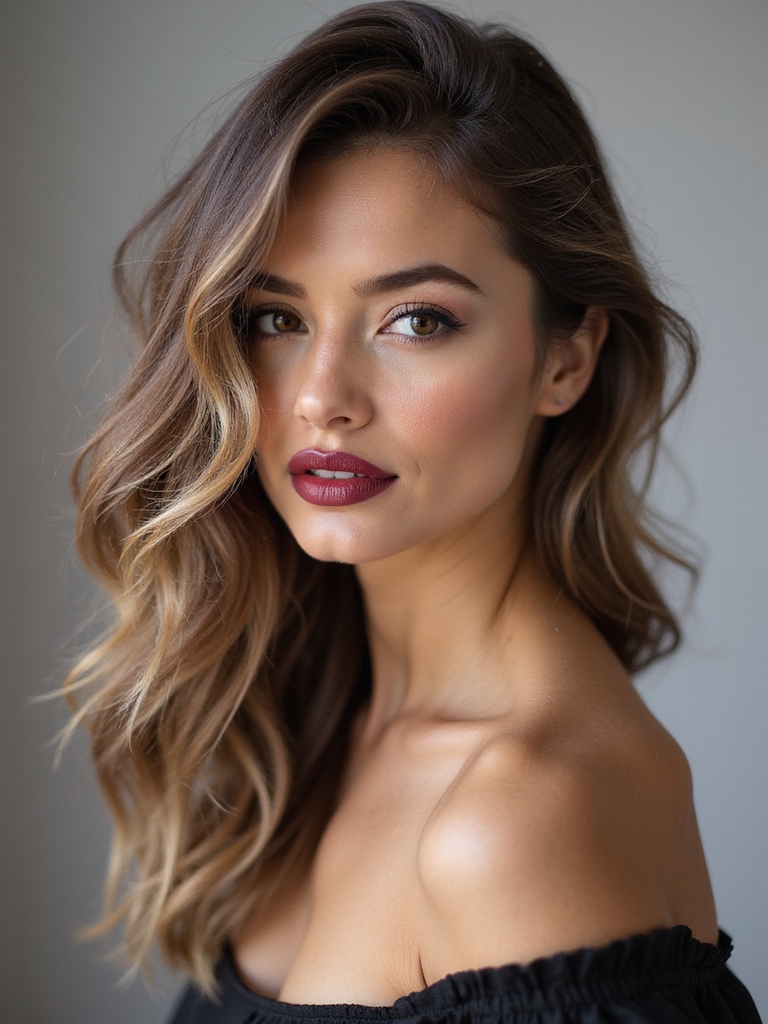
Thick hair at mid-length can sit like a heavy curtain, and internal debulking is the fix: removing weight from underneath while the surface stays smooth.
Weight Out, Shape In
This lets the hair actually move and lets the face-framing show through, no longer buried in a dense mass. You’ll notice the outline stays full even as the inside gets lighter.
Ask for internal debulking done beneath the surface specifically, so the outside keeps its polished line. Plan on a reshape around every two months to keep the bulk from building back up.
Curly Mid-Length Layers

On curly hair, mid-length layers turn a shapeless triangle into a balanced, framing form. Without layers, curls pile up wide at the bottom; with them, curls stack and the face gets framed by springy pieces up front.
The cut needs to happen dry, since a wet cut hides the real pattern and tends to place the framing in the wrong spot once everything dries and springs upward.
A curl cream worked through on wash day, then left completely alone, lets the framing pieces settle around the face exactly where the cut intended.
The Mid-Length Shag

A shag wraps the face in movement more completely than any other cut here, built from short layers up top down to longer ends, with a fringe and soft pieces surrounding the face.
The framing is baked directly into the cut, so the face stays surrounded by movement from the fringe down to the jaw. It suits anyone chasing maximum texture with minimal daily effort.
Style it with a texture spray and a rough finger-dry to bring the layers forward. Expect to reach for this less on days that call for polish and more on days that call for texture to do the talking.
Blunt Ends With Subtle Layers

For anyone who loves thick, blunt ends but still wants the face framed, this is the balance worth asking for. A strong, blunt perimeter keeps the density, while subtle framing layers add movement only where it flatters. The brief:
- Keep a blunt or near-blunt hemline through most of the length.
- Add framing layers only at the front, starting around the jaw.
- Leave everything else one length so the cut looks heavy and polished.
A Side-Swept Fringe

A side-swept fringe extends the face-framing up into a soft diagonal across the forehead, completing the frame from brow to chin.
Framing From the Brow Down
The diagonal flatters round and square faces especially well, where it slims and softens sharper angles. It flows directly out of the framing layers, so it never looks like a separate decision.
Dry the fringe across to one side with a round brush, then blend it into the face-framing pieces. Switching your part occasionally refreshes the whole sweep.
Center-Part Framing
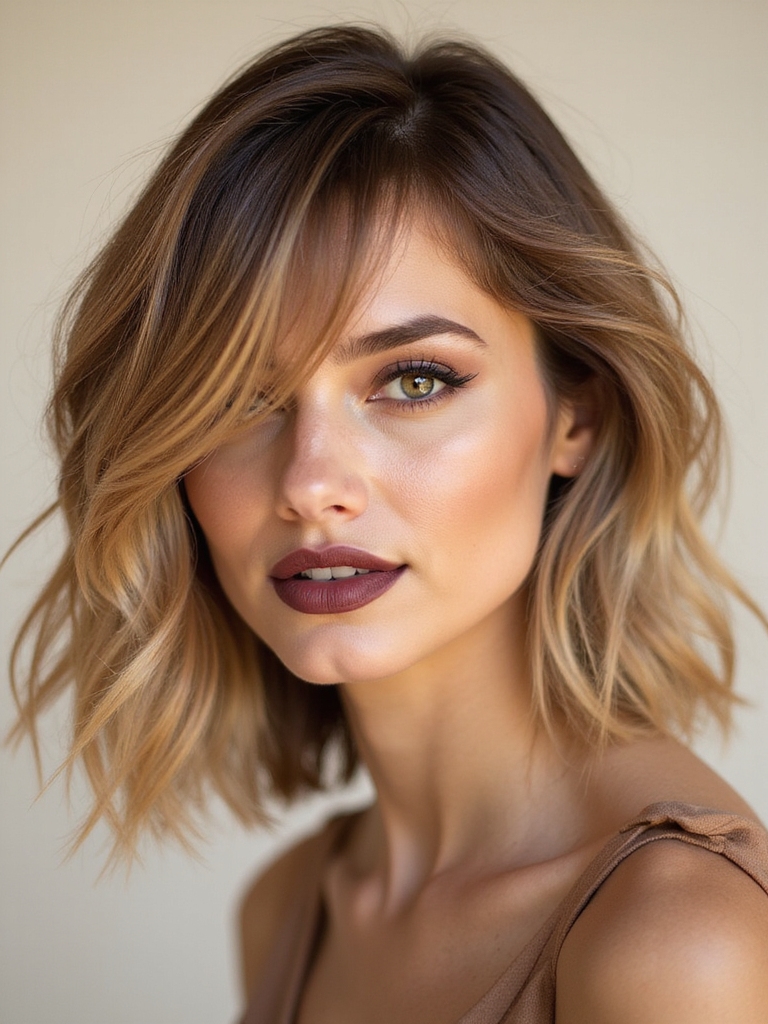
A center part lets face-framing layers work symmetrically, with matching pieces falling on each side. The effect lands clean, modern, and deliberately balanced.
This suits oval and heart-shaped faces especially well, where the symmetry plays into already-balanced proportions. On a round face, a slight off-center part usually flatters more, since a dead-center line can widen the face.
Smooth each side down and tuck the framing pieces forward to graze the cheeks. The even part puts the full focus on how the layers frame the features.
Curtain Bangs and Collarbone Layers

Curtain bangs paired with collarbone layers make the most complete face-framing combination here, surrounding the face from brow to chin in one continuous line.
The bangs part at the center and sweep straight into the layers, so the whole frame reads as one connected shape from a single decision.
- Longer, fuller bangs balance a long face; wispier ones suit a round one.
- Style with a round brush, sweeping each side into the framing layers.
- Expect the bangs to need their own trim more often than the rest of the cut.
ℹ️Where the Bangs Actually Begin
A face with a longer forehead usually takes best to this pairing, since the bangs shorten that proportion visually while the collarbone layers balance the rest. On a shorter forehead, ask the stylist to keep the fringe slightly higher and wispier so it doesn’t overwhelm the face.
Long Face-Framing Tendrils

Face-framing tendrils are the pieces left out at the front when the rest of the hair gets pulled up, and they’re the difference between an updo that looks soft and modern versus one that looks scraped-back and severe.
Even on a day the hair goes up, the framing keeps doing its job. That’s the appeal: the frame doesn’t disappear just because the length does.
- Leave two soft pieces out at the front before tying the rest back.
- Curl or bend them slightly so they look deliberate and shaped.
- Keep them long enough to graze the jaw for the most flattering result.
Wavy Mid-Length Layers
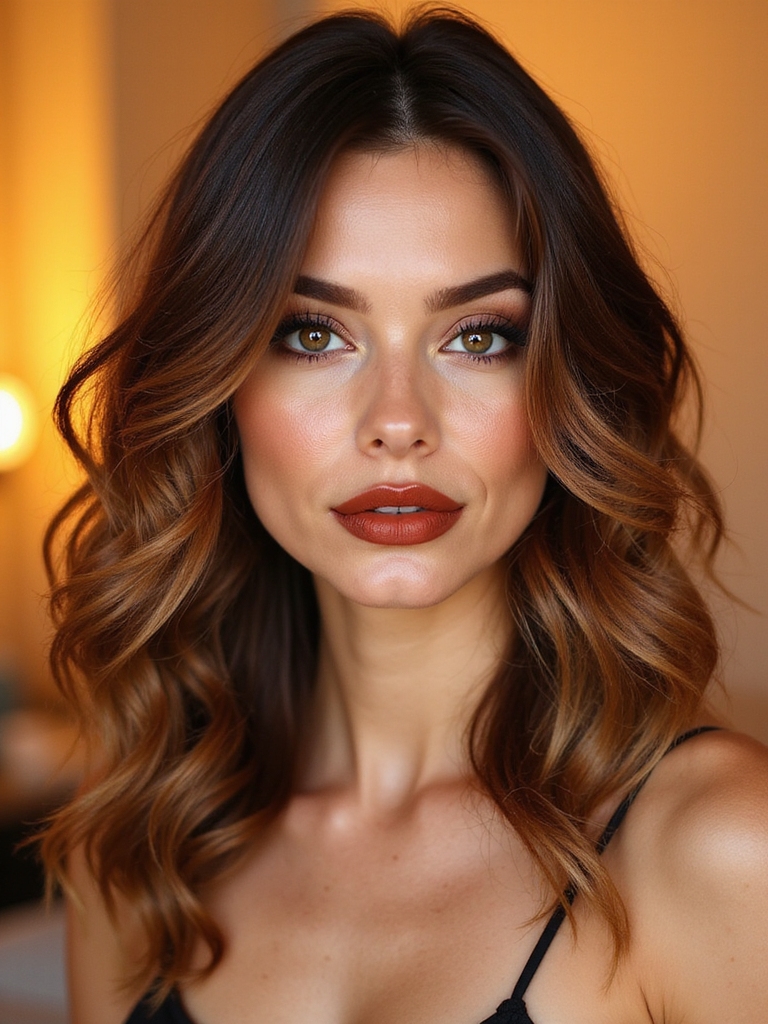
A natural wave and mid-length layers make an easy pairing, since the layers give the wave room to spring into soft, beachy movement that frames the face on its own. The routine stays simple:
- Scrunch a salt spray or wave cream into damp hair and let it dry.
- Encourage the front pieces to curve toward the face as they dry.
- Break the waves apart with fingers; skip the brush to keep them loose.
Sleek, Polished Layers

Layered mid-length hair isn’t only for undone days. Blow-dried smooth, the same cut looks refined and polished while the framing keeps doing its flattering work.
This is the version for work, events, or any day that calls for something more put-together than an air-dry.
- Blow-dry section by section with a round brush, rolling the front pieces toward the face.
- Finish with a small amount of shine serum worked through the ends.
- The internal layers are what keep even the sleek version from reading flat.
Building the sleek, polished version from damp hair:
1Section and dry
Work through the hair in sections with a round brush, starting underneath.
2Roll and set
Roll the front pieces toward the face and hold the cool shot briefly before releasing.
Cheekbone-Length Framing

For the most lifting, brightening effect available, the shortest framing layer should hit right at the cheekbone. Few placements draw the eye upward this reliably.
The Most Lifting Placement There Is
It lifts the whole look and works across an unusually wide range of face shapes, which is part of why it gets requested this often.
Ask specifically for the shortest layer to land at the cheekbone, not below it. A stylist adjusting by even half an inch changes how much lift the framing actually delivers.
How to Get the Look
Booking a layered cut for face-framing means expecting a real conversation about placement before anything else. A good stylist looks at face shape and features first, then decides whether the shortest framing piece should land at the cheekbone, the jaw, or the chin.
Bring a photo if it helps, but be ready to talk through your own features specifically, since the best framing gets built around them directly. Plan on around $65 for a standard cut with framing layers, more if internal debulking or heavy layering is involved.
It’s All in the Placement
Mid-length layered hair flatters this reliably for one reason: it frames the face better than almost any other length can. Whether the result lands soft and collarbone-length, curly, textured, or sleek, the actual work happens in where the front pieces fall.
Lead with the framing at the next appointment. Talk through face shape and where the eye should land, and let the placement guide everything else about the cut.
Hand-Picked for You





