
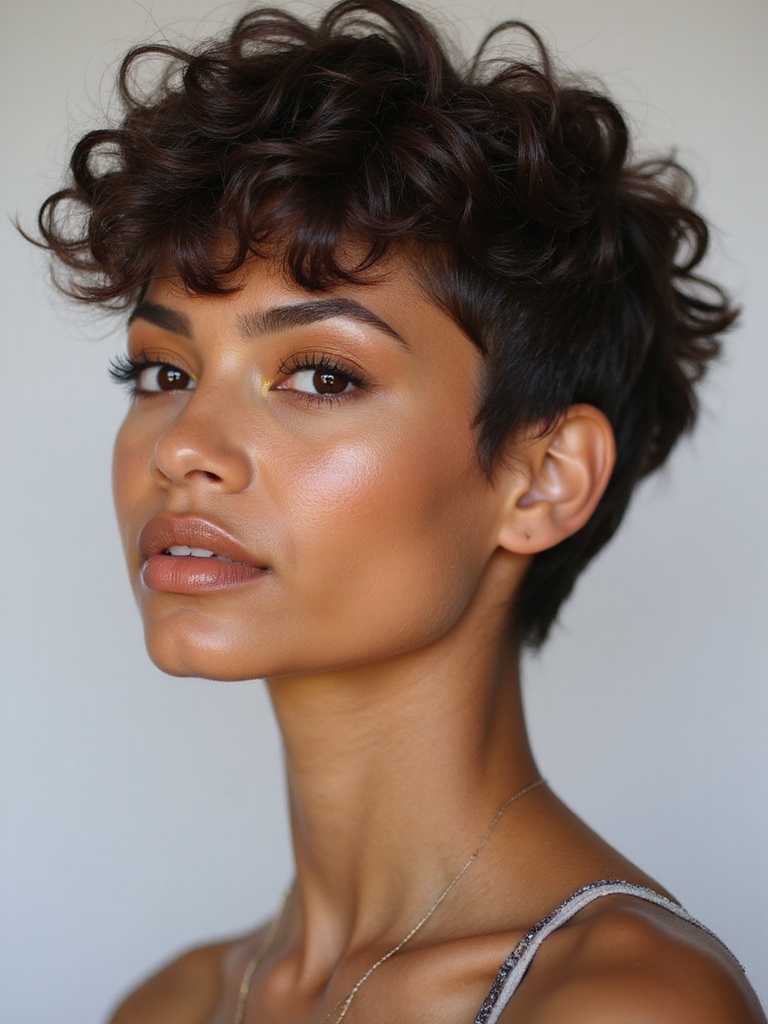
After years behind the chair, this is the claim I will stand behind: the curly pixie is the cut that finally lets your texture lead. Strip away the length that drags long curls down, and the coils spring up into pure shape.
The short length turns daily styling into a quick wash-and-go for most people. The whole game is choosing the right version for your curl pattern, then knowing how to keep it defined. These sixteen looks and tips cover both, from the cut itself to color, products, and the upkeep between visits.
The Short Version
- Match the crop to your pattern: looser curls keep more length on top, tighter coils can go very short and still look full.
- Cut it dry, always. Curls shrink as they dry, so a dry cut is the single biggest factor in a curly pixie you actually like.
- Upkeep is mostly moisture plus a shape-up every few weeks. Style heatless to keep the curls healthy and defined.
Choose the Crop That Fits Your Curl Pattern

The single biggest factor in a great curly pixie is matching the cut to your curl pattern. Loose waves, springy curls, and tight coils each behave their own way, so the same crop is shaped differently for each.
Cut it dry, whatever your pattern
Looser patterns usually keep a little more length on top for shape. Tighter coils can go very short and still look full. They spring up and out, not down. Knowing your pattern before you book lets you talk to your stylist in their language.
It also helps you avoid the one outcome nobody wants: a crop that fights your texture instead of working with it. Spend five minutes learning your pattern and the whole appointment goes better.
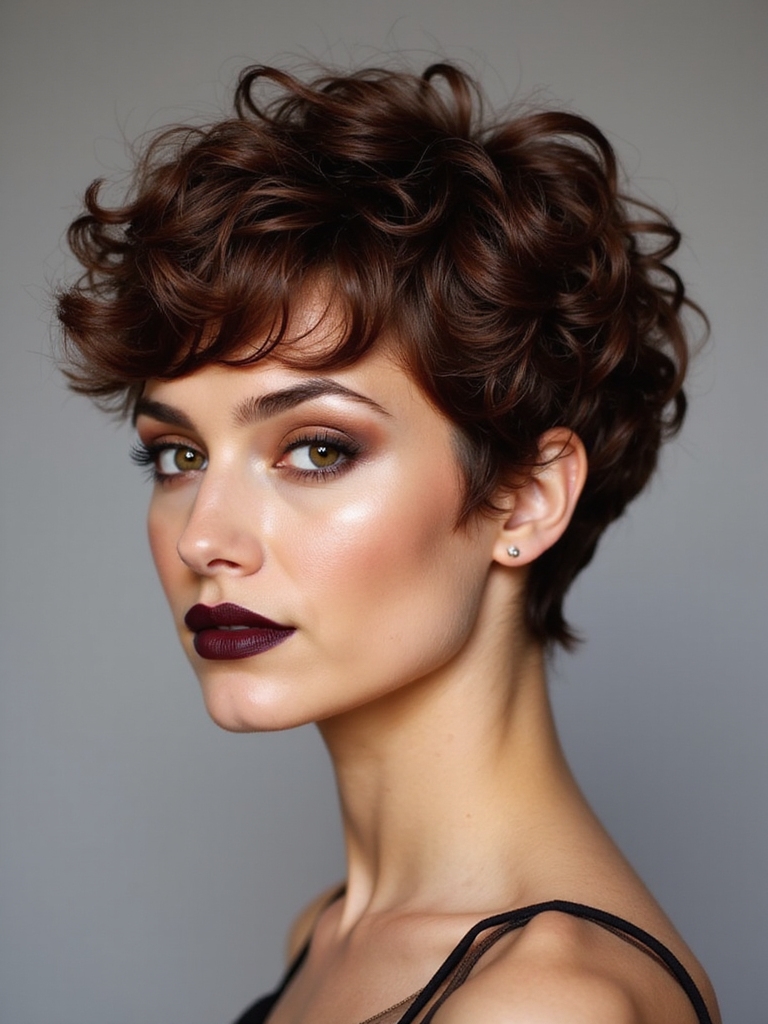
Soft Waves With Wispy Layers

For loose waves, wispy layers keep a pixie soft and full of movement. The gentle bend gives the crop natural body, and the layers stop it sitting heavy or sharp.
Best for loose 2C to 3A waves
The waves do much of the styling for you. A scrunch of product and a little air time is often the whole routine.
This is the version I suggest to wavy clients who want short hair but worry it will look severe. The softness of the wave keeps a crop looking relaxed.
ℹ️The Short-Hair Payoff
A curly pixie uses a fraction of the product a long curly head needs, and it air-dries in minutes instead of half an hour. That speed, plus defined curls that ask for no daily heat, is why the cut suits busy mornings so well.
Sculpted Curls With Tapered Sides
Tapered sides under sculpted curls draw the eye up and keep the bulk down, a sharp and flattering shape for defined curls. The taper bares the neck cleanly while the curls take the spotlight on top.
It works for three reasons. The taper lengthens and frames the face. It keeps dense curls cool by lifting weight off the sides. And a curl cream up top defines the curls for contrast against the close sides. Pair it with curly bangs if you want a soft front.
Voluminous Crown for Loose Curls
Loose curls can fall flat at the roots, and a voluminous crown fixes exactly that. Leaving length and lift on top lets the curls stand full where they tend to sag.
The extra crown height balances the shape and flatters rounder faces by adding a little length up top. It is the small change that makes a loose-curl pixie look intentional rather than deflated.
Build it with a touch of root lift and a diffuser aimed upward at the crown. Pick the roots out gently once dry and the silhouette rounds out.
- ✓The sides come in close to bare the neck and lift the eye
- ✓Weight is removed where dense curls run hot and bulky
- ✓Length stays on top so the curls keep their shape and spring
- ✓A curl cream defines the top for contrast against the close sides
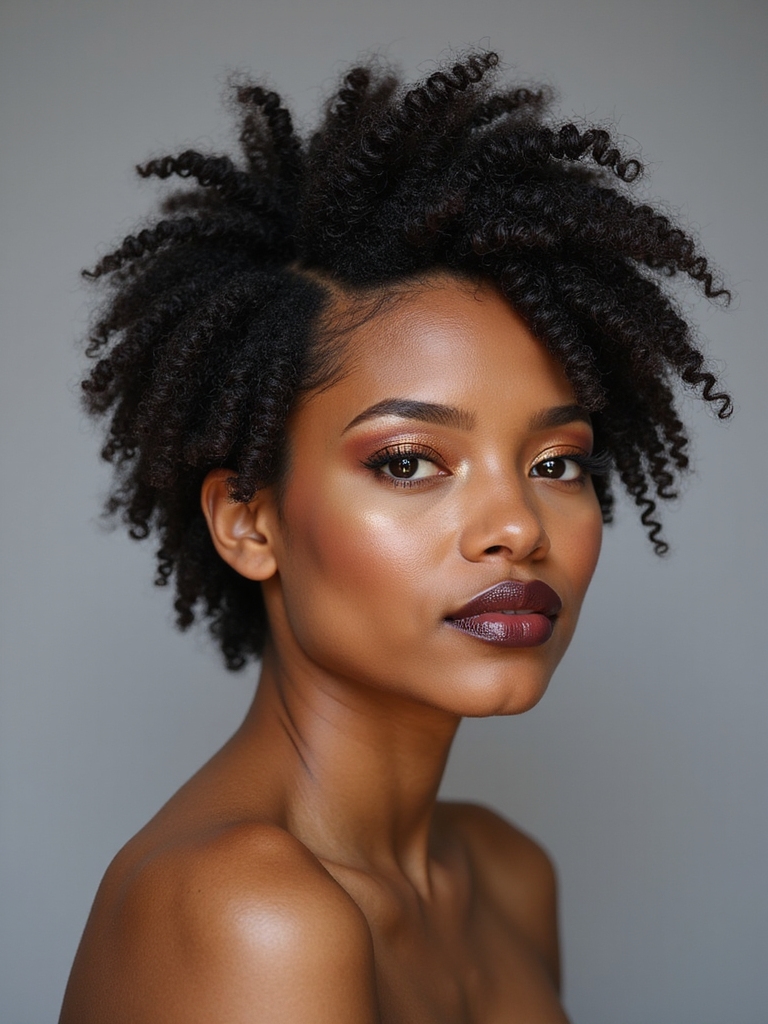
Cropped Coils With Defined Edges

On tight coils, a cropped pixie with cleanly defined edges shows the texture as pure shape. The coils stand full on top while a barber lines the edges sharply for a crisp, deliberate finish.
It is bold and low-manipulation. Most days it is a true wash-and-go. A curl cream or custard defines the coils, and the lined edges keep the whole look intentional.
This one lives and dies on the edge work, so book a barber or stylist who shapes coily hair every day. A clean line-up runs $25 to $50 and lasts about two weeks before it softens.
Curly Shag-Pixie Hybrid
A shag-pixie hybrid brings choppy, piecey shag layers to a curly crop, giving the curls extra texture and a cool, undone edge. It looks relaxed rather than precise, which is the whole appeal.
It is a fine choice if you want your crop to look casual and full of movement with very little daily styling. Our curly shag guide goes deeper if you want more of that layered, piecey shape.
| Pattern | How short you can go | What it needs |
|---|---|---|
| Loose waves (2C to 3A) | Keep length on top, wispy layers | A scrunch of cream, light air-dry |
| Springy curls (3B to 3C) | Short with a defined crown | Curl cream and a gentle scrunch |
| Tight coils (4A to 4C) | Very short, sculpted, with a taper or fade | Custard or gel, lined edges |
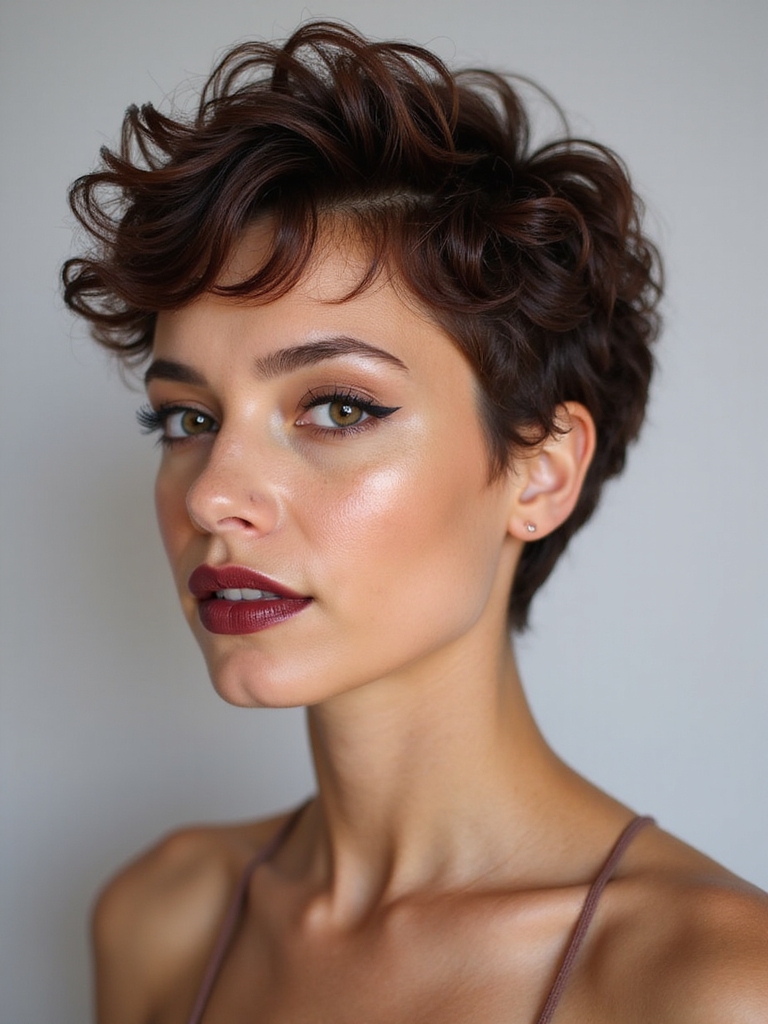
Side-Swept Fringe for Face Framing

A side-swept fringe softens a curly pixie, the curls falling to one side to frame the face on a flattering diagonal. It adds softness and a little length up front to play with, and it grows out easily into face-framing pieces.
- Frames the face on a soft diagonal that flatters most shapes
- Cut dry so it allows for how much the curls spring up
- Low-commitment, since it grows into face-framing curls
Undercut Pixie to Reduce Bulk

An undercut shaves the sides or nape beneath a fuller curly top, removing bulk so dense curls sit lighter and cooler. The curls on top look even fuller against the clean undercut, and the look gains a modern, edgy contrast.
- Removes weight so thick curls are easier to manage
- Keeps heavy curls cooler in summer, a real practical win
- Adds bold contrast, but needs a tidy every few weeks
Two beliefs keep curly people out of the pixie chair. Both are wrong.
❌ Myth: Curly hair is too hard to wear short.
✅ Reality: Often the opposite is true. A short cut removes the weight that flattens curls, so they spring into shape with less effort, not more.
❌ Myth: A curly pixie has to be cut wet for accuracy.
✅ Reality: It should be cut dry. Only then can the stylist see where each curl actually falls and account for the shrinkage that comes as it dries.
Curly Mullet-Inspired Pixie

A mullet-inspired curly pixie keeps the crop short on top and sides with a little extra length at the nape, letting the curls show off their pattern with a retro-cool edge. Softening the contrast keeps it modern and wearable, so the curls look playful and current.
It is the boldest cut here for anyone who wants something with attitude. The longer nape gives you a few curls to play with while the rest stays cropped and easy.
Micro Bangs With Springy Curls

Micro bangs on a curly pixie make a bold, editorial statement, the short curly fringe springing up high on the forehead. It is daring and fashion-forward, and it draws the eye straight to your brows and texture.
It rewards confidence more than any other look here. If you love it, it pairs with the fuller styles in our micro bangs guide once you grow it out.
- A high, springy fringe that makes a real statement
- Cut dry to account for how much the curls spring up
- Best on someone who wants their hair to be noticed
Wash-and-Go Styling Essentials

The wash-and-go is the curly pixie’s everyday routine, and it is quick. The short length means product goes further. Drying takes minutes, not the half hour a longer curly head can need.
Smooth a curl cream or gel over soaking-wet hair, scrunch to encourage the pattern, then air-dry or diffuse on low. That is the whole routine for most curly pixies, and it is a big part of why people short on time love the cut.
Heatless Methods for Definition
Curly pixies look their best with heatless styling, which keeps the curls healthy and defined. Heat tends to loosen and dry out the pattern over time, and on a short cut there is no length to hide the damage.
Skip the daily hot tool
Define the curls on damp hair with a cream or gel, then air-dry or diffuse on low for the cleanest result. A satin bonnet at night keeps the curls intact while you sleep.
When I see a curly pixie that has gone limp and dull, a flat iron is usually behind it. Put the hot tool down for a month and the spring comes back on its own.
Products That Keep Pixies Light and Bouncy

A curly pixie needs little product, but the right kind keeps the curls defined without weighing them down. Heavy creams that work on long hair will flatten a crop, so go lighter than you think.
Three basics cover it. Use a curl cream or light gel to define and hold the pattern. Add a sulfate-free shampoo and a rich conditioner, since curls run dry. Finish with a light oil on the ends for shine and frizz control.
Maintenance Between Salon Visits

A curly pixie’s main upkeep happens in the salon, because the short shape and any edges soften as they grow. A shape-up every three to four weeks keeps the silhouette crisp, which is the trade-off for such an easy daily routine.
Between visits, the focus is moisture. A leave-in and the occasional deep conditioner keep the curls soft and defined, and a quick water-and-cream refresh revives them between washes.
- Book a shape-up every three to four weeks to hold the outline
- Deep condition weekly, since short curls show dryness fast
- Refresh with water and cream instead of restyling from scratch
Color Ideas That Play Up Texture

Color can play up a curly pixie’s texture. Subtle highlights catch the curls and add depth. A money piece frames the face. A soft balayage brings dimension to the shape.
Keep it understated on a short cut, because a little color goes a long way here. Color-treated curls also need extra moisture to stay soft and defined, so plan for a richer conditioner. A partial highlight or money piece usually runs $80 to $200 depending on your area.
Styling a Curly Pixie for Any Occasion

One of the curly pixie’s quiet strengths is how easily it dresses up or down. The same cut carries you from a busy weekday to a special event with just a change of finish.
One cut, many finishes
For work and weekdays, a simple wash-and-go keeps the curls defined and the routine fast. For weekends, a little texture paste or a pick-out at the crown adds volume and a fuller, relaxed shape.
For an event, a defined wash-and-go with laid edges or a small clip dresses the look up in minutes. For more cropped texture ideas, see our natural hair pixie cut guide.
Curly Pixie Cut Questions, Answered
?Should a curly pixie be cut wet or dry?
Dry, in almost every case. Curls spring up and shrink as they dry, so a wet cut can leave a pixie far shorter and more uneven than intended. Cutting dry lets the stylist see where each curl falls and shape the crop to your pattern.
?Does a curly pixie work on all curl types?
Yes, from loose waves to tight coils, with the cut tailored to your pattern. Looser curls keep a little more length on top, while tighter coils can go very short and still look full.
?How often does a curly pixie need a shape-up?
Every three to four weeks for a crisp outline, especially if you have a taper, fade, or lined edges. A softer, wavier pixie can stretch a bit longer between visits.
?What products does a curly pixie need?
Less than you would think. A curl cream or light gel, a sulfate-free shampoo and rich conditioner, and a light oil on the ends. Heavy products flatten a short curly crop, so go lighter than on long hair.
?Can I color a curly pixie?
Yes, and subtle color suits the texture well. Keep highlights or a money piece understated on a short cut, and plan for extra moisture, since color-treated curls dry out faster and need a richer conditioner.
Letting the Curls Lead
The make-or-break decision with a curly pixie is finding a stylist who cuts curls dry and shapes the crop to your specific pattern. That one choice turns short curly hair from a gamble into an easy, flattering cut.
Match the shape to your curls, keep them moisturized, and style heatless. Do that, and the texture does the rest, every single day.


