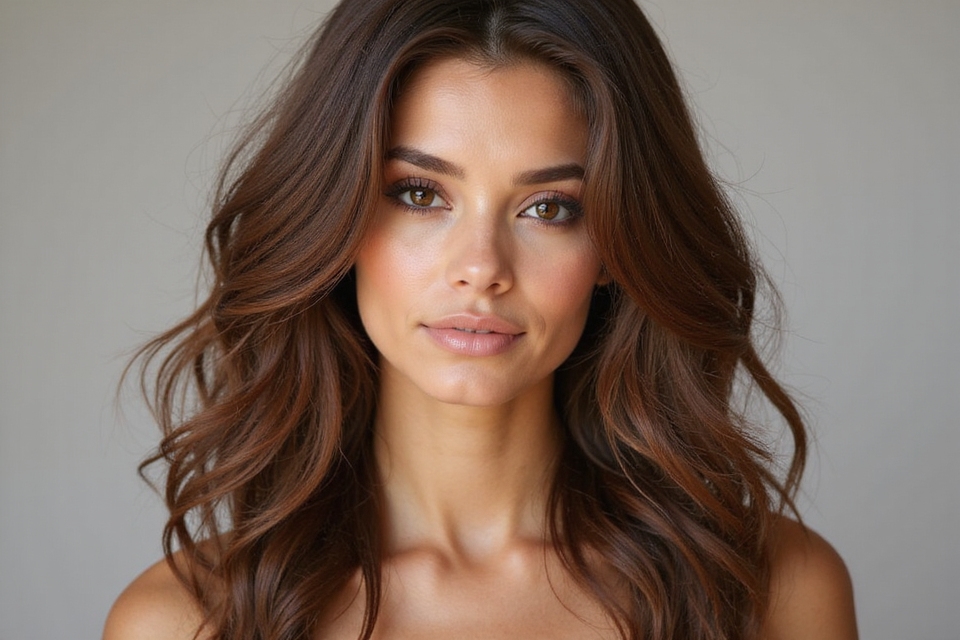
I ran my fingers through a client’s hair last month and actually lost track of where the color started. No line, no stripe, just warmth that gathered toward the ends like sun had done it on its own.
That’s the whole draw of brown balayage. The real decisions are simpler than the endless photo galleries suggest: what the technique actually is, how it differs from foils, which shade and contrast level fit your skin and your schedule, and what the upkeep really costs in time and money.
What Actually Decides Whether Balayage Works for You
Balayage is a freehand painting technique, not a shade. It’s kept off the root on purpose, which is what lets the grow-out stay soft instead of demanding a monthly touch-up.
The two real decisions are shade temperature (staying warm or cool to match your base and skin) and contrast level (how far you lift from your natural depth). Get those two right and almost any placement looks intentional.
What Brown Balayage Actually Is
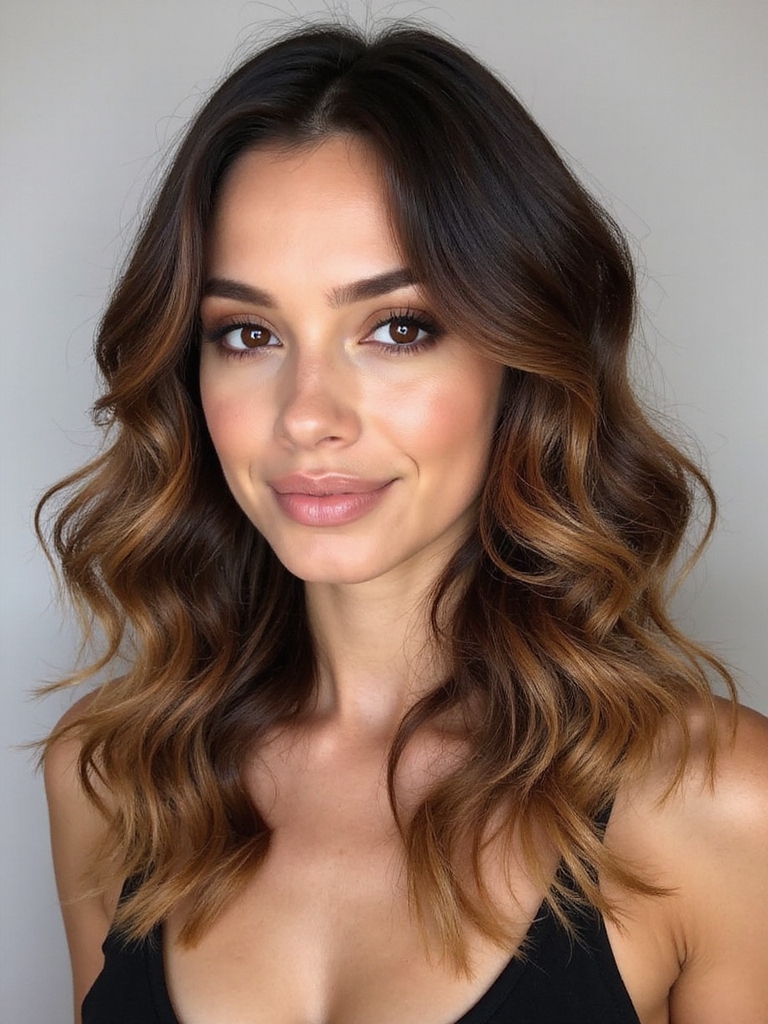
Balayage comes from the French word for sweeping, and that’s the literal motion: a colorist paints lightener onto the surface of the hair by hand, following the path sunlight would naturally take through it.
On a brown base, that usually means warm caramel, honey, or toffee worked into the lengths. Because the paint stays on the surface rather than saturating through, the result stays concentrated toward the lower half of the hair, with a soft blend up toward a natural-looking root.

Balayage Versus Foil Highlights
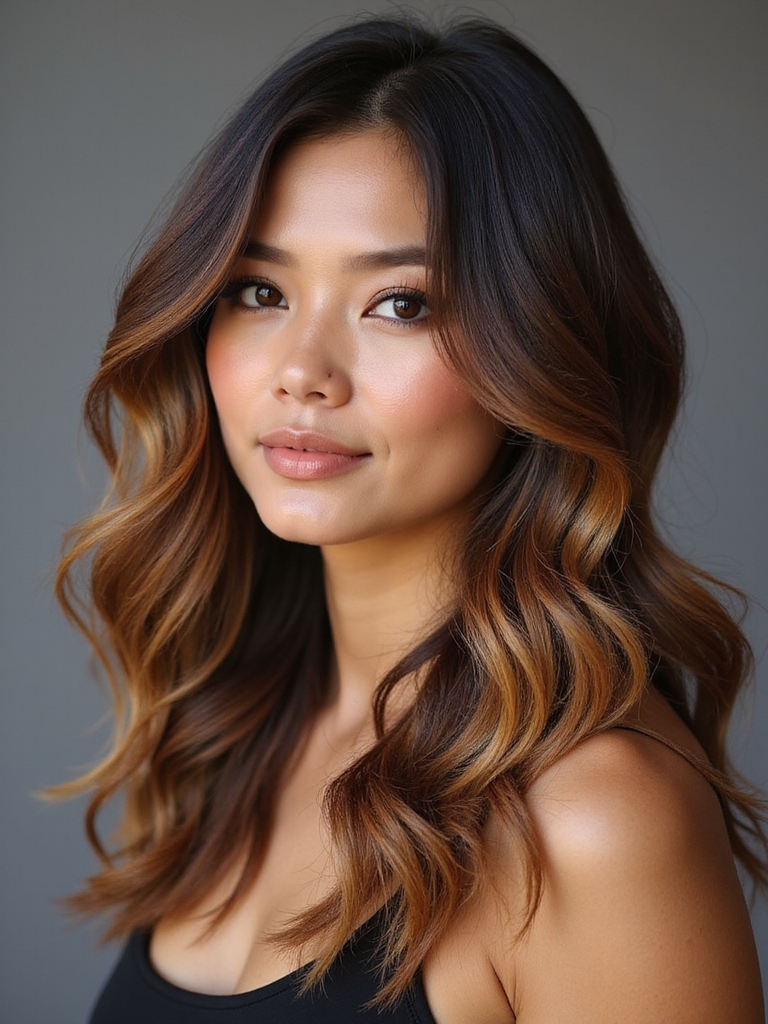
The real difference is where the color starts. Foils go in at the root, so within weeks there’s a visible line of new growth demanding a touch-up. Balayage starts lower, so as your hair grows, the color moves with it instead of leaving a hard edge behind.
Foils still win when the goal is maximum, even brightness across the whole head. But for dimension that ages gracefully between appointments, balayage is built for exactly that.
🅰️Wants maximum, even brightness
Foil highlights: a full head of consistent lift, with a visible root line to manage on a set schedule.
🅱️Wants dimension that ages well
Balayage: softer, hand-painted brightness that grows out without a hard line to chase.
Choosing Your Balayage Shade
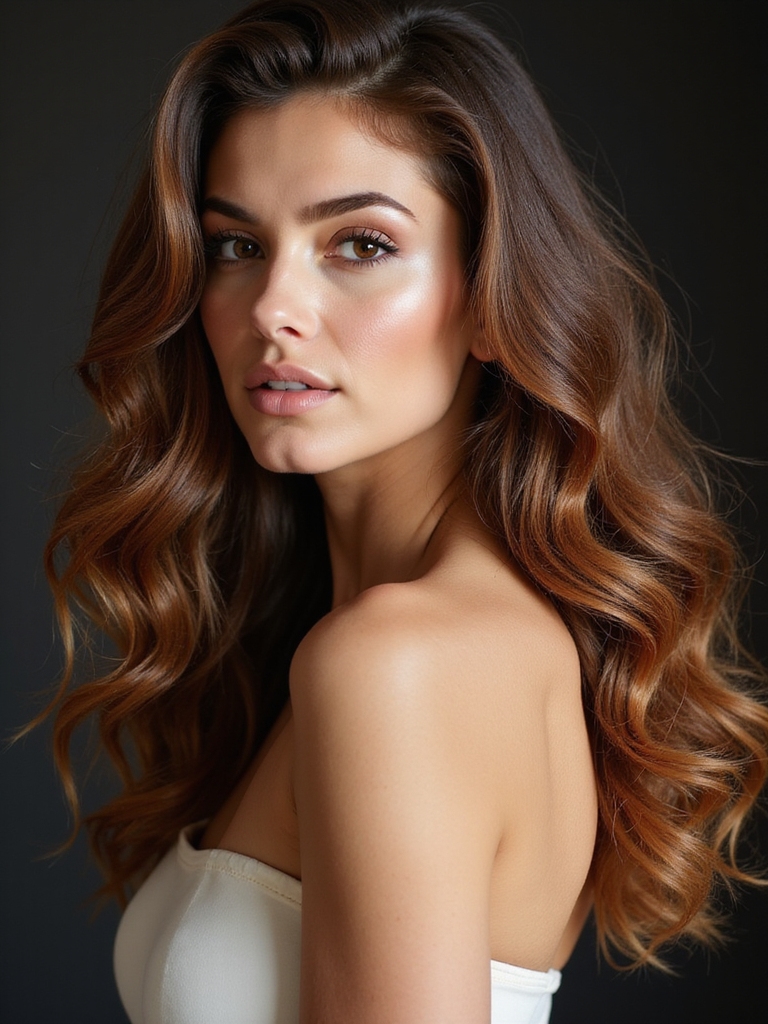
The shade painted into brown hair changes the entire mood of the color. Caramel is the warm, golden classic; honey sits a touch lighter and brighter; toffee runs deep and rich; a cooler sandy or beige tone keeps things soft for anyone who leans cool.
The one rule that actually matters is staying in temperature family with your base. A warm brown wants warm caramel or honey, and a cool ash brown wants a cooler sandy blonde.
Cross that line and the result turns muddy instead of glowing. If you’re unsure which side you fall on, bring a photo taken in daylight and let your colorist read it. If you lean cool, the ash blonde hair guide covers that end of the temperature scale in more depth, and ashy blonde hair goes even further into it.
Matching Balayage to Your Skin Tone
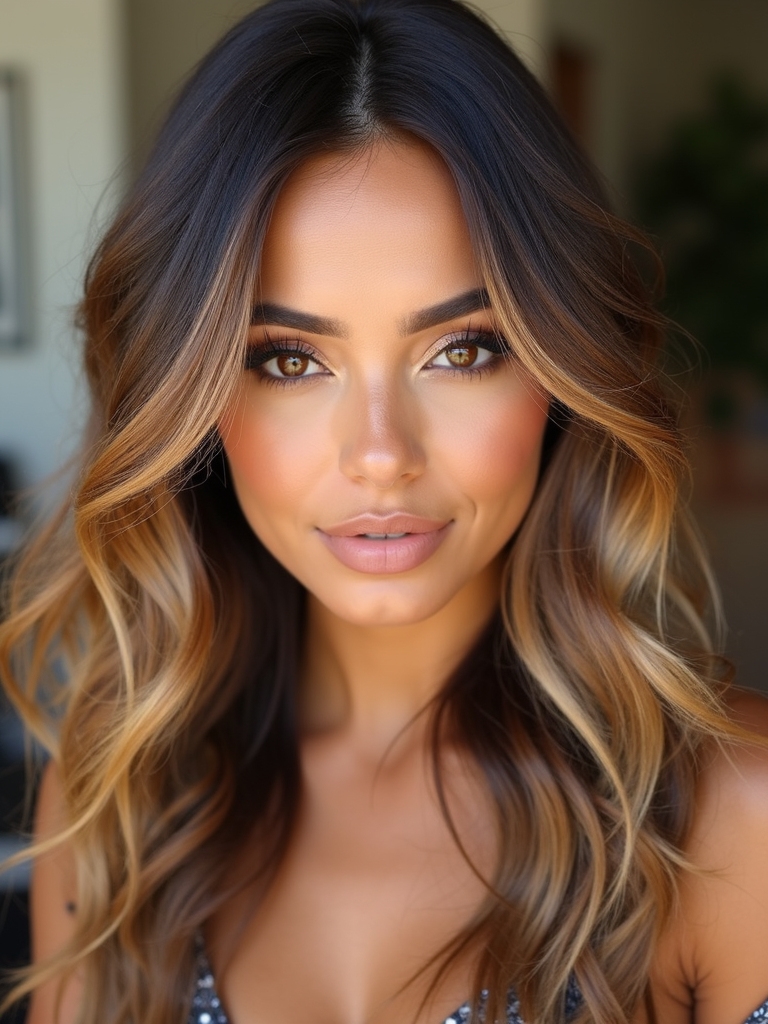
Shade temperature and skin temperature are a separate conversation from shade and base. Warm, golden skin tones tend to glow against caramel, honey, and toffee; cooler, pinker complexions generally look best with sandy, beige, or ashier blonde.
Why Face-Framing Placement Earns Its Reputation
Placement matters here too. Keeping the brightest pieces near the face lifts your features in a way that even coverage never quite does, which is why a good colorist pushes extra light toward the front on purpose.
Get both of these right and the color doesn’t just sit on your hair; it changes how your whole face reads in a photo.
Choosing a Natural, Low-Contrast Balayage
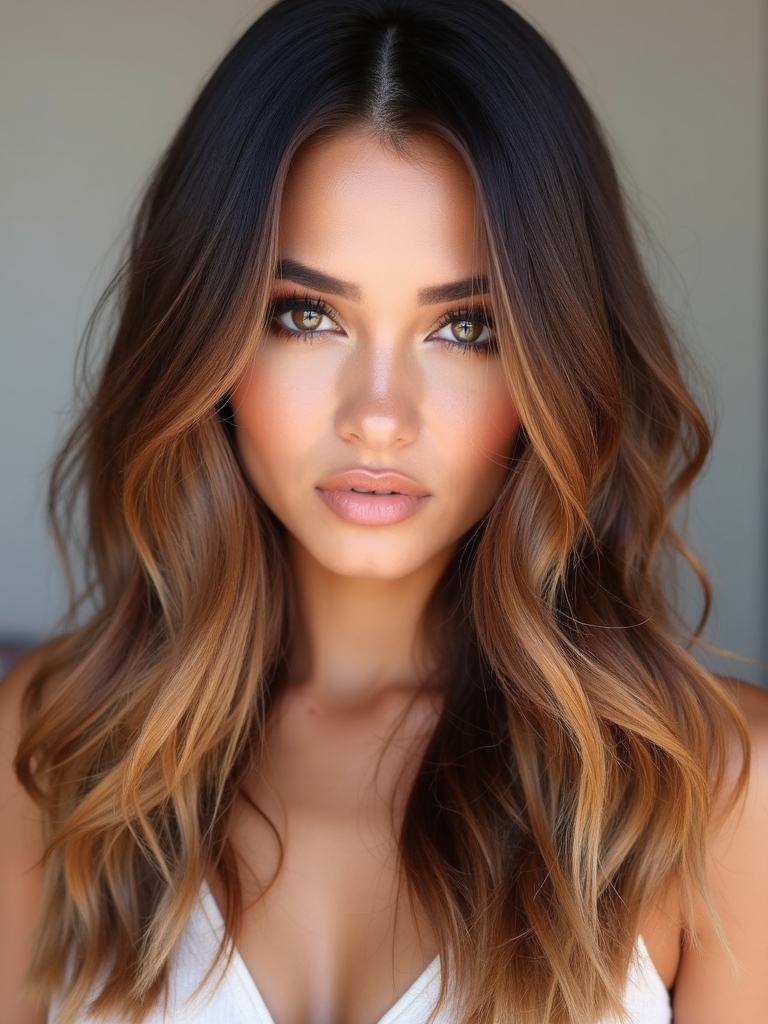
Most people, when asked honestly, want balayage that looks like their own hair on a good day. Kept subtle, with the painted pieces only a shade or two lighter than the base, the dimension stays quiet enough that it looks natural rather than colored.
It’s the version I paint most often, and it’s less about restraint than about longevity: a soft base grows out with almost nothing to manage.
- Suits nearly everyone, regardless of undertone or hair type
- Brightens the face and adds movement while keeping you recognizably brunette
- The lightest, least demanding option on the whole contrast scale
Two terms that come up once you’re this deep into a contrast conversation:
📖Contrast level
How many shades lighter the painted pieces sit above your natural base; low contrast looks sun-kissed, while high contrast looks like a real color change.
📖Foilyage
A hybrid technique that uses foil for the sections closest to the root and a hand-painted balayage motion through the lengths, for extra lift without losing the soft grow-out.
Bold, High-Contrast Brown Balayage
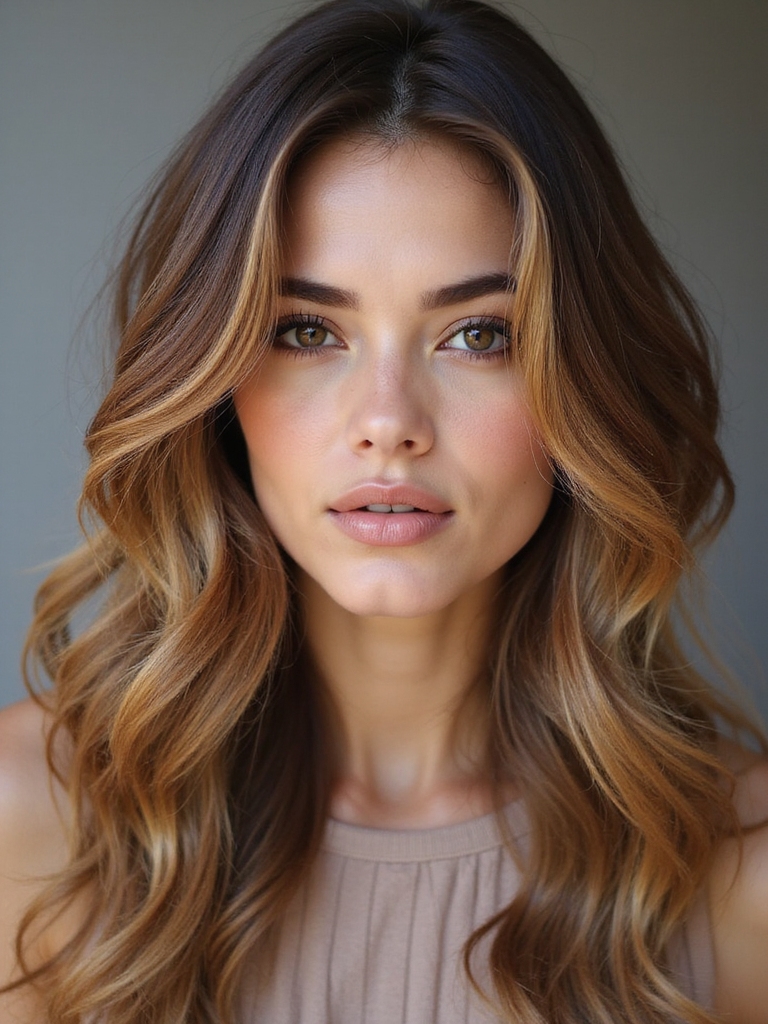
When the goal shifts to making a statement, the contrast climbs with it. A deep brown base with much lighter, brighter pieces painted through creates real drama between dark and light rather than a soft suggestion of it.
The Trade-Off Behind Every High-Contrast Look
The black and blonde hair guide covers an even higher-contrast option worth comparing against this one. That drama has a price beyond the appointment itself. Going several shades lighter than your natural depth usually means a bond-strengthening step during the service and a toning visit on a fairly tight rotation to keep the lifted pieces clean rather than brassy.
Plan on more chair time and a firmer standing appointment habit if this is the direction you choose. It’s worth it for plenty of people, but go in knowing the commitment up front.
Brown Balayage Across Hair Types
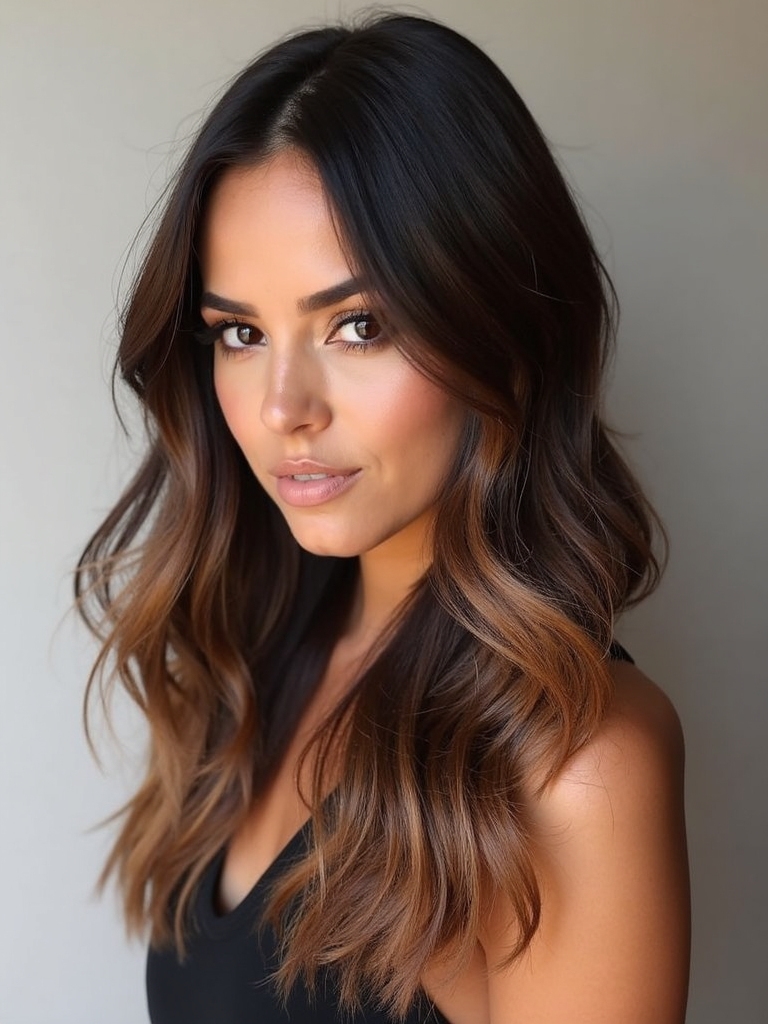
Balayage behaves differently depending on texture, and a good colorist adjusts placement accordingly rather than painting every head the same way. On straight hair, the lightened pieces show as clean, sweeping ribbons; on waves, they tumble and catch the light as it moves; on curls and coils, the color lights up every turn of the curl for dimension that’s already built into the shape.
If your hair is curly or coily, ask that both the cut and the color be assessed on dry hair. That’s the only way a colorist can see exactly how each curl falls before deciding where the brightness actually needs to go.
- Straight hair shows the painted ribbons most literally
- Wavy hair scatters the light as the wave moves
- Curly and coiled hair needs a dry assessment before either the cut or the color is planned
The Low-Maintenance Appeal of Balayage
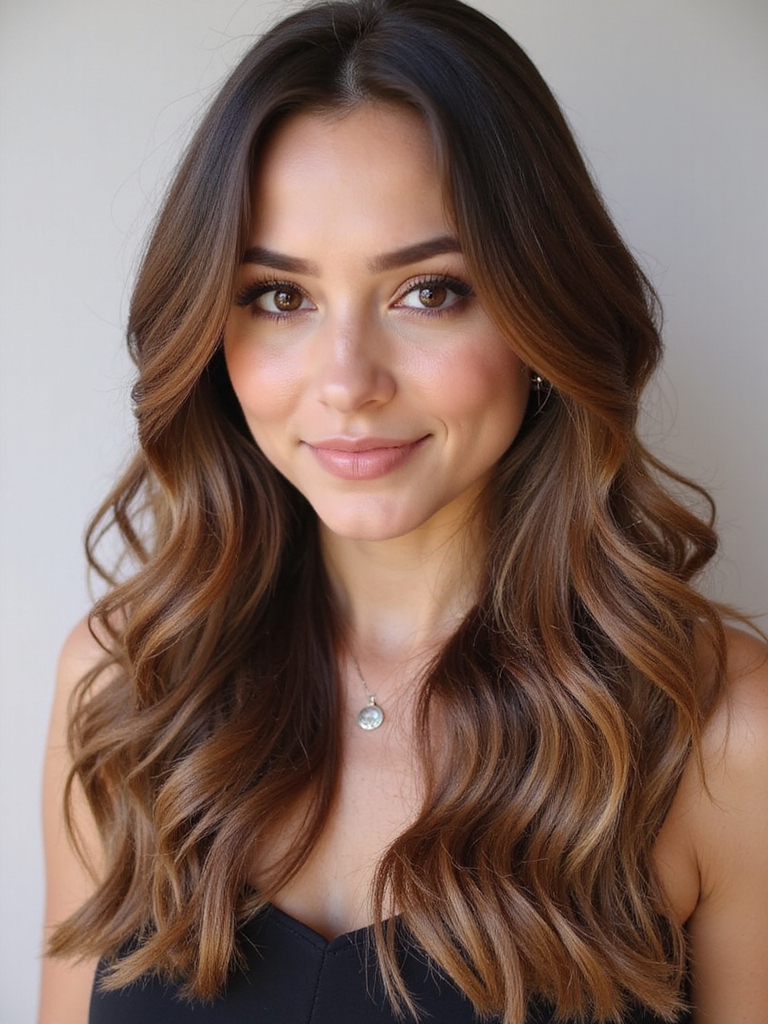
The single biggest reason people love this technique is the forgiving grow-out. Because the color never touches the root, there’s no harsh line forming as your hair grows, so appointments can stretch out comfortably rather than piling up on the calendar.
What the Upkeep Actually Involves
At home, the routine stays simple: a color-safe, sulfate-free shampoo, a bond or moisture mask on the lightened pieces, and heat protection before any hot tool touches them.
A full balayage typically runs around $200 on shoulder-length hair, more with added length or a heavier lift, and a toning visit in between keeps the tone from drifting before the next full appointment.
Why This Technique Became a Media Favorite
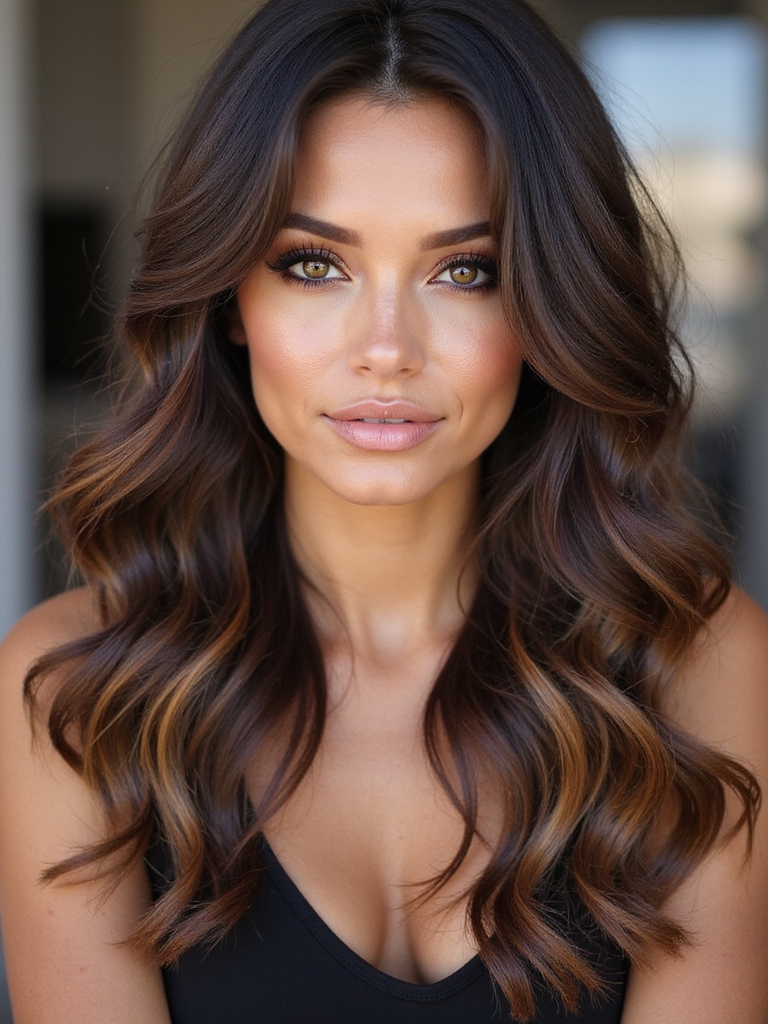
Balayage has held its place as a red-carpet and editorial staple for a real reason: it photographs beautifully under studio light. The dimension shows up clearly on camera, the soft root looks natural in close-up, and the warmth flatters a wide span of complexions rather than just a narrow few.
Why Cameras Love This Technique
That visibility cuts both ways for a consultation. Reference photos are truly useful for showing a colorist the direction you want, but lighting and editing shift how a color reads on screen more than most people expect.
Bring the photo, stay flexible about the exact match, and let your colorist translate it onto your actual base rather than chasing the image pixel for pixel.
Considering an At-Home Balayage Kit
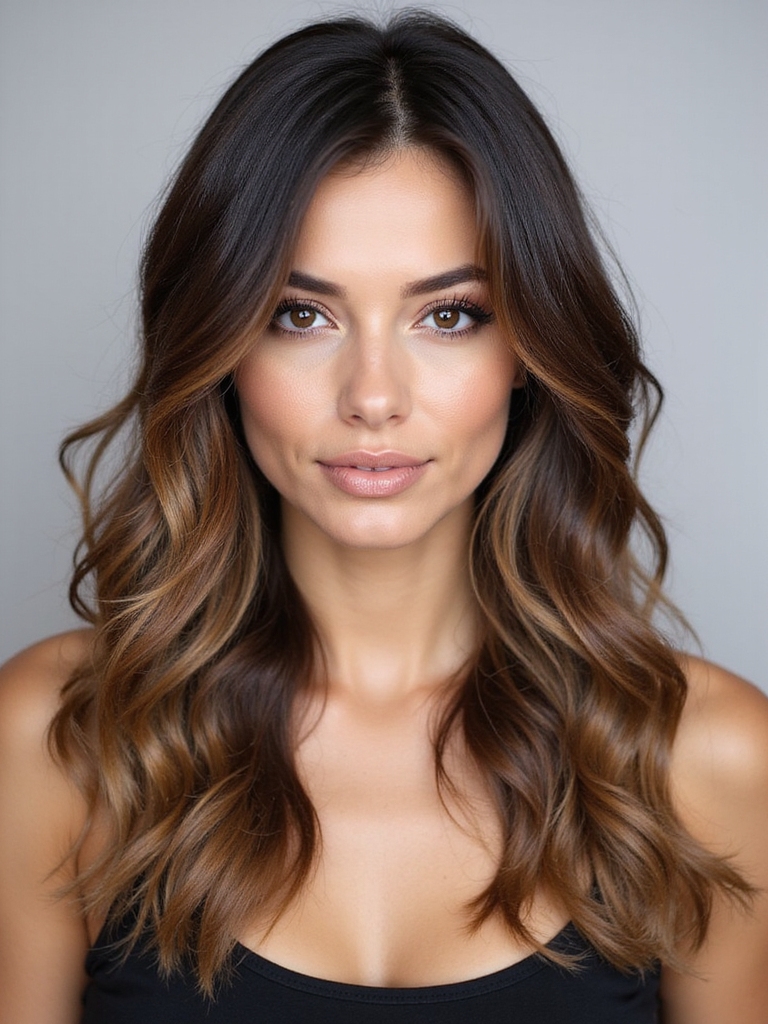
At-home balayage kits exist, and for the faintest, lowest-stakes brightening on hair that’s already fairly light, they can occasionally scratch the itch between salon visits.
Where a Kit’s Limits Show Up Fastest
The catch is that balayage is a placement skill as much as it’s a color skill. The angle of the brush, the saturation, and where the blend actually starts are hard to judge on your own head, especially from behind, and a rushed placement is what turns a soft blend into a patchy one.
If your hair runs darker or you’re hoping for real lift, this is the category where a kit’s limits show up fastest.
What You’re Actually Paying a Professional For
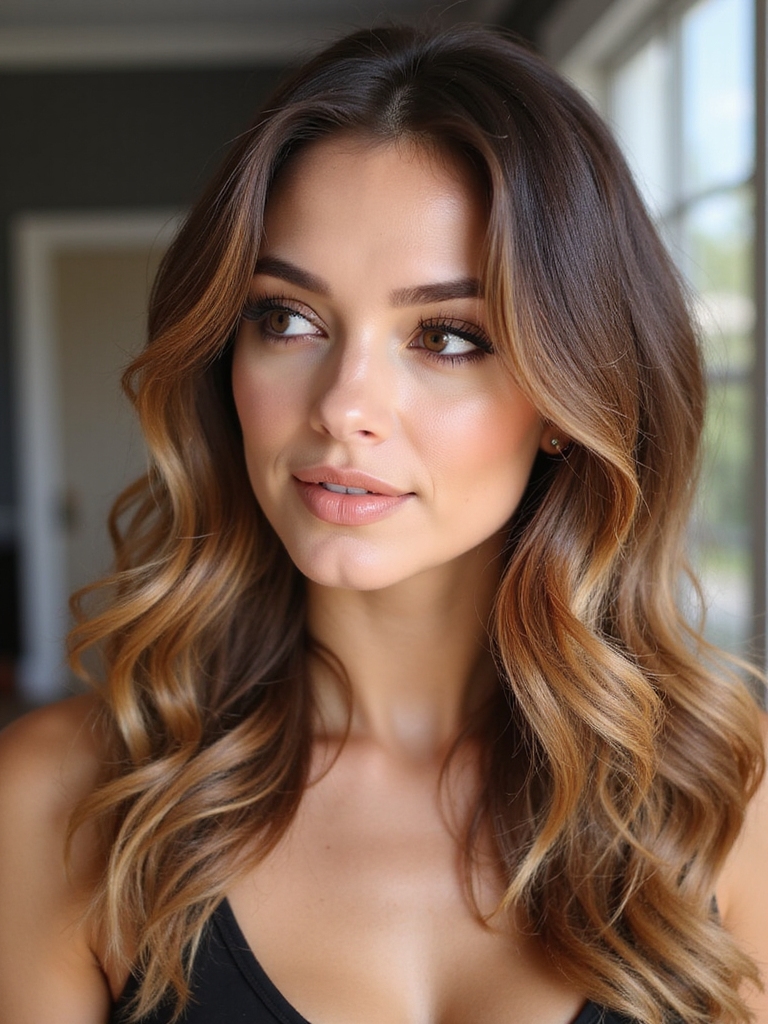
Weighing a salon appointment against a box kit gets easier once you know exactly what each one delivers.
- Control: a colorist places brightness exactly where it flatters; a kit applies it evenly whether that suits your face or not
- Custom tone: a salon tones the result specifically to your undertone, while a kit gives you one fixed shade for everyone
- Hair health: a professional adjusts the lift and uses bond protection; a kit leaves that judgment call entirely to you
Styling to Show Off the Dimension
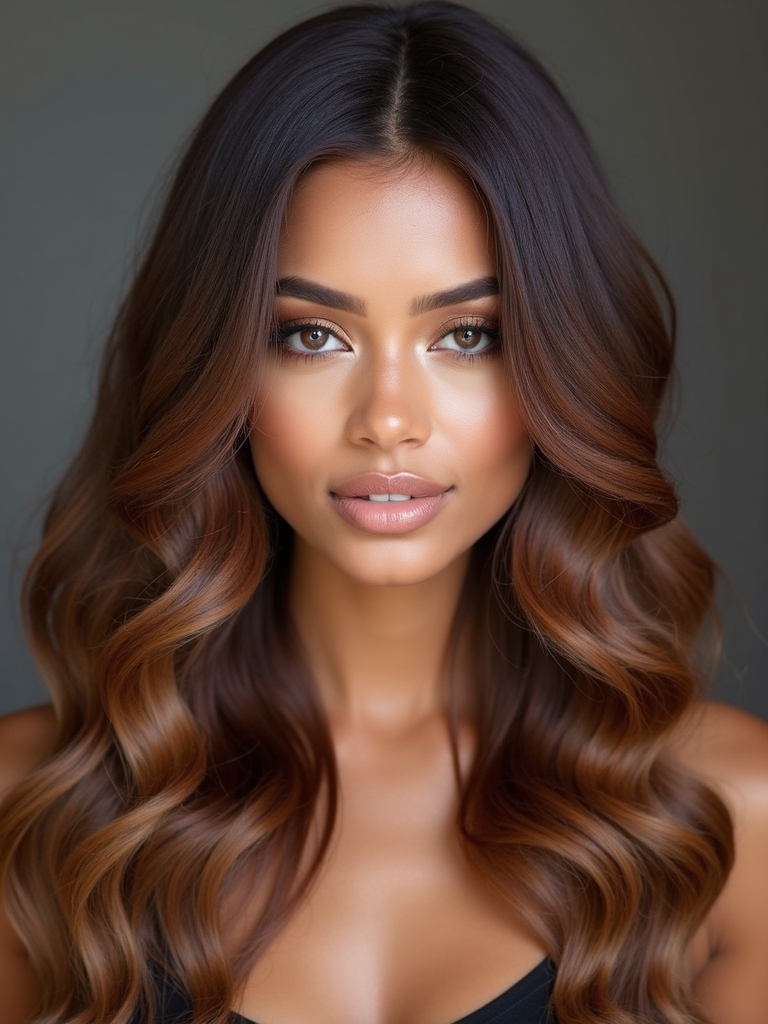
Balayage is built to move, and how you style it decides how much of that movement actually shows. A flat, one-direction blowout can completely hide painted pieces that took real time and skill to place.
- Add a soft bend or wave; movement is what reveals both the lighter and darker pieces
- Finish with a shine product, since gloss is what makes the dimension visible under normal light
- A center or deep side part lets face-framing brightness do the job it was painted for
One more misconception, specific to styling rather than color:
❌ Myth: Myth: good placement shows itself no matter how you style your hair
✅ Reality: Not quite. A flat blowout with no movement can hide even excellent placement, since the lightened pieces need motion and shine to actually catch light and look like real dimension.
Two Balayage Misconceptions Worth Clearing Up
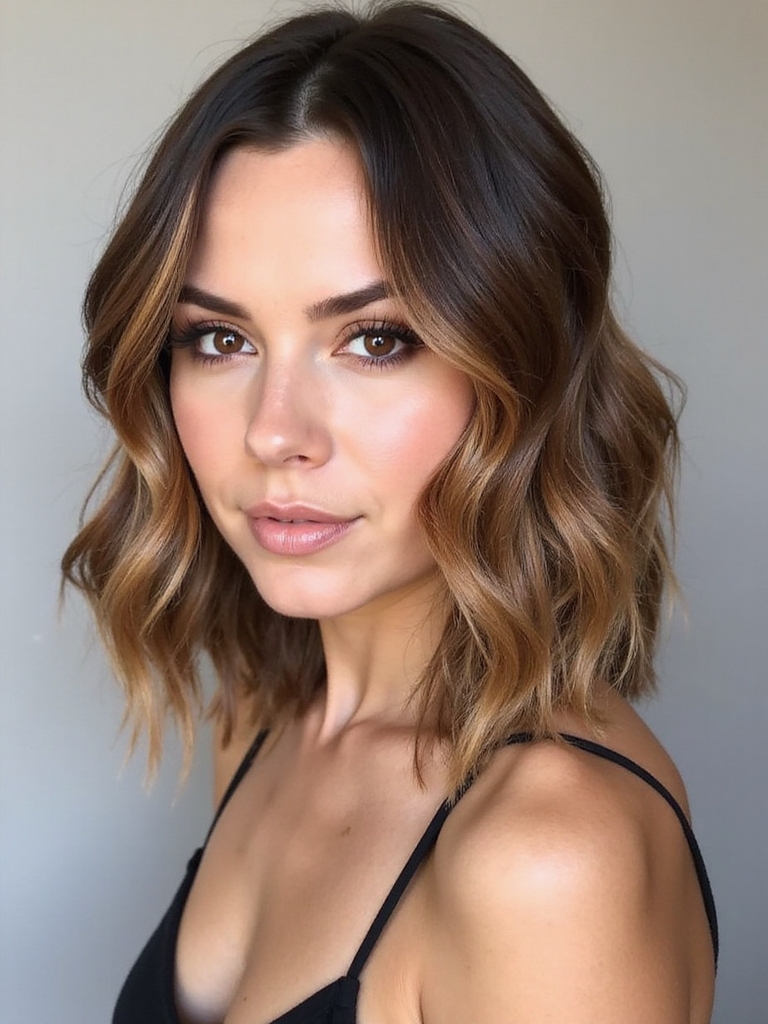
The first myth is that balayage only works on blondes. It doesn’t hold up. On brown hair, the technique is often more flattering, since warm caramel and honey tones have a rich, dark base to play against rather than fighting for attention on their own.
Two Assumptions That Cause the Most Disappointment
The second is that a dramatic change happens in a single visit. Lifting several levels safely often takes more than one appointment, especially on hair that’s been colored before, so a big jump is usually a plan spread across visits rather than a same-day transformation.
Knowing both of these before you book saves a disappointing first appointment.
Adjusting Balayage Through the Seasons
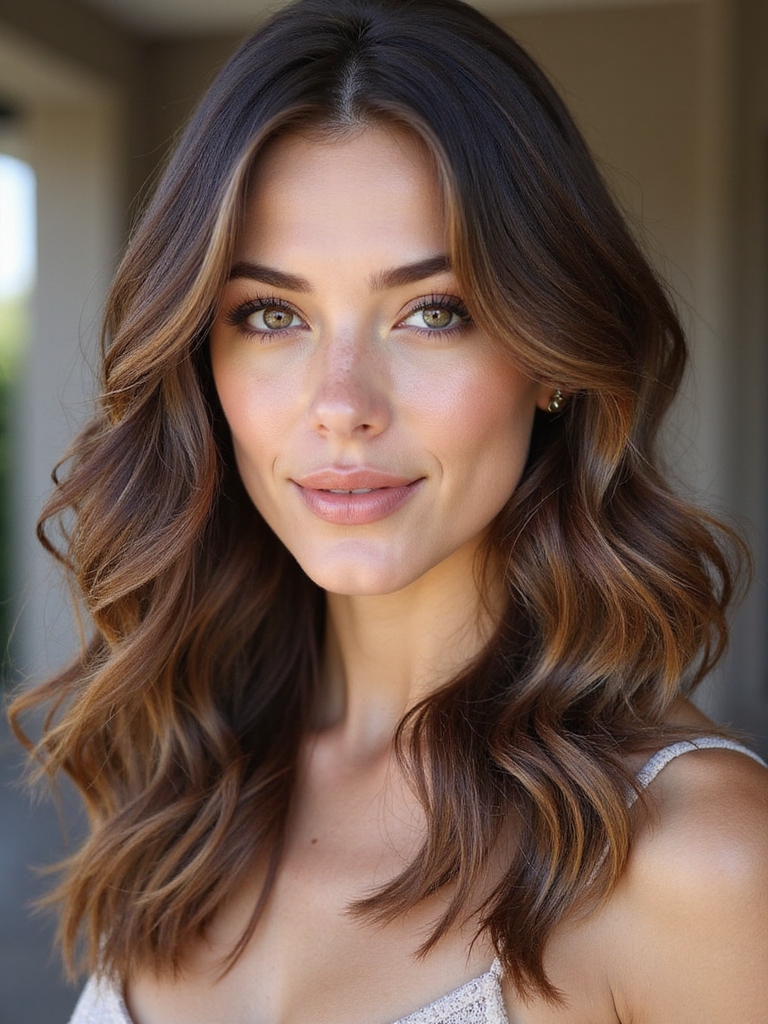
Plenty of people like to shift their balayage with the year, and the technique makes that easy because the underlying placement never changes. Warmer months call for brightening the face-framing pieces and the tips; as the year cools, a gloss can deepen the same color for a richer, autumn-leaning finish.
Because nothing about the actual painting has to be redone, these seasonal shifts usually come down to a toning visit or a handful of added pieces rather than a full recolor.
That keeps both the cost and the time commitment low, which is exactly why so many people treat it as a twice-yearly refresh instead of a one-time decision.
👍Adjusting seasonally
- +Cheaper and faster than a full recolor twice a year
- +Keeps the same placement working through every season
- +Easy to scale up or down depending on how bold you want to feel
👎Worth planning around
- –Still needs a toning visit booked ahead of the season change, not after
- –A big seasonal shift in tone can look jarring if it’s rushed
- –Requires a colorist who actually remembers your prior placement
Balayage Plus Babylights
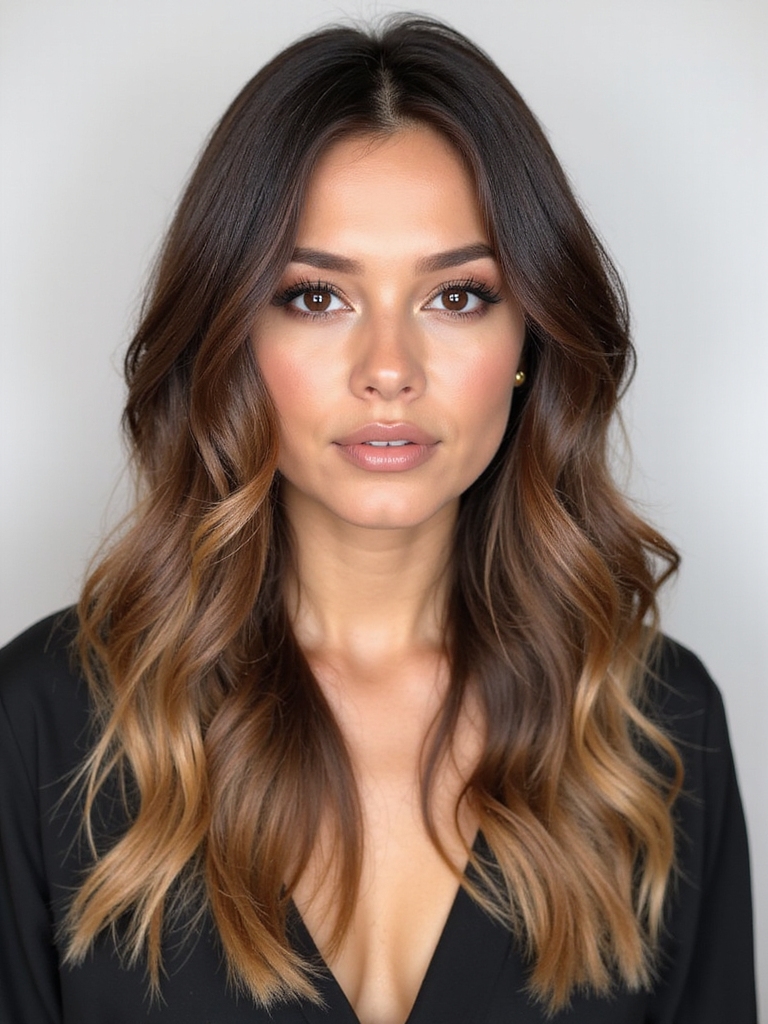
For extra brightness closer to the scalp, many colorists pair balayage with babylights: ultra-fine highlights placed near the root and around the face that solve the one thing balayage alone can’t reach.
When the Combination Is Actually Worth It
Combined, the result is bright, dimensional ends plus a softly lit root area, without the harsh regrowth line traditional foils would leave behind.
This combination shows up most often when someone feels their balayage has gone a little flat up top. It does add real time and cost to the appointment, so it’s worth asking your colorist whether your specific base actually needs it before adding the extra step.
Stylist Tips for Every First-Timer
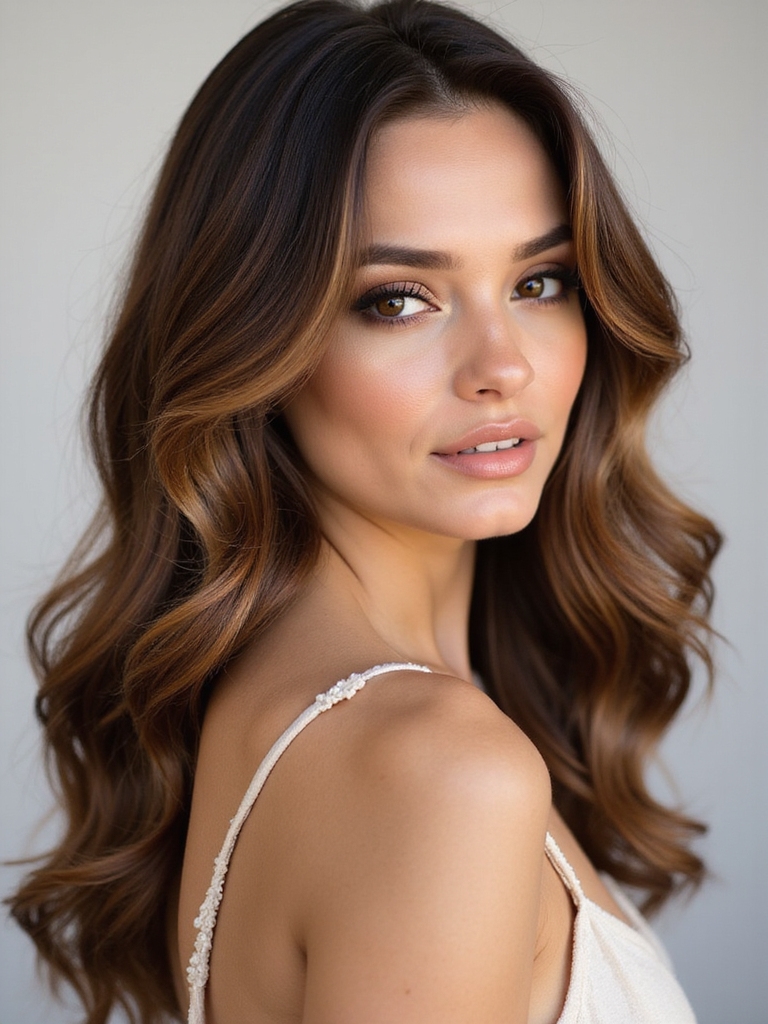
If someone asked me for one piece of advice before their first brown balayage, it would be this: come in with reference photos and an honest account of your actual routine, not the routine you wish you had. The photos show your colorist the direction; the honest routine tells them how much upkeep you’ll realistically do, and the best result lives where those two things meet.
The balayage for dark brown hair and bronde bob guides are worth a look for more shade direction once you’ve settled on your contrast level. Beyond that, a good color-safe shampoo and a standing toning visit are the two habits that actually keep the color looking like it did the day you left the chair.
Brown Balayage Questions
?What actually keeps brown balayage looking fresh the longest?
Placement, more than product. Because the paint stays off the root, the shape of the color holds even as the tone itself drifts slightly warmer over time, which a toning visit corrects far faster than any at-home fix.
?Is brown balayage gentler on hair than a full head of highlights?
Generally yes, mainly because it stays off the scalp and root. That said, any lightening stresses hair to some degree, and the bigger the lift, the more a bond-strengthening step matters regardless of technique.
?Can I switch from a subtle balayage to a bold one later without starting over?
Yes, and it’s the direction most colorists prefer. Building up contrast in stages lets them judge how your hair is handling the lightener before committing to a bigger jump.
?Does brown balayage work on hair that’s already color-treated?
Usually, but bring your color history to the consultation. Previously lightened or dyed hair can lift unpredictably, so a colorist needs that information to plan a safe, even result rather than guessing.
Bring the Photos and Trust the Process
Brown balayage has stayed popular for a simple reason: it adds warm, hand-painted dimension that flatters a wide range of skin tones and grows out gently enough to fit into a real schedule.
If you’ve been considering it, start with a consultation. Bring the photos that caught your eye, be honest about the upkeep you’ll actually do, and let a skilled colorist match the tone and contrast to your base rather than to the photo alone. That’s where the best results come from every time.
More Ideas Here