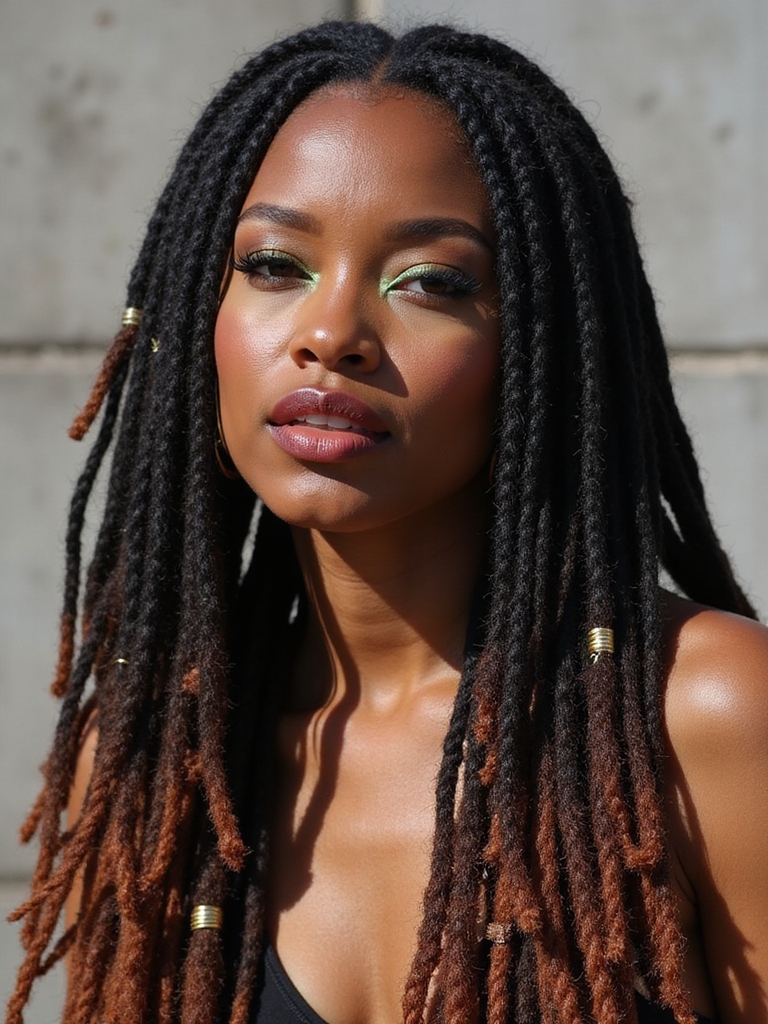
What actually separates a fishtail from a full French braid? Two sections instead of three, and nothing else. That single mechanical difference is the whole secret behind most of the braids people assume take years to learn.
Eighteen styles follow, from the three-strand basics up through crown braids and updos, each one broken down to the one hand-move that makes it work.
The Moves That Cover Almost Everything Below
What’s the real difference between a French and a Dutch braid? The direction the strands cross. French crosses strands over the middle, so it lies flat; Dutch crosses under the middle, so it sits raised on top of the hair instead.
Why does a fishtail look so much more complicated than it is? It only uses two sections instead of three. Once that clicks, a fishtail is really just one repeated cross, back and forth, taken in small pieces.
Does braiding work better on clean or second-day hair? Second-day, almost every time. A little natural grip in the strands holds the shape far better than freshly washed, slippery hair does.
The Classic Three-Strand Braid
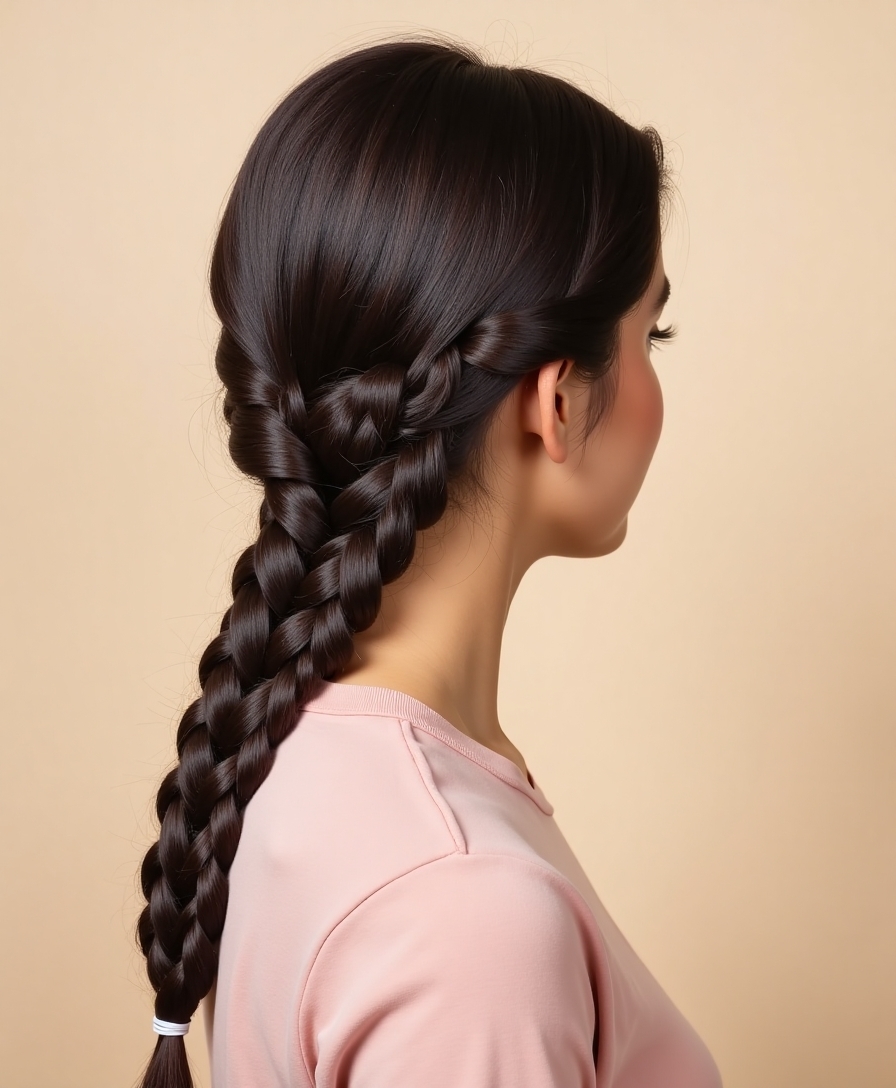
Every other braid on this list borrows from the three-strand: split a section into three even pieces, cross the outer strands over the middle one, and repeat down to the ends.
- Cross right over middle, then left over middle, alternating the whole way down
- Tie off the ends and that’s the complete braid, no additional steps hidden anywhere
- Master this one move and every braid below turns into a variation on it

The Dutch Braid
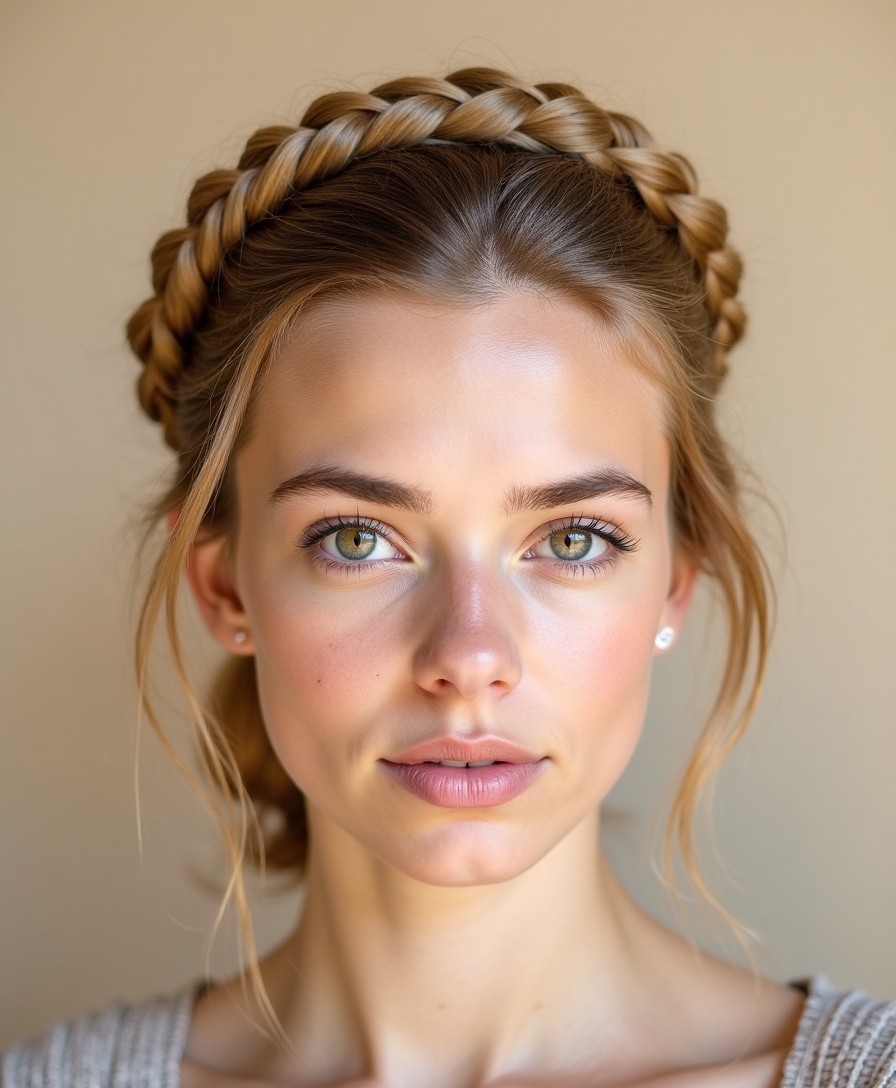
A Dutch braid uses the exact same three-strand move as above, with one change: the strands cross under the middle section instead of over it.
One Word Swap Changes the Whole Shape
That single swap is what makes the braid sit raised and dimensional on top of the hair, rather than lying flat against the scalp the way a French braid does.
Starting with a small section at the crown and adding a little hair to each strand as it goes down keeps the braid anchored and gradually gathers in the rest of the head.
Two terms that come up constantly below:
📖Pancaking
Gently pulling the edges of a finished braid outward to widen and soften it, the trick behind most “romantic” braid photos.
📖Inside-out braid
Another name for a Dutch braid, describing how the raised strands sit on top instead of woven flat into the surface.
The French Braid
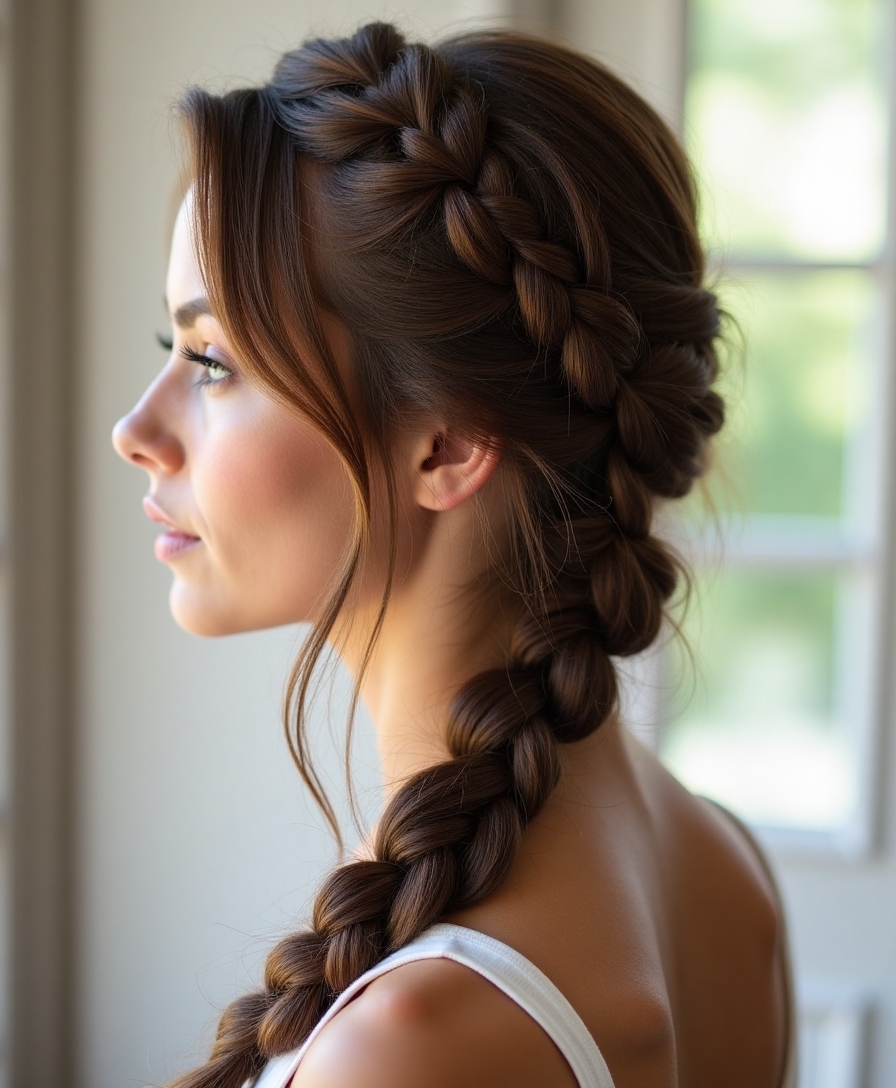
A French braid runs the same three-strand mechanic as a Dutch braid in reverse: crossing strands over the middle instead of under it, which is what makes the whole thing sit flat and sleek against the head.
- Start at the crown, crossing strands over the middle as the braid travels down
- Add a little hair to each strand before every cross to keep gathering in the rest of the head
- The flat finish is the opposite effect of the raised Dutch braid above, from one reversed cross
The Fishtail Braid
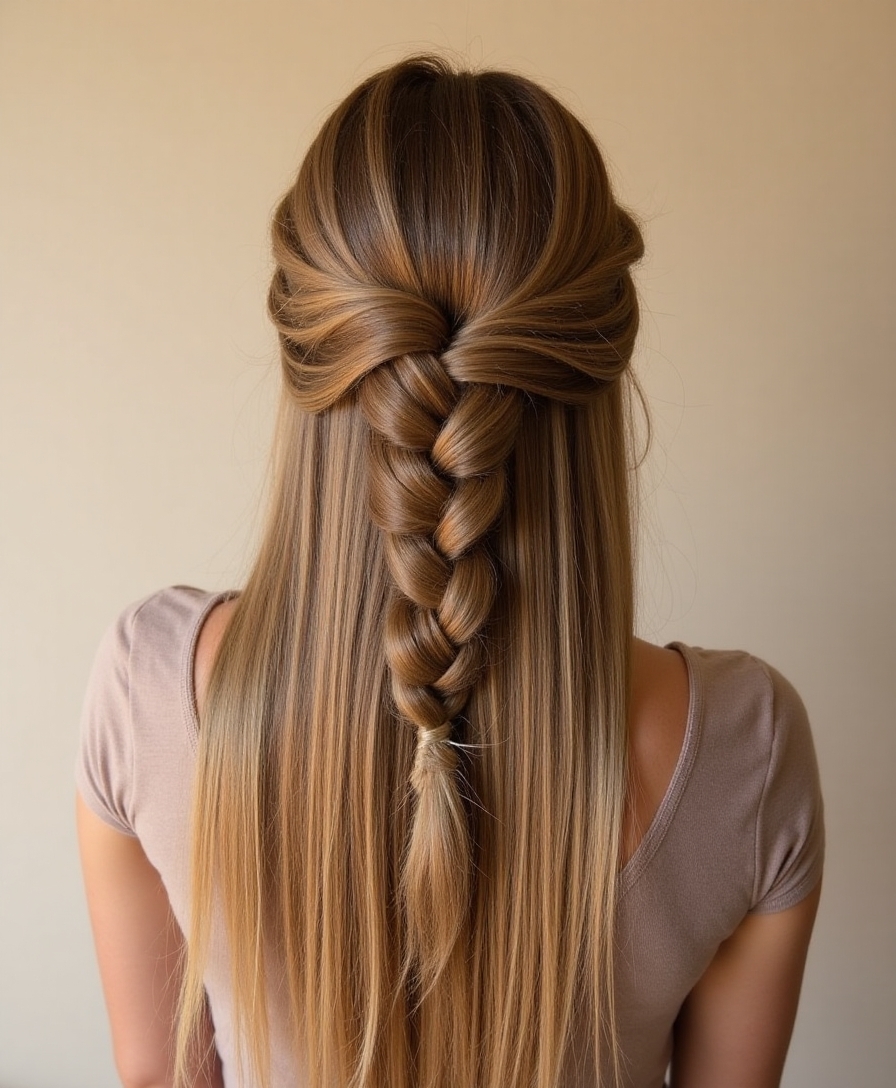
A fishtail looks like the most intricate braid on this list, all fine woven texture, but the actual mechanic behind it is simpler than the classic three-strand: only two sections instead of three.
Splitting the hair in two and crossing a thin piece from the outer edge of one side into the other, back and forth, is the entire technique; the detail comes purely from how small each piece taken is.
Pulling the edges out gently once it’s finished loosens a stiff, tight fishtail into something that reads far more romantic.
The thinner the piece taken with each cross, the more detailed the weave looks in the end.
The Half-Up Crown Braid
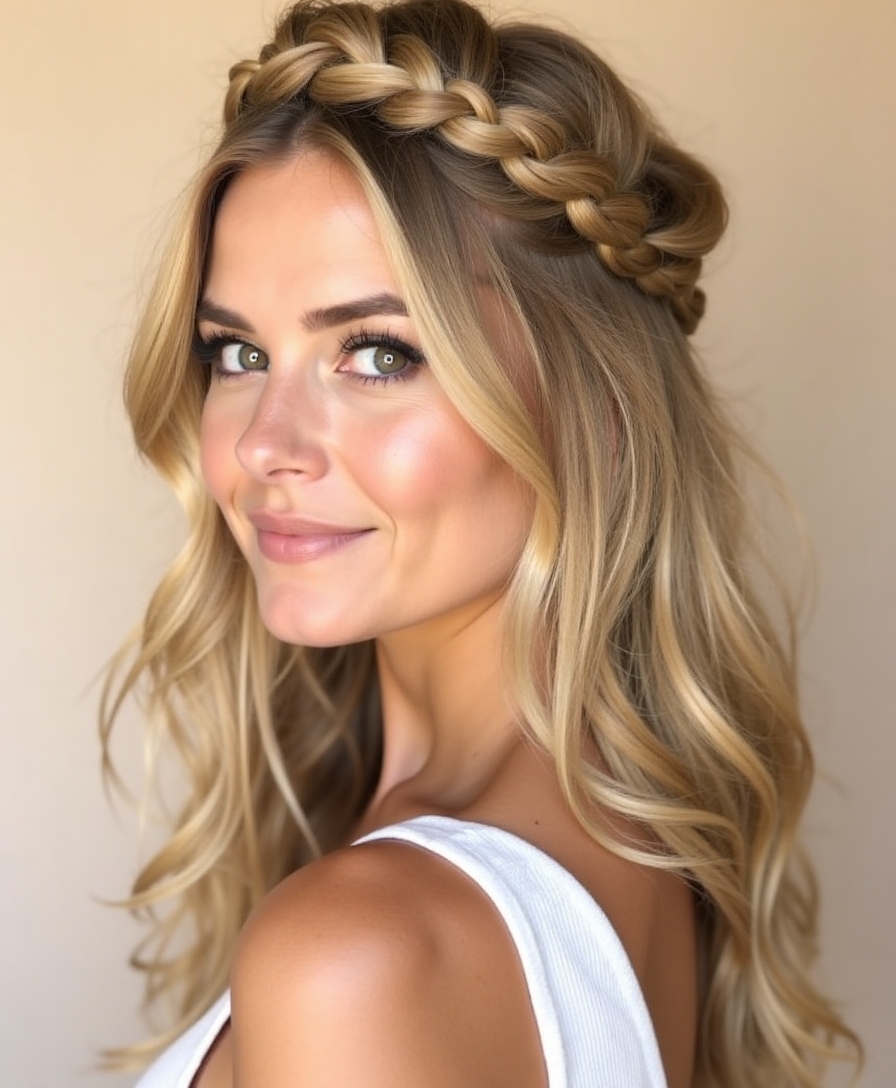
A half-up crown braid takes a section from each side of the head, braids each one separately, then joins both across the back, leaving the rest of the hair down.
- Braid a section from each side toward the back of the head
- Join both braids together at the center and pin, or tie them into one
- Leave the remaining length down, straight or waved, for the contrast that makes this style work
The Double Braided Headband
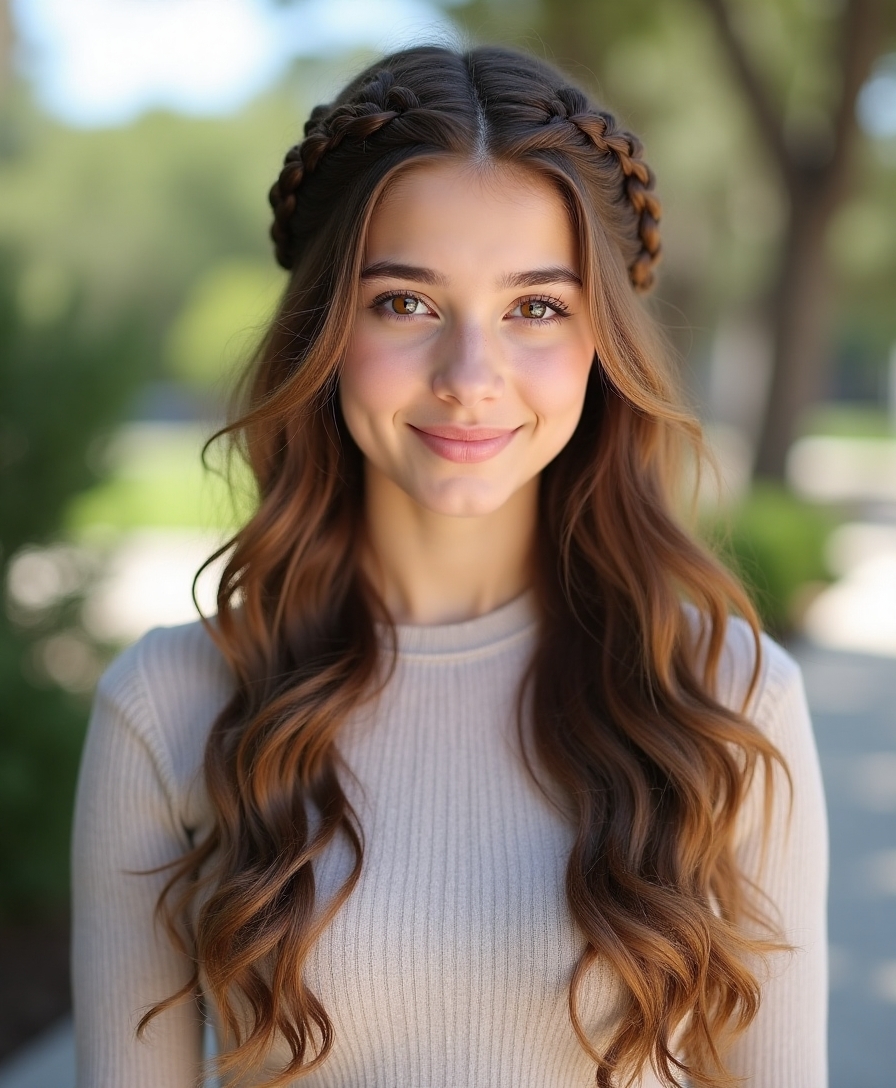
A double braided headband runs one or two braids across the top of the head from ear to ear, functioning exactly like a built-in headband holding front pieces off the face.
- Braid a small section above each ear and cross them over the top of the head
- Pin the ends underneath the remaining loose hair so nothing shows
- Works equally well over hair worn down, waved, or gathered into a low ponytail
| Braid | Cross direction | Finished look |
|---|---|---|
| French | Over the middle | Lies flat and sleek against the head |
| Dutch | Under the middle | Sits raised and dimensional on top |
The Side-Swept Lace Braid
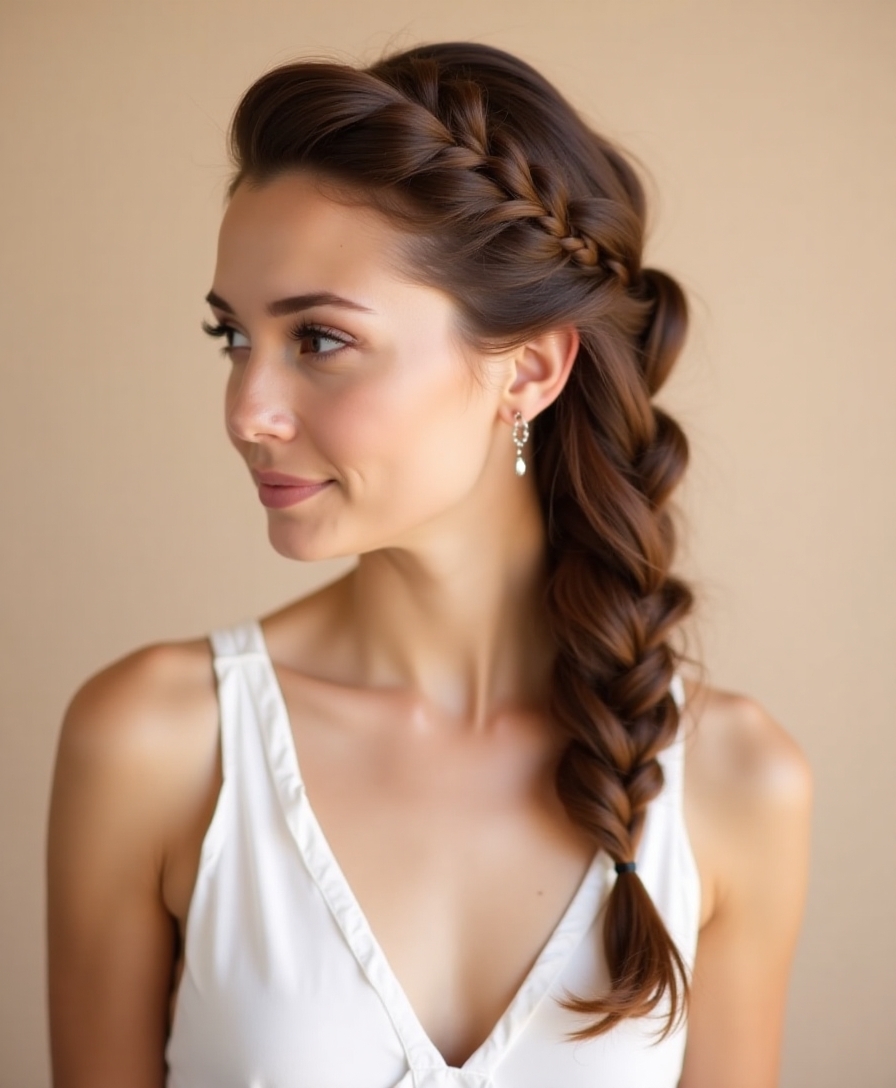
A lace braid is simply a French braid worked from one side only, gathering hair in as it travels while the rest of the head stays loose.
Because only one edge adds new hair with each cross, instead of both, it’s a noticeably easier next step once a standard French braid already feels comfortable, and it drapes into a soft, romantic line down one shoulder. Starting just above one ear and angling the braid gently toward the opposite shoulder gives it the most natural-looking sweep.
The Romantic Waterfall Braid
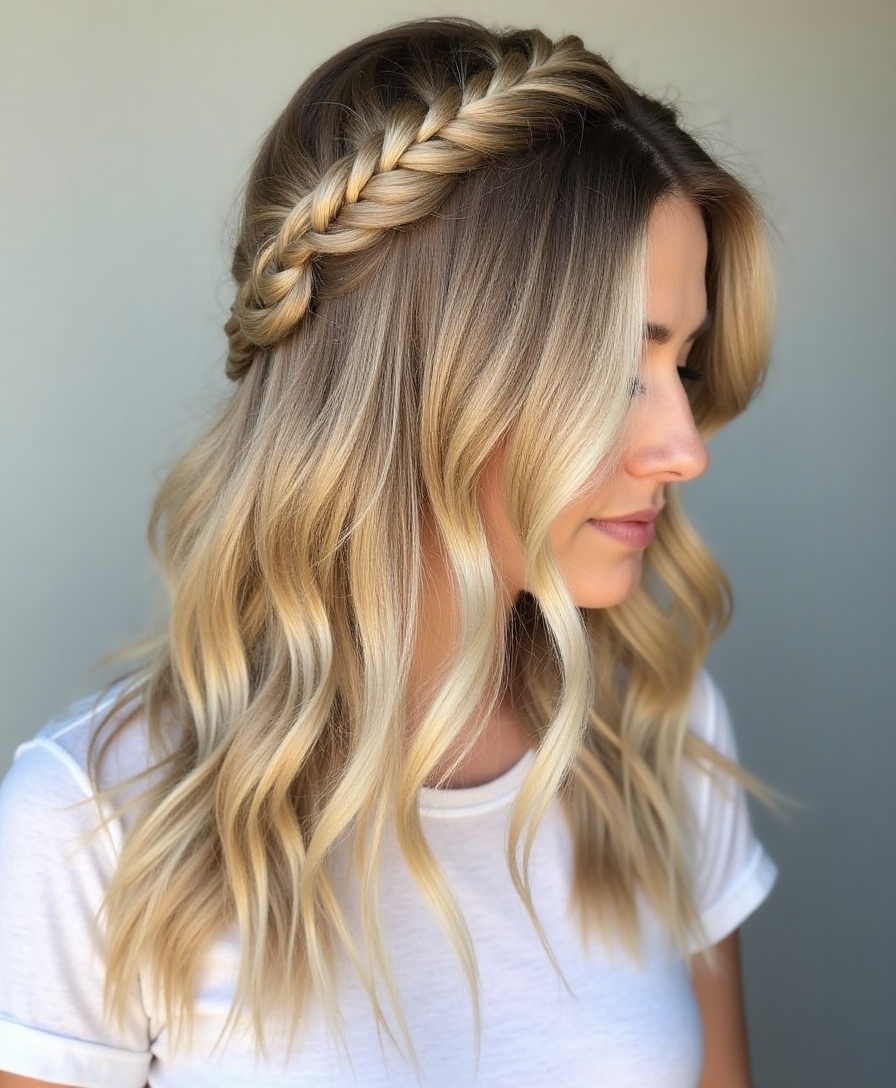
A waterfall braid runs across the back of the head like a half-up braid, except it drops a small strand every time it crosses instead of carrying every piece down to the end.
Picking up a fresh strand from above to replace each dropped piece is the entire mechanic; the loose hair falling away is what creates the cascading effect that makes this look far harder than it is.
- Braid across, dropping the lower strand at each cross
- Replace the dropped strand with a new section picked up from above
- Shows up best on hair that already has some wave, where the dropped pieces fall with real movement
📋Waterfall Braid, Step by Step
- ✓Start a standard three-strand braid at one side of the head
- ✓At each cross, drop the bottom strand and let it fall loose
- ✓Pick up a new strand from above to take its place and continue across
The Simple Rope Twist
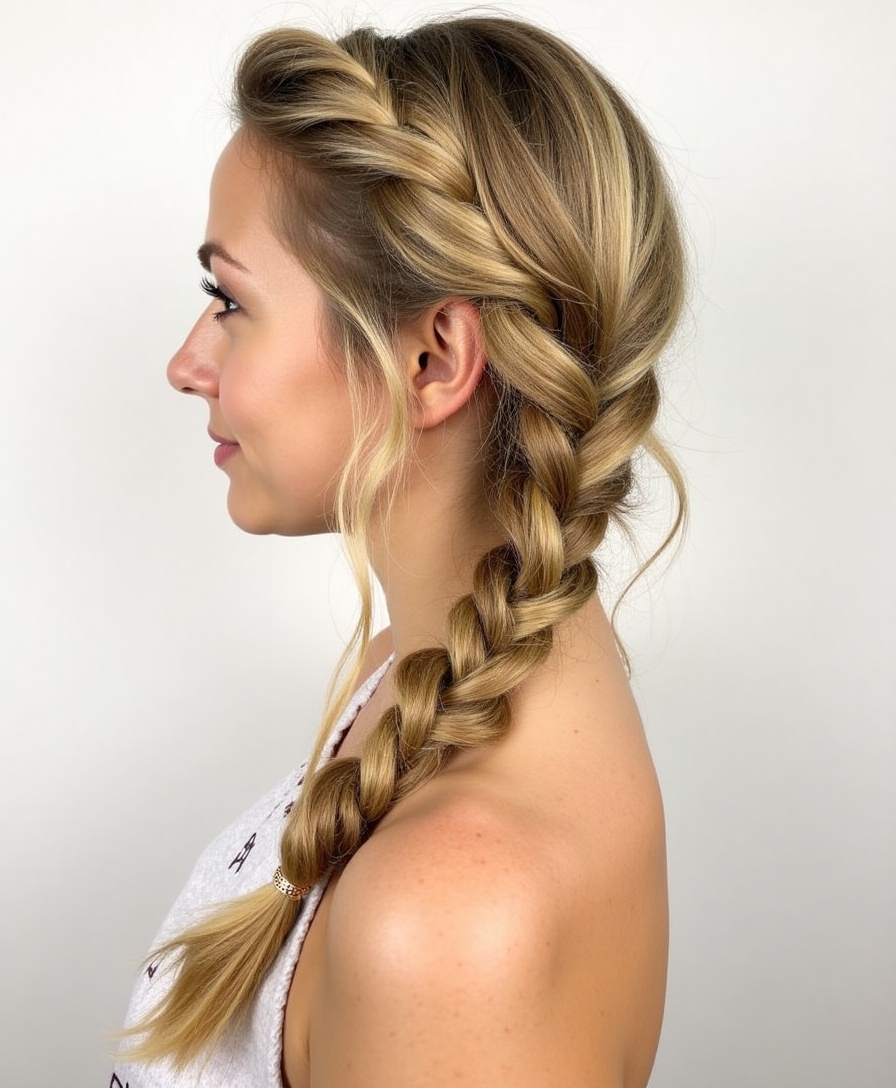
A rope twist isn’t technically a braid at all, which is exactly what makes it the easiest lookalike on this list for anyone who finds three strands hard to track.
Not a Braid, But Looks Like One
Splitting the hair into two sections, twisting each one in the same direction, then winding the two twisted sections around each other in the opposite direction is the whole technique.
The opposing twists lock against each other and hold their shape on their own, no braiding motion required at any point.
Space Buns With Braids
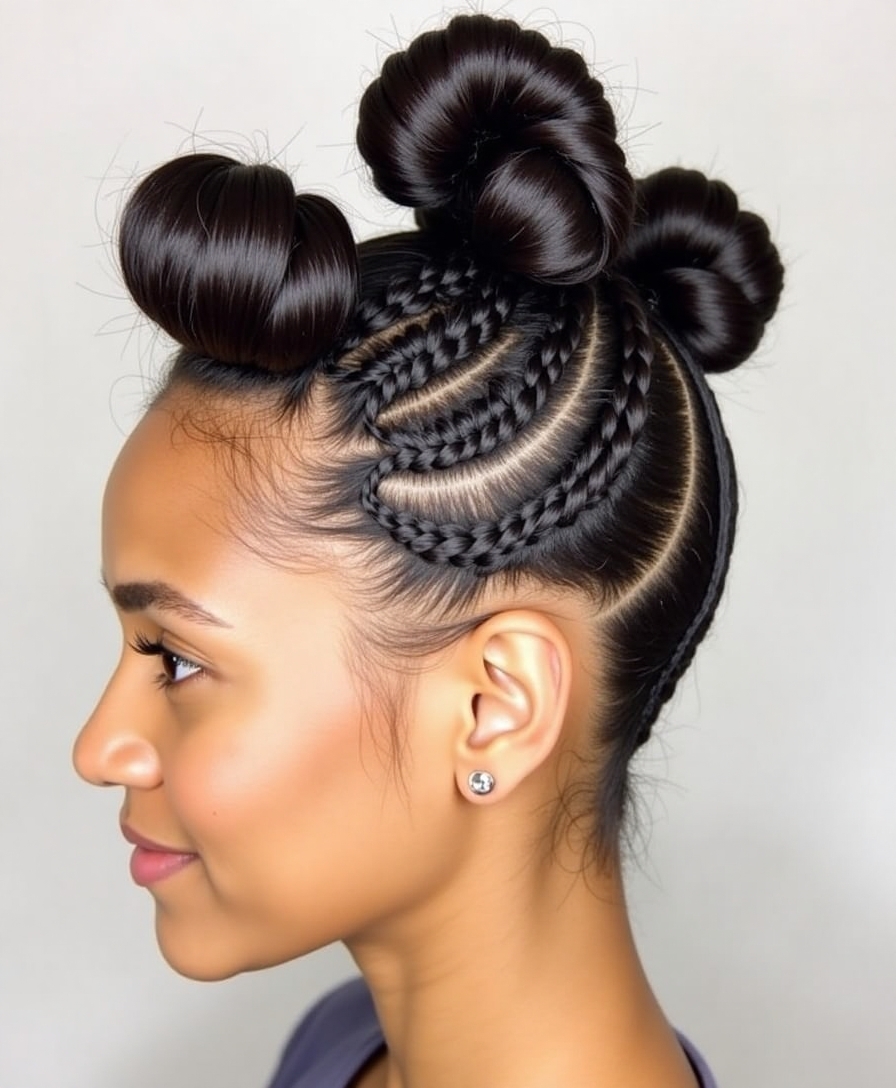
Braided space buns add one extra step before the usual space-bun routine: part the hair down the middle, braid each half, then coil each braid into its own high bun.
- Part straight down the center and braid each side separately
- Wind each finished braid into a bun and pin it in place
- The braid texture underneath gives the finished buns more shape and hold than smooth hair would
Infinity Braid Pigtails
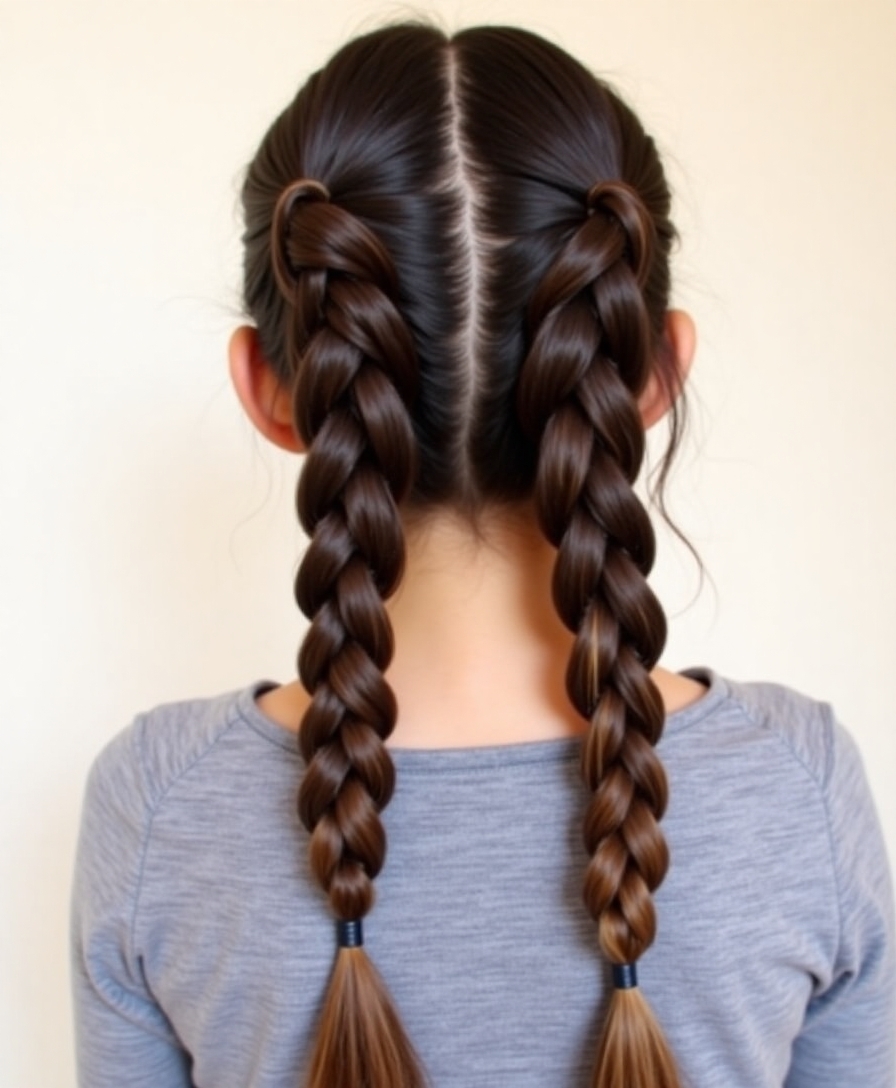
An infinity braid weaves two outer strands through a held center section in a looping, figure-eight motion, which is the most advanced mechanic on this whole list.
Worked into two pigtails, it stands out clearly from anything else here, though practicing the basic moves above first makes this one click much faster.
- Hold a center section steady and weave the two side strands through it, alternating sides
- Loop each strand over, then under, in a repeating figure-eight pattern
- Slower to learn than the other braids here, but the visual payoff is the biggest on this list
Box Braid Glamour
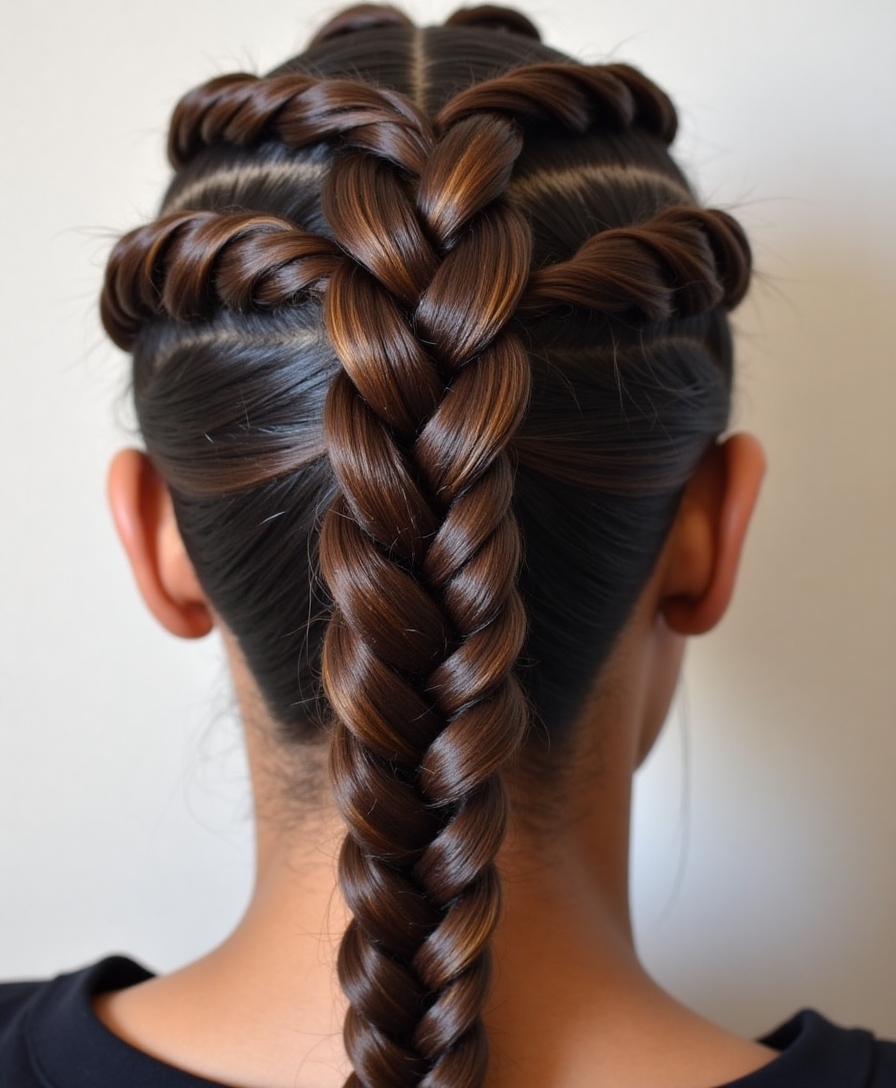
Already-installed box braids work as a finished material: every piece is already a plait, ready to be swept, gathered, or pinned. The box braids hairstyles guide covers the install side of this in far more depth.
That existing structure carries nearly the whole style, which is why elaborate updos take almost no extra effort once the braids themselves are in.
- Sweep every braid over one shoulder for an instant, dressed-up look
- Gather them into a high ponytail or a sculpted bun for an event
- Smoothing the edges at the hairline is usually what separates a polished result from an undone one
Milkmaid Braids
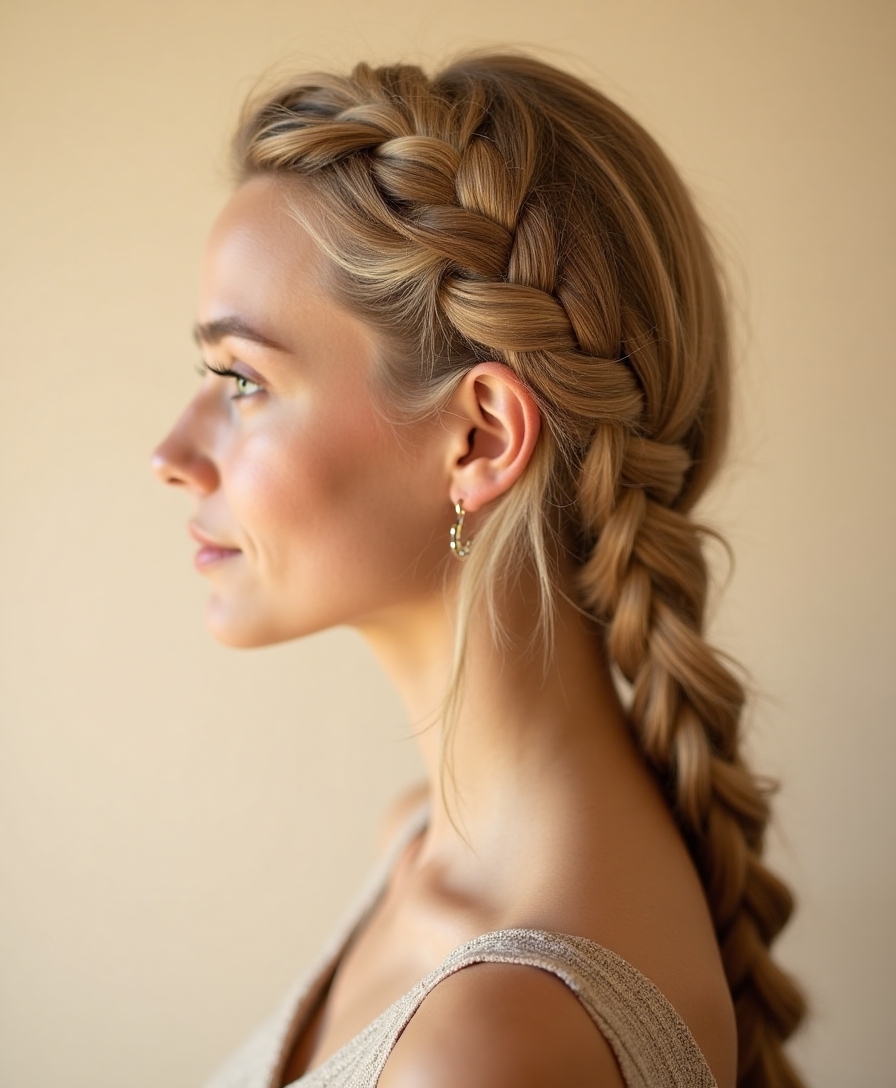
Milkmaid braids part the hair down the middle, plait each side into a basic three-strand braid, then carry each one across the top of the head and secure it on the far side.
The technique underneath is about as simple as it gets, two plain braids, since the finished look depends almost entirely on the wrapping and pinning.
- Two ordinary three-strand braids, one on each side, is the entire starting point
- Wrap each braid up and over the crown, pinning it on the opposite side of the head
- Tugging gently on the wrapped braids afterward adds fullness to the finished halo shape
The Braided Top Knot
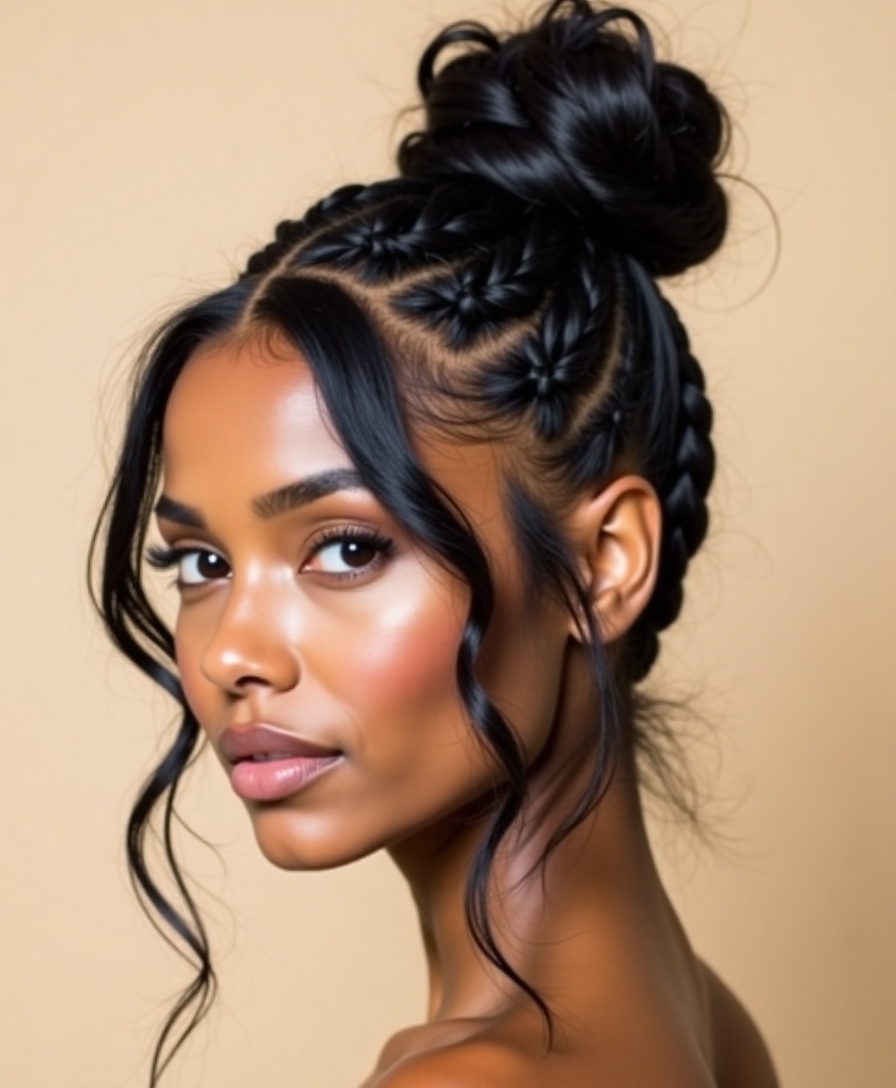
A braided top knot gathers the hair high first, braids the resulting ponytail, then coils that braid into a bun instead of twisting smooth hair the usual way.
Braiding before coiling is what gives the finished knot extra texture and a noticeably more secure hold than a plain twisted bun through a long day.
Pulling the braid slightly looser before coiling it produces a softer, fuller knot; keeping it tight gives a sleeker, more polished result instead.
The Crown Braid Halo
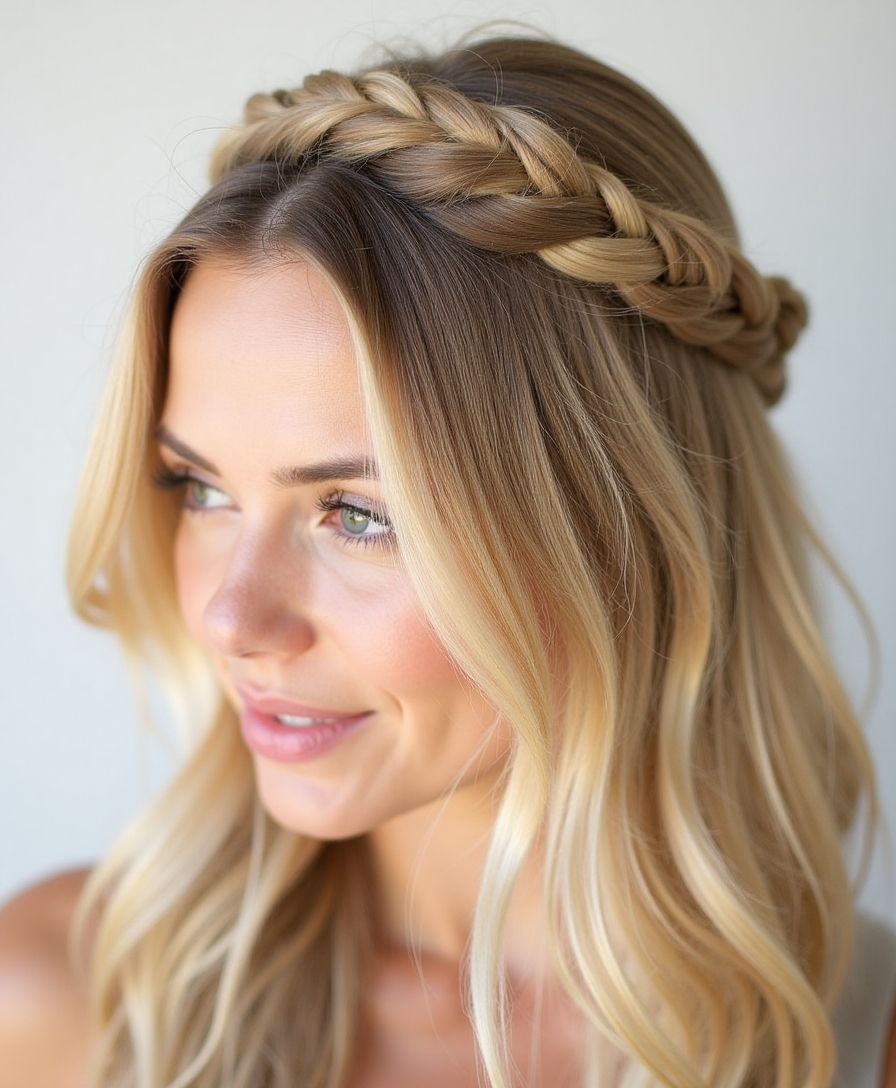
A crown braid wraps one single, continuous braid all the way around the head like a halo, tucking the end away at a single point, unlike the two separate pieces a milkmaid braid pins.
One Continuous Line Around the Head
That single continuous line is what gives it a more elegant, put-together feel, and it clears the neck completely for a hot day or an event, similar in spirit to the wrap-based patterns in the braided bob guide.
It holds best on second-day, textured hair, with a few pins hidden along the path keeping the halo secure through a long evening.
The Knotted Braided Ponytail
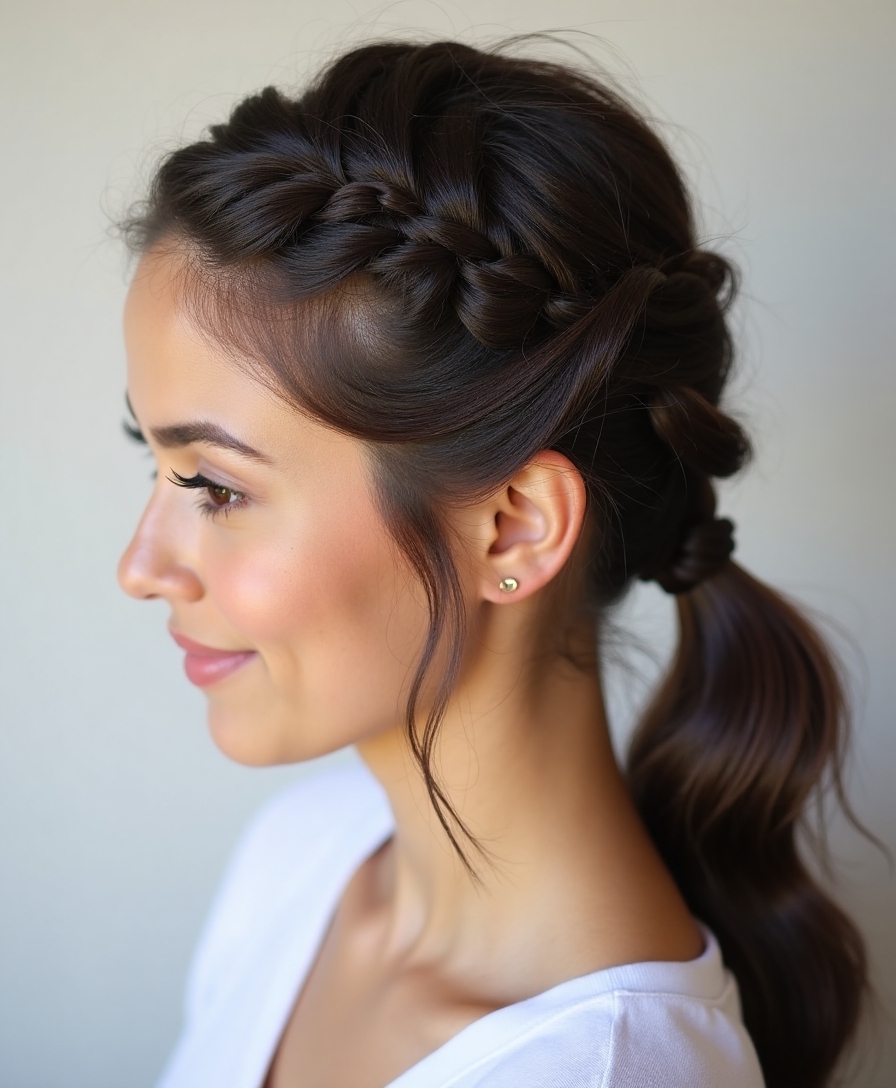
A knotted braided ponytail takes an ordinary tied-back style and works small knots or braids down its length, turning a plain pony into something visibly more deliberate.
- Tie a ponytail first, then split and knot small sections down its length
- Or braid the ponytail itself and loosen it gently with fingers for a fuller texture
- Wrapping a thin piece of hair around the elastic hides it and finishes the look cleanly
The Bohemian Box Braid Updo
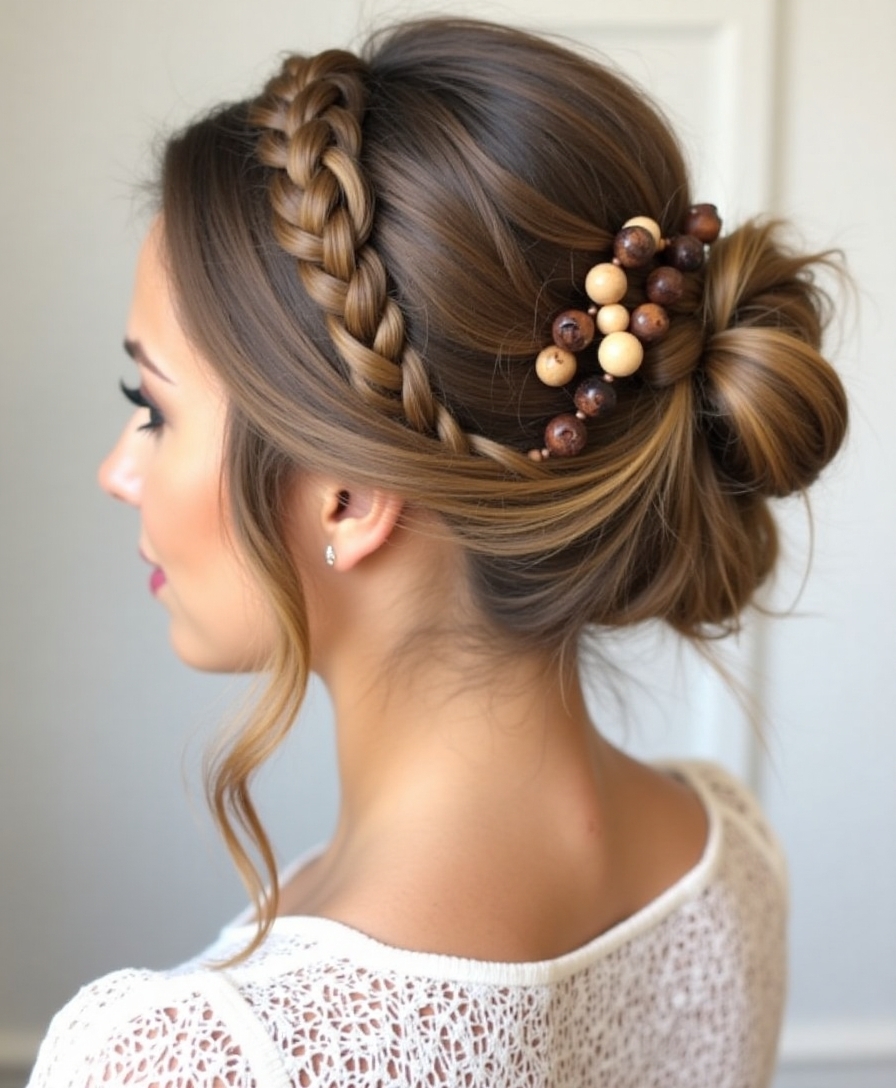
Box braids gathered loosely into an undone updo trade the crisp lines of a fresh install for something that reads relaxed and festival-ready instead. The braids for black hair guide has more on styling installed braids day to day.
The goal here is gathered, not sculpted: sweeping the braids up loosely and letting a few pieces fall around the face matters more than pinning every strand into place.
- Gather the braids loosely and pin them into a soft, low bun
- Leave a few braids loose at the front to frame the face
- An intentionally undone finish beats a tight, perfect one for this particular look
The Reverse Braided Bun
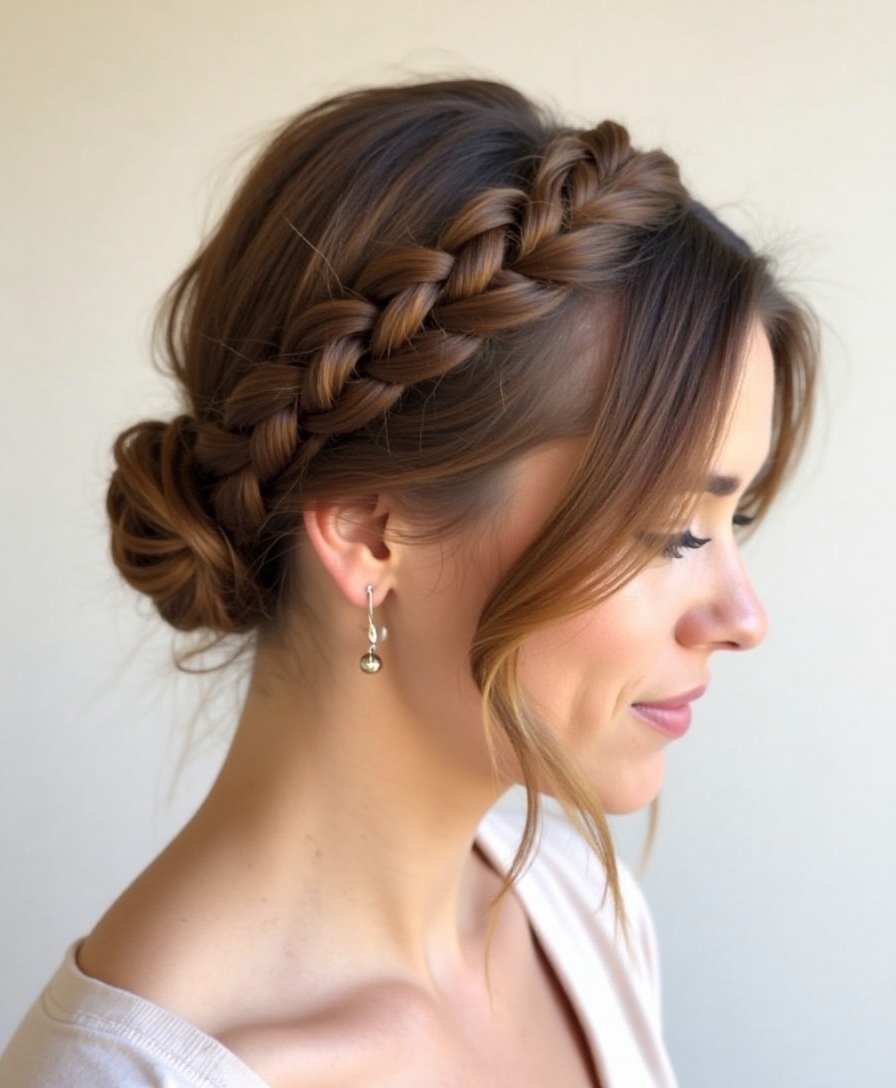
A reverse braided bun flips the usual direction entirely: a Dutch braid climbs upward from the nape toward the crown instead of starting at the top and working down.
From behind, it looks far more complex than it actually is, since the mechanic is still just an upside-down Dutch braid, finished by gathering the remaining length into a bun.
- Flip the head forward and Dutch braid from the nape upward toward the crown
- Gather the braid’s end along with the rest of the length into a high bun
- Tugging the braid slightly wider before securing the bun softens the finished line
Styling Tips
How long any of these hold comes down mostly to hair type and how the braid gets finished: a quick French or fishtail braid is a same-day style, holding from morning to night on grippy second-day hair sealed with a flexible hairspray. Sleeping in a loose braid overnight extends that hold further and, on damp hair, doubles as an easy way to wake up with soft waves already built in.
Box braids and other installed styles work on a completely different timeline, running several hours to install and several weeks of wear afterward, which calls for its own separate routine: regular scalp cleansing, a light oil at the roots, and a satin or silk covering at night in place of any daily restyling. The cornrow hairstyles and boho bob braids guides cover more on that longer-term category specifically.
?Why do my braids keep falling apart within a few hours?
Usually one of three things: hair too clean and slippery to grip, sections held too loosely while braiding, or no finishing product at the end. Second-day hair, steady tension throughout, and a light hairspray at the finish fix most of this.
?Is it possible to braid the back of your own hair without help?
Yes, though it takes learning by feel rather than sight. Most people pick up French and Dutch braids on the back of their own head through practice, sometimes checking progress with two mirrors at first until the motion becomes automatic.
?Which braid on this list works best for very short hair?
Smaller, partial braids like a lace braid, a double braided headband, or small milkmaid sections tend to work better on short hair than full-length styles like a waterfall or an infinity braid, which need enough length to actually travel and drop.
A Small Set of Moves, Repeated
Nearly everything above comes back to a small handful of core mechanics: which way strands cross, how many sections get used, and whether hair drops out or gets added in as the braid travels.
Worth picking the simplest style here that hasn’t been tried yet and testing it on slightly grippy, second-day hair before moving on to anything more advanced; a lopsided first attempt almost always straightens out by the second try.
More Worth Saving