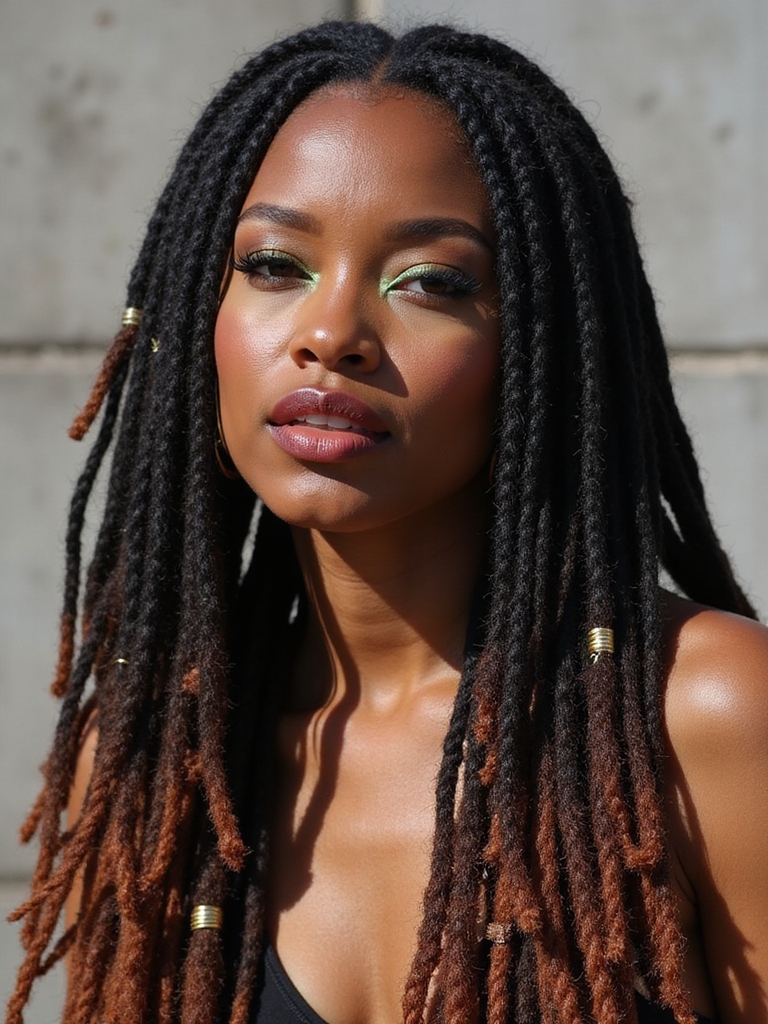
Sleek hairstyles and greasy ones sit one inch apart, and most people land on the wrong side of that line by accident. The real culprit is almost never too much shine. It’s product landing in the roots instead of staying on the lengths, until the whole head looks wet instead of polished.
Nineteen sleek hairstyles follow, each with the specific product and technique note that keeps it reading glossy and pulled-together instead of oily.
Where Sleek Actually Comes From
What actually makes hair look greasy instead of sleek? Product landing on the scalp and roots. Keep shine products on the mid-lengths and ends, and smooth the roots with just a brush.
Does a sleek look work on curly or coily hair? Yes. Straight hair sleeks with a flat iron and serum; curly and coily hair sleeks with edge control and a brush, often with no heat at all.
What’s the fastest sleek style to actually pull off? A twisted bun. Twist the length into a rope until it coils back on itself, then pin it where it naturally lands.
The Sleek Low Ponytail

This is the foundation, one of the easiest hairstyles to build real skill from. The most common mistake happens right at the crown: too much product worked over the top of the head instead of saved for the length.
Get this part right and every other style on this list follows the same logic.
- Brush the top and sides completely flat before any product touches the hair
- Mist a little hairspray onto the boar-bristle brush, then smooth again to catch flyaways
- Only then work a smoothing balm down the ponytail itself, never near the roots

The Sleek Chignon

A chignon looks expensive the moment it’s finished, which is exactly why it shows up at weddings and galas on repeat. All of that polish comes from one thing: a smooth surface with no stray ends showing.
The Fold Is the Whole Trick
What separates a chignon from an ordinary low bun is the fold. Instead of coiling the ponytail into a knot, fold it up underneath itself and pin it into a flat, tucked roll, ends hidden inside.
It’s the style to reach for when elegant is the goal but there’s no hour to spend at the mirror.
The Sleek High Bun

A high bun lifts the whole face and comes across modern in a way almost nothing else on this list does. The hard part is the climb: keeping hair smooth all the way up to a high point without a single bump showing.
Don’t Skip the Underside
Tip the head back and brush everything upward before securing it. That’s the only way to keep the underside as smooth as the surface everyone sees.
A flexible-hold gel outperforms a heavy wax here, since it locks hair in place without leaving the greasy sheen wax tends to add to a tightly pulled style.
The Side-Swept Low Bun

Sweeping a low bun to one side trades some of the severity of a center bun for softness. It’s one of the more flattering placements for a round or square face, since the diagonal line slims.
Part deeply on one side, sweep everything toward the opposite low corner, and pin a smooth bun just behind the ear.
Leave it a touch softer than a formal chignon, with one face-framing piece left loose, and the whole thing feels romantic instead of stiff.
The Polished French Twist

The French twist is the most architectural style on this list, folding all the length into one clean vertical seam up the back of the head. Done smoothly, it looks timeless rather than dated.
- Smooth hair back and twist it upward, close against the head
- Fold the twist under itself to form the vertical roll, tucking ends inside
- Pin along the seam, then mist with hairspray for one final smoothing pass
The Minimalist Center Part

Sometimes sleek means nothing more than a glassy, dead-straight center part worn down. It’s minimalism at its most demanding, since it lives entirely on the health and shine of the hair itself.
Nowhere to Hide
Flat-iron in small sections for a true glass finish, then work a shine serum from mid-length down, never the roots, and cut a clean part down the center with a comb’s tail.
Because there’s nowhere for damage to hide, this look rewards healthy ends more than any other on the list; a salon gloss treatment beforehand, typically $40 to $70, makes a bigger difference here than any product applied at home.
📋Before Trying the Bare Center Part
- ✓Ends free of visible split or breakage, since a straight cut shows everything
- ✓A flat iron with an adjustable temperature, not a single fixed setting
- ✓A gloss treatment booked recently, or on the calendar before this one
The Glossy Top Knot

The glossy top knot is the high bun’s sharper, shinier sibling, pulled tight and finished with real shine for a look built to make a statement. It’s bold, face-lifting, and a favorite for anything that calls for a deliberate finish.
Build the high bun first, then mist a glossing spray, not a heavy oil, over the smoothed surface and press it in lightly by hand. The shine should sit on top like glass instead of soaking in like grease.
The Slick-Back

The slick-back is the boldest style here, hair pulled straight off the face with an intentional wet finish. Worn short it feels editorial; worn long and tied, it turns runway-cool.
Wet-Look Is Intentional, Greasy Is an Accident
This is the one place a stronger gel is the entire point, since the wet finish is meant to show. Work it through with a brush from the hairline back, keeping the part free and the lines even.
What separates this from just looking greasy is precision: clean edges, even application, and confidence in the finish.
The Neat Half-Up

A sleek half-up keeps the polish of an updo while leaving length down, which makes it the easiest of these styles to wear on an ordinary day. The contrast between a smooth crown and loose length underneath is the whole appeal.
The trick is keeping both halves equally glassy, so the loose length never looks neglected next to a polished crown.
- Smooth the top section back and secure it cleanly, hiding the elastic entirely
- Flat-iron or smooth the loose length so it matches the crown’s finish
- Work product through the down length only, keeping the crown matte and light
The Sleek Braided Ponytail

A high, sleek braided ponytail is where polish meets edge: a glassy, smooth crown flowing into one tight braid. It’s a runway staple precisely because it pairs control with movement, and it holds up well enough for a workout when tied tight.
Smooth hair into a high, tight ponytail first, getting it perfectly even before starting the braid, since bumps can’t be fixed once braiding begins.
Keep the braid itself crisp instead of pulled apart for volume. Here, tightness comes across as polish; on a romantic braid, the same tightness would feel severe.
The Classic Twisted Bun

A rope of twisted hair makes the fastest bun on this whole list, and the trick is letting the hair do the work itself. Twist the length in one direction until it kinks and coils back on itself, then pin it exactly where it lands.
- Tie a low or mid ponytail, then twist the length into a tight rope
- Keep twisting until the rope curls onto itself, then pin where it naturally settles
- Press any bumps down with a brush and a light mist of hairspray
The Sleek Side Braid

A side braid softens the polish of this list without losing it, a controlled braid worn over one shoulder. It’s the bridge between editorial sleek and something closer to everyday.
Restraint Is the Whole Look
Smooth hair to one side and braid it cleanly, keeping the surface tight rather than pulling pieces loose the way a messy braid would.
The difference between this and a casual side braid comes down to restraint: keep it tight and smooth instead of tugging it apart for fullness.
A quick gut-check on which sleek style actually fits:
1Do you want polish without touching a flat iron?
A twisted or braided bun holds up on damp hair and needs almost no heat.
2Is this for an event where the look has to survive hours?
Reach for a chignon or French twist; both hold their shape far longer than a loose style.
The Smooth Low Bun

The classic low bun is the quiet anchor of this whole list, sitting right at the nape and working for nearly any occasion. It’s the one worn most often, the dependable option for when a chignon feels too formal and a twisted bun too casual.
The One Worn Most Often
Brush everything back low and smooth, secure a tight ponytail at the nape, then wrap the length around its own base, pinning as it goes for a clean hold.
The lower and flatter it sits, the more refined it reads. Finish with a flexible hairspray, and resist adding more product than that.
Glossy, Sleek Waves

Sleek doesn’t always mean pulled back. Smooth, glossy waves are the down version, with movement instead of a flat surface. The trick is bending hair without frizz, so waves stay glassy instead of going fuzzy.
A large-barrel iron or a round brush builds soft, wide bends. A shine serum over the surface afterward seals the cuticle for that glassy finish.
This is the most forgiving version for fine hair or wavy hair, since movement hides small imperfections a dead-straight style would expose instantly.
💡Skip the Curling Wand
A round brush and blow-dryer build the same soft bend as a curling iron with far less direct heat on the cuticle, which matters most for hair that’s already color-treated.
The Straight Sleek Lob

On a lob, sleek is simply the cut at its glassiest: dead-straight, blunt, and shining. The cut carries most of the visual work here, so the job is just bringing out shine without weighing the ends down into grease.
- Flat-iron in small sections, finishing each pass on a cool setting to seal the cuticle
- Work a lightweight serum from mid-length to ends, skipping the roots entirely
- A salon gloss treatment turns a straight lob from nice into something close to mirror-finish
The Smooth Deep Side Part

Moving a part deep to one side does more for this whole list than almost any other single adjustment, sweeping a glassy curtain of hair across the forehead. It adds instant drama to hair worn straight or in soft waves.
Comb the part well past center with a fine-tooth comb, then smooth the fuller side down close to the head so it falls in one unbroken sweep across the brow.
- Cut the part with a comb’s tail for one crisp, clean line
- Smooth the heavier side down with a light styling cream
- Tuck the lighter side behind an ear for contrast
The Sleek Layered Bob

Layers and sleek can coexist without a fight. A smooth, layered bob carries polish with a little built-in movement, so it never looks stiff. Light catches each layer as it falls.
- Blow-dry with a round brush, turning ends under for a soft, smooth finish
- Flat-iron only where a pass is actually needed, since over-ironing flattens the layers
- Finish with a glossing mist instead of a heavy serum, so layers stay light and moving
The Wet-Look Low Ponytail

Take the everyday low ponytail and push the shine all the way to a deliberate wet finish, and it becomes a version dressed up for an event. It’s the same base style, dialed up with a stronger product.
- Work a wet-look gel through with a brush for one even, glassy surface
- Keep the part clean and edges sharp, since precision is what reads as intentional here
- On textured or curly hair, a brush-on edge control lays the hairline smooth without heat
| Finish | Product Level | Where It Works Best |
|---|---|---|
| Soft sleek | Light balm or mist | Everyday buns and ponytails |
| Glassy shine | Serum on lengths only | Center parts, straight lobs |
| Wet-look | Strong-hold gel | Slick-backs, event ponytails |
The Sleek Crown Braid

A crown braid wrapped smoothly across the head turns an ordinary braid into a polished halo. Kept tight and glassy rather than soft, it lands deliberate instead of bohemian.
- Braid close to the scalp and pin it across the crown, keeping the surface flat
- Smooth any loose pieces back with a fine brush and a touch of hairspray
- Keep tension tight; a loosened crown braid drifts toward boho, a tight one stays polished
How to Get the Look
Across every version here, the pattern repeats: shine belongs on the lengths, and the roots get nothing heavier than a brush and a little hairspray. Product placement, not product quantity, is what separates sleek from greasy.
Start with whichever style matches an existing skill level, whether that’s a five-minute low ponytail or a French twist that takes practice. Elegant hairstyles and old-money hairstyles both draw from this same restrained-shine principle, worth a look if more polish sounds appealing beyond this list.
Sleek Hairstyle Questions Worth Asking
?Why does my sleek hairstyle always end up looking greasy by the end of the day?
Almost always because product went in too high. Serums, oils, and heavy gels worked into the roots and scalp read as grease, not shine. Keep shine products on the mid-lengths and ends, and touch the roots with nothing heavier than a brush.
?Can I get a sleek look without heat-damaging my hair?
Yes, and it needs far less heat than most people assume. A boar-bristle brush plus a smoothing balm flattens the cuticle with no iron involved on several of these styles, and pulled-back looks like buns and ponytails need none at all.
?Does a sleek style work the same way on curly or coily hair?
It does, though the method changes. Curly and coily hair sleeks well with edge control and a brush rather than heat, especially for pulled-back styles where the curl pattern gets tucked away rather than straightened.
?How long does a sleek style like a chignon or French twist actually hold up during a long event?
Several hours at minimum if it’s pinned well and finished with a flexible hairspray. Styles built on a tight base, like a chignon or twist, tend to outlast loose or wavy versions by a wide margin.
?What’s the single biggest mistake people make trying to copy a sleek look from a photo?
Skipping the brush step and going straight to product. A smooth base built with a brush and a little tension does more work than any serum, and it’s the step most tutorials skip over entirely.
Shine Belongs on the Lengths, Not the Roots
One idea carries this entire list: sleek is a technique, not a product. The styles that read expensive aren’t the ones with the most serum; they’re the ones where the surface is smooth and the shine sits exactly where it belongs.
Pick one to try first, and practice the placement before reaching for more product. Brush before serum, go lighter than feels natural, and the result lands on the polished side of that line almost every time.
You Might Also Like