


Not every layer needs to run through the whole head to change how a cut looks on you. A few strategically shorter pieces around the face can do more for your features than an entire haircut’s worth of layering elsewhere.
That’s the honest case for face-framing: it’s a targeted edit, not a full commitment. Below is how to size that frame to your particular bone structure, work with whatever texture you already have, and keep the daily upkeep realistic.
Quick Orientation
What does a face-framing layer actually change? It shortens a piece or two near your face while leaving the rest of the length alone, drawing attention toward or away from specific features.
Does my face shape decide where the frame starts? Largely, yes. Where the shortest piece lands, at the cheekbone, jaw, or collarbone, determines which feature gets highlighted.
Do I need a full haircut to add this? No. Face-framing can usually be added to existing long layers without touching your overall length.
What Face-Framing Layers Do

A face-framing layer is any piece cut noticeably shorter than everything around it, positioned specifically where it will fall next to your cheeks, jaw, or collarbone.
- Draws the eye toward whatever feature sits closest to it.
- Can be added to an existing long haircut without cutting overall length.
- Grows out faster than the longer sections, simply because it starts shorter.

Matching Layer Length to Your Face

Expect your stylist to ask two questions before cutting anything: what feature you want attention on, and what you’d rather downplay. Those answers decide the length far more than any single trend photo.
Two Questions Before Any Cutting Starts
As a general starting point, shorter frames land at or above the cheekbone and pull focus upward and inward. Longer frames land at the collarbone and lengthen the whole impression of the face.
Everything below is a starting point, not a rule. A stylist adjusts from there based on your actual bone structure and how your hair naturally falls.
Face Framing for a Round Face

A round face benefits from framing that starts low, closer to the collarbone than the cheek, since shorter pieces up high can add width exactly where a round face already has plenty.
The goal is length, not concealment. A long, gently angled frame draws a vertical line down the sides of the face that a shorter frame simply can’t create.
Center parts tend to work better here than deep side parts, which can pull extra width toward one side of an already-round shape.
ℹ️Face Shape Isn’t Fixed by Genetics Alone
How you part your hair, angle your chin in photos, and even how you style the rest of your cut all shift how a face shape reads day to day. Treat these pairings as a starting point, not a verdict.
Face Framing for a Square Face

A square jawline reads strongest at its corners, and framing that curves inward at those exact points does the most to soften it.
Curve the Corners, Don’t Sharpen Them
Feathered ends make a real difference here, more than a blunt edge would. A hard, straight-across line next to a square jaw just echoes the angle already there.
Waves or a loose curl through the frame help even more, since movement disrupts the straight lines a square face already has plenty of.
Face Framing for a Heart-Shaped Face
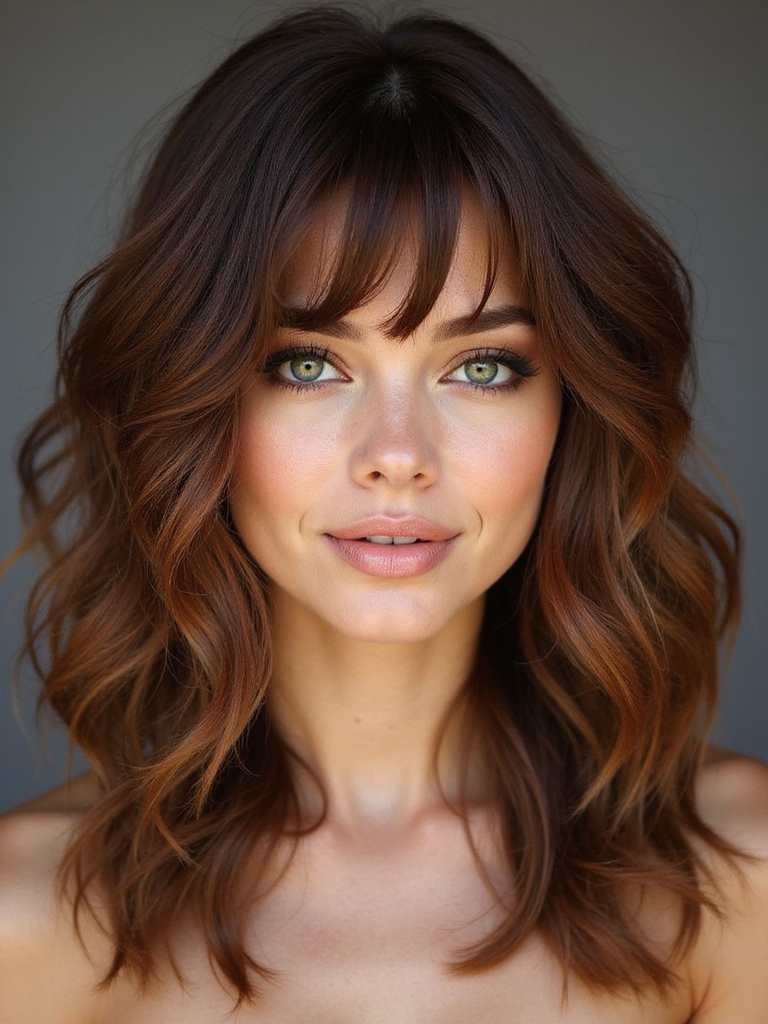
A heart-shaped face carries more width up top than at the jaw, so the framing goal flips compared to a round or square face: add visual weight low, not high.
Layers that widen slightly as they reach the jaw and chin build that balance in. Layers cut short and swept back from the face only exaggerate the width already up top.
A soft, rounded fringe paired with this frame can pull some of that top-heavy attention down and outward, evening out the whole silhouette.
Face Framing for an Oval Face
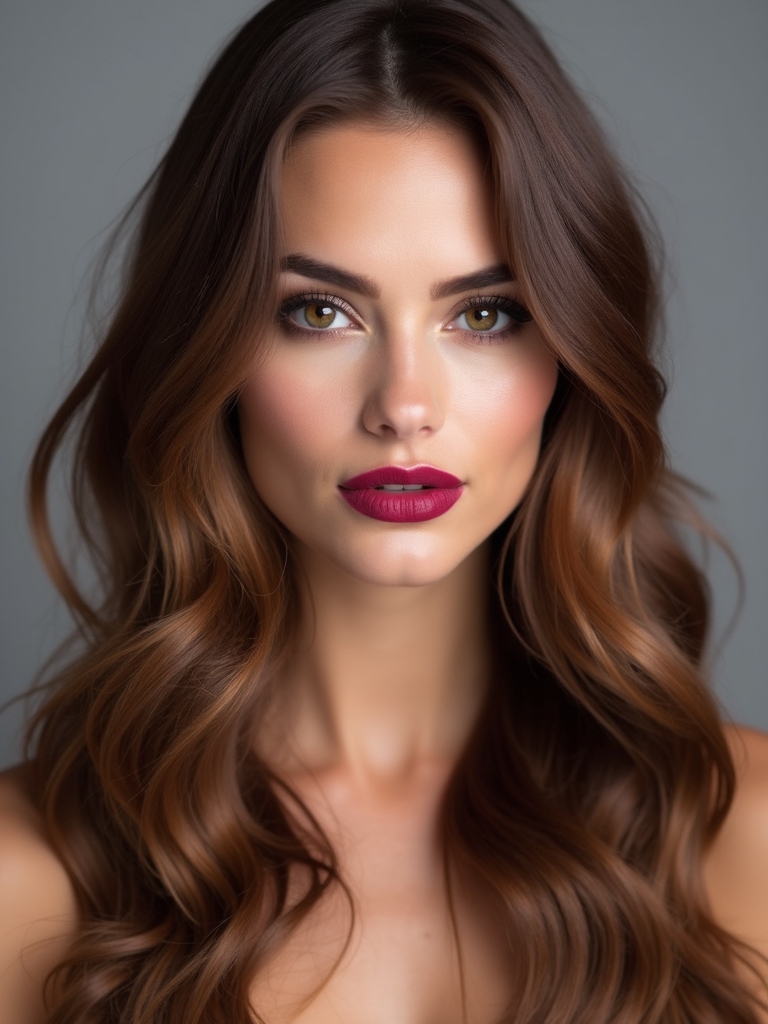
An oval face is the one shape where the rulebook above mostly doesn’t apply. The proportions are already balanced, so there’s no specific problem the framing needs to correct.
That freedom means the decision comes down to personal preference rather than face-shape strategy.
- Short, cheekbone-length frames work as well as long, collarbone ones.
- Center and side parts both suit an oval face equally.
- Pick based on how much daily styling you want, not which shape flatters more.
Face-Framing Layers on Straight Hair

Straight hair shows every layer line clearly, which means a face-framing piece cut with a hard, straight edge will sit flat against the cheeks in an obvious block.
- A soft, tapered end blends far better than a blunt one on straight hair.
- A slight bend from a flat iron or wand brings the frame forward toward the face.
- Grow-out is more visible here than on any other texture, so plan for more frequent shape-ups.
Face-Framing Layers on Wavy Hair

Wavy hair does a lot of the work on its own here. The natural bend already softens a framing layer’s edge, so precision matters less than it does on straight hair.
The Most Forgiving Texture for This Cut
A texture spray on damp hair before air-drying is usually all it takes to bring out the frame’s movement without a curling tool.
This is one of the more forgiving textures for face-framing layers, since the wave hides small asymmetries a straight cut would show.
Face-Framing Layers on Curly Hair

Curly hair has to be cut dry for face-framing to land where it’s meant to, since coils shrink upward once fully dry and a wet cut can end up far shorter than planned.
- Insist on a dry cut specifically for the framing pieces, even if the rest is cut wet.
- Curls spring up, so the finished frame will sit higher than it appeared mid-cut.
- A curl-defining cream on damp hair keeps the frame’s shape distinct from the rest of the curls.
🅰️Looser Curl Pattern (3A-3B)
Less shrinkage overall; the frame sits close to where it was actually cut.
🅱️Tighter Curl Pattern (4A-4C)
More shrinkage; ask for the frame cut noticeably longer than the length you actually want to end up with.
Feathered Versus Blunt Framing
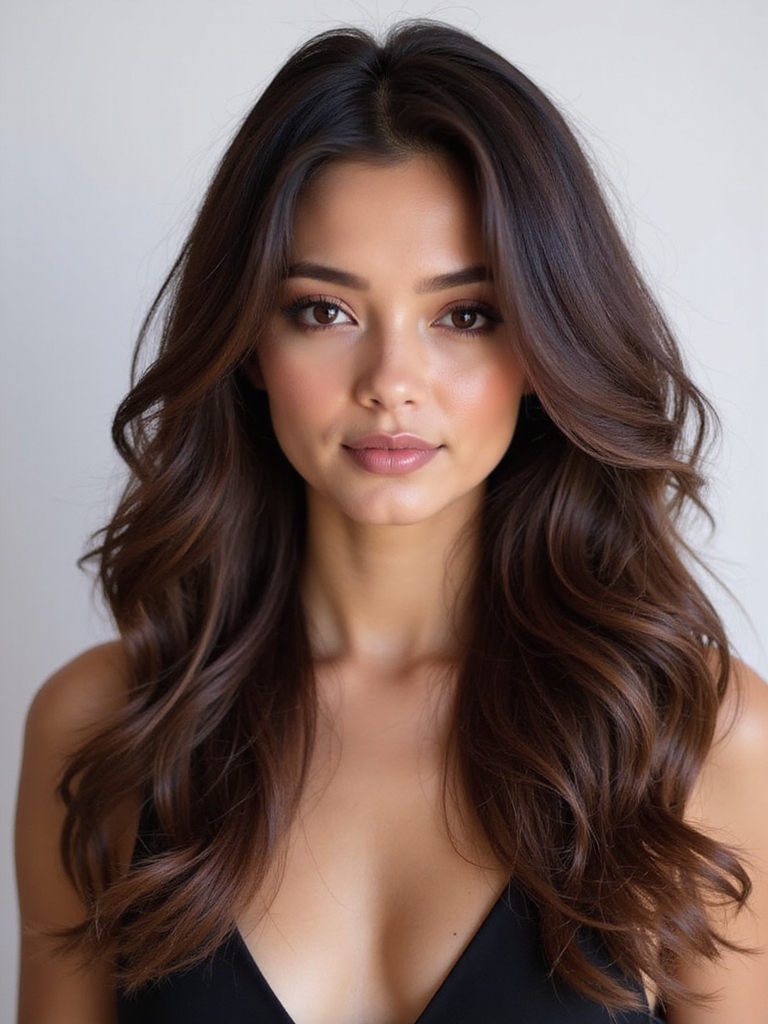
Feathered ends taper gradually and blend into whatever length surrounds them, favoring a soft, undone look that hides small inconsistencies well.
Blunt ends hold a crisper edge and create more visual structure, which flatters faces that want a defined line rather than a soft blur. Neither is objectively better; the choice mostly comes down to how polished you want the frame to look day to day.
Curtain Bangs and Loose Tendrils

Curtain bangs extend the concept of face-framing all the way up to the hairline, parting in the middle and sweeping away from the face on both sides.
- Blend directly into existing face-framing layers with almost no visible seam.
- A shorter, wispier version reads as loose tendrils, well short of a full fringe.
- Both grow out gently into the surrounding layers, avoiding any hard reset.
Adding a Frame to Hair That’s Already Layered

I get asked constantly whether existing layers get in the way of adding a frame later, and the honest answer is almost never. A stylist just re-angles a couple of the shortest pieces already in the cut rather than starting over.
You Rarely Need to Start Over
The one exception is heavily blunt-cut hair with no layering at all. There, a frame has to be built from scratch, which takes closer to a full cutting appointment than a quick add-on.
Ask specifically whether your stylist can work with what’s already there before assuming you need an entirely new haircut just to get this detail added.
Reducing Bulk in the Frame

Thick hair can turn a delicate face-framing piece into a heavy wing that sits away from the face, refusing to sweep softly against it the way it’s supposed to.
- Ask specifically for the framing pieces to be debulked, going beyond a simple length trim.
- Removing weight from underneath keeps the perimeter smooth and controlled.
- A lightweight cream keeps debulked framing pieces soft without a heavier oil weighing them down.
Not sure how much debulking your frame actually needs?
🎯My hair is thick only right around the hairline
Ask your stylist to debulk just the framing pieces, not the whole perimeter.
🎯My hair is thick and heavy all over, not just up front
Ask for debulking through the whole cut so the frame doesn’t stand out as the only light part.
Styling Face-Framing Layers

Most face-framing layers need only a few minutes of targeted attention, since everything behind them can air-dry or get styled on its own schedule.
You Don’t Have to Style the Whole Head
Section off just the framing pieces and blow-dry them with a small round brush, curving them toward the face. Save the longer sections for last.
A flat iron works just as well if you prefer a smoother finish over a curved, brushed-out one.
Keeping Face-Framing Layers Fresh

Because the framing pieces start shorter than everything else, they reach a noticeably different length faster than the longer sections do.
A quick shaping trim focused only on the frame, without touching the length behind it, keeps the effect looking intentional between full haircuts. This is the appointment most clients forget to book, and it’s usually the one that would have saved the look.
- Ask for a frame-only trim if everything else still looks good.
- This kind of touch-up is usually quicker and cheaper than a full cut.
- Skipping it too long lets the frame blend into the length and lose its purpose.
Layering product correctly on the frame, in order:
1Heat protectant first, on damp framing pieces only
Skipping this here matters more than elsewhere, since these ends are already the finest on the head.
2A lightweight cream after drying, not before
Applied to wet hair, cream tends to weigh down the shortest pieces disproportionately.
3Oil last, and sparingly, only at the very tips
Any earlier or heavier, and it flattens the frame instead of finishing it.
Products for Face-Framing Layers

The products worth keeping on hand for this cut are small: a lightweight styling cream, a heat protectant, and something to smooth flyaways along the shortest pieces specifically.
I’ve watched clients undo a perfectly good frame with a single pump of heavy oil at the roots. Heavier products tend to weigh the frame down more than they affect longer, heavier sections, since these pieces are finer by nature.
A small dab of oil on the ends finishes the frame without affecting the volume anywhere else on the head.
What to Expect
Adding face-framing to an existing long layered cut is usually quick, often closer to a touch-up appointment than a full restyle, since most of the hair isn’t being touched at all.
A full new cut that includes face-framing from scratch takes longer and is priced accordingly, often $50 to $90 depending on your salon. Either way, ask upfront how the framing itself will be priced compared to the full service.
Long Layered Cuts With Face-Framing, Answered
?Can I add face-framing layers without a colorist or stylist changing my part?
Yes, though your regular part does affect how the frame falls. If you switch parts often, ask for framing that’s cut to work reasonably well on either side.
?Will face-framing layers work if I already have bangs?
Usually, since curtain-style bangs blend directly into framing layers. Blunt, full bangs need a slightly different approach so the two elements don’t compete visually.
?How do I stop my face-framing layers from curling the wrong direction?
Point a round brush or wand in the direction you want the ends to sit, working from underneath the piece rather than over the top of it, which tends to flip the curl outward.
?Can face-framing layers help hide breakouts or texture near my hairline?
To some extent, since the shortest pieces sit right along the areas people tend to be self-conscious about. It’s a styling workaround, though, not a substitute for skincare or a dermatologist if it’s an ongoing concern.
A Small Edit With an Outsized Effect
Face-framing layers are proof that a haircut doesn’t need to touch every strand to change how the whole thing looks. A couple of well-placed pieces can shift attention exactly where you want it.
Next time you’re deciding between a full re-cut and a smaller change, consider whether framing alone might get you most of the way there, especially if you already like your length.


