A bun sounds simple: gather, twist, pin. Then you actually try to build the one you saw online, and it falls apart before it holds. Some bun hairstyles sit high and last all day; others sit low and soften within the hour, and the difference usually comes down to technique.
Nineteen versions follow below, sorted by hair type, occasion, and how much time you actually have. Start with whichever matches where you’re headed today, work, a wedding, a festival, or a lazy Sunday, and build from there.
What Actually Makes a Bun Hold
- Second-day hair holds a bun far better than freshly washed strands; texture gives pins something to grip.
- High buns feel youthful and energetic; low buns look polished and office-safe.
- Loose winds look soft and undone; tight winds look formal and sculpted.
- Braids and twists both outlast a plain wrapped ponytail, since texture holds pins in place longer.
The Classic Chignon for Polished Events

The chignon is the formal centerpiece of bun styles: smooth, compact, pinned flat at the nape with no flyaways in sight. It’s the shape you see at black-tie dinners, the one that looks put-together the second you walk in.
Where Tightness Actually Matters
The whole look depends on the base. Twist the gathered hair upward into a tight coil and pin it flat against the head; any looseness there shows up as messiness later, no matter how careful the rest of the pinning is. On fine hair, a small amount of volumizing product at the crown before you start keeps the coil from looking thin.
One thing worth knowing: the smoother the hair going in, the less a chignon needs mid-day fixing. A light smoothing serum on damp hair before you style does more work than any amount of pinning after the fact.

The Messy Bun for Casual Comfort

The messy bun is the chignon’s opposite: loose, textured, deliberately undone, the style that looks better the less you fuss with it. It works for a rushed morning, the gym, or any day comfort matters more than precision.
- Twist or braid loosely, wrap it into a bun, then tug a handful of strands loose around your hairline and crown for softness.
- Curly and wavy hair gets there almost without trying; straight hair needs a texturizing spray first to fake the same undone effect.
- This one is about as forgiving as buns get. For more ways to build the deliberately-undone version, see messy bun hairstyles.
The High Topknot for a Busy Day

The topknot sits directly at the crown, splitting the difference between practical and polished. It lifts hair fully off the neck, which makes it the obvious pick on a hot day or whenever you want the length gone without cutting anything.
You’ll notice looser topknots last longer through the day than tight ones. A topknot wound too tight can tug at the hairline if you wear it often, so leaving a little give at the ends isn’t just aesthetic; it protects the roots too.
This style leans young and a little casual no matter how neatly you build it. Textured hair adds volume for free here; finer hair benefits from a bit of dry texture spray first so the knot has something to grip.
The Low Sleek Bun for the Office

The low sleek bun is boardroom-ready: smooth, controlled, structured enough to survive an eight-hour day without a single touch-up. It sits at the nape and asks for a clean finish, no wisps, no softness at the edges.
- Apply a smoothing product to damp hair and blow it out straight before gathering; the base you build now decides how the whole bun holds up later.
- Bobby pins that match your hair color disappear into the finish better than contrasting ones do.
- For more ways to keep this exact shape from sliding by afternoon, see low bun hairstyles.
The Braided Bun for a Special Touch

A braided bun swaps the plain twist for a braid, three-strand, Dutch, or fishtail, and picks up real texture and dimension in the process. Braids also grip pins better than a smooth twist, so this version tends to hold longer through a long event. More braid styles worth knowing before you pick one live under braided hairstyles.
The honest trade-off is time: braiding before bunning adds a genuine five to ten minutes over the simplest version here. Reach for this one when you actually have the time and want the result to look considered.
The Double Bun for Playful Days

Double buns split the hair down the center into two separate buns, one on each side. It’s a playful shape by default, but how you build it changes the mood entirely.
Symmetry Is the One Real Trade-Off
Positioned high and pinned tight, double buns look costume-adjacent fast. Settled lower, closer to the ears, they land like an ordinary, slightly fun everyday style, one that works fine for brunch or errands.
Part down the center, gather each half separately, and twist or braid each into its own bun. Matching the two sides exactly takes practice; a little asymmetry comes across as intentional, so don’t chase perfection on the first few tries.
A few bun-building terms worth knowing.
📖Base
The point where the ponytail is secured before twisting or braiding begins; a loose base is the most common reason a bun slips.
📖Wrap
The technique of coiling gathered hair around its own base to form the bun shape, done by hand or over a foam donut.
📖Feed-in
Adding new sections of loose hair into a braid as you go, used in French twists and waterfall braids to keep the shape continuous.
The Twisted Side Bun for Romance

A side bun gathers hair toward one shoulder, off to the side of a typical centered placement, which feels more romantic and a little more fashion-forward. It also puts the spotlight on one side of the face, useful if you’re wearing a statement earring.
The twist itself is loose by design. Gather a low side ponytail, twist it without pulling tight, and pin the coil so a few pieces fall free around the face and neck. A perfectly tight side bun looks severe; a slightly undone one looks soft.
Wavy and curly hair takes to this shape naturally, since the existing texture does half the work the twist would otherwise have to do.
The Donut Bun for Polished Volume

A donut bun uses a small foam or rubber ring, threaded through a ponytail, to fake volume hair alone can’t always provide. The result looks full and polished without heavy pinning to hold the illusion together.
This is the fix for fine or thin hair, or for anyone whose bun always ends up smaller than they pictured. It needs enough length to wrap fully around the tool, usually shoulder-length or longer.
- Slide the donut over a secured ponytail elastic, then fan hair evenly around it before wrapping the ends under.
- A little backcombing afterward blends the shape and hides the tool completely.
- Leave the surface slightly loose for a soft finish, or smooth it flat for something more formal.
The Half-Up Bun for Easy Balance

A half-up bun gathers only the crown and upper sections, leaving the rest down: the middle ground between a full bun and loose hair entirely. It takes under three minutes and gets hair off your face without fully committing to an updo.
- Section off the top as you would for a half-up ponytail, then twist or braid it and pin at the crown.
- The length left down stays a separate texture from the pinned section, which comes across as a deliberate two-texture look.
- This is the most forgiving option here on fine hair, since only half the volume needs to hold any shape.
👍Why People Reach for This One
- +Fastest bun on this list to actually build.
- +Works on nearly every hair length past the chin.
- +Leaves length visible, which some updos remove entirely.
👎Where It Falls Short
- –Offers none of the neck relief a full bun gives on a hot day.
- –Can look unfinished if the pinned section is too thin.
- –Doesn’t hold as long as a full bun through heavy activity.
The Curly Textured Bun

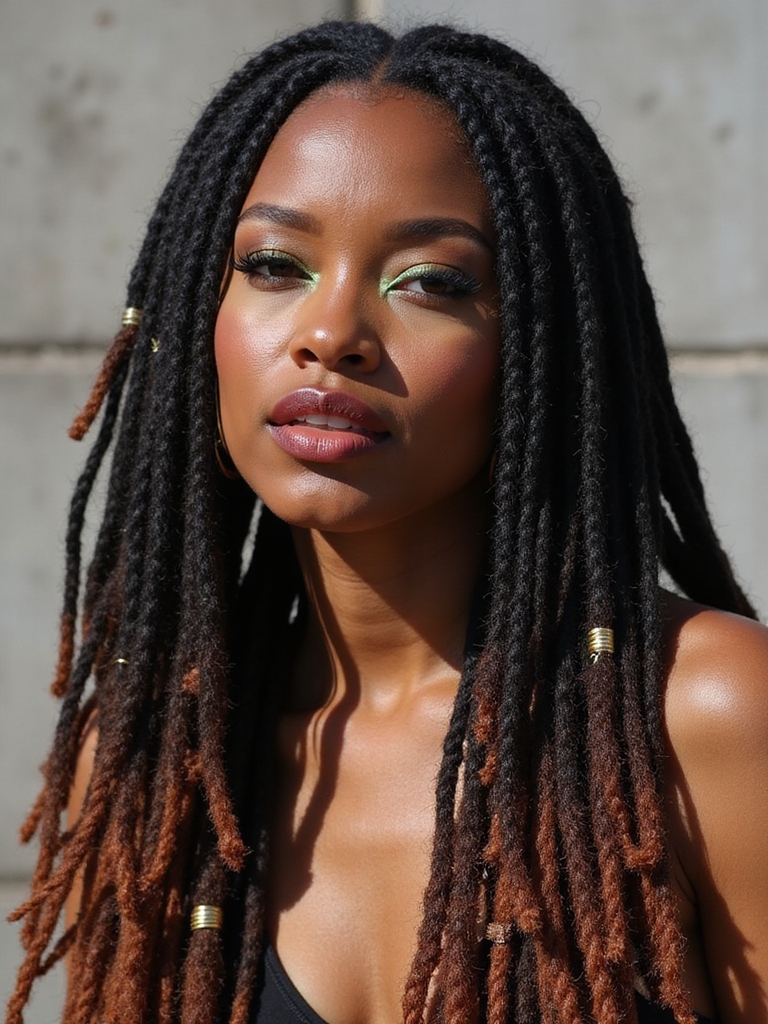
For curly and coily hair, a bun built straight from the natural curl pattern, skipping the blow-dry-smooth step entirely, lets the texture itself do the structural work. The result looks less like a sculpted bun and more like your curls, gathered and pinned where they happen to fall. Protective options built the same way are collected under dreadlocks bun styles.
- Apply your usual curl-defining product, then let hair air-dry or diffuse fully before gathering.
- Secure with a claw clip or fabric-covered elastic; metal clasps can snag and break curl strands.
- The curl pattern anchors the shape, so heavy pinning or twisting isn’t needed the way it is on straight hair.
The Boho Braided Bun for Weddings

A boho braided bun combines structure and looseness on purpose: braids wrap around and feed into a bun, giving a romantic, undone feeling that still holds through an entire event.
Braids Meet Bun, on Purpose
Build one or more braids, Dutch, fishtail, or a simple three-strand, and wrap them into a bun at the back or side. Pulling gently at the braid’s edges afterward widens it and softens the whole effect.
This shape is a common request for weddings specifically, since it photographs well and stays secure through hours of dancing. More formal options for the whole bridal party live under wedding hairstyles.
Which braid should feed into the bun?
🎯Three-strand
The simplest option; fastest to build, looks clean and classic.
🎯Dutch braid
Sits raised above the scalp, so it shows more once it’s wrapped into the bun.
🎯Fishtail
The most intricate texture of the three, best when you want the braid itself to be a focal point.
The Bun With a Scarf Twist

Wrapping a silk scarf or fabric strip through a bun adds color and pattern, and the finished look feels like a deliberate accessory choice.
Function Hiding Inside the Decoration
The fabric isn’t purely decorative. It protects hair from friction where a bare elastic or bobby pin would otherwise catch and break strands, a genuine practical benefit hiding underneath the styling choice.
Build the bun as usual, twist and pin it secure, then thread the scarf through the coil before placing the last pins. Wrap it once around, weave it in and out, or knot the ends into a small bow at the base.
The Low Loop Bun for Quick Elegance

A loop bun skips twisting and braiding entirely, which makes it the fastest legitimately elegant option on this list. You fold a gathered ponytail in half to form the loop, then pin the fold and the ends separately.
The whole thing takes under two minutes once you’ve done it a couple of times, and it works especially well on medium-length hair. Longer hair can feel heavy as a single loop; splitting it into two smaller loops solves that without adding real time.
- Gather a low ponytail and fold it upward into a loop, pinning the fold to the base of the ponytail.
- Tuck the loose ends underneath the loop and pin them out of sight.
- A flexible-hold spray keeps the loop from drooping without stiffening the whole shape.
Space Buns for Festival Fun

Space buns are two high buns set on either side of the crown, and the silhouette alone lands bold and a little unserious in the best way. They’re a natural fit for festivals, costume days, or any moment you want to stand out on purpose.
Placement Decides the Whole Mood
Part down the middle, gather each side into a high ponytail, and twist each one into its own bun. Splitting the weight between two smaller buns actually helps them hold, even without much product.
How high you place them changes the effect more than anything else. Set high, they feel playful and a little defiant; brought lower, closer to the crown, the same shape comes across noticeably calmer.
The French Twist Bun for Refined Events

A French twist rolls hair upward from the nape in a single smooth column, pinned flat against the back of the head. It’s the shape built for formal events, since it shows off the neck and looks sleek from every angle.
Gather hair at the nape, roll it upward with a slight inward twist, feeding in new sections as you go, and pin the column flat. This one takes real practice, especially the part happening behind you that you can’t see in a mirror.
Curly hair can reach a similar effect by building a loose bun and smoothing the surface with a light-hold cream rather than forcing a literal roll. Well-conditioned, smooth hair makes the whole process easier regardless of texture.
The Waterfall Braid Bun for Showstopping Looks

A waterfall braid feeding into a bun looks more complicated than it actually is to build. The braid travels across the back of the head, dropping small sections of hair as it goes, and those dropped pieces gather with the braid’s tail into a low bun.
Start the braid at one side and work it across, collecting every dropped section along with the final braid end into a low ponytail before twisting that into the bun. Expect this to take fifteen to twenty minutes, longer than nearly everything else on this list.
It looks best on wavy or textured hair, where the dropped sections show clearly against the rest. Straight hair usually needs a wave added first, through a curling iron or overnight braids, or the effect falls flat.
The Rope Braid Bun for Easy Texture

A rope braid solves the fiddly three-strand-braid problem by using two sections total. Spin each half consistently in one direction, then cross the two spun ropes over one another running the reverse way, and the twist locks itself into place almost automatically.
- Gather a low or high ponytail and divide it into two even sections.
- Spin each section the same way, clockwise or counterclockwise, then cross the two spun sections over each other running the opposite way, pinching the end to lock it.
- Coil the finished rope around its own base and pin it into a bun shape.
“This is the braid worth handing beginners first: the two-strand twist is nearly foolproof, and it holds shape even when the wrap isn’t perfectly even.”
The Pearl-Studded Bun for Black-Tie Glamour

A pearl-studded bun takes a plain low bun and pushes it into formal territory by threading pearl pins, small clips, or a comb through the finished coil. The pearls catch light and add polish without the visual weight heavier jewelry would bring.
This is a fast upgrade, most of the actual bun-building stays the same, and it’s a common request for coordinating a wedding party quickly, since a $5 pack of pearl pins dresses up a bun nobody had time to fuss over.
- A few scattered pearls come across as quiet elegance; a full covered coil lands as a deliberate statement.
- Push pins in at a slight angle so they catch light rather than disappearing flat against the hair.
- Works on almost any bun shape underneath, from a chignon to a simple low twist.
The Infinity Bun for Architectural Flair

An infinity bun is a genuine technical challenge: the hair twists and loops back on itself, building a figure-eight or pretzel-like shape, nothing like a simple wrapped coil. It isn’t an everyday style, but it makes a real statement at a photoshoot or competition.
Building one takes patience and more bobby pins than almost anything else on this list. Form a base bun, then loop a section of hair back through and around it, pinning each pass individually. Save it for a day you actually have the time, and a genuine reason to wear something this deliberate.
Common Mistakes to Avoid
The most common failure point is starting on freshly washed hair. Slick, product-free strands slip out of almost any bun within an hour; a day-old wash, or a light texturizing spray on clean hair, gives pins something to actually grip.
The second is pinning everything in one direction. Cross two pins in an X pattern at the base of a bun and it holds dramatically better than parallel pins pointed the same way, especially on thick or heavy hair that puts real weight on the coil.
The third is skipping the base elastic on anything braided or twisted. A firm ponytail underneath gives the rest of the style something stable to build on; without it, even a well-built braid or twist slowly works itself loose over the course of a day.
Bun Hairstyles, Answered
?How do I keep a bun from sliding out by the afternoon?
Start with second-day hair if you can, or add a light texture spray to clean hair first. Secure the base ponytail with a firm elastic before you wrap it, then cross two bobby pins in an X at the core; that single change stops more buns from slipping than any product does.
?Is it actually okay to sleep in a bun?
Yes, and a loose one is often better for your hair than sleeping with it down. A soft, low bun reduces the tangling and friction that loose hair picks up moving against a pillow all night; just keep it loose enough that it isn’t pulling at the roots by morning.
?Which of these buns actually works on fine or thin hair?
The donut bun and the half-up bun both flatter fine hair specifically, since each fakes volume a natural bun on thin strands can’t create alone. A tight, plain chignon tends to look thinnest of everything on this list, so it benefits most from a little backcombing at the crown first.
There’s a Bun for Whatever Today Actually Needs
A bun is as simple or as involved as the day calls for. Some mornings the two-minute loop bun is exactly enough; other days are worth the twenty minutes a waterfall braid takes. Nineteen options is a lot to choose from, but nobody needs to master all of them.
Pick two or three that fit your actual hair type and your actual week, and get comfortable with those first. When you’re ready to try something more involved, bring a photo to your stylist and have them show you the technique once in person; after that, it becomes muscle memory.
More to Try