


Volume gets credited to a curling iron and an hour at the mirror more often than it should be. The kind that actually lasts comes from somewhere else entirely: the cut itself. Choppy, stacked layers exist to lift hair up and out instead of letting it lie flat, which is exactly what a shag is built to do.
Fifteen versions follow below, sorted by length and texture, each one built to pack in the most volume for what you’re starting with, plus how to pull every bit of that lift out once you’re home from the chair.
Where the Lift Actually Comes From
Volume in a shag comes from layering, not styling. Shorter, stacked layers through the crown lift the roots and stop the weight that drags flat hair down, so the body gets cut in rather than blow-dried in after the fact.
How much lift shows up depends on length and texture. Shorter, crown-heavy versions like the pixie and wolf cut give the most height; fine hair gets engineered lift from precise crown layering; thick or curly hair gets weight removed so it moves instead of sitting like a block.
The Shaggy Pixie

For sheer body per inch, nothing beats a shaggy pixie. It wins on ratio alone: the least hair, the most lift, since there’s barely any length left to drag the roots down. Length stays through the crown and fringe for real height, while the sides and nape stay close so the contrast pushes everything upward. A matte paste pushed up and back, not flat, sets the lift in seconds.

The Textured Bob Shag

Not ready for a pixie? A shag bob packs volume into a tidy, chin-to-jaw length, the shortest version in the shaggy-bob family. Keeping the length low lets the layers above do the lifting, so fullness shows up without a big commitment. Heavy internal layering removes the bulk that would otherwise flatten a blunt bob, while a shorter crown layer builds height right where bobs usually fall flat.
The Long Layered Shag With Curtain Bangs

Long hair can go flat and heavy, hanging in one dense sheet, and a long layered shag fixes that while keeping the length intact. The layers carve real movement into the lengths so they finally lift and swing instead of just sitting there.
Curtain bangs add volume right at the face too, since the shorter front pieces fall with their own bounce. Together, the two keep long hair from reading as one flat, heavy curtain.
Where this struggles is on hair that’s already very fine and long; the weight of the length can still fight the lift unless the layering goes fairly aggressive through the crown.
A couple of terms worth knowing:
📖Curtain bangs
A center-parted fringe that splits and sweeps to both sides, blending into face-framing layers as it grows.
📖Internal layering
Layers cut inside the shape rather than at the visible perimeter, used to remove weight without shortening the outline.
The Curly Shag for Natural Volume

Curly hair already carries built-in volume; a curly shag just lets it out. Removing internal weight frees the curls to spring up and out instead of getting weighed flat on top while piling wide at the bottom.
Cutting dry, curl by curl, matters here more than almost anywhere else, since the layers need to land exactly where each curl actually springs once it’s done shrinking.
- Weight comes out through the body so curls lift evenly, not just at the ends
- A curl cream or gel defines without weighing the spring back down
- The bigger the shrinkage, the more length gets left for safety
The Wavy Lob Shag

Natural waves make the wavy lob shag about the laziest volume there is. The wave does the lifting; the layers just amplify it. At a versatile collarbone length, it’s the pick for anyone who wants body but refuses to reach for hot tools.
The wave gives the layers something to grab onto, so volume shows up with zero heat involved. A scrunch of sea-salt spray on damp hair exaggerates the bend and the resulting body.
- Volume comes from the wave, not from styling tools
- A versatile length: heavy enough to behave, light enough to lift
- Sea-salt spray on damp hair is the entire routine
The Wolf Cut Shag

The wolf cut shag isn’t chasing the most height; it’s chasing the most drama. Disconnection is the point, a deliberate jump in length between a short, choppy crown and longer, piecey ends, which gives it a wild fullness no other shag version has.
It struggles most on very fine, limp hair, which can have real trouble holding that disconnected shape. Some natural body needs to be there from the start for it to work at all.
- The most editorial, least subtle volume on this list
- Needs hair with at least some natural body to hold the shape
- Reads bold enough that the cut itself becomes the statement
👍The upside
- +Maximum drama and editorial volume
- +Works well on medium to thick hair with some natural body
👎The trade-off
- –Struggles to hold its shape on very fine or limp hair
- –Not a subtle or low-commitment look
The Shag With Bottleneck Bangs

Bottleneck bangs sit rounder and shorter through the center, then wing longer toward the sides, adding a pocket of lift right where the face needs framing most.
On a voluminous shag, they finish the shape and pull the eye upward. The rounded center holds its own body instead of lying flat against the forehead the way a heavy blunt fringe would, so the bangs add height rather than weight.
They’re a fairly low-commitment fringe too, since the winged sides blend straight into the face-framing layers and grow out with barely a noticeable stage in between.
The Fine-Hair Shag for Maximum Lift

Fine hair is where a shag earns its keep. The cut is engineered specifically to fake the volume fine hair can’t grow on its own, built around precise crown layering plus a daily minute of root lift. Keeping it shorter, chin to collarbone, means less weight pulling that lift back down, while soft crown layers build height without going stringy anywhere else. On a flat day, a little root powder at the crown buys hours of extra height with no heat needed.
The Thick-Hair Shag
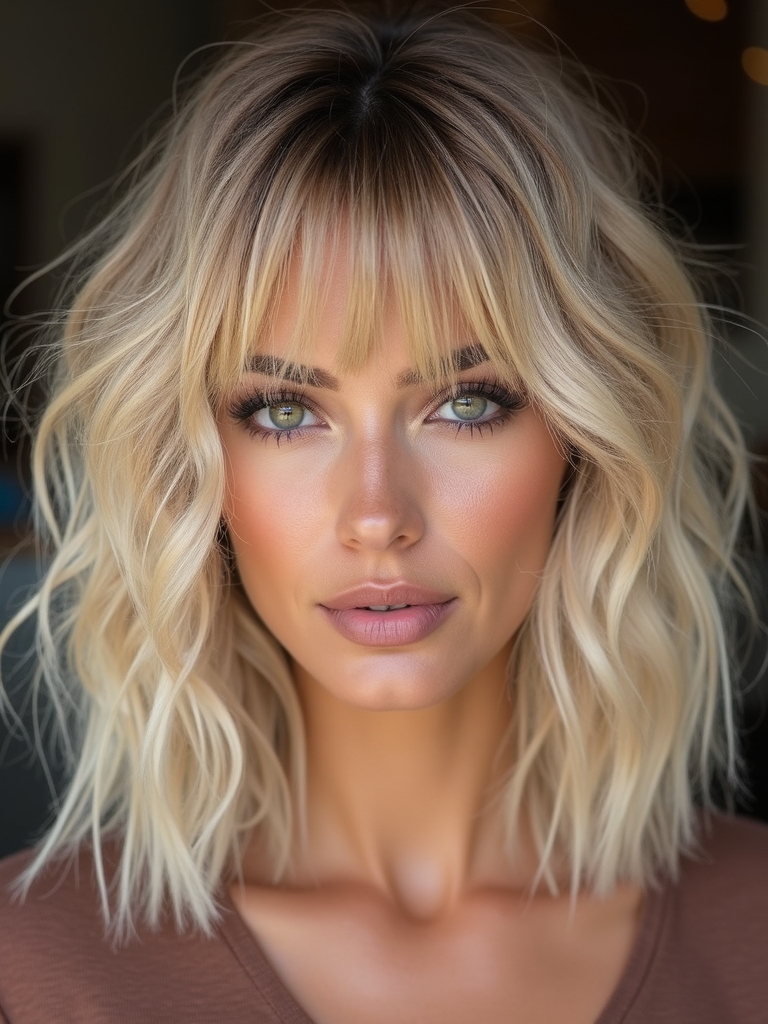
Thick hair already has plenty of volume; the problem is that it reads as one heavy, blocky mass instead of light, moving body. A shag trades that dead weight for movement by removing bulk from the interior.
Done well, thick hair becomes the biggest asset in the room instead of the heaviest burden. Internal weight removal lets the hair swing rather than sit like a helmet, while enough length and weight stays at the perimeter to keep it from ballooning into a pyramid shape.
- Internal weight removal lets thick hair move instead of block
- Enough perimeter weight stays to avoid a triangle silhouette
- Piecey, separated ends read as texture, not just bulk
Getting the internal weight removal right:
1Ask for interior thinning
Not surface texturizing — the two techniques look similar but land very differently on thick hair.
2Keep the perimeter weighted
Leaving some length and weight at the very edges stops the shape from ballooning outward.
3Separate, don’t smooth
Finish with fingers working through piecey ends rather than a brush, which erases the texture.
The Mullet-Inspired Shag
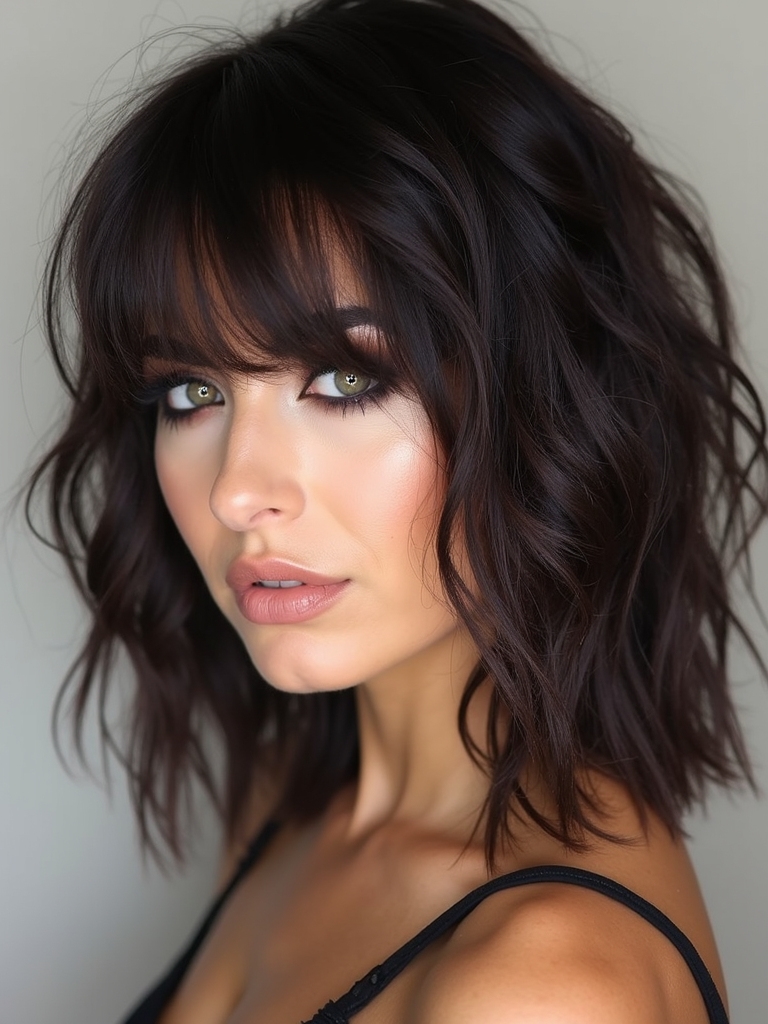
A mullet-inspired shag builds its body a different way, through contrast. Height stacks at the crown and front while the back stays long and flowing, and that short-long tension is exactly what makes the front fullness read as dramatic. A polished, neat version fights the whole idea; the piecey, undone texture is what the shape actually depends on to look intentional.
The Shag With Micro Bangs

Micro bangs sit well above the brows, and against a full, voluminous shag the contrast reads striking, the short sharp fringe playing off all that body underneath.
The reason it works specifically with volume is balance. A big, airy shag risks overwhelming the face on its own, and a tiny precise fringe gives it a sharp focal point that keeps the whole look intentional instead of just big.
It’s a confident choice with real upkeep behind it, since a micro fringe needs frequent trims to stay sharp. Worth it for anyone who wants their volume to read as considered rather than accidental.
Air-Dry Shaggy Layers
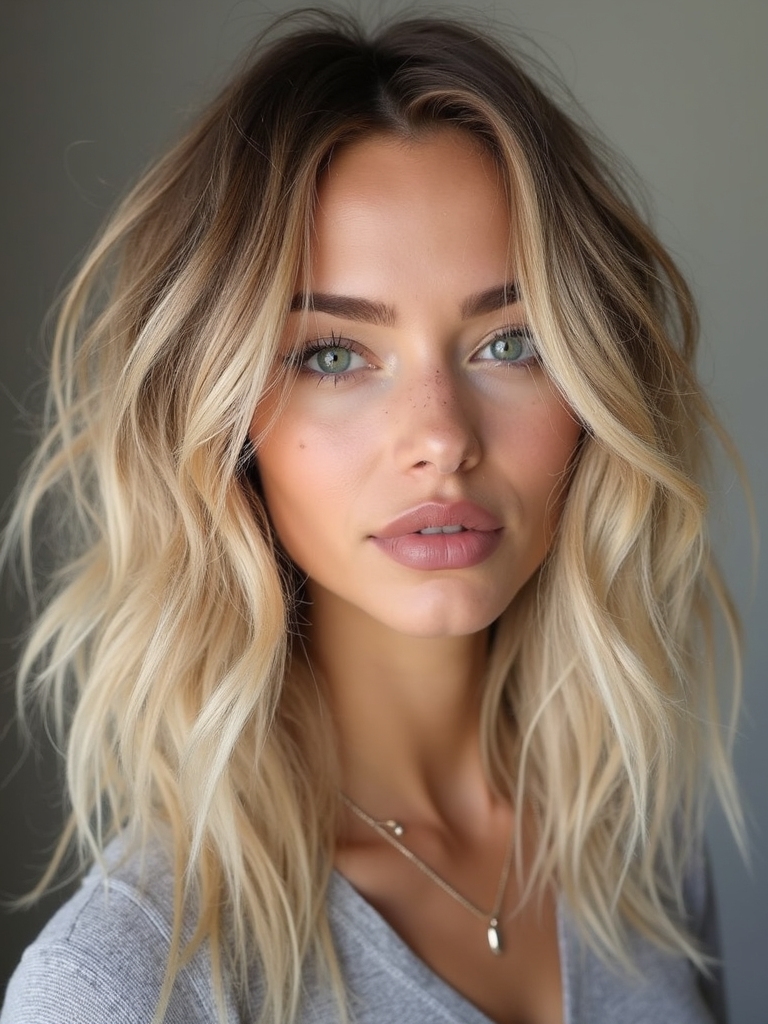
The real proof that a shag’s volume lives in the cut, not the styling, is that it survives air-drying, which flattens most other shapes. Because the layers are built to fall up and out, heat was never actually required to find the body.
A single light layer of mousse or cream is plenty; more than that and wet hair just spreads it thin. Leaving the hair undisturbed while it dries matters too, since touching curls or pieces before they’re set is what breaks up the clumps and invites frizz.
The Razor-Cut Shag
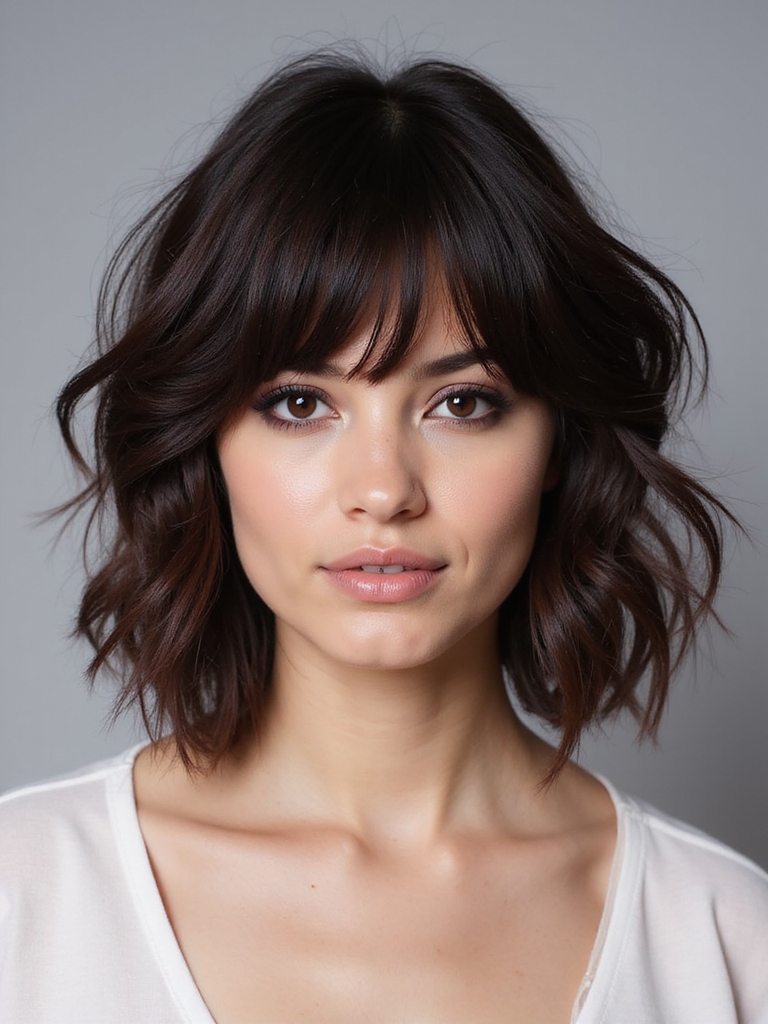
When a shag looks impossibly airy and piecey, a razor is usually behind it, tapering each end to a fine point so the layers feather and separate instead of sitting in one solid line.
It creates the lightest, most weightless volume of any technique here, though it works best on healthy, medium-to-thick hair; fragile or very fine ends can fray and frizz under the blade. It needs a stylist who’s actually comfortable with a razor in hand, so this isn’t the technique to gamble on at an unfamiliar chair.
ℹ️Razor vs. Scissors
A razor removes weight along the length of each strand, while scissors cut straight across. That’s the entire reason razored ends feather and taper instead of falling in one blunt, heavy line.
Sunlit Color for a Shag

Color is a quiet volume trick most people overlook. Soft, sunlit highlights painted through a shag’s layers add the illusion of extra depth and fullness, since the lighter pieces catch light and make the layers pop visually.
Placing brighter pieces around the face and through the mid-lengths highlights the layering directly, and budgeting noticeably less than a full balayage keeps the option realistic: a partial face-framing highlight typically runs under $150.
- Brighter pieces around the face highlight the layering itself
- A partial highlight costs meaningfully less than a full balayage
- Soft roots keep the grow-out gentle between salon visits
Diffused Curls With Airy Roots

For curly shags, how the roots get dried decides how much volume survives the process. A diffuser used correctly is the single biggest lift available without any product at all.
Lift, Don’t Crush
The goal is drying the roots without crushing them flat against the scalp. Cupping sections of curls into the diffuser and lifting them toward the roots while drying, rather than pressing down, is the technique that actually works.
A few clips at the roots while everything dries holds the shape up off the scalp for free. Done this way, a curly or coily shag dries with lifted roots and defined curls, about as full as a textured cut can look.
How to Get the Look
Most volume mistakes come down to a handful of avoidable habits, not the cut itself. Heavy oils and thick creams drag a shag’s lift straight down, so lighter is almost always better. Reaching for a brush erases the piecey separation the whole cut depends on.
Skipping root lift costs fine and straight hair the most, since that one minute of rough-drying is often the only thing standing between full and flat. And once the layers grow out past their window, the volume goes with them; a reshape before the shape blurs is what keeps any of this working.
Volume That Looks Like You Did Nothing
The best volume isn’t the kind rebuilt every morning and lost by noon. It’s the kind cut into the hair that shows up on its own, and that’s the whole trade a shag makes: flat, heavy weight swapped for layers built to lift, on nearly any length or texture.
Pick the version that matches the hair actually growing out of your head and the effort you’ll realistically give it, then try that one first and see how little styling it actually needs.
Related Reads





