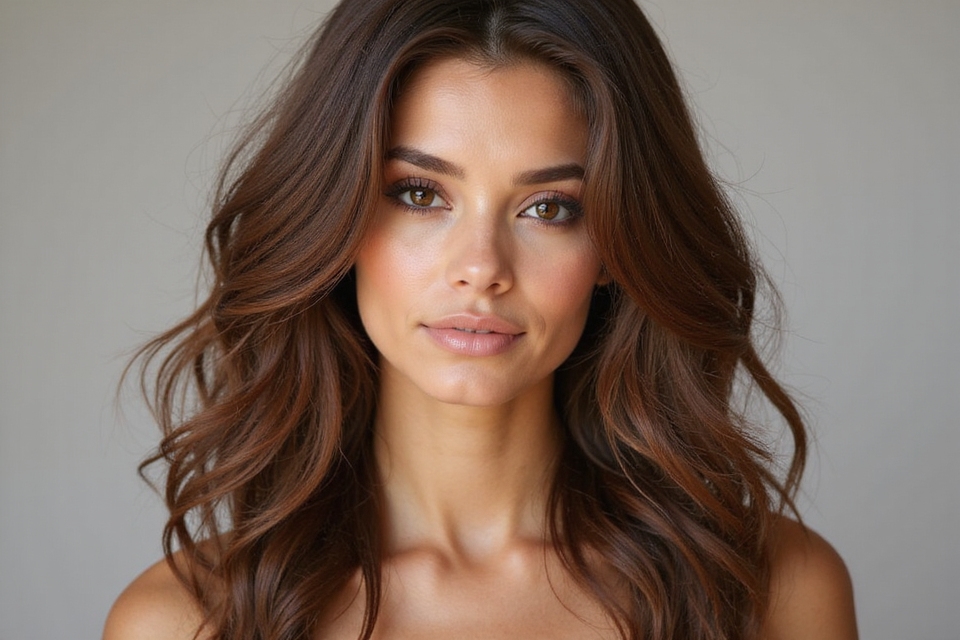
Brown hair and red highlights solve a problem full color can’t: you get the warmth and movement of red without handing your whole head over to a new shade. A few well-placed pieces do more visual work than most people expect from something so targeted.
Eighteen ways to place red into brown follow, along with how much is enough, which shade actually flatters you, and the maintenance nobody mentions until the color starts to fade.
Red on Brown, in Brief
How natural or bold the result looks comes down almost entirely to shade choice: auburn and copper melt into a brown base, while cherry and crimson sit on top of it and announce themselves. Distance from your base color matters more than most people realize going in.
Upkeep is the one constant across every version here. Red pigment breaks down faster than any other tone, so cooler water and a dedicated color shampoo aren’t optional extras. Placement technique also drives cost and effort: painted, hand-blended color grows out far more forgivingly than a hard line of streaks does.
Choosing the Right Shade of Red

The whole spectrum is available here, from a red-brown so subtle it barely registers as a separate color to a true red that announces itself unmistakably. Copper and auburn sit close to brown on the color wheel, which is exactly why they blend rather than jump out. Cherry and crimson sit much further away, so they announce themselves the moment they catch light.
Whichever direction you go, staying within a few shades of your existing base is what keeps the result looking like dimension instead of a stripe. For the full range beyond just highlights, our red hair guide breaks down the whole spectrum.
- Auburn and copper sit close to brown and blend easily.
- Cherry and crimson sit far from brown and stand out on purpose.
- Staying near your base shade keeps highlights reading as dimension.

How Highlights and Lowlights Differ

Highlights lift color brighter than your base; lowlights push color deeper and darker. Applied to red on brown, that means highlights add a warm glow that catches light, while lowlights add a richer red-brown shadow underneath it. Using both at once, rather than just one, is usually what produces the fullest, least flat-looking result — a colorist working in only one direction tends to leave the color looking one-dimensional by comparison.
- Highlights brighten above your base; lowlights deepen below it.
- Combining both produces more dimension than either alone.
- Worth asking for by name in a consultation, not assuming it’s automatic.
“The single most common correction I make on red highlights isn’t the shade itself, it’s the distance from the base. Push the highlight too far from the natural color and it stops reading as dimension and starts reading as a stripe, no matter how flattering the shade is on paper.”
Balayage for Smooth Blends

Balayage applies color by hand rather than through foils, painting it onto the surface of sections rather than saturating them evenly through. On brown hair, that technique produces a soft root and a gradual transition into red, with nothing resembling a hard line anywhere.
Because the root stays close to your natural color, regrowth becomes a non-issue for months at a time rather than weeks, which is exactly why most first-timers land here before trying anything more structured.
- Hand-painted color produces a soft, natural-looking root.
- Regrowth stretches out over months instead of weeks.
- A common starting point for a first red highlight.
Ombre Effects With Red Highlights

An ombre pushes the brightest color down toward the ends specifically, leaving the roots in their natural brown and letting the transition happen gradually through the mid-lengths. Since the boldest color sits farthest from the scalp, upkeep stays minimal even though the effect itself lands dramatically. It works well as a trial run for someone unsure whether a brighter red belongs anywhere closer to their face.
- Brightest color concentrates at the ends, not the roots.
- Minimal upkeep, since regrowth is barely visible.
- A safe way to test boldness before moving it higher up.
ℹ️Why Red Fades First
Red dye molecules are physically larger than most other pigments, which is the real reason red fades before any other color in a multi-tone result. Cooler water, a dedicated color shampoo, and washing less often all directly address this same underlying cause.
Copper Hues for Subtle Elegance

Copper introduces an orange-leaning warmth that looks sunlit rather than obviously dyed, especially in natural light. On a brown base it functions more like an enhancement than a color change, the kind of result people notice without being able to name exactly what’s different. Golden or olive undertones in the skin tend to pick up this particular warmth most clearly. For a bolder, full-head take on the same family, see our orange hair roundup.
- Orange-leaning warmth that looks sunlit, not artificial.
- Works especially well against golden or olive undertones.
- Reads as an enhancement rather than a visible color change.
Bold Crimson Streaks
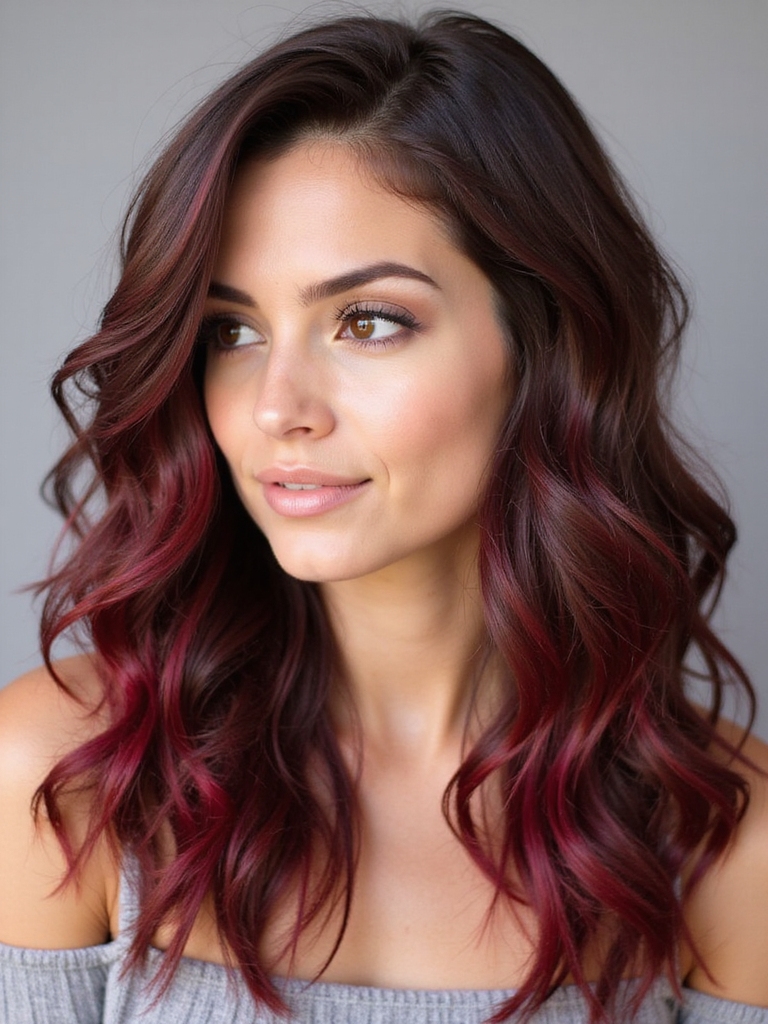
Crimson pushes to the opposite extreme from copper: a true, saturated red placed deliberately rather than blended away. The contrast against brown is sharp by design, not a byproduct of a technique gone slightly wrong.
Built to be noticed, not blended away
This placement suits someone who actually wants the color noticed, not just sensed at a glance. Framing pieces near the face pull the most attention toward it.
Expect more upkeep here than with any softer shade; true red fades visibly within weeks rather than months. A dedicated color shampoo and a refresh on a shorter cycle keep the streaks from dulling toward brown.
Two quick questions before you book:
1Do you want it noticed or barely detectable?
Barely detectable points to auburn or copper; noticed points to cherry or crimson.
2Warmer or cooler undertone?
Warmer undertones pull the most from copper and golden auburn; cooler undertones lean toward cherry or mahogany-adjacent reds.
Auburn Tones for a Natural Look

Auburn already sits partway between red and brown before it ever touches your hair, which is exactly why woven-in auburn pieces look like sun-warmed depth rather than an obvious color job.
The grow-out stays close to invisible since there’s so little distance between the highlight and the base underneath it. This is where a colorist typically points someone who’s nervous about red in general, since the risk of it looking wrong is about as low as this category gets.
- Sits naturally between red and brown, so it blends with almost no effort.
- Near-invisible grow-out compared with brighter reds.
- The lowest-risk entry point into red highlighting.
Maintenance Tips for Red Highlights

Red loses its vibrancy faster than any other tone because its dye molecule is physically the largest, which makes it the first color to wash out of any multi-tone result. Cooler water slows that process by keeping the hair cuticle closed rather than open. A weekly tinted conditioner rebuilds some of what washes out between full appointments, and an occasional gloss brings both shine and tone back at once rather than tone alone.
- Wash in cooler water to slow color loss.
- A weekly tinted conditioner tops up fading warmth.
- A periodic gloss restores shine along with tone.
👍What people like about it
- +Adds real warmth without committing to a full color change
- +Painted techniques grow out with very little visible line
- +Scales from barely-there to fully bold with the same base idea
👎What to weigh first
- –Fades faster than almost any other tone
- –Bright placements need more frequent toning
- –Lightened sections need extra moisture to stay healthy
Selecting Products for Long-Lasting Color
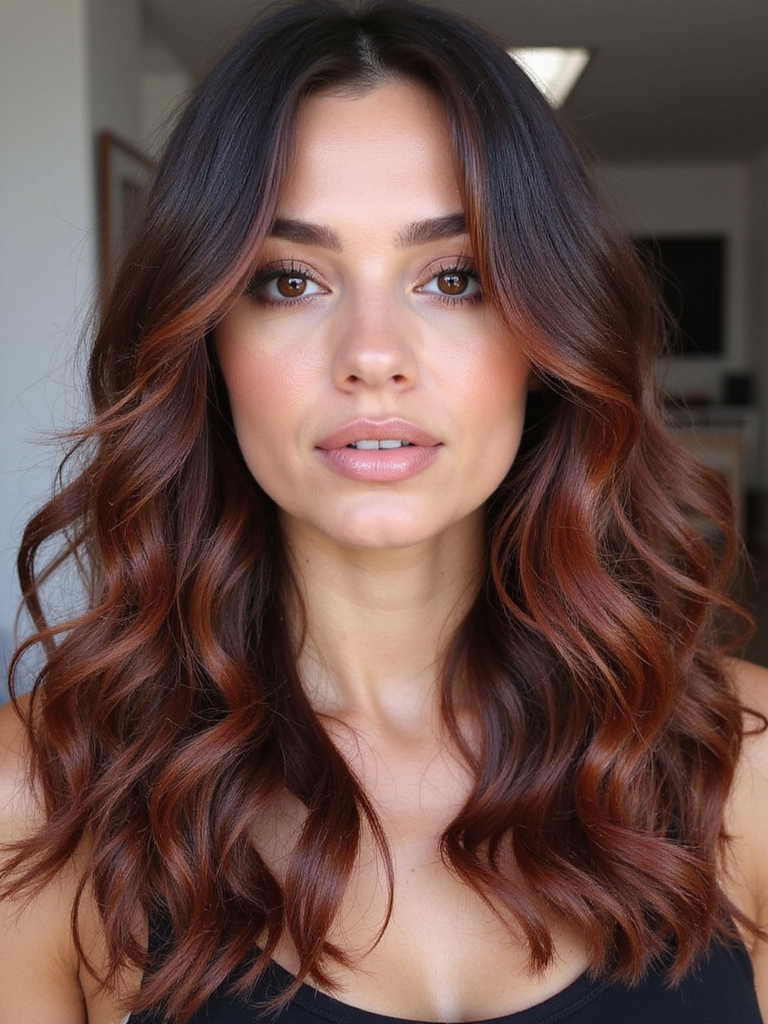
A small, well-chosen product lineup outperforms a crowded shelf every time. Look for a formula built specifically for color-treated hair, since regular shampoo strips tone far faster than necessary. Add a weekly deep-conditioning treatment aimed at the lightened sections specifically, since those pieces lose moisture faster than the rest of the head did before any color went in. Three consistent products beat a dozen inconsistent ones.
- A shampoo formulated for color-treated hair, used every wash.
- A weekly treatment aimed specifically at the lightened sections.
- Consistency with a few products beats variety with many.
DIY or Professional Salon Coloring

An all-over gloss that adds a wash of warmth is forgiving enough to attempt at home, since an uneven result is barely visible across the whole head. Placed highlights are a different story entirely: uneven saturation or an off-tone result stands out precisely because it sits next to your untouched natural color.
A colorist can also correct a color gone brassy in ways a box kit generally can’t. If you want anything beyond a simple all-over tint, book the appointment.
- An all-over gloss is forgiving enough to try at home.
- Placed highlights show unevenness far more than a full-color change would.
- A professional can fix brassiness that a home kit usually can’t.
Red Highlights on Curly Hair

Curl pattern turns a flat placement into something properly three-dimensional, since each coil catches and reflects light from a slightly different angle than its neighbor. The trade-off is porosity: curly hair grabs color quickly during application and loses it just as quickly afterward, so the lightened sections dry out faster than the rest of the head.
A hydration-focused routine matters more here than it does on straight hair. For the full-color version of this pairing, our red curly hair guide goes much deeper.
- Curl pattern adds real dimension a flat placement can’t match.
- Higher porosity means faster color loss and faster dryness both.
- A hydration-heavy routine matters more here than on straight hair.
Red Highlights for Short Brown Hair

On short hair, a handful of red pieces lands far more dramatically than the same amount would on long hair, simply because there’s less overall surface competing for attention. Placed near the crown or around the face, a small amount goes a long way toward transforming the whole look of a crop or pixie without touching the cut itself. Shorter length also means faster natural growth relative to the color, so the upkeep window tends to feel shorter too.
- A small amount of red lands dramatically on short hair.
- Crown and face-framing placement give the most visible payoff.
- Faster natural growth means the color window feels shorter.
Medium-Length Styles With Red Accents

Medium length gives red accents enough room to show real movement, long enough for a gradient or a sweeping placement to actually travel, short enough that upkeep never becomes a second job.
The length where accents show best
Face-framing pieces do particularly flattering work at this length, drawing warmth right up toward the eyes rather than getting lost somewhere further down the back.
This length sits in a genuine sweet spot: enough hair to show real dimension, not so much that a full refresh becomes a major undertaking every time.
Enhancing Texture With Red Highlights

Texture and red highlights amplify each other in a way flat color never manages on its own. Waves, curls, and layered movement all give a warm placement more surface to catch light against, so the existing shape of the cut ends up looking more dimensional than it did before any color went in.
Following the natural fall of layers or curls when placing the color, rather than fighting against it, is what separates a placement that looks considered from one that looks accidental.
- Texture gives warm color more surface area to catch light.
- Placement that follows the layers looks intentional, not accidental.
- Adds visual richness to a cut without any actual recut.
Seasonal Trends in Red Highlighting
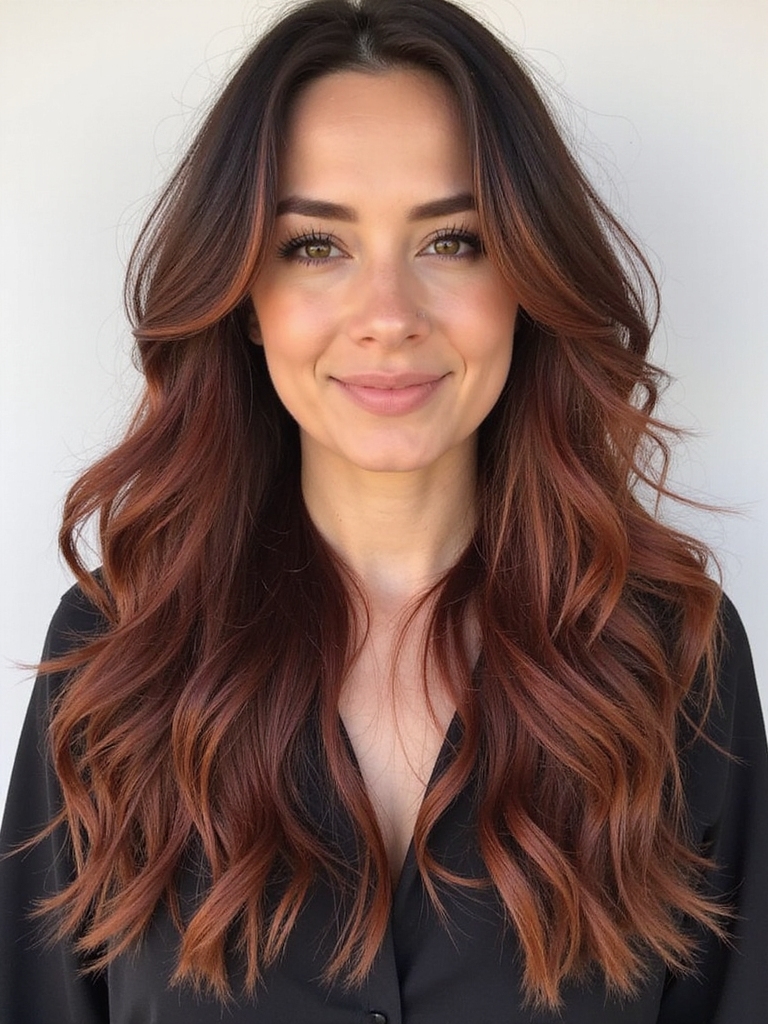
Deep auburn and copper bookings climb noticeably once the weather turns, echoing the same palette showing up outdoors at the same time. That timing isn’t accidental; richer, deeper tones simply feel more in step with shorter days and cooler light.
None of that makes red an autumn-only color, though. Lighter copper and strawberry-leaning placements read just as at home in bright summer light, provided the depth gets dialed back to match.
- Deep auburn and copper bookings rise in fall and winter.
- Lighter copper and strawberry tones suit spring and summer.
- Adjusting depth to the season keeps red wearable all year.
Complementing Skin Tones With Red Hues
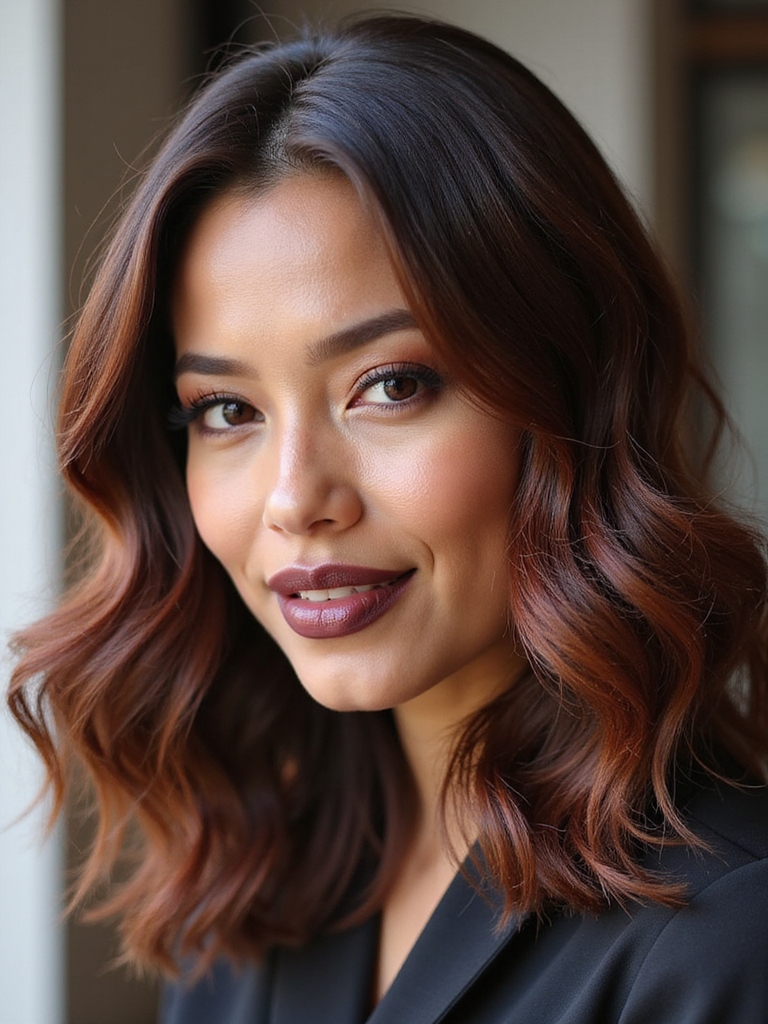
Matching red to your actual undertone is the difference between a placement that glows and one that quietly fights your complexion all day. Gold and olive undertones tend to pull the most out of copper and golden-leaning auburn specifically.
Cooler, pink-leaning undertones generally do better with a deeper cherry or mahogany-adjacent red, since the added coolness in the pigment stops the color from tipping brassy against that skin. If your undertone sits truly in between, most reds are fair game, and a colorist can nudge the mix slightly warmer or cooler to land exactly right.
Protecting Red Highlights From Heat and Sun

Heat styling and direct sun both strip warm pigment out of hair faster than almost anything else short of a harsh clarifying shampoo. Daily flat-iron use or a summer spent bare-headed outdoors can flatten a vivid red toward a dull brown in a matter of weeks.
The fix costs almost nothing: a heat protectant before any hot tool, a lower temperature setting where possible, and a hat or UV spray during long stretches in direct sun. Taken together, these habits can roughly double how long a red placement stays looking freshly done.
Styling Tips to Show Off Your Color
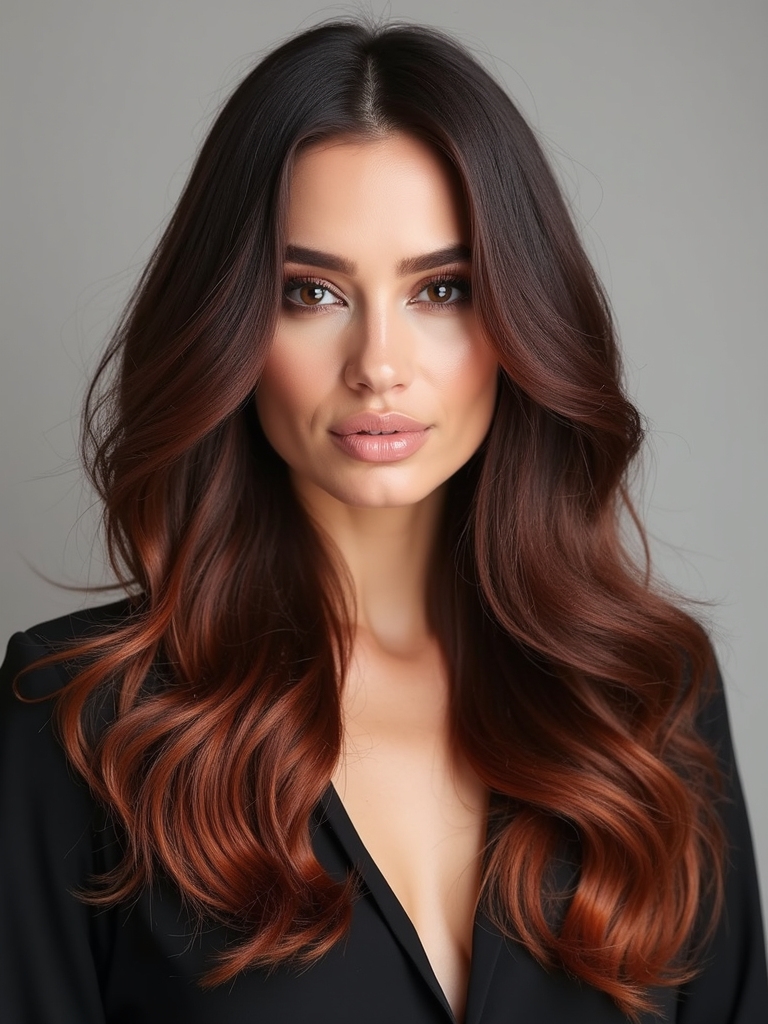
How you style the hair afterward changes how visible the color actually looks day to day. Loose waves or curls let the warm pieces catch light from multiple angles at once, while a sleek, straight finish shows off a clean gradient or a face-framing placement instead. Shine matters more here than with most colors; a flat, dull finish mutes the warmth noticeably, while a glossy one makes it look considerably brighter than it technically is.
- Waves and curls show off dimension from multiple angles.
- A sleek finish highlights gradient or face-framing placement instead.
- Shine amplifies perceived warmth more than the pigment alone does.
How to Ask Your Stylist
Walk into the consultation with two sets of photos: what you want, and just as importantly, what you don’t. Red covers enormous ground, and a colorist can’t read your mind about where on that spectrum you actually want to land. Specify whether you’re picturing a soft, painted blend or sharper, more defined streaks, since the technique changes both the look and the appointment length.
Talk through the budget and the upkeep honestly before any color goes on. A full highlighting appointment for this typically runs $100 to $250 depending on how much lightening the base needs, plus periodic glosses afterward. Be upfront about your real-world upkeep habits, since a bold placement left to fend for itself fades toward mud far faster than a subtler one would.
Red Highlights Questions People Ask
?How much red is too much for a first attempt?
Most first-timers do better starting with fewer pieces than they think they want, placed around the face or through the crown. It’s far easier to add more red at the next appointment than to walk back a placement that already looks like too much.
?Does adding red highlights damage brown hair more than a regular color?
The lightening step that comes before applying the red carries most of the actual risk, not the red pigment itself. A colorist working gradually rather than lifting in one aggressive pass keeps that risk low, and the lightened sections just need extra moisture afterward to stay healthy.
?Why does red fade to a dull, muddy brown instead of just fading evenly?
Red pigment washes out faster than whatever base tone sits underneath it, so what’s left behind is disproportionately the duller base color rather than an evenly lighter version of the red. Regular toning and a color-safe routine slow that mismatch considerably.
Warm Dimension, Your Way
Red highlights work on brown hair because they deliver warmth and movement without asking for a full commitment to a new base color. Whether that means a whisper of auburn or a deliberate streak of crimson, the underlying rule stays the same: keep it close enough to your base to read as dimension, matched to your actual undertone, and cared for like the fast-fading color it is.
If you’re still deciding how far to go, start with something closer to your natural shade and adjust from there once you’ve lived with it. Bring reference photos, ask specifically for dimension rather than obvious stripes, and let the placement do the rest. When you’re ready to go further, our red hair guide covers the full spectrum beyond just highlights.
More Ideas Here