


The same pixie cut can look sharp and graphic one day, soft and undone the next, purely based on what happens after the shears get put down. Styling technique changes an edgy pixie more than most people expect from a cut this short.
Fifteen finishes follow, each built around a specific product and technique rather than a different cut. The edgy pixie haircuts guide covers the cutting side of the same category.
Before You Start: Four Real Questions
Does an edgy pixie need daily product? Most versions do, since the texture that defines the style rarely holds on its own overnight. A small amount goes further than expected on this little hair.
What’s the single most useful product for pixie styling? A texturizing paste or clay covers more of these finishes than any other single product, from matte texture to piecey separation.
Can these finishes work on growing-out pixies? Most can, with minor adjustments. Styling technique matters more than exact length for nearly every finish on this list.
Do curly or coily pixies need different products? Yes, generally richer, more moisture-focused formulas rather than the drier pastes and clays that straight-hair finishes often use.
The Matte Textured Finish
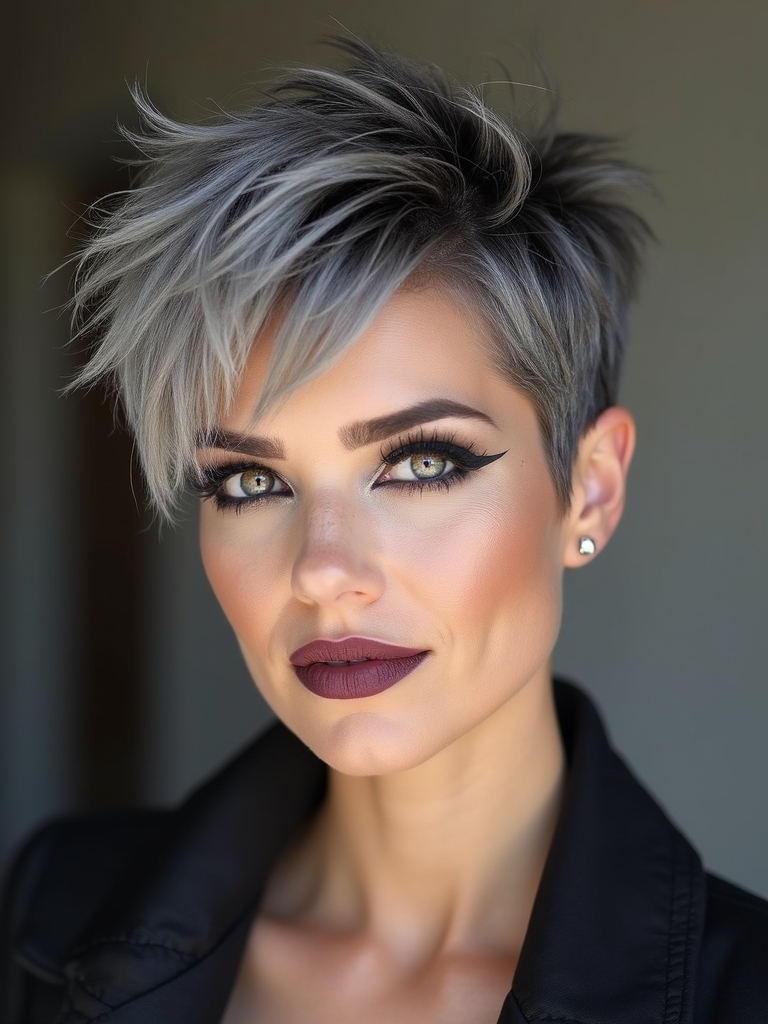
A matte clay or paste worked through dry hair kills shine entirely, which is the whole point of this finish. Gloss reads polished; matte reads edgier and more deliberate.
Application matters as much as product choice: rubbing the paste between the palms first, then working it in section by section, spreads it evenly instead of clumping in one spot.
- A matte, not glossy, product is non-negotiable here
- Warming the product between the palms first spreads it evenly
- Section-by-section application avoids clumping

The Side-Swept Bold Fringe

Directing a fringe firmly to one side takes a comb and a blast of cool air more than any specific product, since heat sets the direction while cool air locks it in place before styling continues. This finish tends to hold especially well through the day, since the fringe is the only section actively fighting its natural fall direction.
- Comb the fringe in the intended direction while blow-drying
- A cool-air finish locks the direction in place
- A small amount of pomade holds the sweep through the day
The Slicked-Back Wet Look
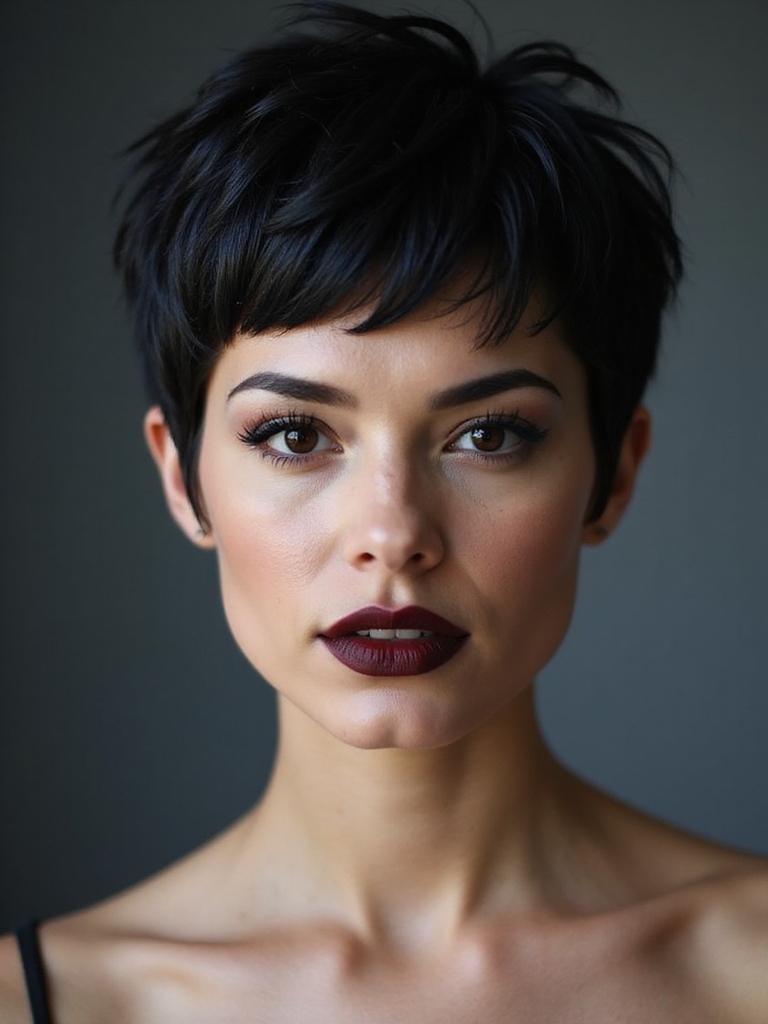
A strong-hold gel, applied to damp hair and combed straight back, creates the wet-look finish without actually staying wet once it dries. Most stylists suggest a small in-salon touch-up when this look is requested for a special event, running around $30 on top of a regular styling service.
- A strong-hold gel does the structural work here
- Combing while damp sets the direction before drying
- Reads high-fashion rather than casual, unlike most finishes on this list
The Piecey Shaggy Finish

Separating individual pieces with fingers and a small amount of texturizing spray gives a shaggy pixie its rumpled, undone finish, working against smoothness on purpose.
Product goes in while hair is still slightly damp for the most natural-looking separation; applying to fully dry hair tends to create harder, more obvious clumps. Pulling a few pieces in different directions afterward, rather than combing everything the same way, keeps the finish from settling back into one uniform shape.
ℹ️Why Gel Holds Better Than Paste for This Look
Gel dries harder and flatter than paste or clay, which is exactly what a slicked-back finish needs. Paste would leave visible texture; gel disappears into a smooth, reflective surface.
Styling Around an Undercut
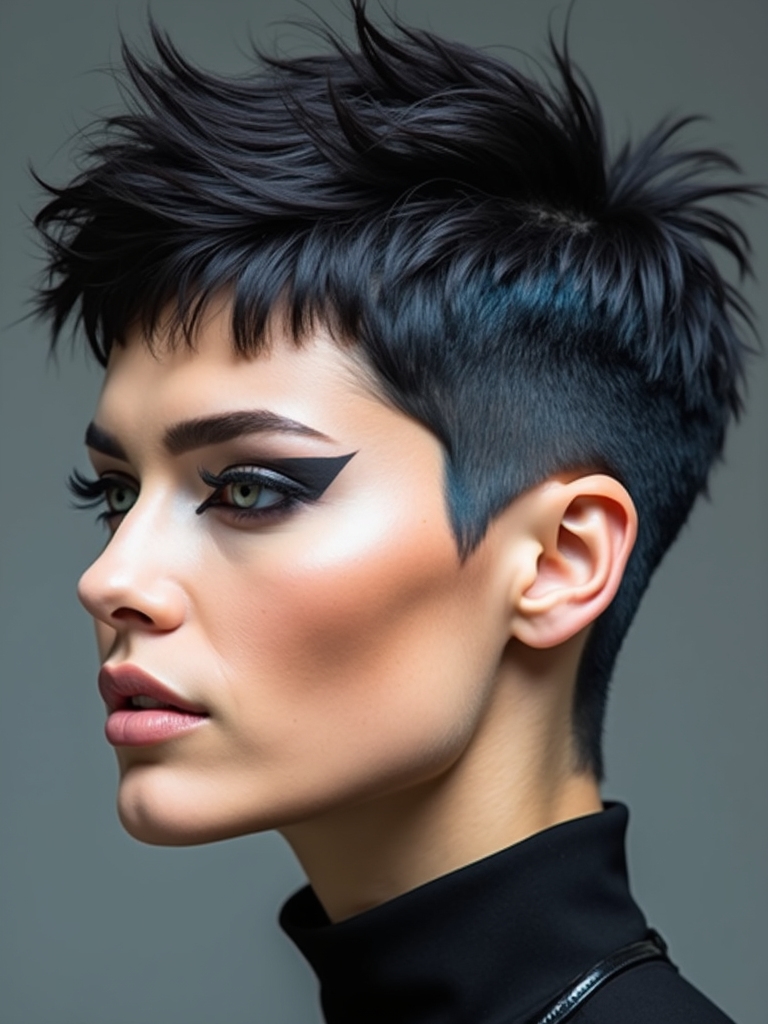
An undercut adds a styling decision most pixies don’t have: whether to reveal or hide the shaved section underneath the top length. That choice can change day to day without touching the cut itself, since it comes down entirely to which way the top length gets directed.
- Product on top only keeps the undercut hidden day to day
- Pushing the top length back or up reveals the shaved section
- Both options work off the same cut, no extra trims needed
Defining a Curly Pixie

Curl-defining cream applied to soaking-wet hair, then left to air-dry or diffuse without disturbance, keeps individual coils intact rather than merging into frizz. Cutting specifics for this texture sit in a separate breakdown worth reading alongside this one.
Curly pixies need richer, more moisture-focused formulas than the drier pastes most other finishes on this list rely on, since curls dry out faster on such a short length.
- Product goes on soaking wet, not partially dried
- Richer, moisture-focused formulas outperform drier pastes here
- Diffusing without touching preserves curl definition
Quick check for styling an undercut pixie:
1Want the shaved section visible most days?
Style the top swept back or up to reveal it consistently.
2Prefer it hidden for work or more formal settings?
Let the top length fall forward and down to cover it.
The Sleek Blunt Look
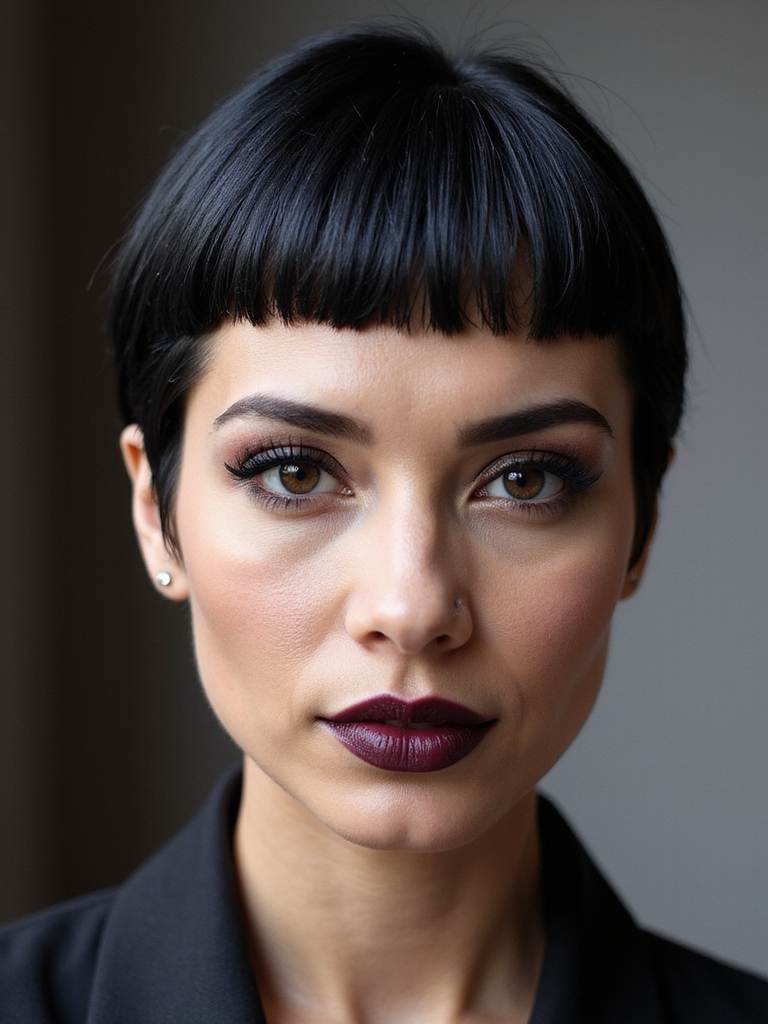
A flat iron or blow-dry brush smooths every strand into one continuous, reflective surface, the opposite approach from the textured finishes elsewhere on this list. Because the shape stays so simple, any unevenness in the underlying cut shows immediately, so this finish photographs particularly well right after a fresh trim.
- A flat iron or round brush does the smoothing work
- A shine serum, not a matte product, finishes the look
- Reads polished and graphic rather than casual
The Tousled Bedhead
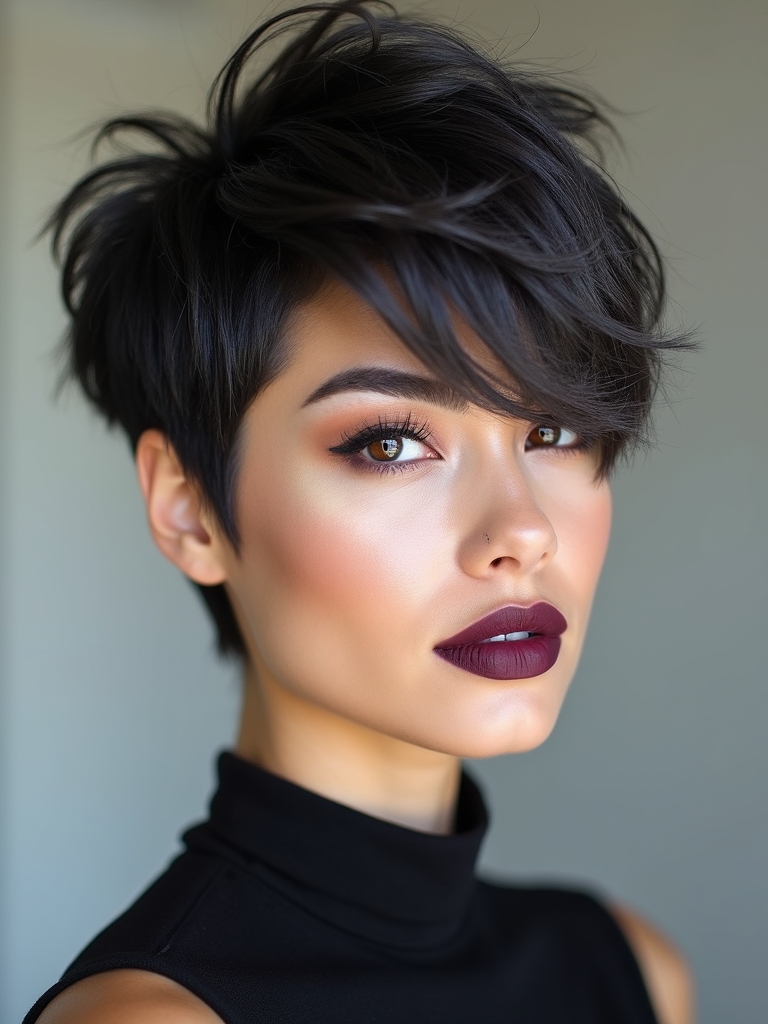
A tousled finish fakes the look of hair that hasn’t been styled at all, which paradoxically takes real technique to pull off convincingly.
The One Rule: No Brush, Ever
Scrunching a texturizing spray into damp hair, then letting it air-dry without a brush anywhere near it, builds the lift and randomness the look depends on.
Reaching for a brush at any point undoes the effect almost immediately, smoothing out exactly the texture the whole style is built around.
A few terms that come up in pixie styling specifically:
📖Root lift
Volume added specifically at the base of the hair, usually with a root-lifting spray and a blow-dryer.
📖Piece-y
Hair separated into distinct, visible sections rather than blended into one smooth mass.
The Quiffed Long Top
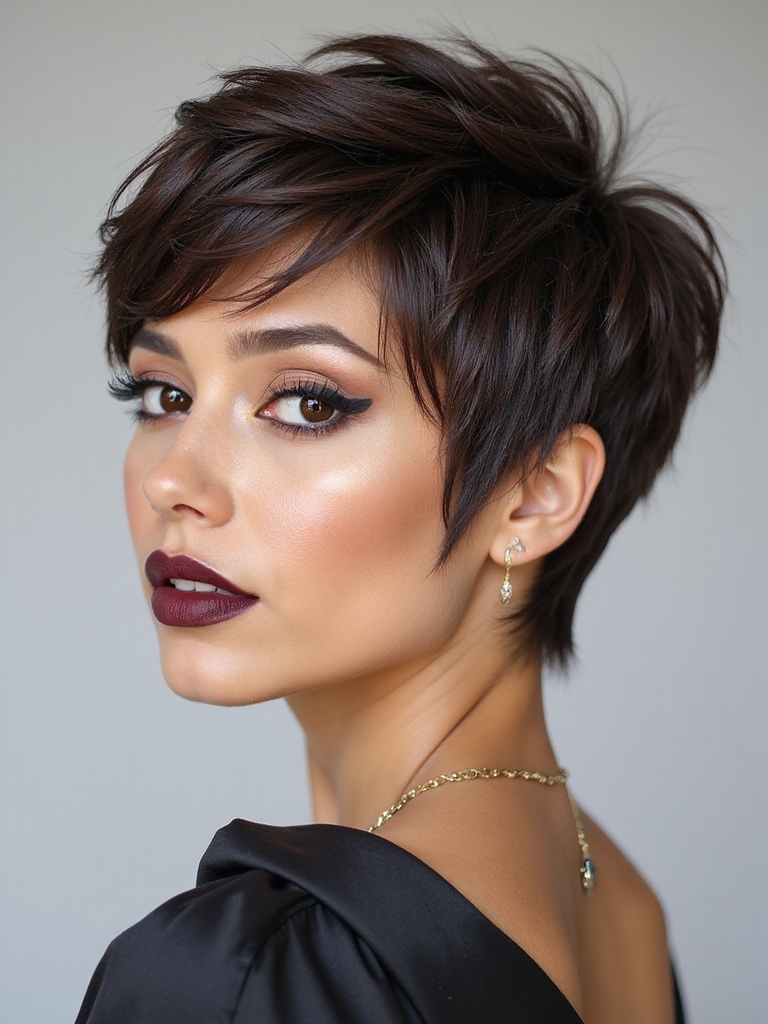
A quiff needs the most product commitment on this list, since holding hair upright and forward against gravity takes real hold rather than a light touch.
Blow-drying the top section up and back over a round brush before applying product builds the base height; product alone can’t create lift from flat, dry hair.
- Blow-dry the top section up and back first, before product
- A strong-hold cream or wax maintains height through the day
- Needs more daily commitment than most other finishes here
The Pixie-Mullet Blend
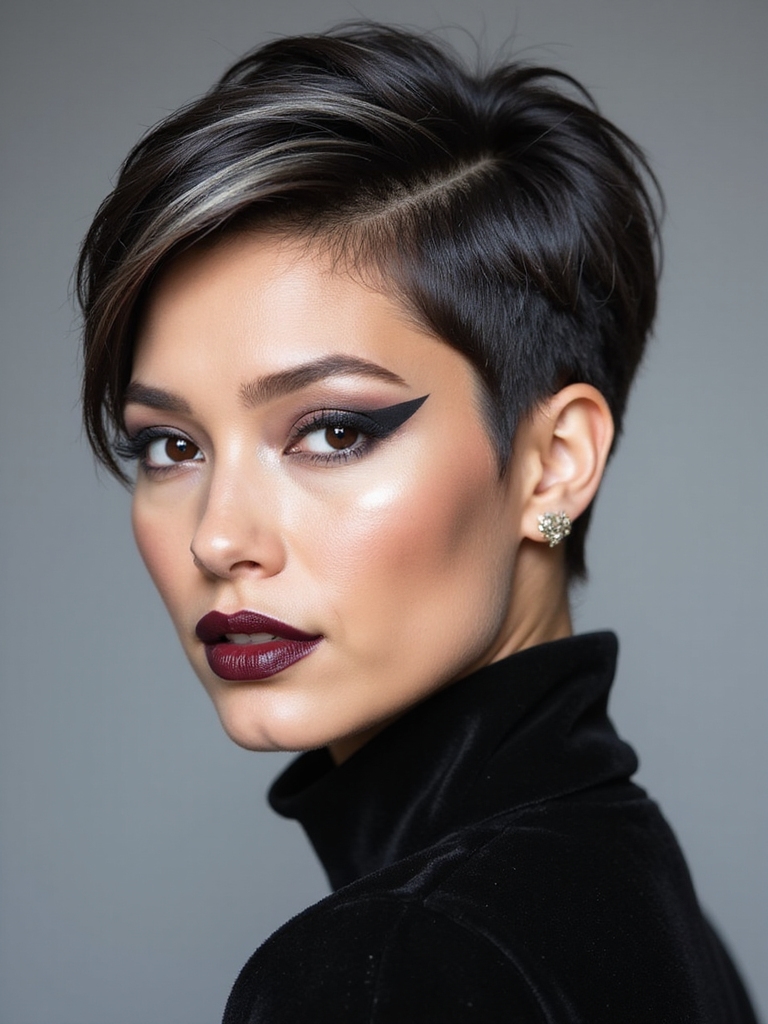
A pixie-mullet keeps the front cropped short while the back carries more length, and styling has to treat the two sections almost like separate haircuts.
The front gets textured and lifted like a standard edgy pixie, while the back length gets left looser or slightly waved to lean into the retro-modern contrast.
Product application follows the same split: matte texture up front, a lighter touch through the back to avoid weighing down the longer pieces.
Styling a Platinum Pixie
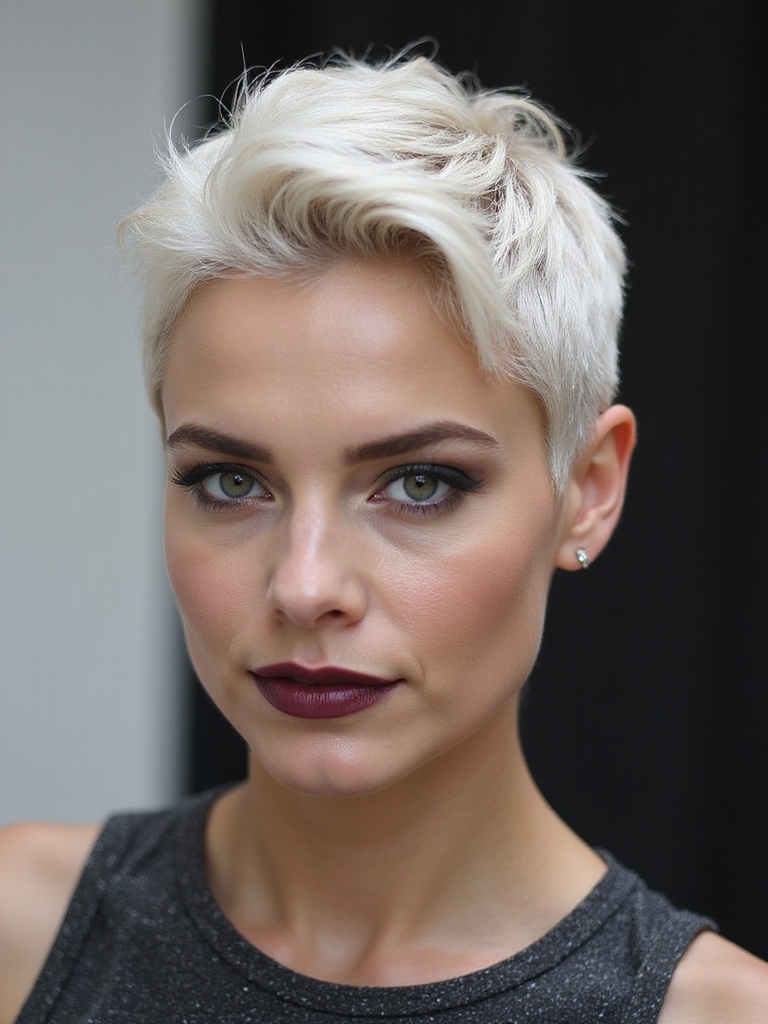
Platinum color puts extra demands on styling technique, since bleached hair generally holds less natural texture and needs more product to achieve the same definition.
Color and Styling Work Against Each Other Here
A purple-toned styling product does double duty here, adding texture while also helping counteract any yellow cast between toning appointments.
Most pros recommend a lighter touch with heat styling on platinum specifically, since already-processed hair tolerates less additional heat stress than virgin hair does.
Two assumptions worth dropping about mullet-adjacent pixies:
❌ Myth: Myth: this style only works on very specific face shapes.
✅ Reality: Fact: the contrast between short front and longer back adapts to most face shapes through where the length actually falls.
❌ Myth: Myth: it needs constant restyling to look intentional.
✅ Reality: Fact: once the base cut and part are set, daily styling is closer to a standard pixie than expected.
The Pastel Color Pop

A pastel section, whether a full head or a smaller placed streak, styles best with minimal heat and gentle handling, since pastel formulas fade faster under repeated heat exposure.
Air-drying or low-heat diffusing preserves the color’s saturation far longer than daily blow-drying at full heat would.
A color-safe, sulfate-free routine matters more here than on most other finishes on this list, since pastel tones are the most fade-prone of any color option covered.
The Wolf-Cut Pixie

A wolf-cut pixie needs heavy texturizing throughout, not just at the crown, since the whole point of the cut is visible, separated layers rather than one smooth shape.
Working product through in sections, rather than applying it all at once and hoping it distributes evenly, gets more consistent texture across the whole head. The wolf cut hair piece looks at this shape across more lengths.
- Product goes through in sections for even texture distribution
- Heavy texturizing throughout, not localized to one area
- Built around visible, separated layers as the main feature
The Razor-Cut Airy Finish
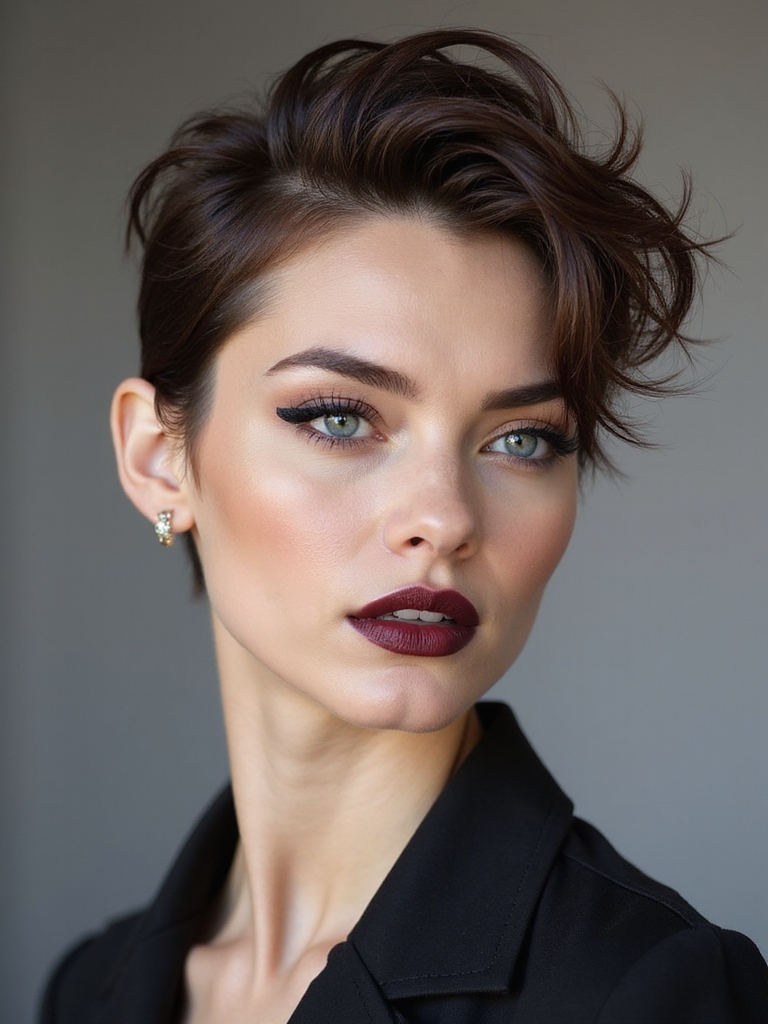
A razor-cut pixie already carries built-in texture from the cutting technique itself, so styling here focuses on lightness rather than adding more texture on top.
A light, weightless spray rather than a heavier paste or clay keeps the airy quality intact instead of weighing the already-textured ends down.
Overworking product into a razor cut is a common mistake; the cut does most of the visual work already, and heavy styling can flatten exactly the texture the razor created.
The Matte Spiked Finish

Spikes need a strong-hold, matte-finish product worked in with fingers rather than a comb, pinching small sections upward at the crown while the product is still workable.
Letting each section set before moving to the next keeps individual spikes distinct instead of merging into one textured mass.
This is one of the more product-intensive finishes on this list, since spikes lose their shape faster through the day than most other styles here.
Styling Tips
Most product failures on a pixie come down to using too much rather than too little, since so little hair means a small amount goes much further than it would on longer length.
Starting with a pea-sized amount, then adding more only if needed, avoids the greasy, weighed-down look that overapplication causes on hair this short.
Edgy Pixie Styling Questions, Answered
?How much product is actually needed for a pixie cut?
Far less than most people expect, usually a pea-sized amount or smaller depending on the finish. Short hair distributes product across a much smaller surface area than longer styles do.
?Can these finishes be combined, like tousled and matte together?
Yes, many of these techniques layer well. A matte product provides the base texture, while a light scrunching or finger-styling technique on top can add the tousled, undone quality of a separate finish.
?Do these styling approaches work the same on thick versus fine pixie hair?
Not exactly. Thick hair generally tolerates heavier products and more aggressive texturizing, while fine hair needs lighter formulas to avoid looking weighed down or greasy by midday.
?How often does product need reapplying throughout the day?
Most finishes hold through a full day on one application. Very active days or humid weather sometimes call for a small touch-up, especially on structured finishes like the quiff or slicked-back look.
The Cut Sets the Stage; Styling Delivers the Attitude
Every finish here relies more on product and technique than on the underlying cut, and that’s exactly why the same pixie can carry so many different looks.
Trying two or three of these on the same cut, rather than committing to just one, is a fast way to find which finish actually fits daily routine and style preference.
Related Reads





