
By the third week after a layered cut, most straight-haired women either love the movement or regret ever picking up the phone to book it. The difference almost always traces back to one thing: whether the layers were placed to work with the hair’s natural smoothness or cut without any real plan for how straight hair actually falls.
Fifteen ways to layer long straight hair follow below, sorted by how much movement they add and how much shine they protect, from a barely-there internal cut to a dramatic V at the back.
The Core Trade-Off With Straight Layers
- The more the layering shows on the surface, the more shine gets interrupted; hidden, internal layers protect gloss best.
- Straight hair needs tapered, not blunt, layer ends, since a hard edge on straight hair reads as a mistake rather than a style choice.
- Fine, straight hair should keep layering at the front only; thick, straight hair can handle layering removed from deep inside the cut.
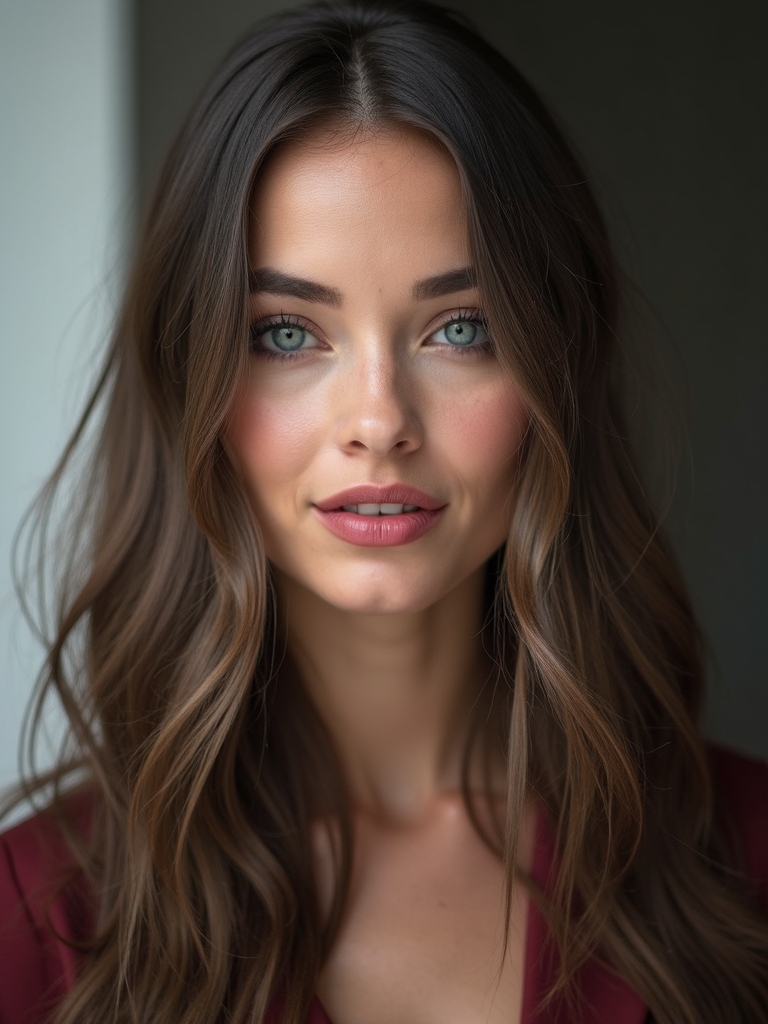
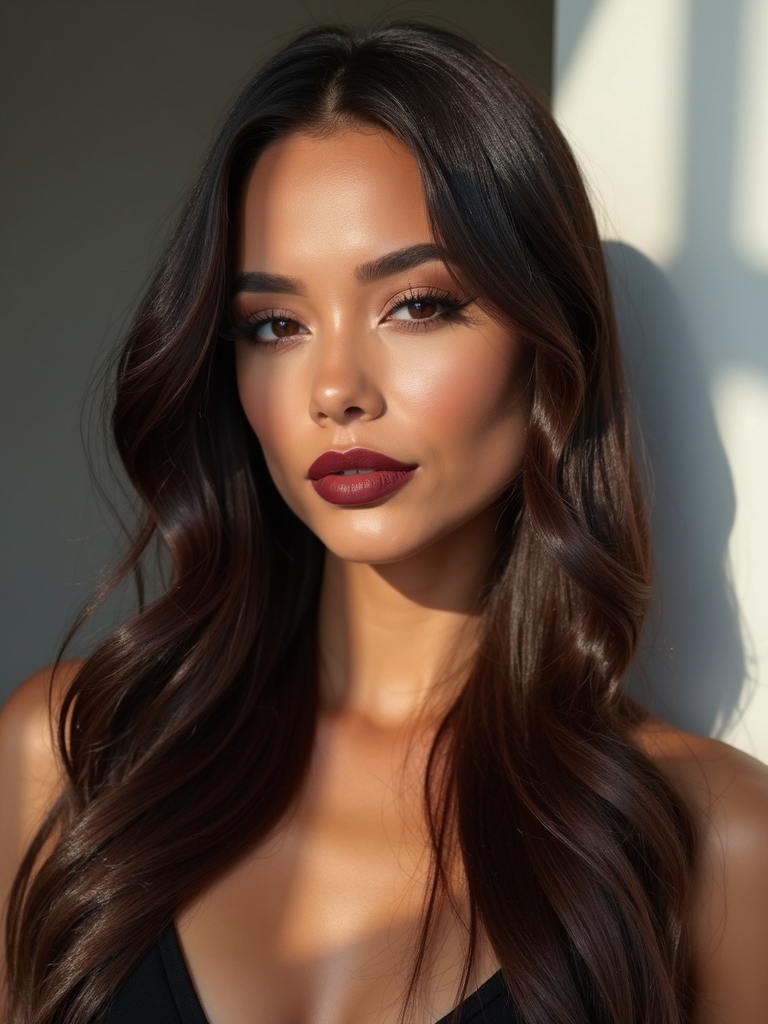
Face-Framing Layers for Long Straight Hair
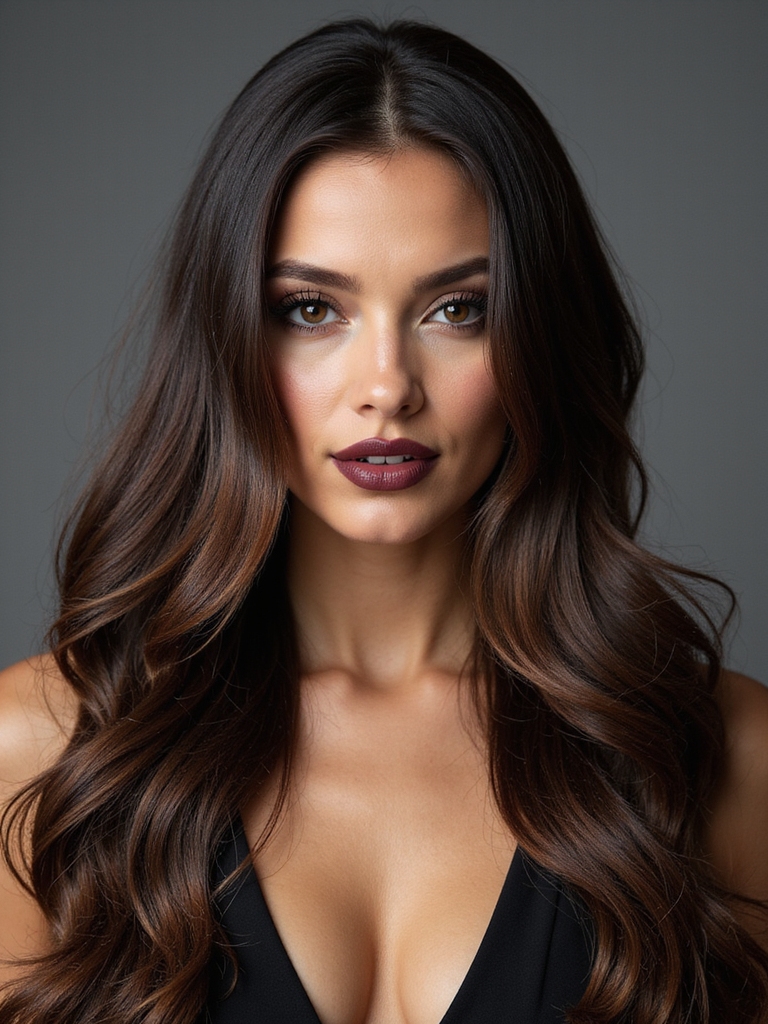
A section of hair pulled back off the face and cut shorter than the rest is the gentlest layering move available to straight hair. Soft pieces run along the cheeks and jaw, tapered fine so they catch light without disrupting the smooth lengths behind them.
Straight hair doesn’t bend on its own the way wavy hair does, so these pieces usually need a small assist, a curling iron or a round brush pulling them toward the face, to actually show their shape day to day.
- Ask for the pieces cut while dry, so the stylist can see exactly where they’ll fall against your face.
- Keep them tapered rather than blunt so they blend rather than announce themselves.
- Expect to style them slightly to see the framing effect; they rarely fall that way on their own.
Feathered Ends That Add Movement
A heavy, blunt line at the bottom of long straight hair is often the single biggest reason it reads flat in photos. Feathering the very tips into fine, tapered points breaks up that slab without touching anything above it.
The effect concentrates exactly where straight hair needs help most, right at the ends, and it actually boosts the sense of shine, since the tapered pieces catch and scatter light instead of sitting as one solid, light-absorbing block. It’s also one of the lowest-commitment changes on this list, since a stylist can add it to an existing cut without shortening the overall length at all.
A Sleek U-Shape With Subtle Layers
Shaping the hem into a soft, rounded U rather than a hard, straight line is one of the more shine-protective ways to layer long straight hair, since almost none of the length actually gets removed to create the effect.
Shape Without Losing an Inch
The layering inside stays deliberately understated, so the cut gains a soft, fuller silhouette without any of the short, choppy pieces that would otherwise interrupt a glassy surface.
This is the version worth asking for specifically if length and shine both matter more than dramatic movement; almost nothing about the visible surface changes. A shorter take on the same idea lives in our medium straight layered hair guide.
Razor-Cut Layers for Sharp Movement
Slicing the ends at an angle rather than cutting straight across gives long straight hair a lighter, more weightless kind of movement than scissor work alone typically produces.
Condition matters more here than with most techniques. On healthy hair the razored finish looks deliberately soft and modern; on strands that are already compromised, the same blade can roughen the cuticle and dull exactly the shine straight hair is prized for.
- Best reserved for hair in strong, healthy condition; color-damaged or brittle hair takes the roughest hit.
- A stylist should check strand health as a first step, before recommending this technique.
- Scissor-cut, tapered layers achieve a softer version of the same effect on more fragile hair.
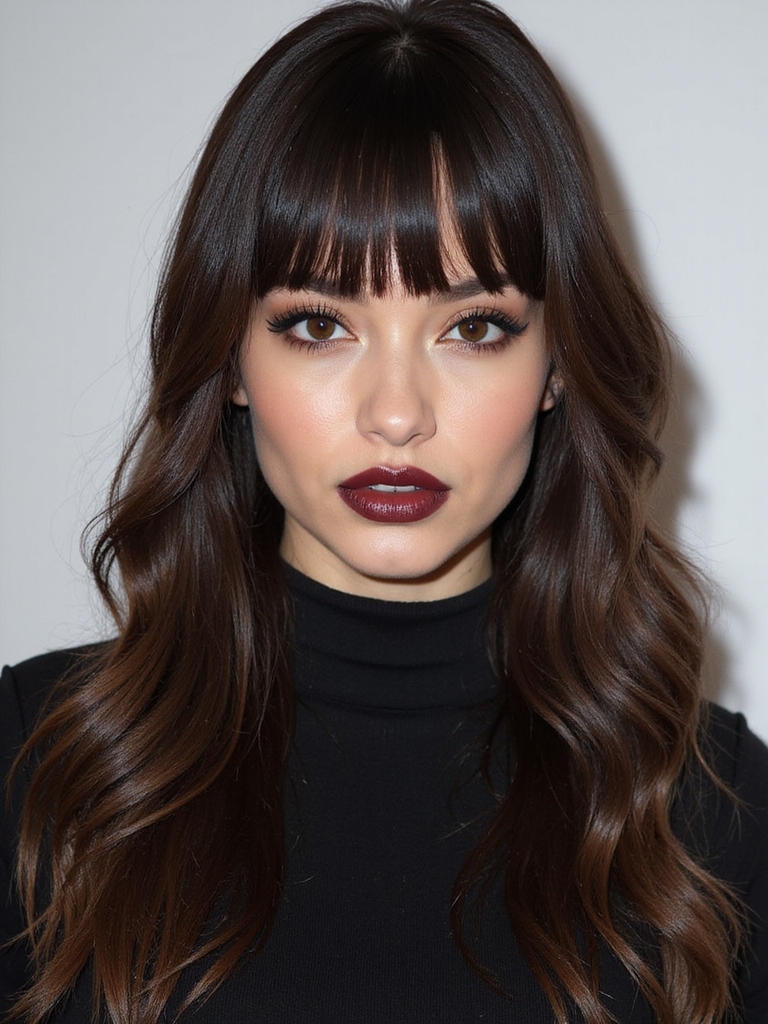
Curtain Bangs on Long Straight Layers
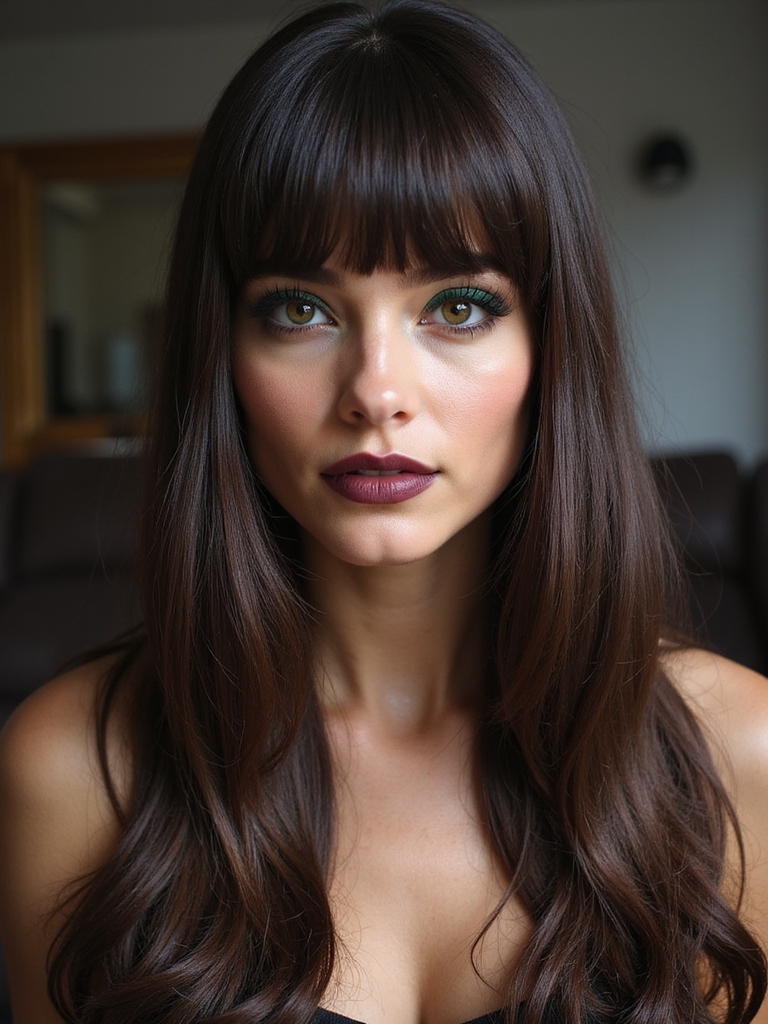
A fringe parted in the middle and swept back to either side tends to look especially polished on straight hair, since the smooth surface lets the bangs blend directly into the face-framing pieces behind them with almost no visible seam.
- Keep the length long enough to graze the cheekbones for the softest transition into the layers.
- A round brush, used while blow-drying, is what actually sweeps the bangs back into place; they rarely fall that way naturally.
- See our curtain bangs guide for length and face-shape specifics.
Invisible Layers for a True Glass-Hair Finish
The layering technique behind true glass hair happens entirely out of sight, cut deep inside the length so the outer surface reads as one unbroken, mirror-bright sheet.
Weight comes out from the interior while the perimeter and the top layer stay completely untouched, which is what lets the hair carry real bend and body underneath a surface that still looks perfectly smooth.
This is the version built specifically for anyone whose top priority is shine above everything else; nothing about the visible top layer changes at all. Our broader long layered hair guide covers more finish options at this length.
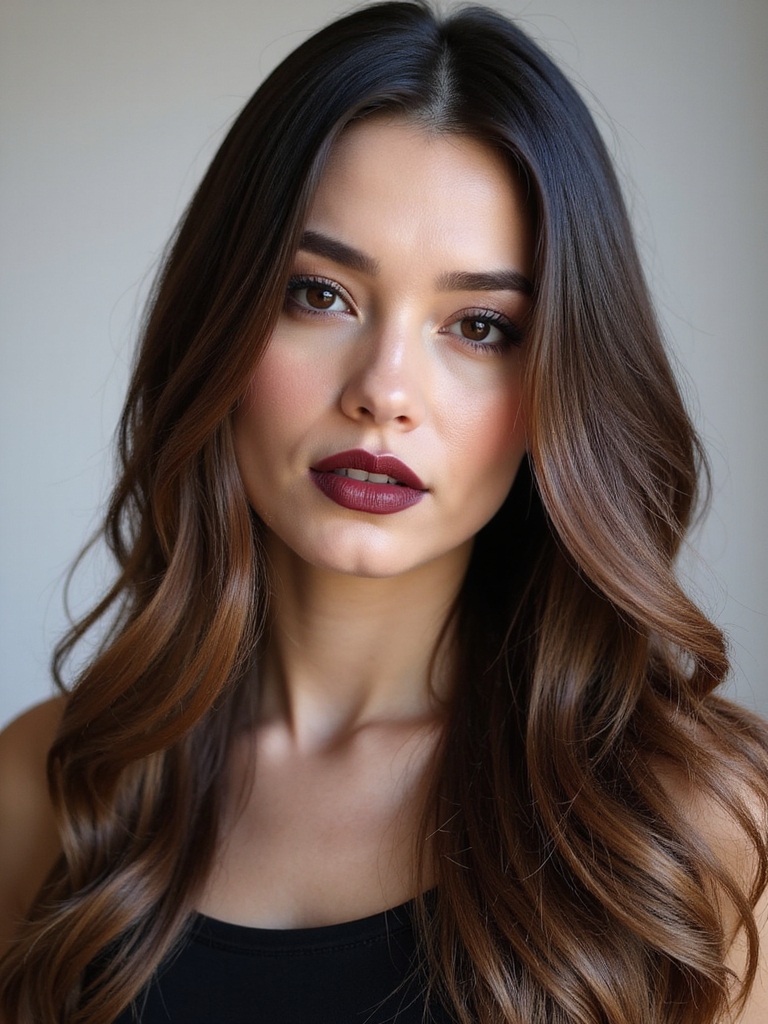
A Center Part With Graduated Layers
A crisp part straight down the middle, paired with layers that graduate gently from the face downward, produces one of the more polished, editorial versions of straight layered hair. The precise part does double duty, showing off the smoothness of the surface while the graduated layers add just enough shape to keep the whole thing from reading flat.
- The precision of the part carries just as much weight as the cutting itself here; a lazy part undoes the effect.
- Best suited to hair with enough natural weight to fall in a clean curtain on each side.
- A glossing product smoothed through the lengths is what actually carries the reflective finish, more than the flat iron alone.
Which trade-off matters more to you?
1Maximum shine, minimal movement
Invisible internal layers or a subtle U-shape keep almost the entire surface untouched.
2Real, visible movement
Feathered ends, a V-cut back, or razored layers change how the hair actually moves.
A V-Cut Back for Dramatic Movement
Shaping the back of long hair into a point, rather than leaving it blunt across, is the most dramatic layering option on this list. The steep graduation toward the point removes real weight, so the lengths finally swing and separate on their own.
Thick to medium hair carries this shape best, since there’s enough density to remove. On especially fine, straight hair, the point can look wispy instead of sharp, which is worth an honest conversation with a stylist before committing. Anyone drawn to this level of drama should also browse our full layered haircuts roundup.
Delicate Front Layers for Fine Hair
Fine, straight hair tolerates layering the least, so the safest approach limits it to a few soft, cheekbone-length pieces right at the front while the rest of the length stays full and untouched.
- Movement concentrates at the front; the perimeter and length stay strong to avoid a sparse, stringy look.
- Internal thinning throughout the length is the one mistake to explicitly rule out at the consultation.
- Ask the stylist to point-cut the ends, a gentler technique that keeps density while still adding softness.
Weight-Removing Layers for Thick Hair
Thick, straight hair carries the opposite problem from fine hair: too much density, which can sit heavy and nearly motionless under its own weight.
Removing bulk from deep inside the cut, rather than at the visible surface, lets the hair finally swing and bend while the outer layer and perimeter stay smooth and undisturbed. Done well, the result keeps the density and the shine most thick-haired women want, while finally adding real movement.
📋Before Booking Layers on Fine Hair
- ✓Confirm the stylist plans to point-cut the length instead of thinning it out with shears.
- ✓Ask specifically where the shortest layer will start.
- ✓Bring a photo that shows length retained, not just the framing effect.
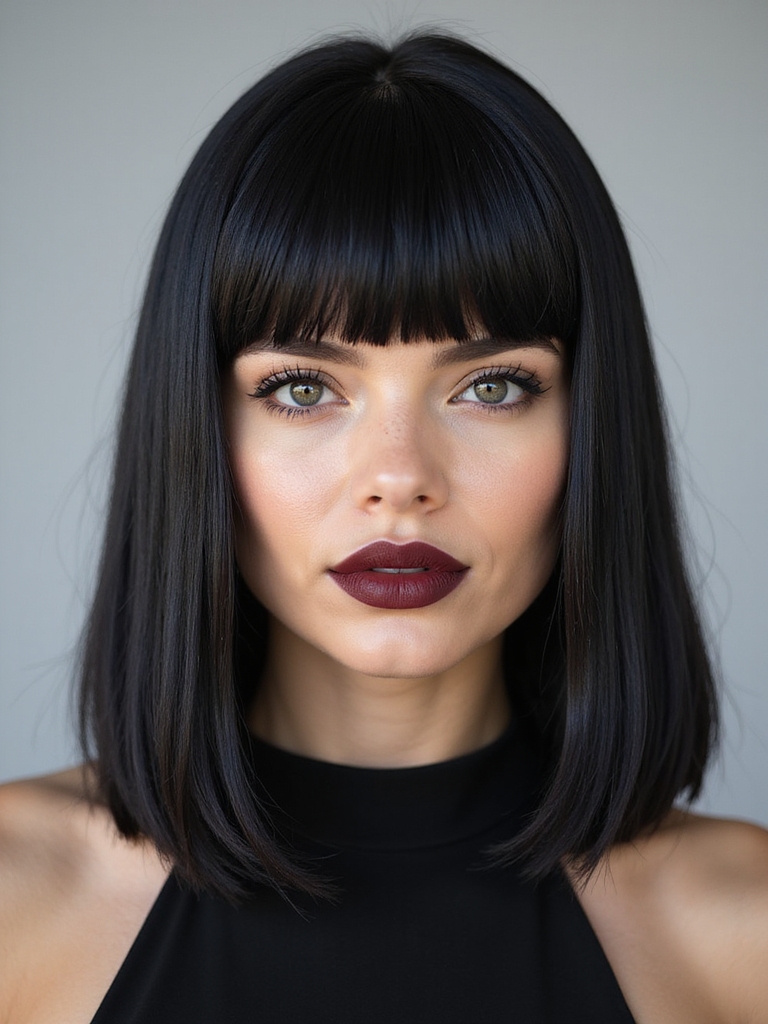
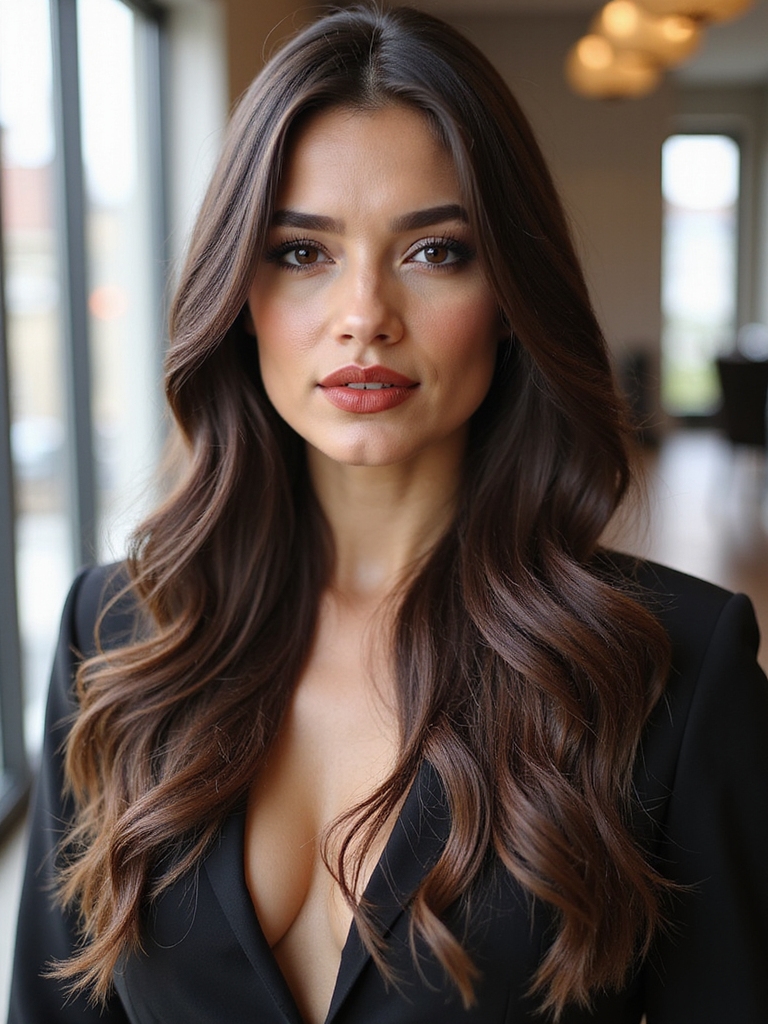
A Blunt Perimeter With Hidden Internal Layers
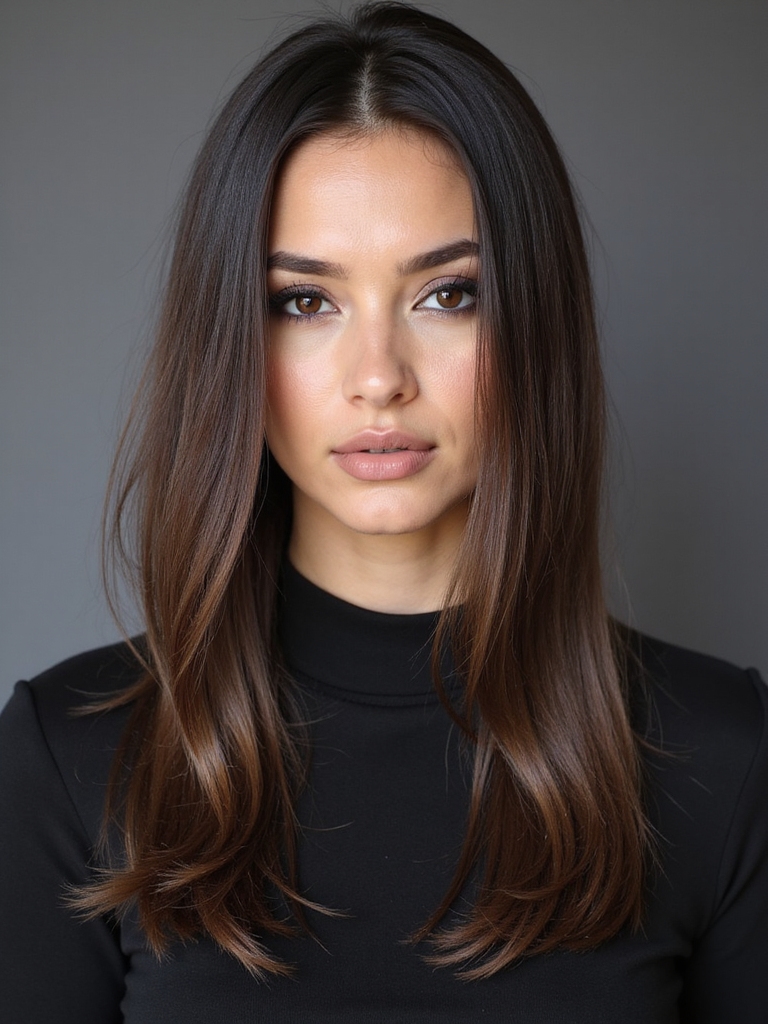
Keeping a strong, unbroken line at the very ends while adding movement only inside the cut lets straight hair have both a sharp, graphic edge and real internal bend.
The outer line stays crisp for a glossy, statement finish, while layers removed from underneath quietly lighten the cut so it can actually move.
This suits anyone drawn to a strong blunt line but wary of how heavy a true one-length cut can feel; the hidden layering is what keeps that heaviness in check without sacrificing the visible edge.
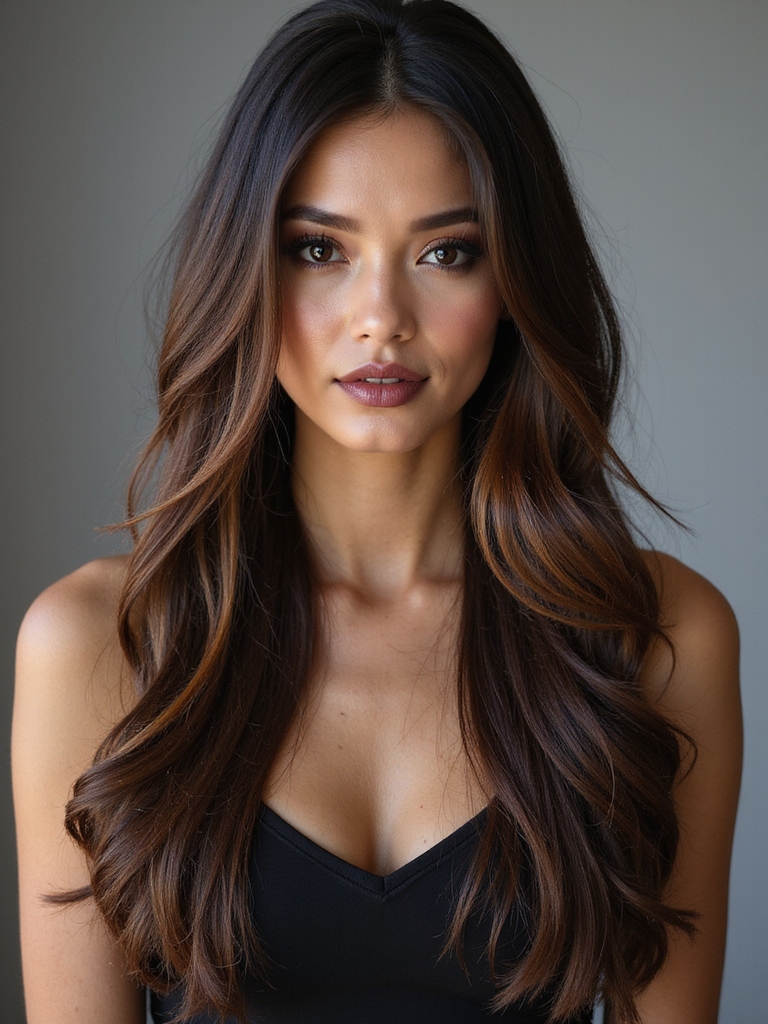
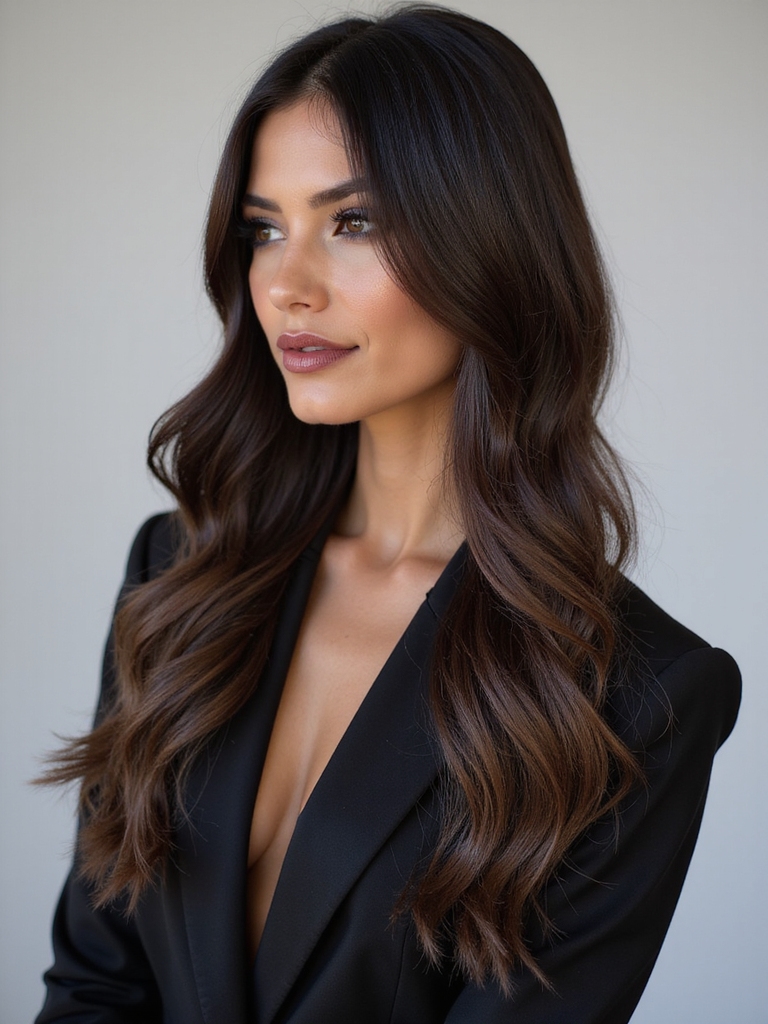
Pin-Straight Layers at Maximum Shine
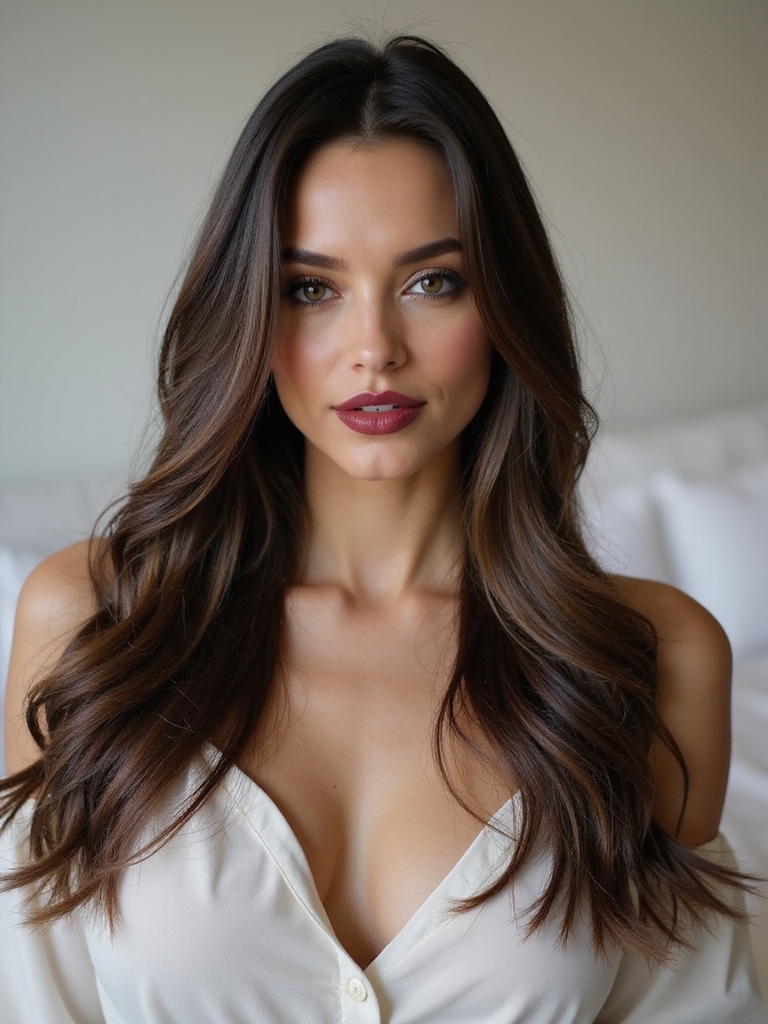
Naturally poker-straight hair shows off layering at its glossiest, since the smooth surface reflects light almost like a mirror even while movement happens underneath.
The layering here stays minimal and tapered on purpose, just enough to keep the length from reading completely flat, without ever interrupting the reflective finish that makes this texture distinctive in the first place.
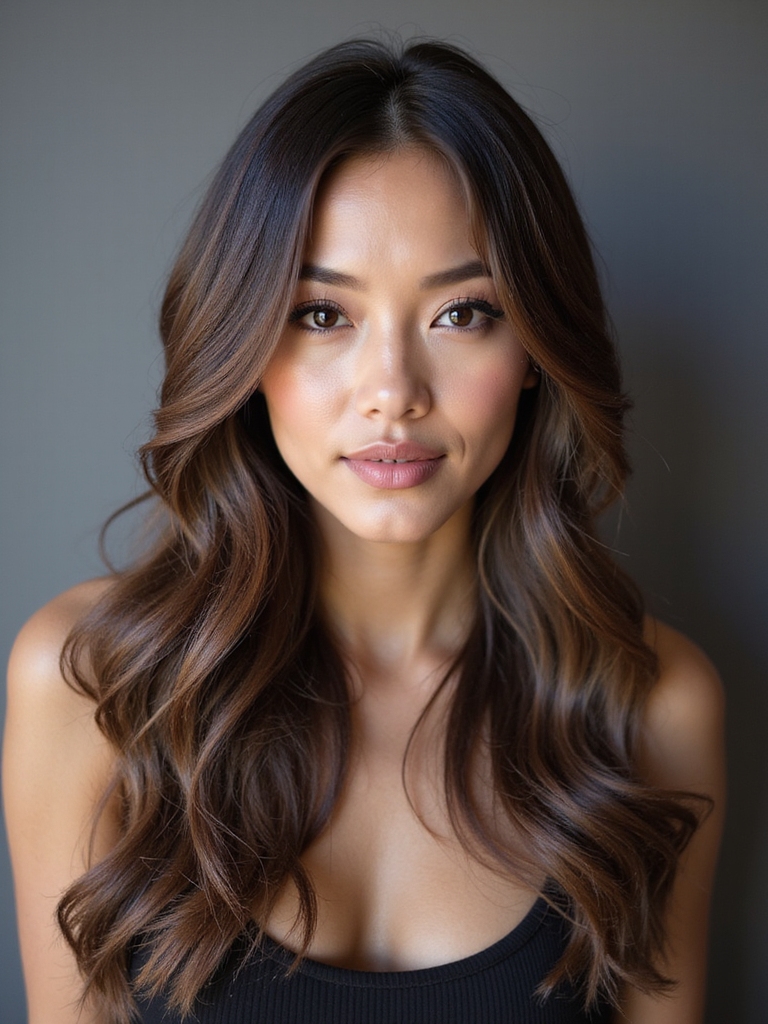
Mid-Length Drop Layers for Gentle Flow
Starting the layers lower on the head, around the midpoint of the length, gives long straight hair a gentler kind of flow while leaving the top section completely smooth.
This protects length more than almost any other version here, since the high-shine top stays entirely untouched and only the lower half of the hair gains any real shape.
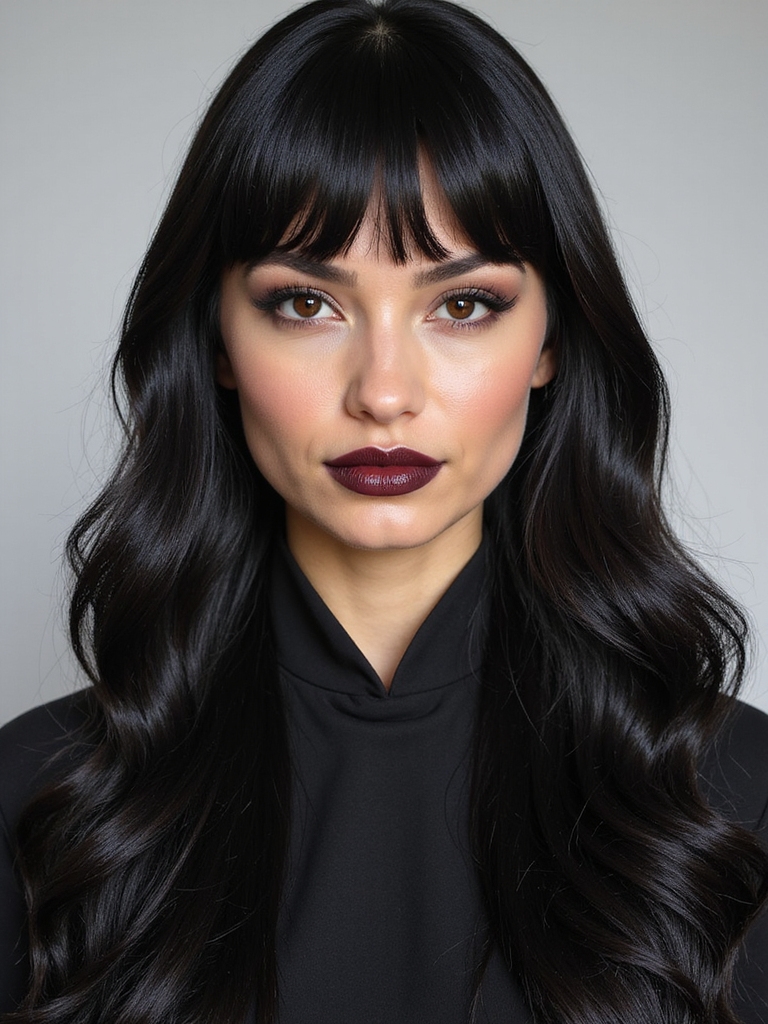
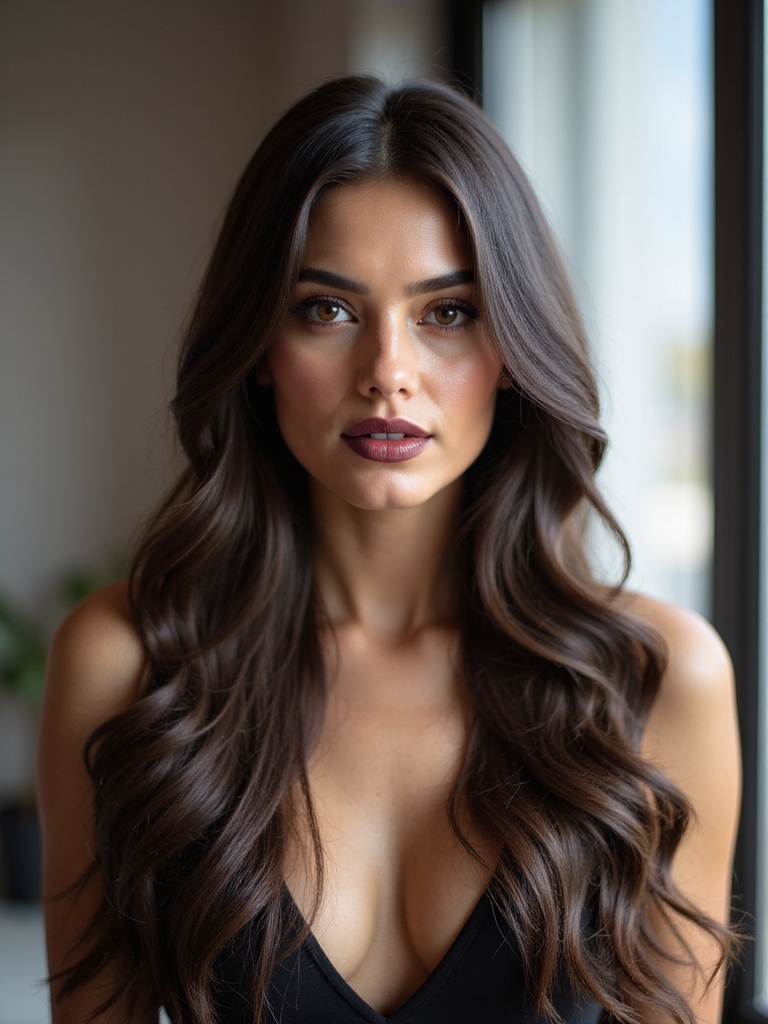
Soft S-Wave Styling for Old-Hollywood Movement
Bending long straight layers into smooth, even S-shaped curves brings a glossy, deliberately vintage kind of movement to a cut that otherwise reads sleek and modern.
A Deliberate Break From Pin-Straight
A large barrel iron, paired with a wide-tooth comb to keep the wave loose, produces the shape, and the layers give the wave something to catch and hold onto so it doesn’t fall flat within the hour.
This works best as a dressed-up alternative for special occasions, since the contrast with an everyday pin-straight finish is exactly what makes it read as intentional.
How mid-length drop layers change a standard cut.
1Section off the top
The stylist isolates everything above the midpoint and leaves it entirely unlayered.
2Start the first layer at the midpoint
Movement begins only from this point down, rather than near the crown.
Heatless Styling That Stays Smooth and Sleek
Long straight layers can stay glossy without any heat tool at all. A bottle of leave-in or smoothing oil runs under $15 and lasts months, a far smaller ongoing cost than daily flat-ironing and repeat salon glossing treatments.
Smoothing a leave-in or a small amount of oil through damp hair, then either air-drying flat or wrapping it close to the head overnight on a silk or satin surface, keeps the surface sleek without touching a single hot tool.
- A satin or silk pillowcase protects the smoothness overnight better than cotton, which roughs up the cuticle.
- The layers settle into place on their own; heatless styling doesn’t require restyling them separately.
- This routine trades a few minutes of prep for meaningfully less cumulative heat damage over time.
Long Straight Layered Hair Questions
?Will layers ruin the shine on straight hair?
Not when it’s cut correctly. The surface stays glossy as long as the ends are tapered into the layers and heat tools are used with a protectant. Rough cutting technique is almost always the real cause when shine disappears.
?Which version keeps the most length?
A soft U-shape or fully invisible internal layering retains the most, since neither removes meaningful length from the perimeter. Mid-length drop layers come close behind, since the top half of the hair stays completely untouched and only the lower half gains any shape.
?Can straight hair hold a curl or wave better with layers than without?
Generally yes. One-length straight hair tends to resist curling since all the weight pulls a curl straight within minutes; layered ends have less weight to fight and hold shape noticeably longer, part of why the S-wave style works better on layered hair than blunt hair.
?How short can layers go before it starts to look like a mullet?
The risk shows up when short layers are cut high near the crown without any graduation into the lengths below, creating a visible jump instead of a smooth blend. Kept graduated and tapered, even fairly short face-framing layers stay clearly distinct from that silhouette.
Sleek and Layered Were Never Opposites
The fear that layers ruin straight hair’s shine gets the mechanism backward: shine is lost to rough cutting and heat damage, not to the presence of layers themselves. Cut thoughtfully, with tapering and a mostly untouched surface, straight hair gains real movement without giving up the glossy finish that makes it distinctive.
Whichever version above fits best, the layering technique matters more than the specific style name. Describe the outcome wanted in real terms, and let the stylist choose the placement that gets there.


