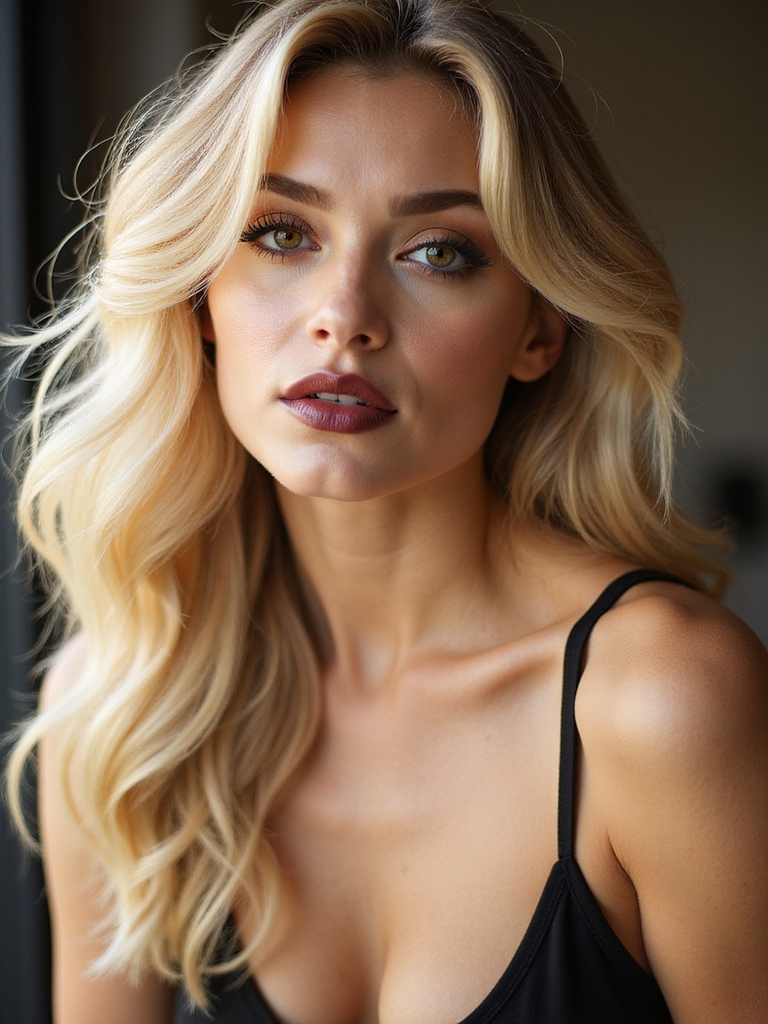
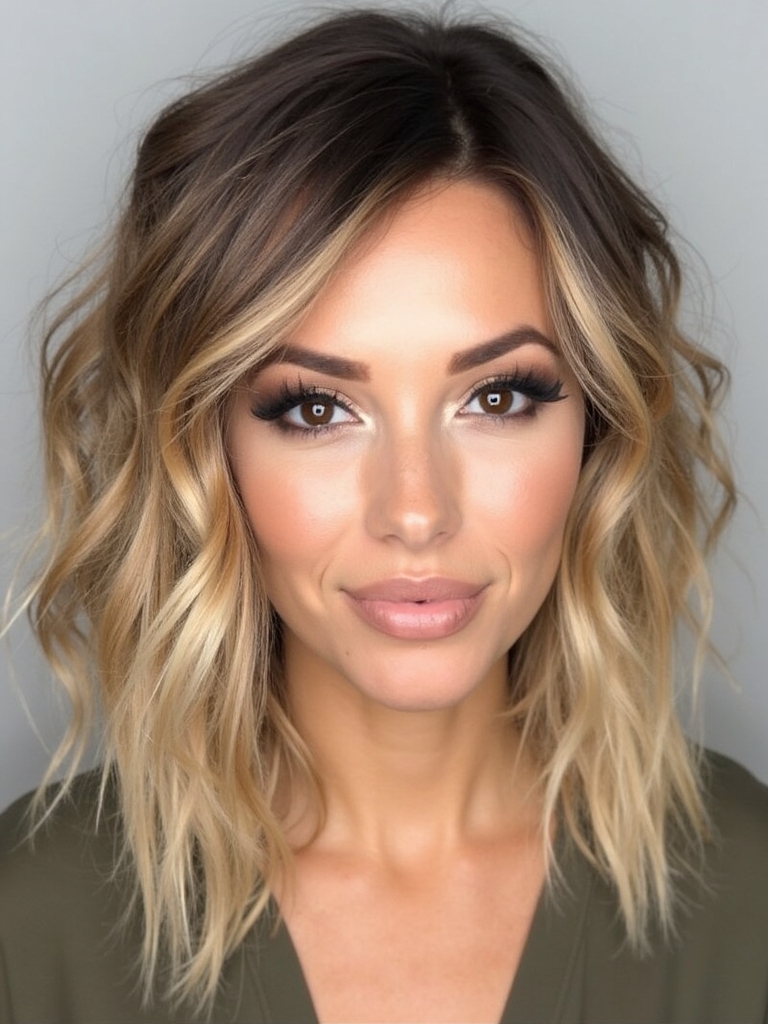
I love a shaggy curly cut because it lets your texture lead. With the right layers, curls spring up, bulk disappears, and length stays put. I dry-cut to see true patterns, add face-framing tendrils, and open the crown for lift.
If you’ve got waves, ringlets, or coils, there’s a version that suits you—and the product routine is simpler than you think. Here’s how I break it down next.
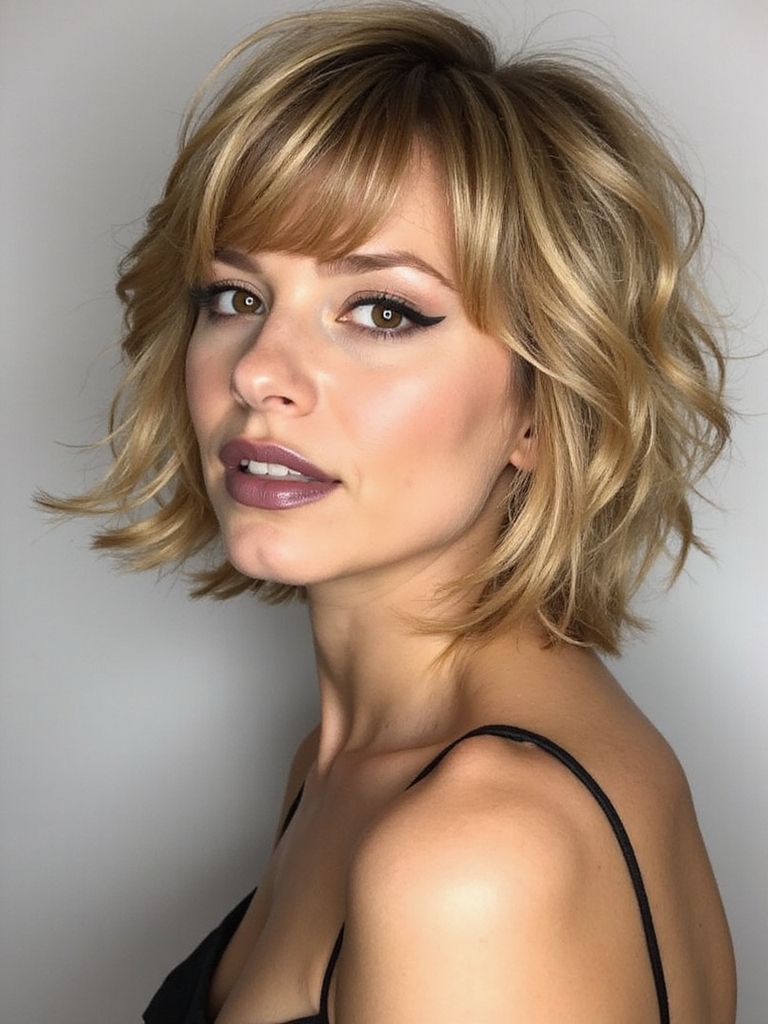
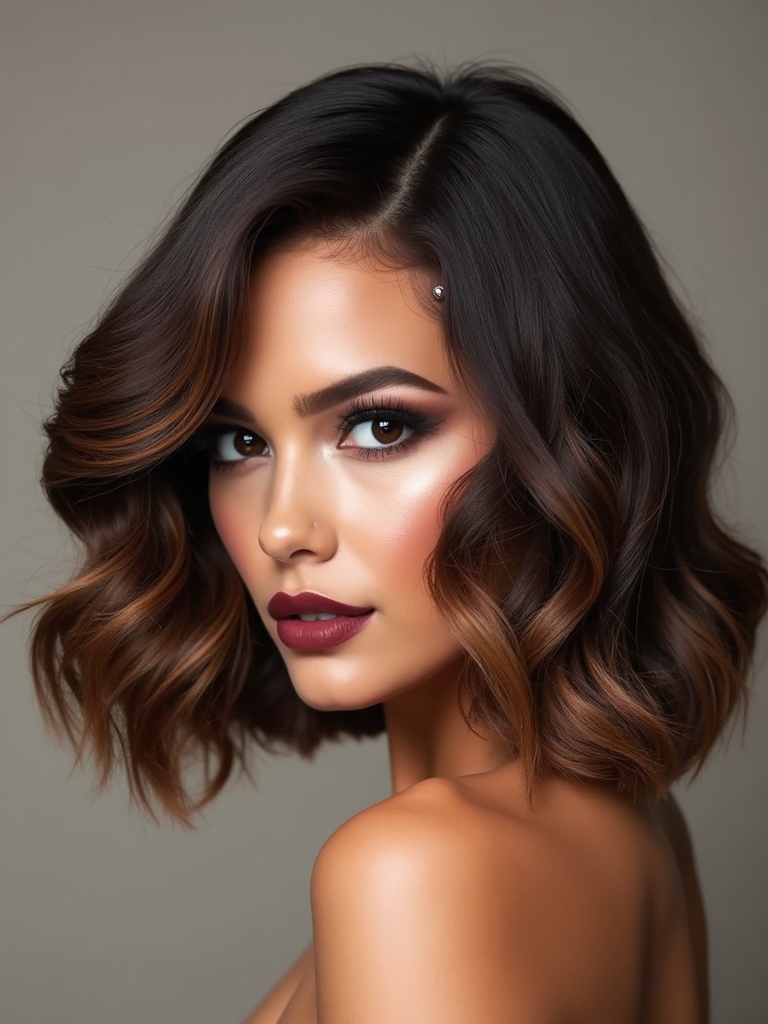
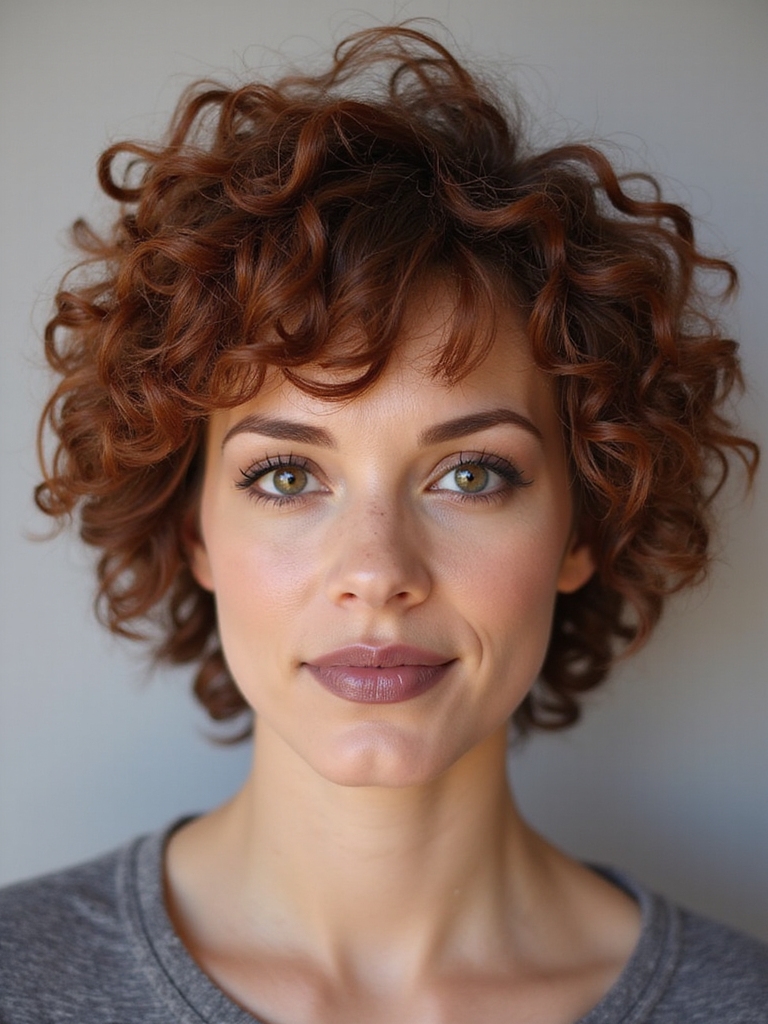
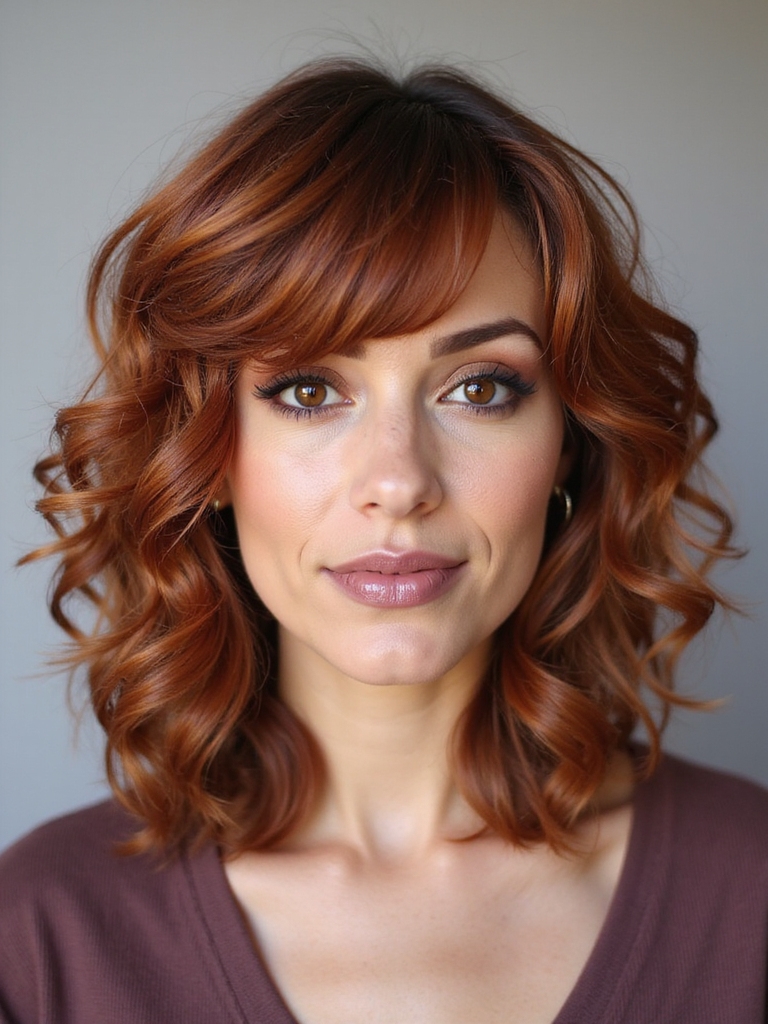
Classic Curly Shag for Everyday Wear
Often, I reach for a classic curly shag because it looks effortless and works with my curls, not against them.
The soft, graduated layers lift roots, open my face, and keep ends bouncy.
I scrunch in lightweight cream, diffuse on low, and let pieces fall naturally.
On busy mornings, a mist of water, a pinch of gel, and a shake revive movement.
Its signature choppy layers and texture define the shag haircut, giving hair movement and effortless style.
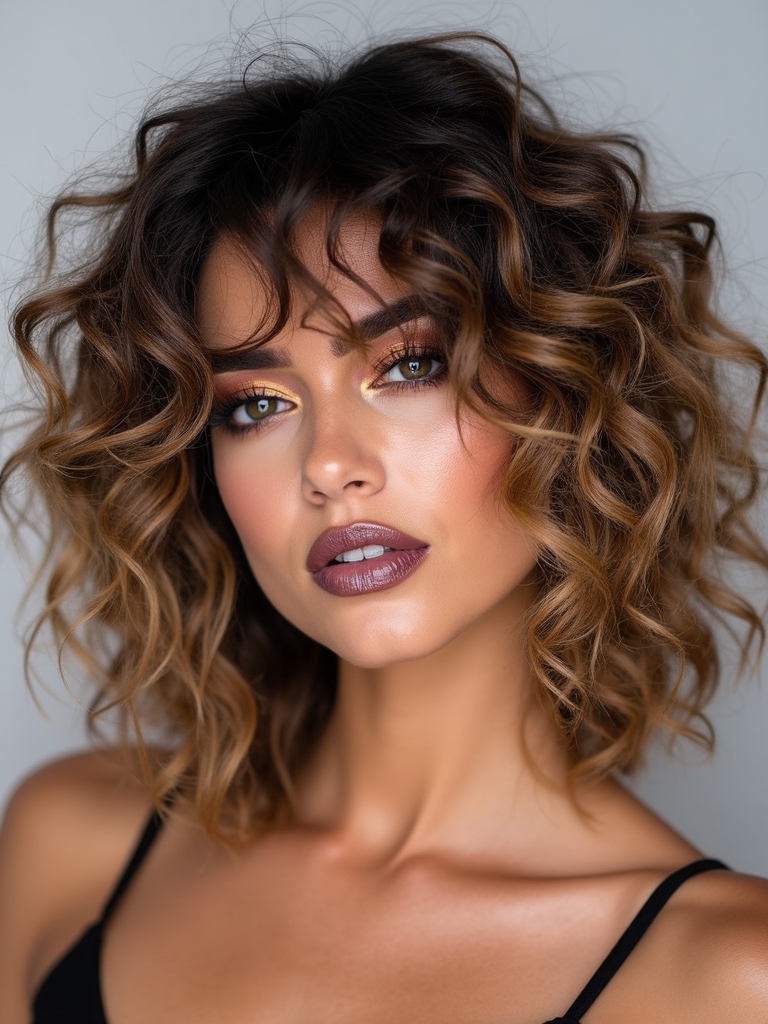
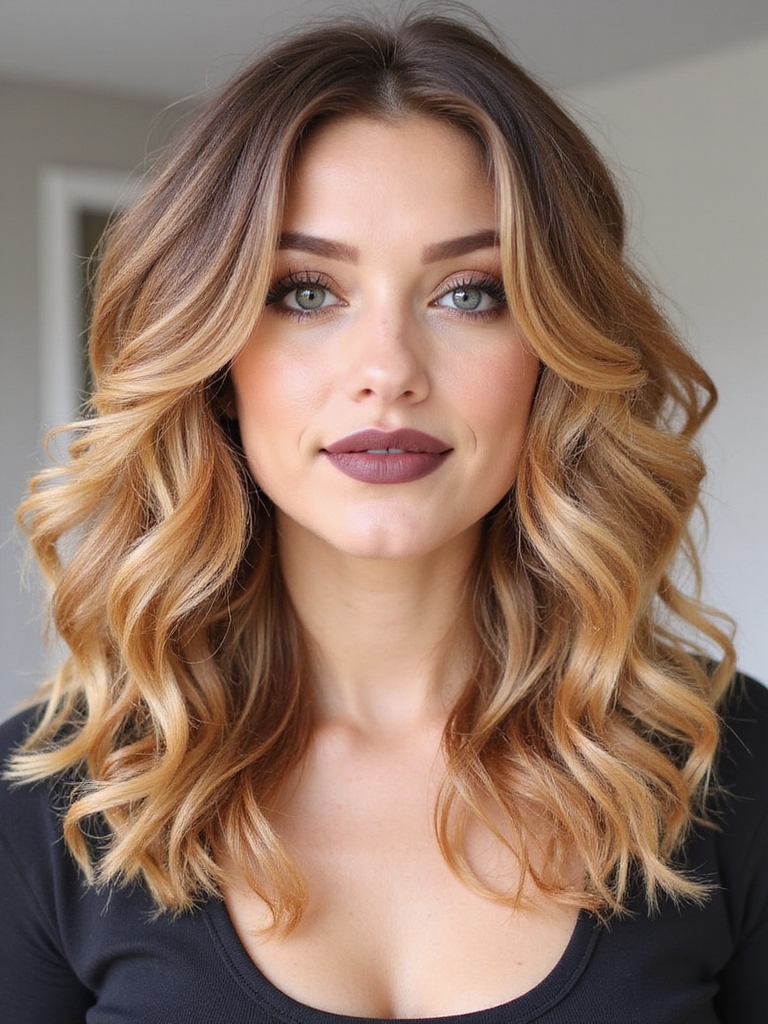
Layered Shag for Loose Waves and 2A–2C Curls
While the classic curly shag plays up tighter curls, I reach for a layered shag when I’m working with loose waves and 2A–2C texture.
I build soft, face-framing layers, open up the crown, and keep ends wispy for movement.
I dry-cut to read the wave.
Then I diffuse low, scrunch in lightweight mousse or sea-salt spray, and avoid heavy creams for lift.
This approach is ideal when choosing a shaggy layered haircut to create effortless movement and texture.
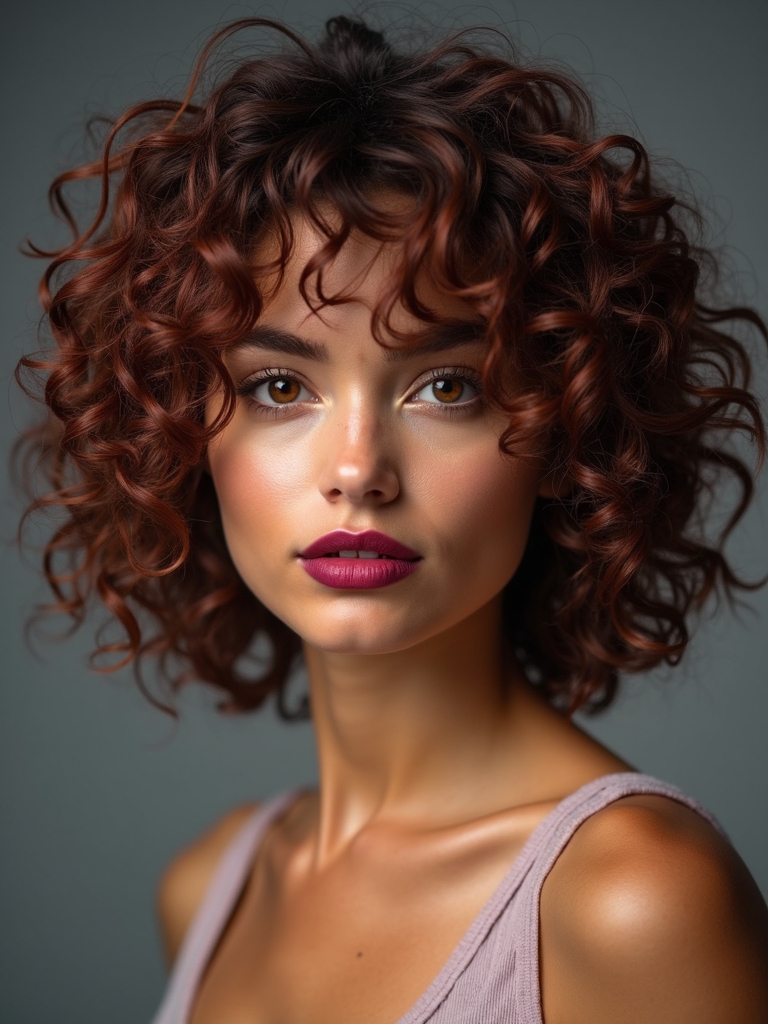
Voluminous Shag for 3A–3C Ringlets
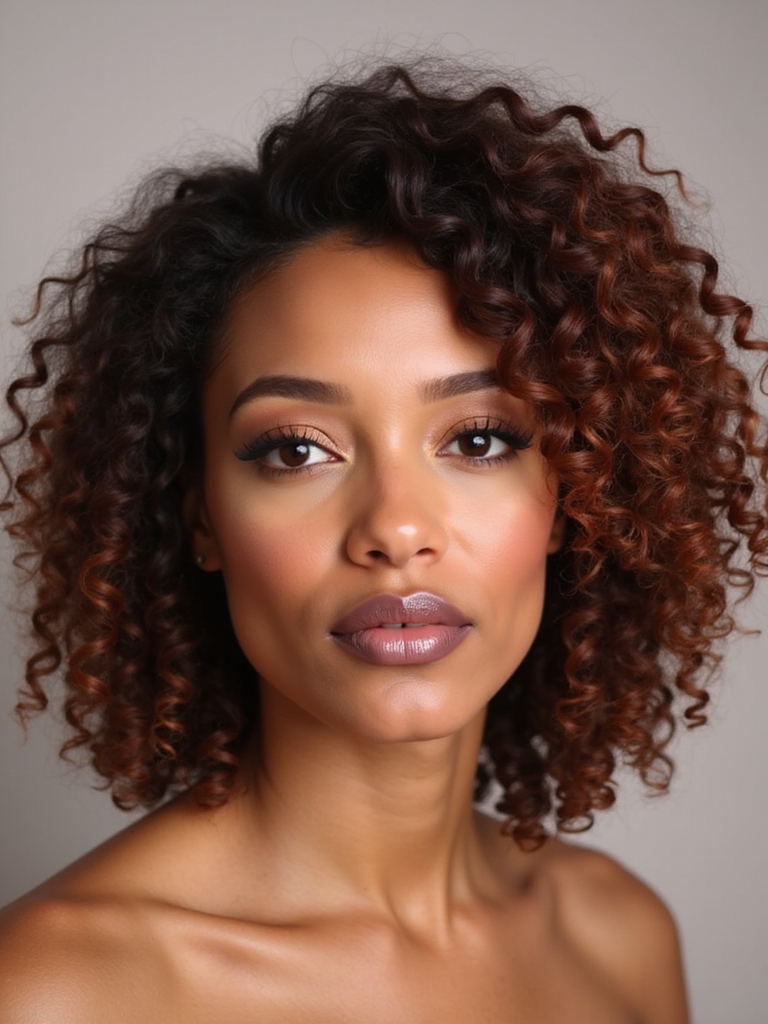
I’m turning to 3A–3C ringlets, where a voluminous shag really shines.
I’ll walk you through layering for bounce and the root lift techniques that open up your crown.
Then I’ll show you how to diffuse for definition—without frizz—using low heat, low speed, and smart positioning.
Explore how Shaggy Hairstyles adapt to different hair types.
Layering for Bounce
Layering gives my 3A–3C ringlets instant lift, turning a shag into a bouncy, airier silhouette instead of a heavy triangle.
I ask for varied lengths: soft face-framing pieces, long internal layers, and weight removed where curls clump.
Dry cutting helps see true spring. With diffused ends, the shape stacks and moves, defining spirals, opening my neckline, and keeping volume evenly balanced beautifully.
This approach is perfect for Medium Shaggy Hairstyles, which are designed to distribute volume and movement through layered shaping.
Root Lift Techniques
Because limp roots flatten a shag fast, I make root lift a ritual for my 3A–3C curls.
I start with lightweight volumizing foam at the scalp, then zigzag my part to break up density.
I slide in root clips while they set.
Once dry, I fluff with a pick, shake at the crown, and massage my scalp to revive height without frizz.
Embracing Shaggy Haircuts across textures helps celebrate natural curl movement.
Diffusing Without Frizz
While I love air-drying, I diffuse to keep my shag big and frizz-controlled.
I blot with a microfiber towel, apply curl cream and light gel, then set my dryer low heat, low speed.
I hover diffuse until cast forms, then scoop sections, lifting at roots.
I stop at 80% dry, scrunch out the crunch with oil, and let curls settle.
No touching.
Layering in Shaggy Long Hair cuts enhances curl shape and movement.
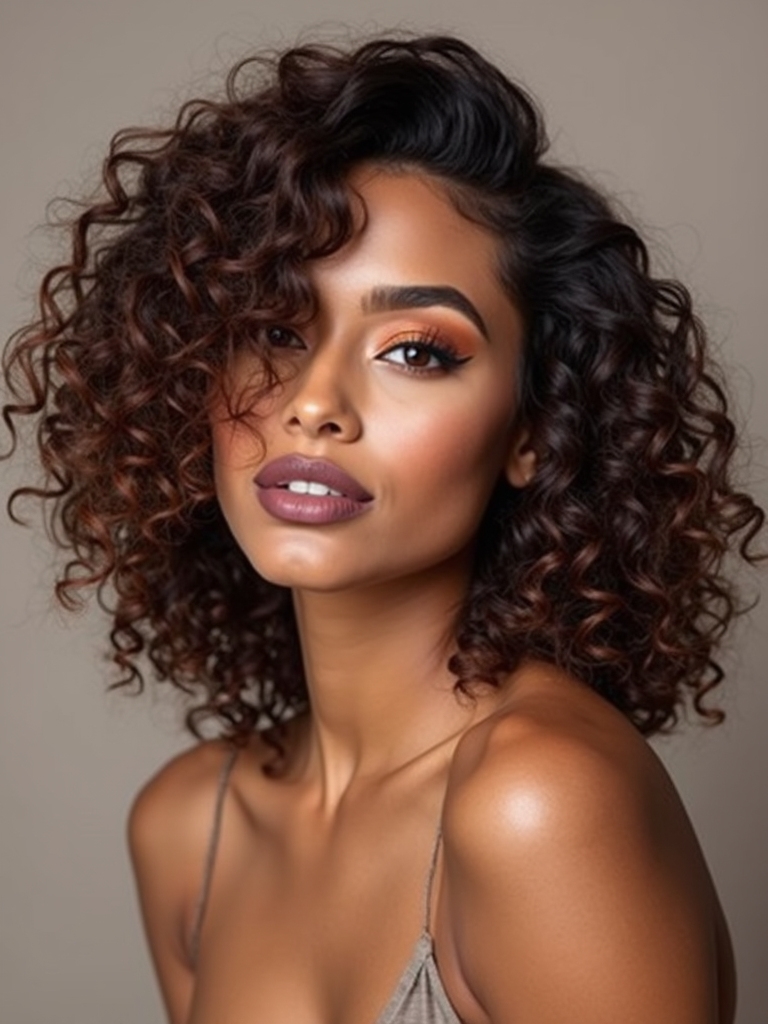
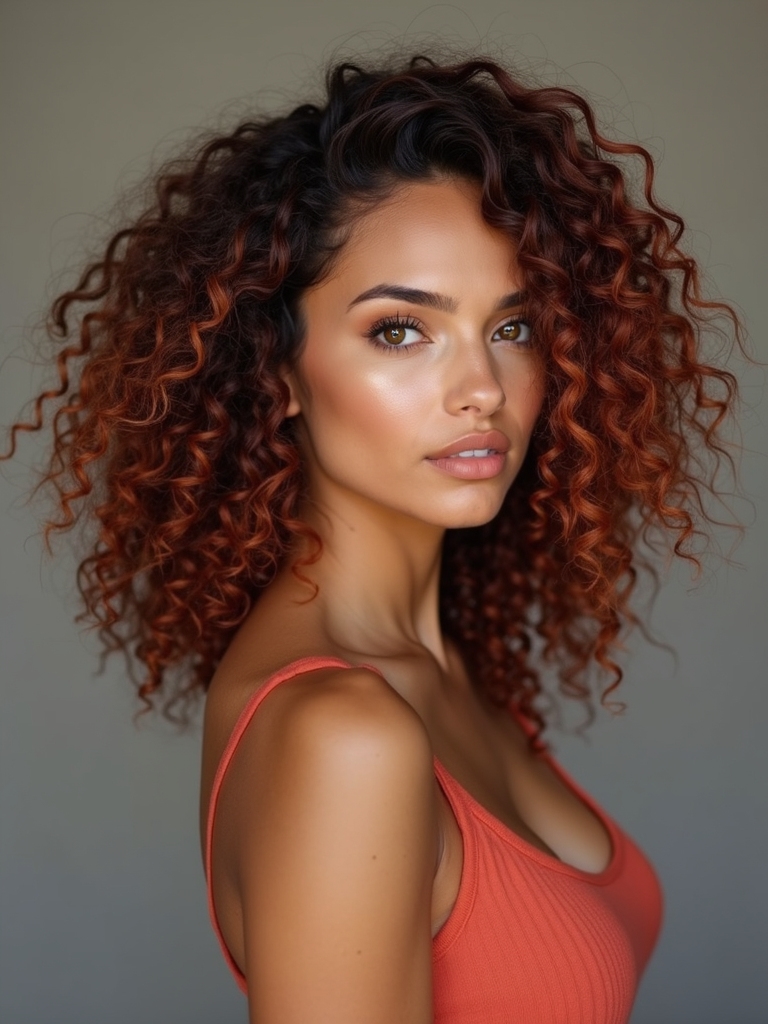
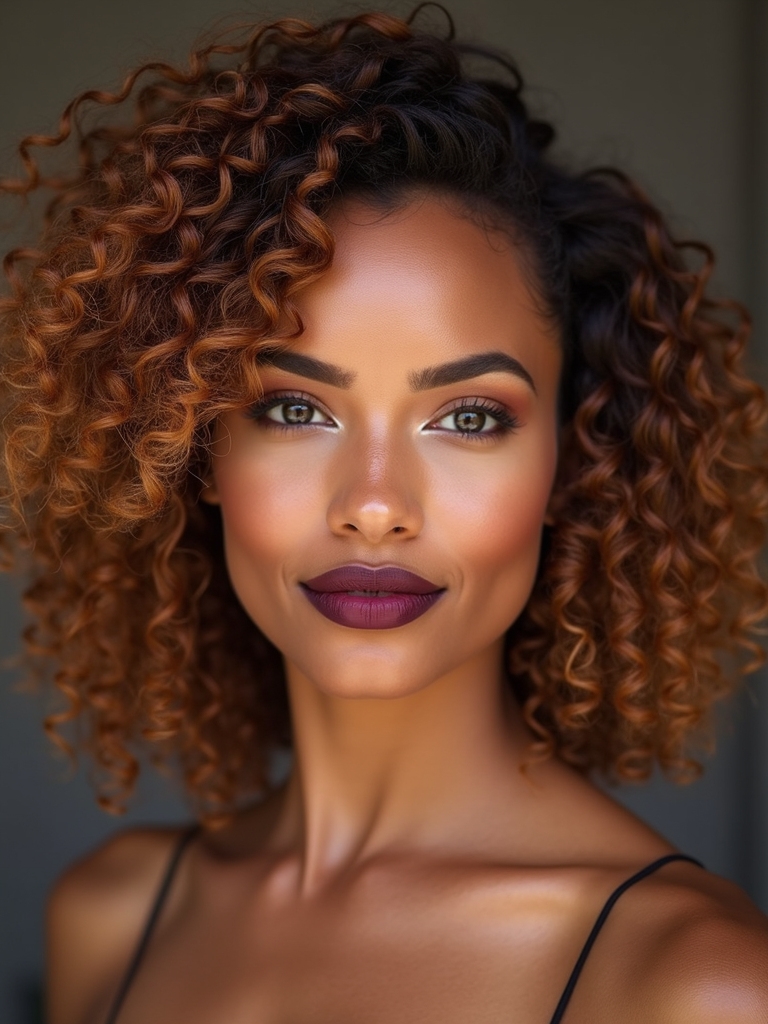
Defined Shape Shag for 4A–4C Coils
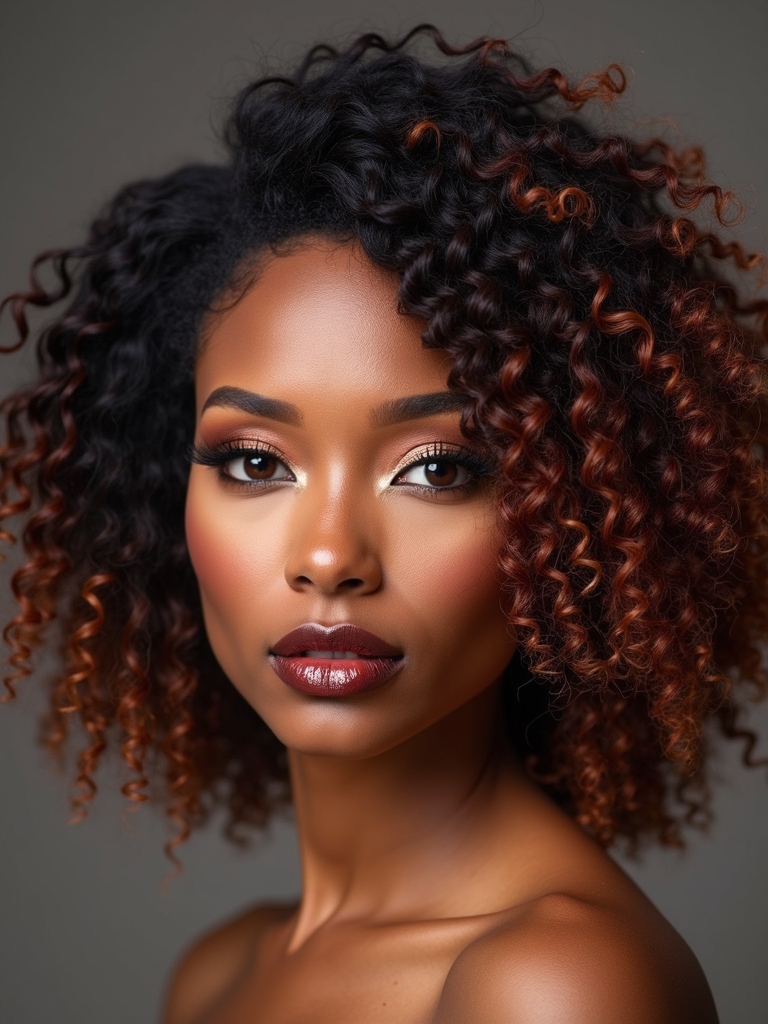
A defined-shape shag turns tight 4A–4C coils into a sculpted silhouette with movement and lift.
I ask my stylist for crown volume, strategic debulking, and short-to-long layers that stack without thinning my ends.
I style with a rich leave-in, gel for hold, and a pick at the roots.
Dry fully, then separate clumps gently for airy shape and bounce that lasts longer.
Curly Shag With Curtain Bangs
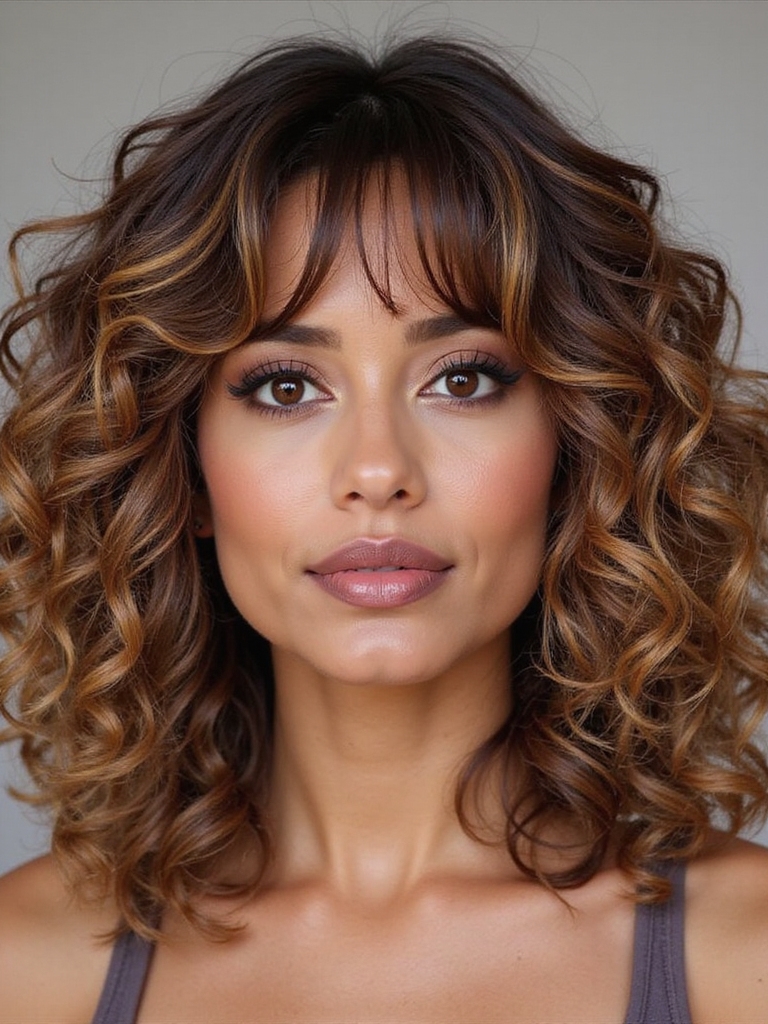
Let’s talk about a curly shag with curtain bangs: I use the fringe to balance face-framing curls so your features feel open, not hidden.
The secret is a low-maintenance layered shape that lets curls fall where they want and still look intentional.
If you want movement without constant styling, this combo checks the boxes.
Face-Framing Curl Balance
Because curls expand and collapse throughout the day, I treat the curly shag with curtain bangs as my go-to for face-framing balance.
I let the bangs skim my brows, then taper into cheekbone-hugging layers, so volume gathers where I want it.
A center part opens the face; an off-center part adds lift.
I scrunch lightweight cream, then air-dry for buoyant, symmetrical movement.
Low-Maintenance Layered Shape
With face-framing curl balance in place, I build a low-maintenance layered shag that behaves even on lazy wash days. Staggered layers release weight so curls spring up instead of drooping.
Curtain bangs skim cheekbones, lift the eyes, and keep the forehead light. I cut dry, follow your curl pattern, and keep the crown airy.
At home, scrunch gel, diffuse lightly, and shake.
Wolf Cut Meets Curly Shag

While the wolf cut roared into trend territory, it gets even better when it meets the curly shag—think wild texture with smart, face-framing structure.
I love how choppy layers release spring and lift, while longer pieces keep movement fluid. Ask for airy shaping at the crown, carved cheekbone curls, and a diffused perimeter. Scrunch in cream, then shake—effortless edge without losing softness.
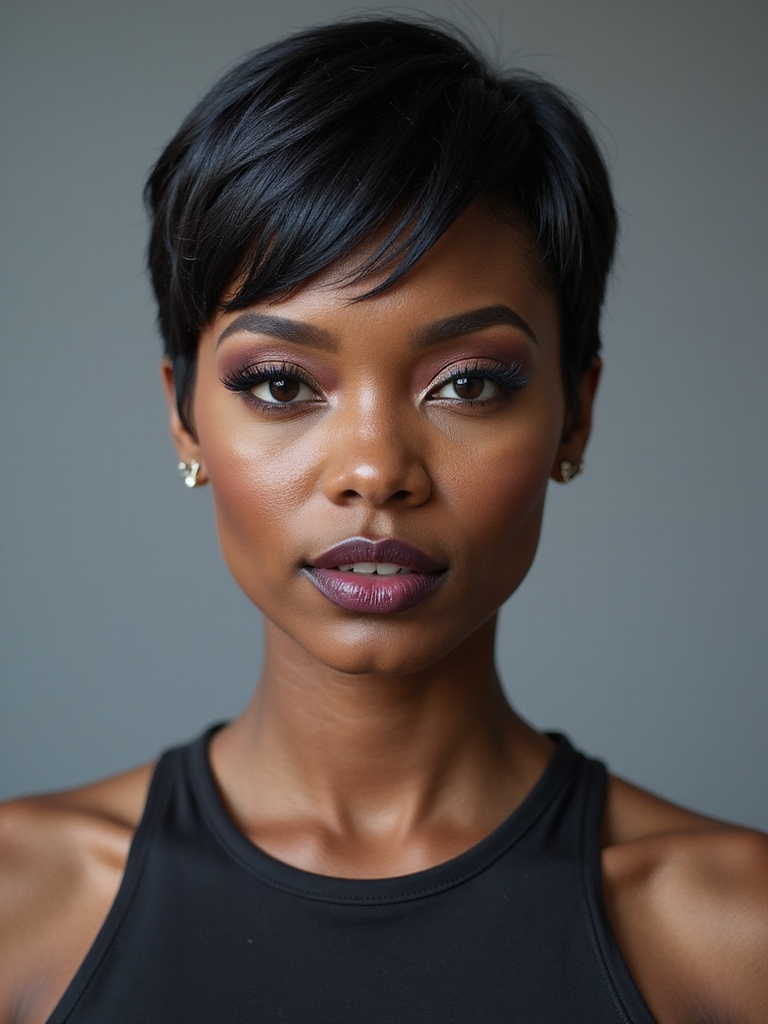
Short Cropped Curly Shag
I love how a short cropped curly shag uses face-framing layers to open up your features.
I place the volume at the crown to lift your profile and keep the sides light.
With a quick scrunch and air-dry, it’s low-maintenance styling that still looks put-together.
Face-Framing Layers
Because curls spring to life when they’re shaped close to the face, I love a short cropped curly shag with soft, face-framing layers.
I ask for cheekbone-to-jaw gradients that open my features, lighten bulk, and add movement.
I curl-clump with a touch of gel, then air-dry.
A tiny trim between appointments keeps edges tidy and lets spirals fall effortlessly around my face.
Volume at Crown
Boosting the crown gives my short cropped curly shag that effortless lift and shape without adding bulk at the sides. I ask my stylist to carve short layers at the apex, leaving the perimeter lean, so curls spring upward and forward.
That height opens my face, balances cheekbones, and keeps silhouette modern. A tousled peak adds movement, dimension, and a playful vibe.
Low-Maintenance Styling
Keeping a cropped curly shag low-maintenance starts in the shower and ends with a quick scrunch.
I cleanse with gentle shampoo, add conditioner, and detangle with fingers.
I rinse lightly, leave some slip, apply a pea of curl cream and a dime of gel.
I blot with a T-shirt, flip, scrunch, diffuse five minutes.
If frizz shows, I glaze oil and go.
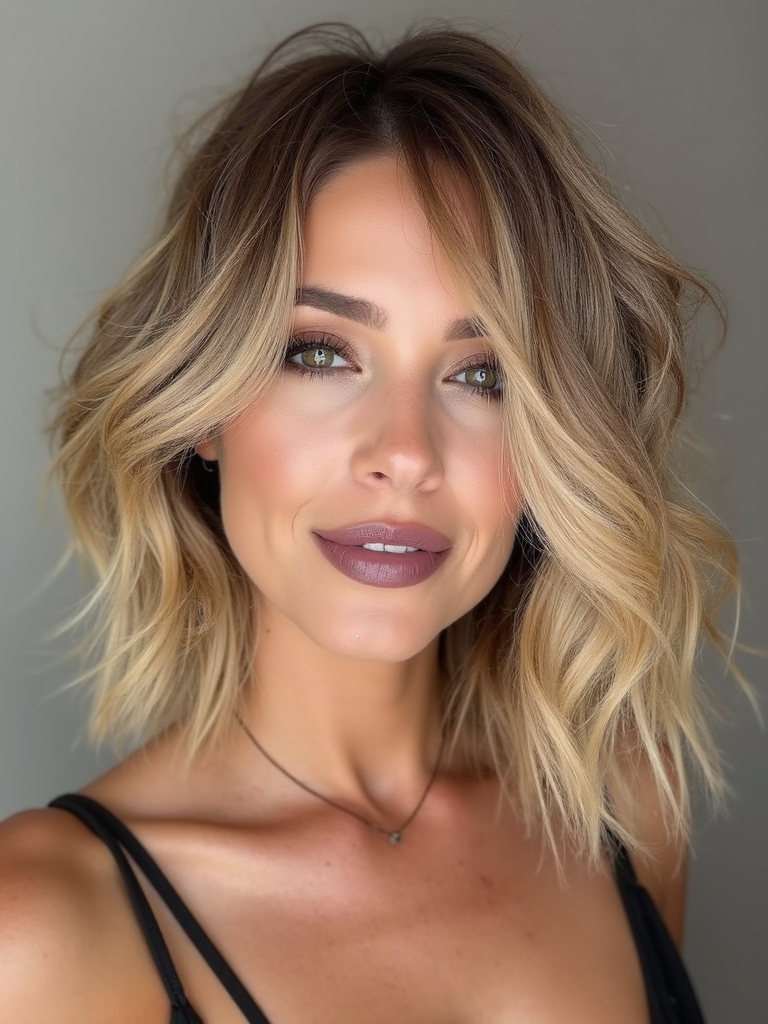
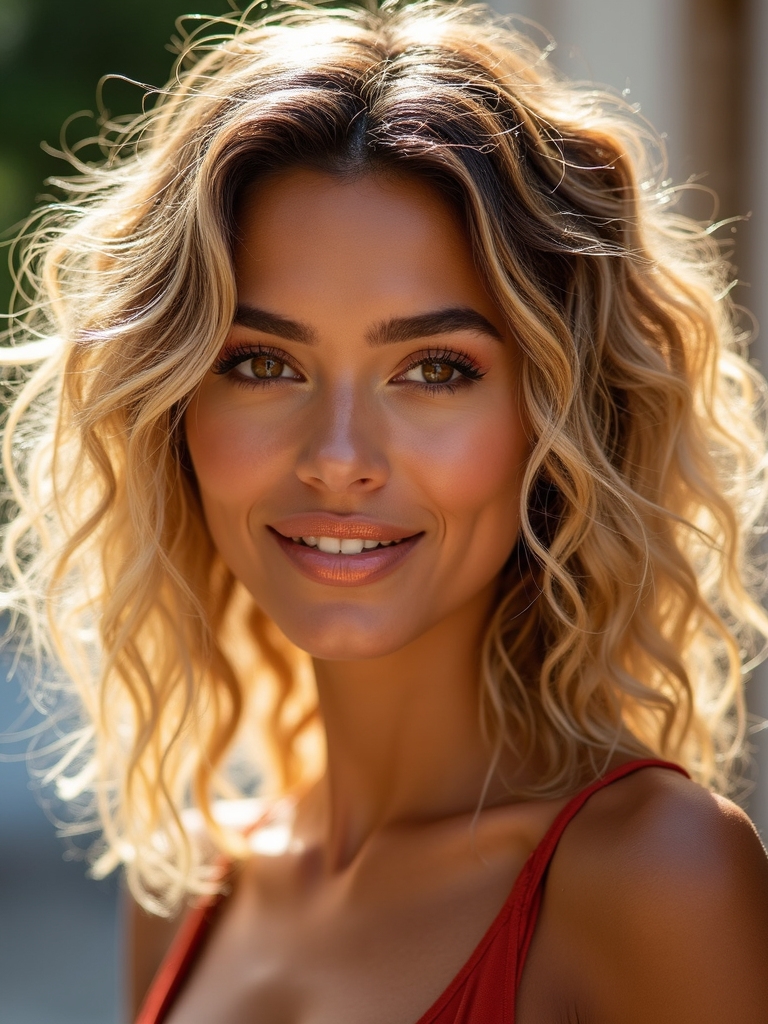
Shoulder-Length Curly Shag
When curls hit the shoulders, a shag cut turns them into effortless movement and shape.
I love how lived-in layers lighten bulk, boost curl spring, and create airy volume without extra effort.
A fringe or curtain bang balances proportions, while ends stay textured, not wispy.
I scrunch in cream, diffuse low, and let pieces fall imperfectly—easy to refresh fast on busy mornings.
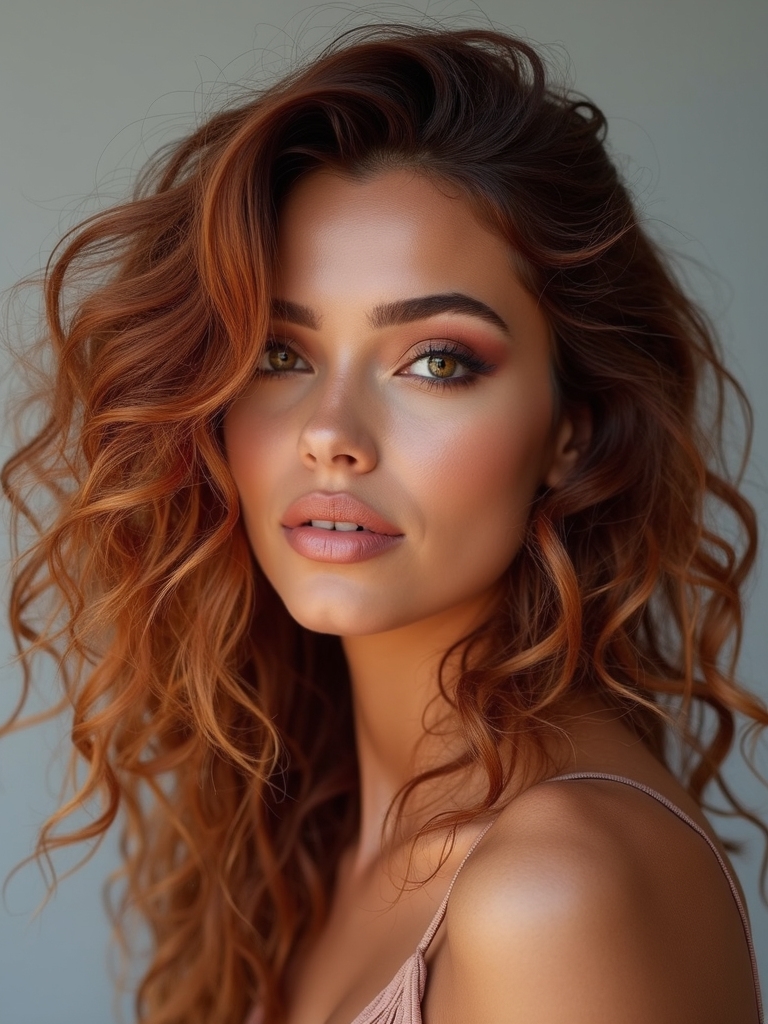
Long Curly Shag With Face-Framing Layers
Here’s how I approach a long curly shag: I ask for soft cascading layers that release weight and set up defined face-framing curls.
That combo keeps the length you love while creating light, airy movement through every coil.
I’ll show you how to style and maintain it so those pieces stay bouncy and balanced.
Soft Cascading Layers
Although it sounds romantic, soft cascading layers are practical, too—they shape a long curly shag so it moves, not puffs.
I ask for long, blended layers that fall gradually, keeping weight where I need control and freeing bounce elsewhere.
They air-dry well; I scrunch in lightweight mousse, then diffuse on low to coax movement. Layers prevent triangle flare and simplify in-between refreshes.
Defined Face-Framing Curls
Because I want my curls to frame my face instead of swallow it, I ask for soft, face-framing layers that start around the cheekbones and taper to the collarbone.
This long shag keeps bulk off my cheeks while defining ringlets.
I request interior shaping for lift, a dry cut to respect curl pattern, and minimal thinning. Front tendrils highlight my eyes beautifully.
Light Airy Movement
Chasing that light, airy movement, I go for a long curly shag with cheekbone-to-collarbone face-framing layers that let my curls float instead of clump.
I ask my stylist for internal layers and gentle thinning at the ends, keeping volume at the crown.
Diffused dry, a touch of lightweight mousse, and shake-out at the roots create bounce.
Frizz stays soft; definition looks effortless.
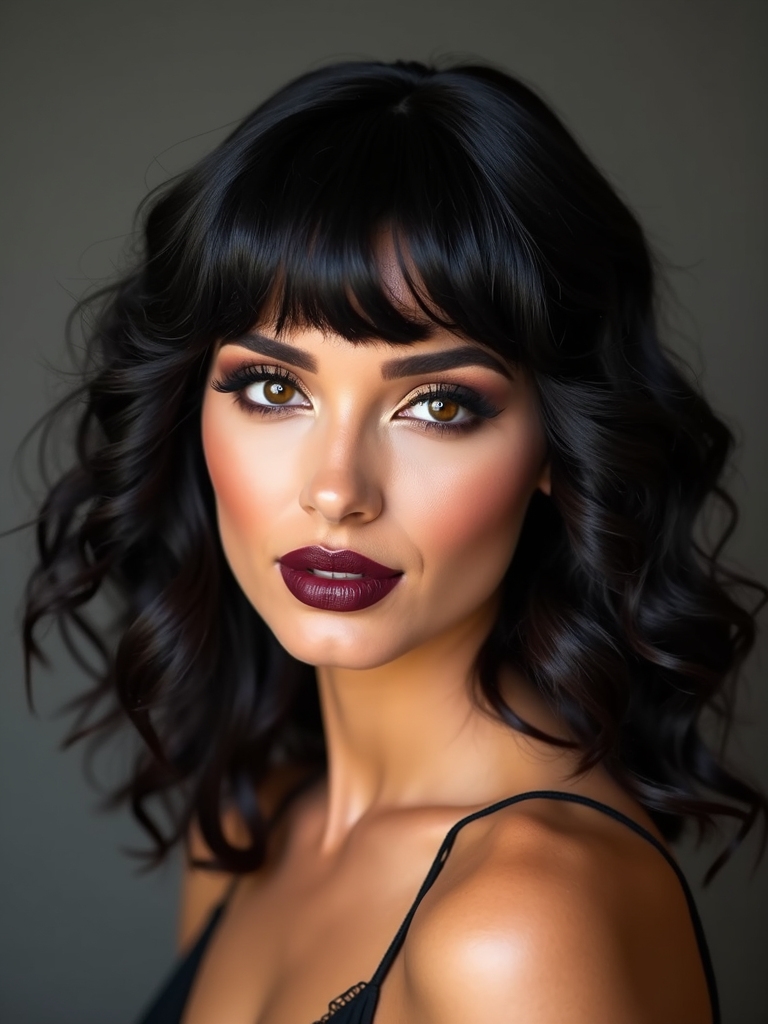
Shaggy Mullet for Bold Curl Confidence
Owning my curls with a shaggy mullet feels like flipping a switch from timid to fearless.
The choppy layers carve out shape, let ringlets spring, and keep the length playful without hiding my face.
I love the contrast—soft curls up top, a bolder tail behind—because it broadcasts personality before I speak.
Maintenance stays simple, and the attitude lingers all day long, confident.
Diffusing and Air-Dry Techniques for Shags

Diffusing or air-drying my shag makes or breaks the shape.
I start by blotting with a T-shirt, then set my part.
For diffusing, I hover on low heat, lift roots with short pulses, and flip sides for even volume.
I pause to cool, then finish with a quick blast.
For air-drying, I clip roots, avoid touching, and let curls set undisturbed, completely.
Product Routine to Enhance Shag Texture
Layering the right products is how I turn my shag from fluffy to defined without losing volume.
Here’s the simple routine I reach for on damp hair, every wash day.
1) Lightweight leave-in for slip and hydration; I rake it through roots-to-ends, then scrunch.
2) Foam or mousse at the crown and mid-lengths to boost lift without crunch.
3) Serum seals; scrunch.
Color and Highlights That Elevate Curly Shags
How do you make a curly shag look instantly more dimensional? I lean into lived-in color: sun-kissed balayage, ribbon highlights, or a halo of face-framing pieces.
Lighter ends amplify movement; deeper roots ground the shape. I scatter highs and lows so ringlets catch light from every angle.
Glosses add shine, tone brass, and keep the palette cohesive without stiff, stripy lines—look.
Grow-Out and Maintenance Between Trims
Even as the shape softens, I treat grow-out like a phase, not a problem.
I baby ends, refresh layers with strategic styling, and plan trims before frizz wins.
Between appointments, I keep movement lively, avoid bulk.
- Cleanse gently; condition deeply; scrunch in lightweight gel.
- Diffuse on low; clip roots for lift; shake, don’t rake.
- Dust ends; micro-trim fringe; sleep in silk bonnet.
Face Shape Guide for Choosing a Curly Shag Style
While face shape isn’t a rulebook, I use it like a compass to tailor a curly shag that flatters you.
Got an oval? I keep layers airy and let curls roam.
Round? I add crown height and cheekbone-skimming fringe.
Square? Softer, face-framing tendrils blur corners.
Heart? Balance width with chin-grazing layers and wispy bangs.
Long? Build horizontal volume and avoid elongated pieces.
If you’ve been waiting for a sign to adopt your curls, this is it. I love how a shag celebrates texture—layers lift the crown, frame the face, and keep length while revealing your true pattern.
If you’re wavy, ringleted, or coily, there’s a version that moves with you. Keep it light with leave‑ins and gels, diffuse or air‑dry, and revive with a mist. Ready to book that dry cut and let your curls live today?